New User to Portal
FPT AI Factory Portal is a cloud platform for provisioning and managing AI/ML infrastructure and related resources within a governed, cost-visible environment.
This page walks a brand new user through everything from first login to running their first resource.
Account setup
1. Go to the portal
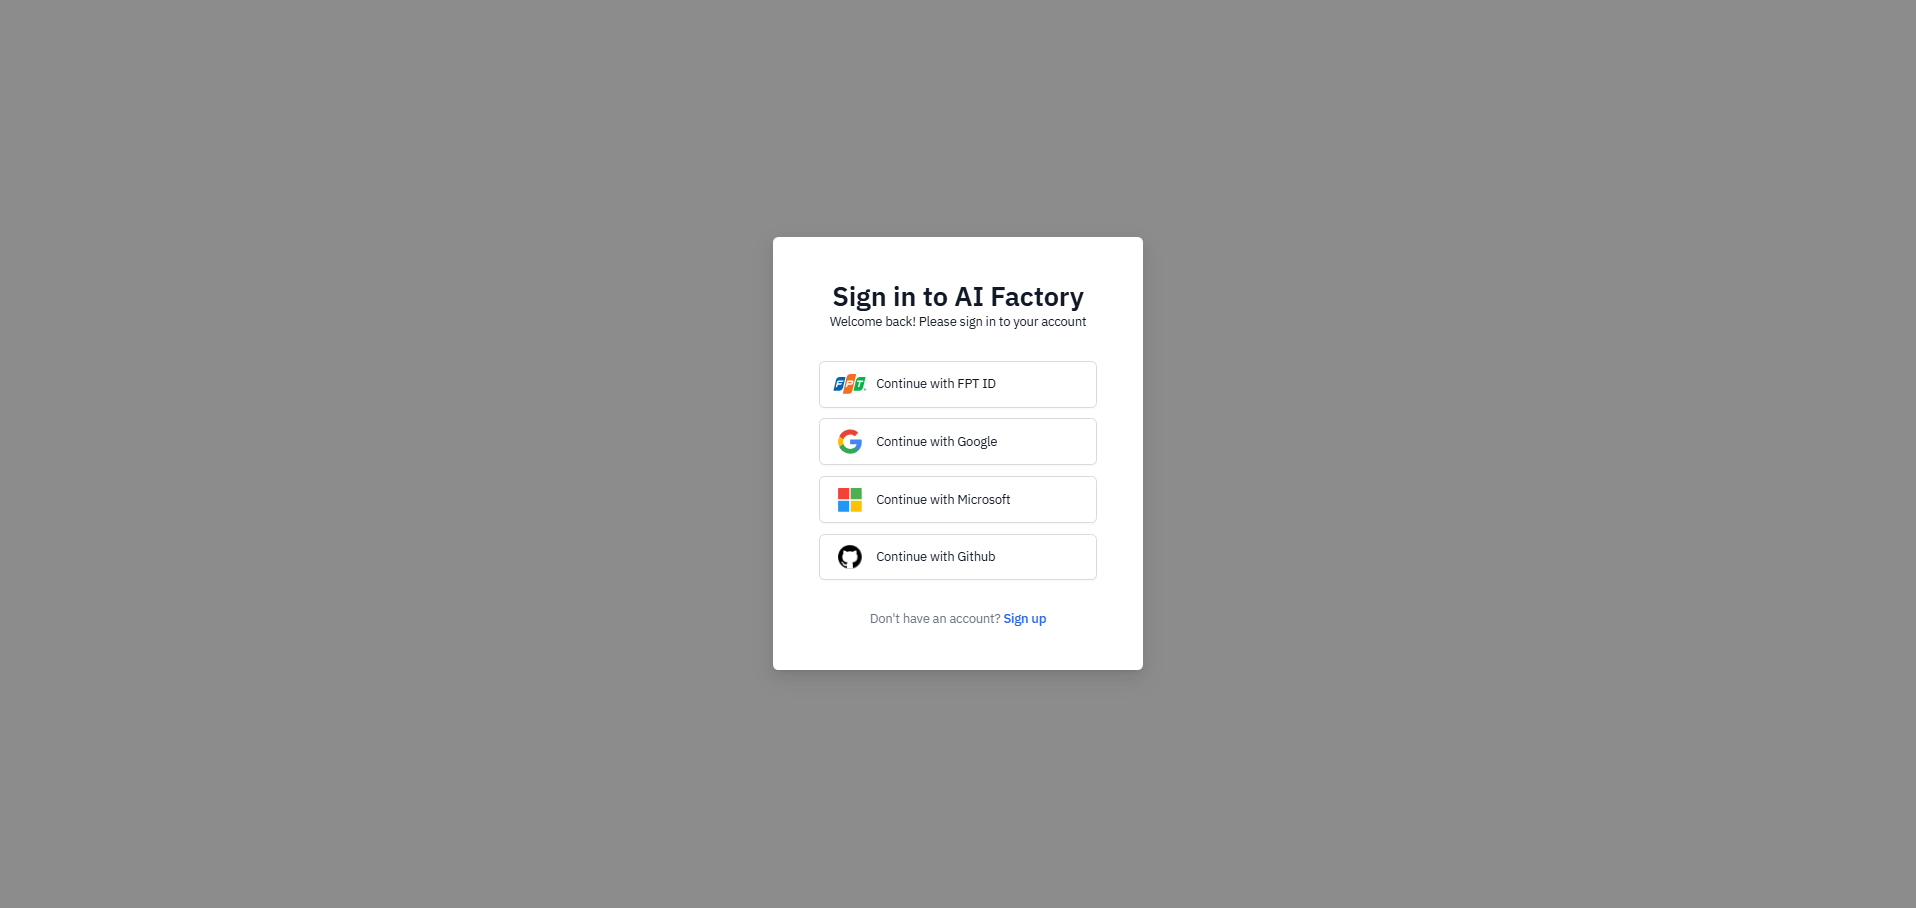
Navigate to https://neo.fpt.ai and choose a sign-in method.
2. Choose a sign-in method
New users can select any method and complete registration to get started.
| Method | When to use |
|---|---|
| FPT ID | You already have an FPT ID account |
| Sign in with your Google account | |
| Microsoft | Sign in with your Microsoft account |
| Github | Sign in with your Github account |
3. Access the portal
After a successful login you land on the FPT AI Factory Portal. The portal automatically sets up the following for your account, then shows you the onboarding survey:
| What | Details |
|---|---|
| Default Organization | One Organization is created for you. You are the Organization Owner with full control over billing, workspaces, and members. Can be renamed at any time; cannot be deleted until a replacement exists. |
| Default Workspace | One Workspace is created inside that Organization, with all services pre-enabled and ready to use. Can be renamed at any time; cannot be deleted until a replacement exists. |
| Active services | Your default Workspace comes with all services enabled: GPU Virtual Machine, Dedicated Inference, and Serverless Inference. All services require a positive Wallet balance to create resources. |
| Empty Wallet | Your Organization Wallet starts at zero. Top up before creating any resource. |
If you have trouble signing in with FPT ID, reset your password at https://id.fptcloud.com. For other issues, contact support at support@fptcloud.com or call 1800 6139.
Step 1 — Complete the onboarding survey
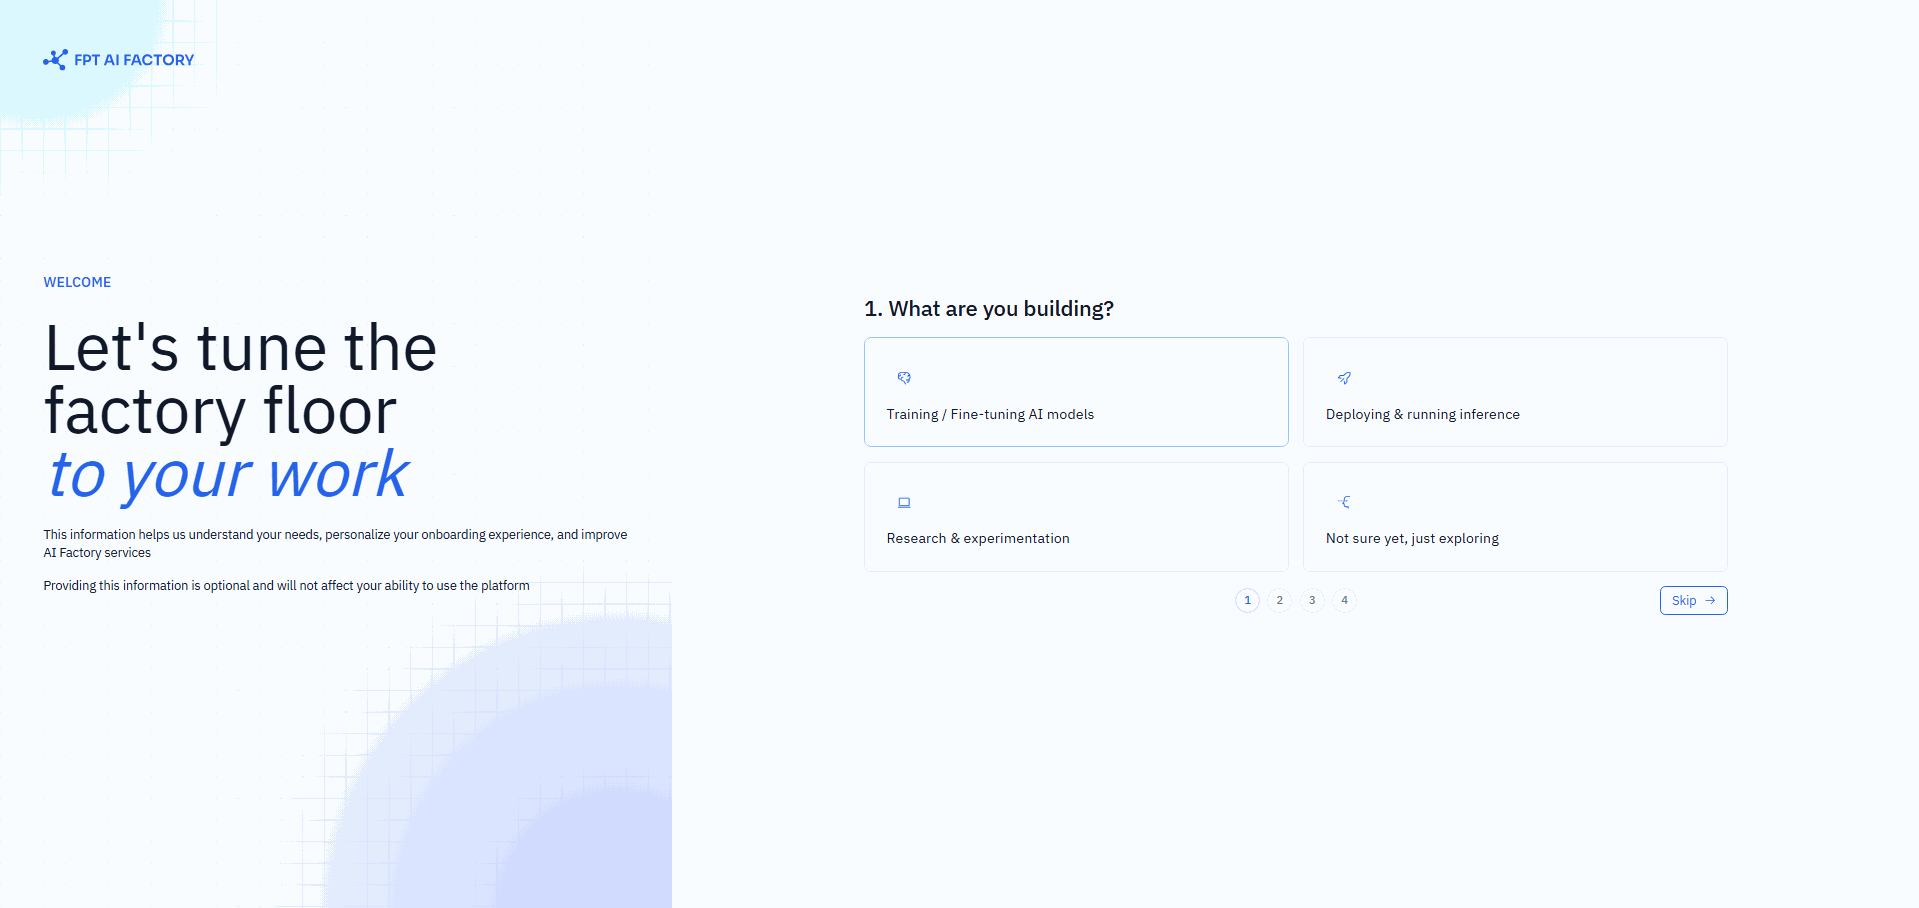
When you log in for the first time, the portal shows a 4-step survey. Each step auto-advances as soon as you pick an answer — no submit button needed.
| Step | Question | Options |
|---|---|---|
| 1 | What are you building? |
|
| 2 | Which best describes you? |
|
| 3 | What is your team or organization size? |
|
| 4 | How did you hear about FPT AI Factory? |
|
After the survey, you land on the Workspace Dashboard. See Understanding Your Dashboard to learn what each section shows.
Step 2 — Set the billing currency
The billing currency determines how your Wallet is charged and which payment methods are available to you.
The billing currency is locked permanently after the first save and cannot be changed later. Set it carefully before doing anything else.
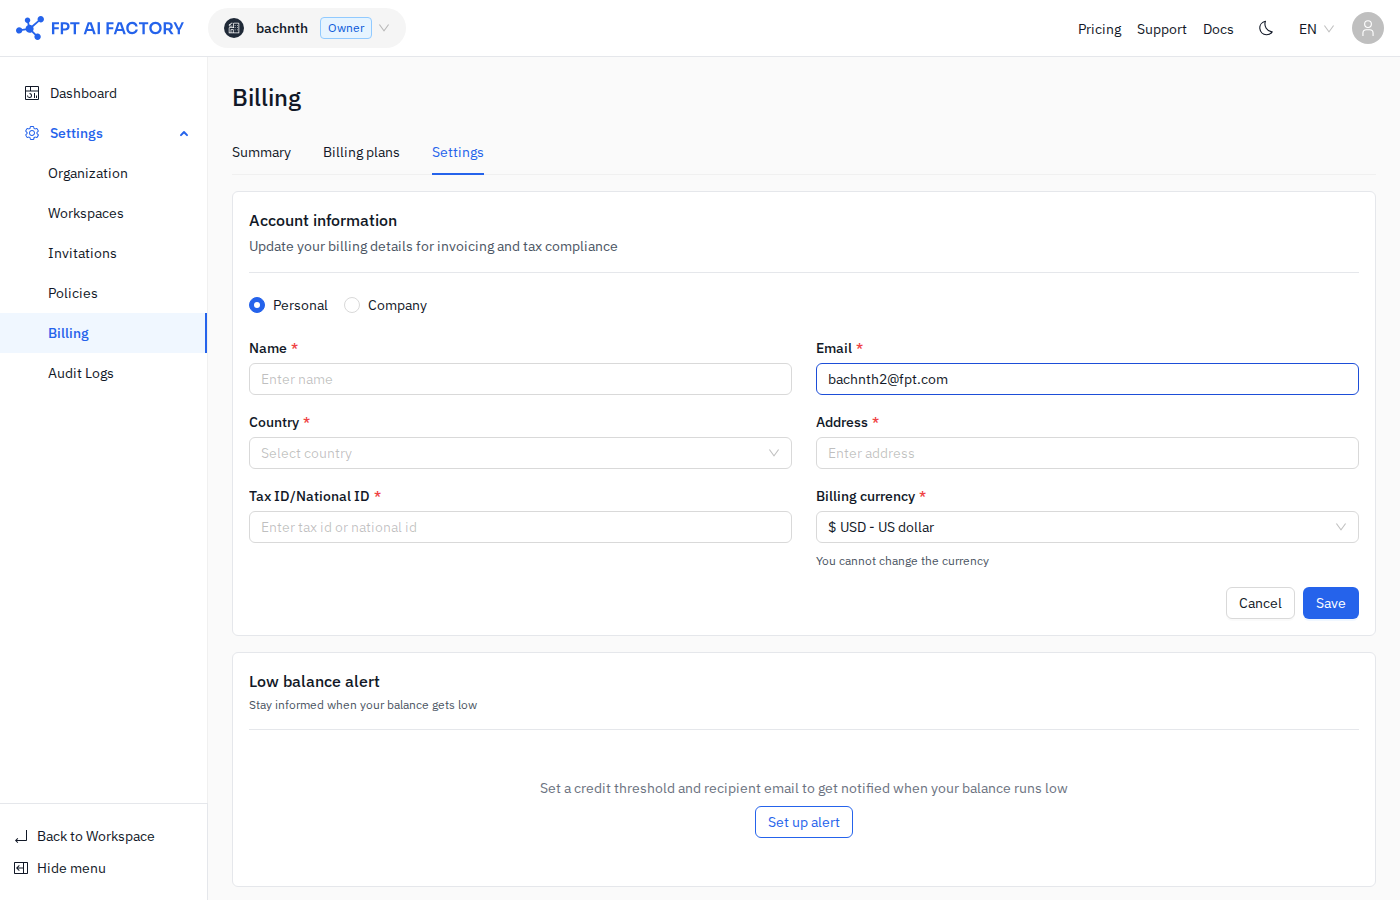
- At the bottom of the left sidebar, click Go to Organization, then select Billing.
- Click the Settings tab, then click + Add billing detail.
- Fill in your account information and select your Billing currency (VND / USD / JPY), then click Save.
If your country is Vietnam, the currency is automatically set to VND and cannot be changed.
See Billing settings for full details.
Step 3 — Top up your Wallet
Resources cannot be created until your Organization Wallet has a positive balance.
- In the left sidebar, click Billing → Pay now.
- Enter an amount (or choose a preset: $25 / $50 / $100).
- Select a payment method and complete the payment.
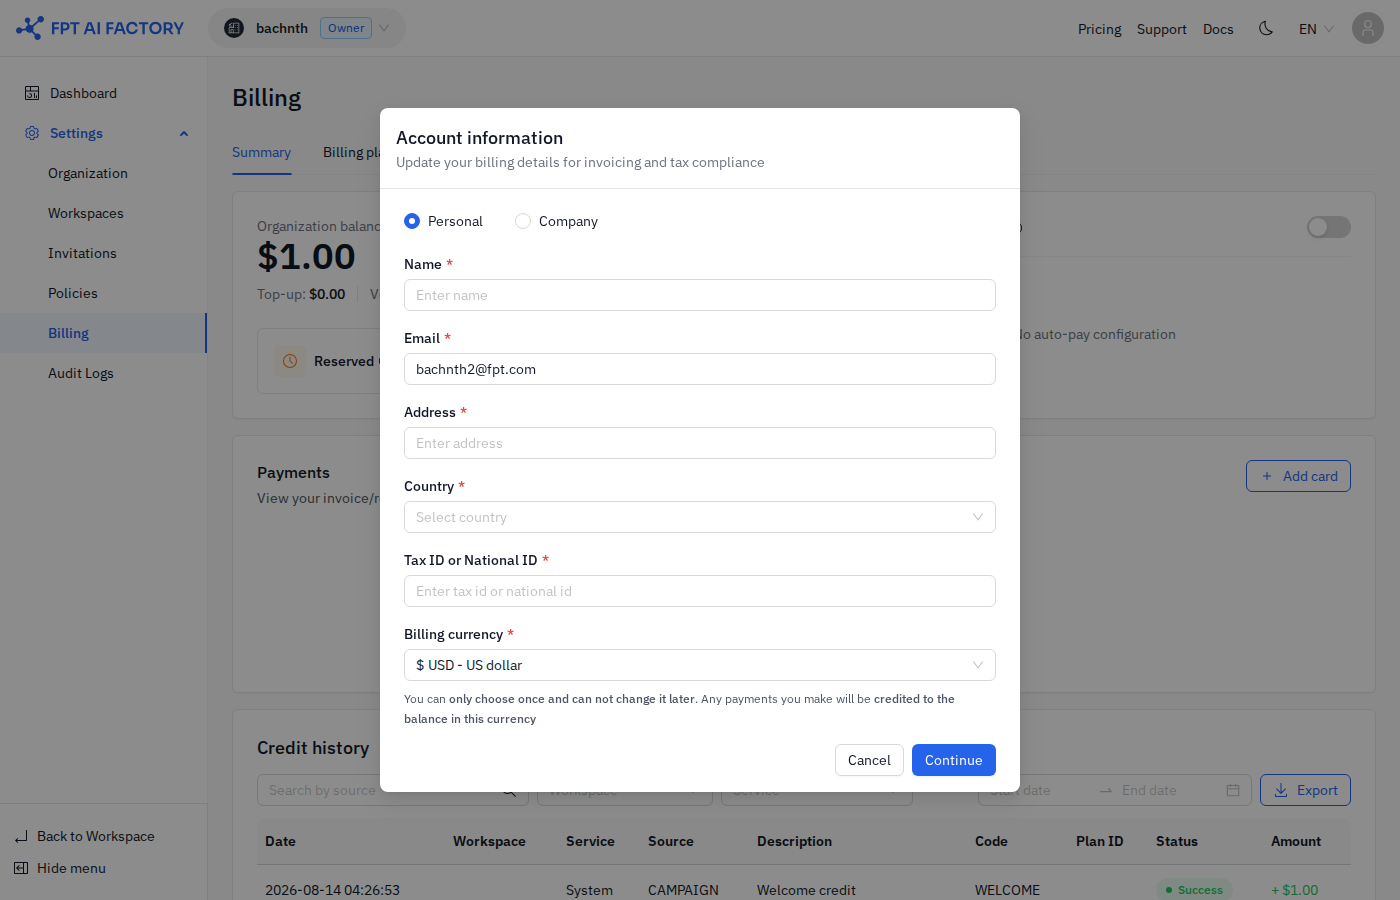
Available payment methods depend on your billing currency:
| Currency | Payment methods |
|---|---|
| VND | VNPay, Stripe |
| USD / JPY | PayPal, Stripe |
After the payment completes, your Wallet balance is shown in the Billing section in the left sidebar. The Wallet balance is shared across all Workspaces in your Organization. Each Workspace draws from this balance up to its Quota limit.
See Top Up for full details.
Step 4 — Review your Workspace settings
This step is optional but recommended. Review your Workspace name, admin, and member list before you start creating resources.
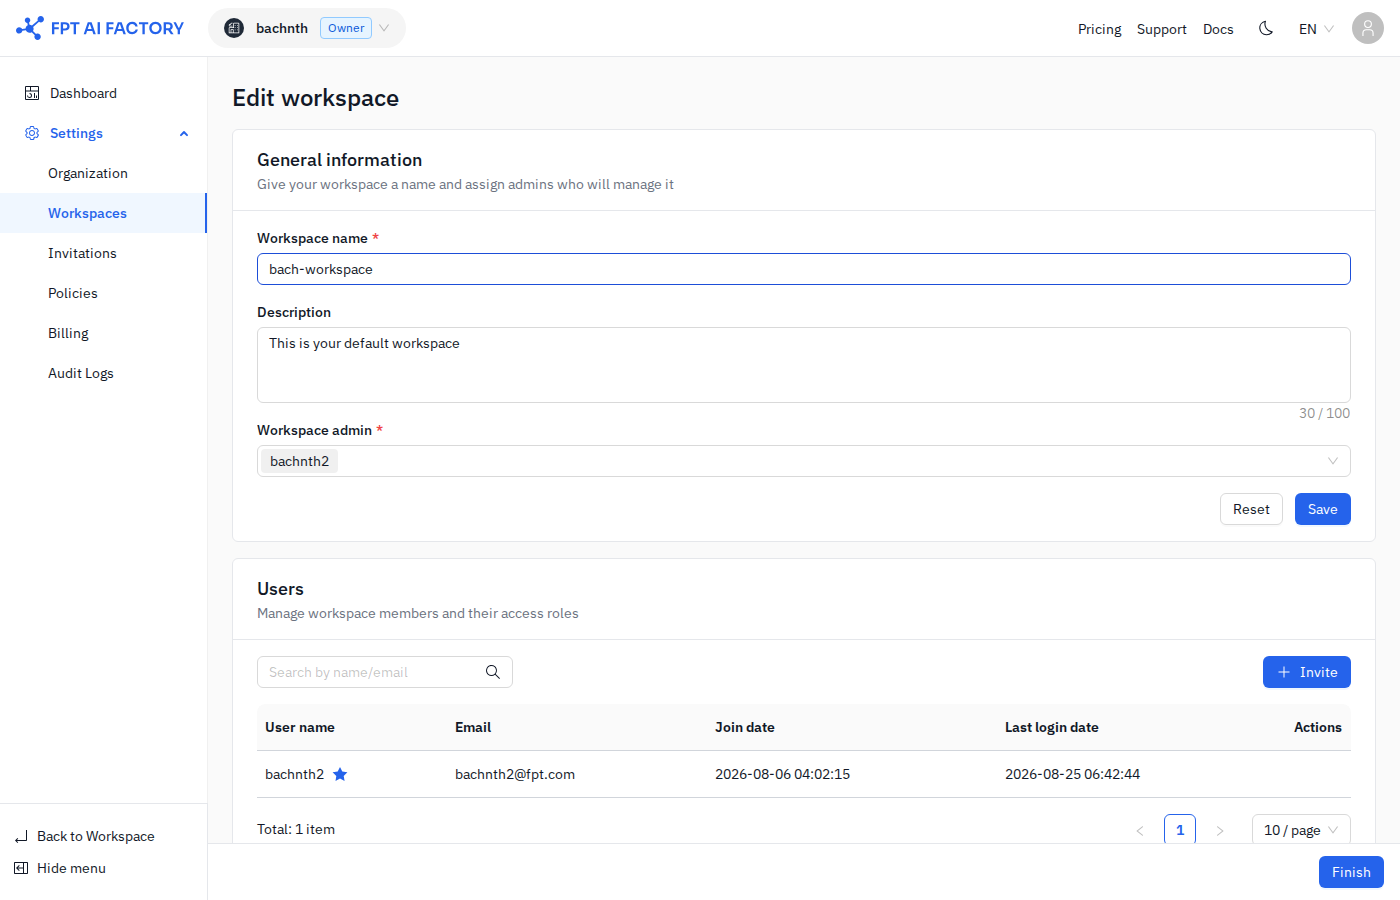
- Organization Owner — click Go to Organization → Workspaces → the Edit (pencil) icon on your Workspace.
- Workspace Admin — click Settings → Workspace in the left sidebar.
From the edit page you can update the Workspace name, description, Workspace admin, and manage members (invite or remove).
Step 5 — Create your first resource
Your setup is complete. You can now create:
- GPU Virtual Machine — a full virtual machine with dedicated GPU for custom OS and software stacks.
- Dedicated Inference — deploy AI models as dedicated, always-on inference endpoints.
- Serverless Inference — call hosted AI models via API with no infrastructure to manage.
What's next
- Understanding Your Dashboard — learn what each section on the Workspace Dashboard shows.
- Organization — rename your Organization, manage billing settings.
- Workspaces — create additional Workspaces for different teams or projects.
- Roles and permissions — understand what each Role can and cannot do.
- Understanding billing — credits, Quotas, and how costs are tracked.