Create and Access an AI Notebook Lab
An AI Notebook is a Notebook Lab environment running on dedicated GPU hardware. You select a region and a GPU configuration, and the portal provisions the notebook for you.
1. Open AI Notebook
In the Workspace sidebar, click AI Notebook under Services. The notebook list shows existing notebooks for your Workspace, one per region.
2. Click Create for the region you want
Click Create for the region you want to use. The create form opens.
Available regions
| Region | Available GPU |
|---|---|
| Hà Nội (Southeast Asia) | H100 SXM5 |
| Tokyo (Japan) | H200 SXM5 |
The region you select determines which GPU options are available.
Only regions enabled for your Workspace appear here. If a region is missing, contact your Organization Owner.
Wait for Running status
Creating… means the GPU instance is being provisioned. This typically takes 3–5 minutes.
| Status | What it means |
|---|---|
| Creating… | GPU instance is being provisioned. Wait 3–5 minutes. |
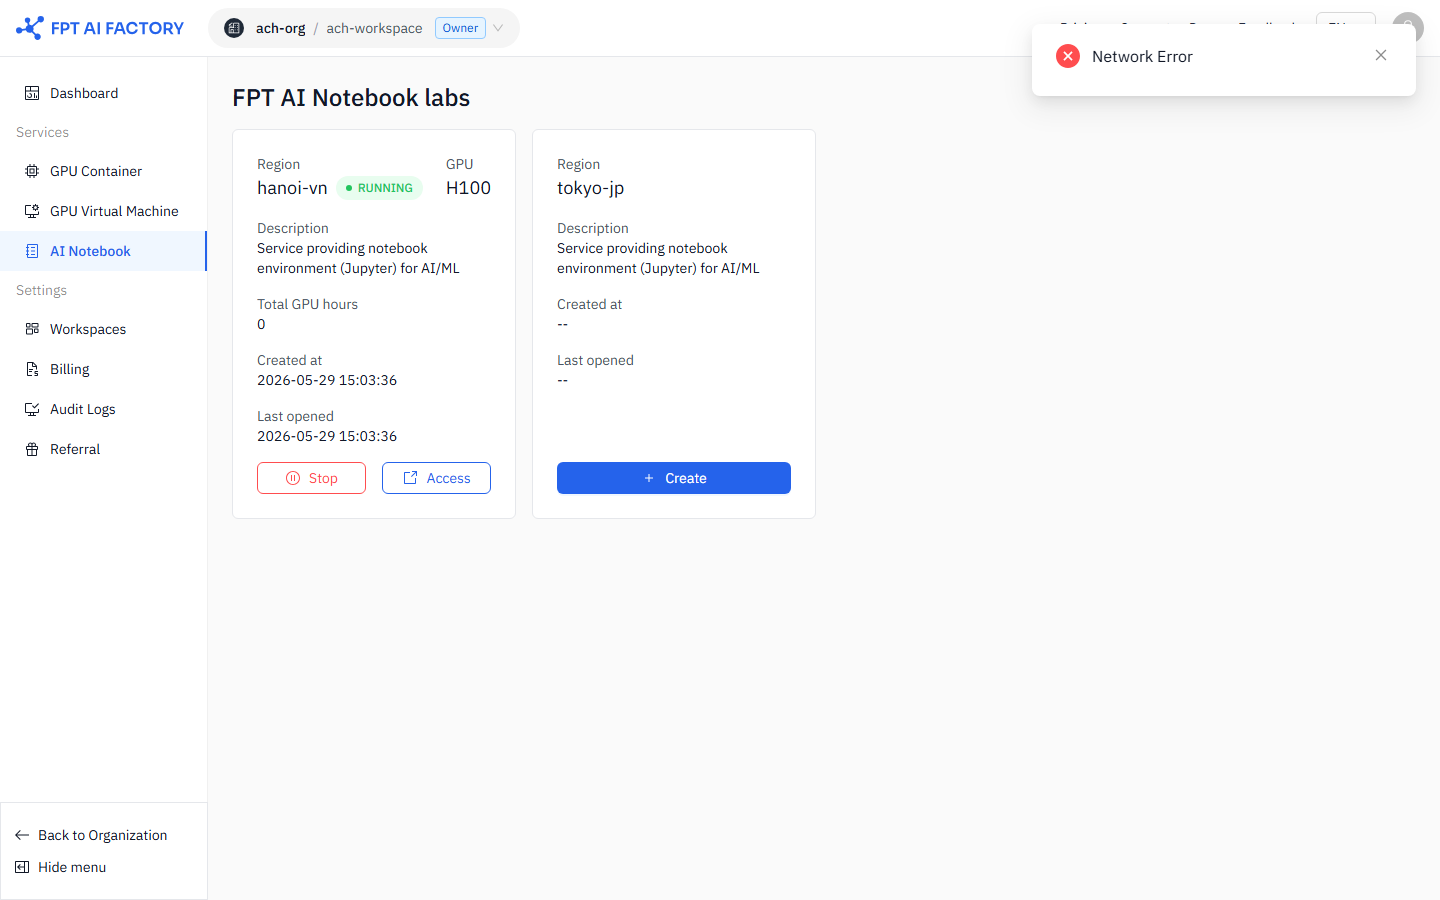
| Running | Notebook is active. Billing is accumulating. |
| Starting… | Notebook is starting after a Stop/Start cycle. Wait 1–2 minutes. |
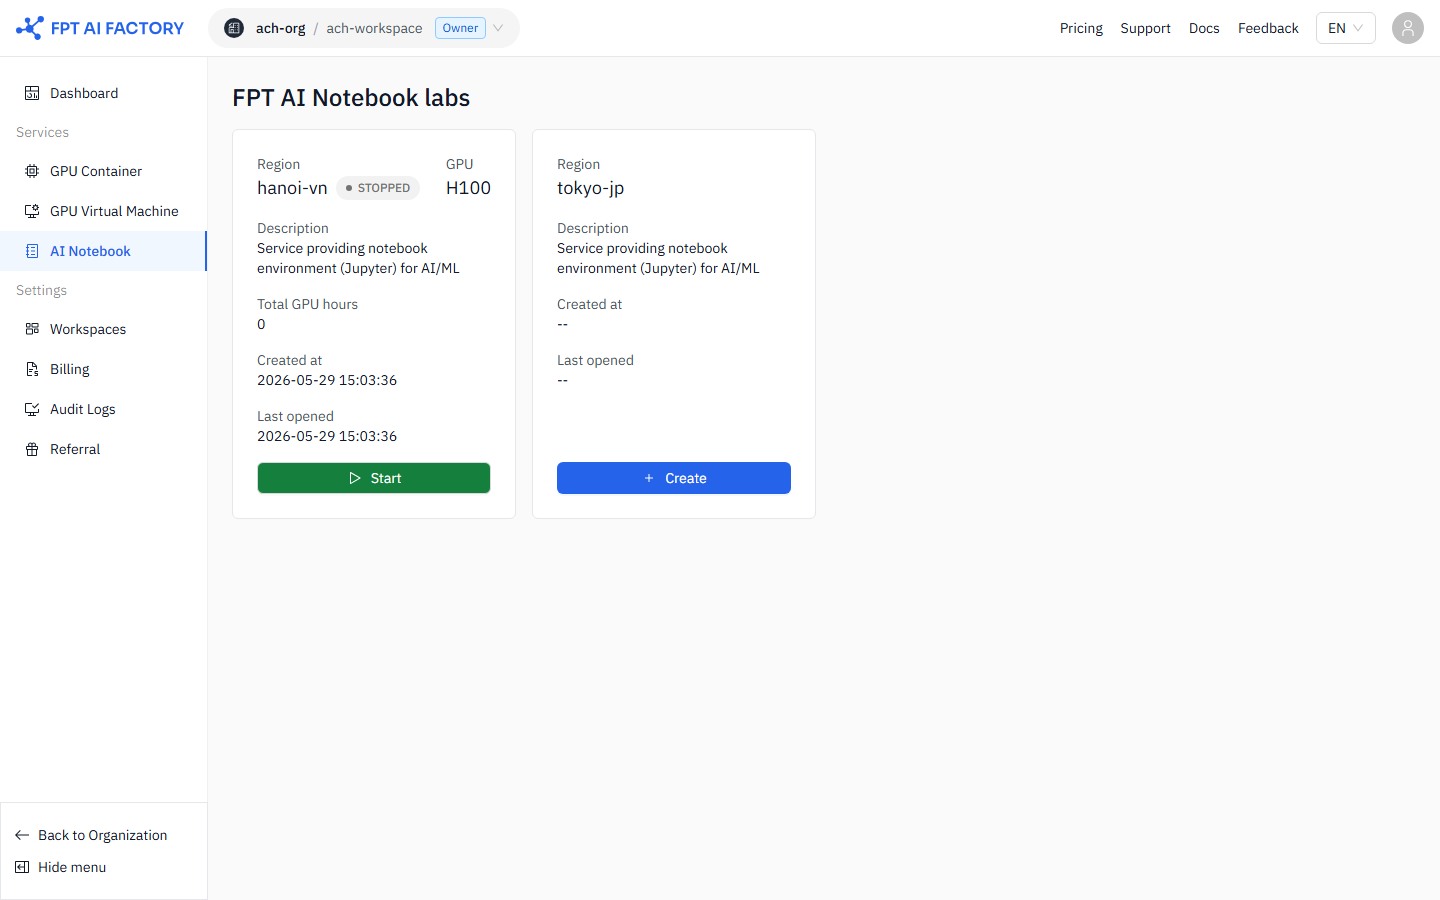
| Stopped | Notebook is inactive. Billing has stopped. Persistent storage is retained. |
| Failed | Provisioning failed. Click Re-Create to try again. |
If the status does not change to Running after 10 minutes, see Troubleshooting.
3:
4: Connect a notebook to a kernel
To connect or switch kernels, open the kernel configuration menu in the top-right of the notebook.
Connect to an existing kernel:
- Under Running Kernels, select the kernel you want to connect to.
Start a new kernel:
- Under Start Other Kernels, select the GPU type you want.
- Click Confirm and wait 1–2 minutes.
See detailed guide: Connect to a Kernel
Confirm
- Review the Summary and Pricing panels.
- Click Create Notebook.
The notebook card appears on the notebook list with status Creating….

5.
4. Access the Notebook Lab
When the status is Running, click Access to open the Notebook Lab in a new tab. If a pop-up blocker prevents it, click Open AI Notebook to enter the Launcher manually.

5. Notebook Lab Launcher overview
The Launcher is your starting point inside the Notebook Lab.
Navigation bar
| Item | What it does |
|---|---|
| File Browser | Manage files and folders — open, rename, delete, organize. |
| Running Kernels / Notebooks | View active kernels and open notebooks. Stop idle ones to free resources. |
| Table of Contents | Jump between headings in long notebooks. |
| GPU Kernel Management | Monitor GPU allocation and usage. Shut down unused kernels. |
| Extensions Manager | Install, enable, or disable extensions (e.g. Git, code formatters). |
Notebook and Console options
Notebook — interactive code + output environment. Supports Markdown, charts, and inline documentation. Resource options: CPU (Free), 1×, 2×, 4×, 8× GPU H100 SXM5.
Console — lightweight command-line interface for quick scripts without rich output. Same resource options.
Other — create standalone Text, Markdown, or Python files.
Create a notebook
Inside AI Notebook Lab, creating a notebook means starting a kernel session connected to compute resources.
CPU notebook (free):
- In the Launcher, click the + button.
- Choose CPU Notebook.
GPU notebook:
- In the Launcher, choose a notebook with your preferred GPU (e.g. 1× GPU H100 SXM5). Each card shows the GPU count, VRAM, CPU, RAM, and hourly cost. Cards marked Out of stock are not available — select a different flavor.
- Click Confirm on the confirmation dialog.
- Wait 1–2 minutes for the kernel to be ready.
For first-time users, start with the smallest available flavor. You can re-create the notebook with a larger flavor later if needed.
See detailed guide: Start a CPU or GPU Kernel
Resource and pricing panel
Displays available GPU configurations with CPU, RAM, VRAM, and hourly cost. Disconnect and delete unused runtimes to avoid unnecessary charges.
What's next
- Managing AI Notebooks — stop, start, and delete notebooks, understand billing.