Quick Start
What is a GPU Virtual Machine?
A GPU Virtual Machine (GPU VM) lets you deploy and manage high-performance GPU servers with ease. A GPU VM uses a passthrough GPU to give you a dedicated GPU, which your applications access through a guest OS and hypervisor. Other resources that your applications use, such as RAM, storage, and networking, are also virtualized.
The FPT AI Factory portal offers two storage types for your GPU VMs.
- Local NVMe: A high-speed disk bundled with each GPU instance. It is optimized for high-performance training, but is not suited to long-term data retention.
- Block Storage: Persistent volumes that exist independently of the VM. You can resize them and attach or detach them on demand.
You choose the storage type when you create a VM.
GPU VM vs GPU Container
| GPU VM | GPU Container | |
|---|---|---|
| Environment Control |
|
|
| Setup Speed | Slower to set up (spin up the VM and software) | Starts in 1-2 minutes |
| Workload Type |
|
|
| Networking & System Needs |
|
|
| Billing model | Storage is retained while stopped. Local NVMe is charged in full while stopped, while a Block Storage VM releases its GPU and is charged for storage only. | NVMe storage is cleared, with no charge while stopped (excluding persistent storage). |
Quick start
Step 1: Sign up and sign in
- Go to https://ai.fptcloud.com or https://ai.fptcloud.jp, click Sign Up, and follow the instructions to enter your details.
- Our support team will contact you shortly to verify your information and activate your account.
- Sign in with your FPT ID username or email and password.
Step 2: Add credit to your account
- Go to the ACCOUNT section and click Billing.
- Click Add Credit, then enter an amount and your payment information to complete the purchase.
If you have a voucher from FPT, apply your valid code in the Add Voucher section to redeem credit.
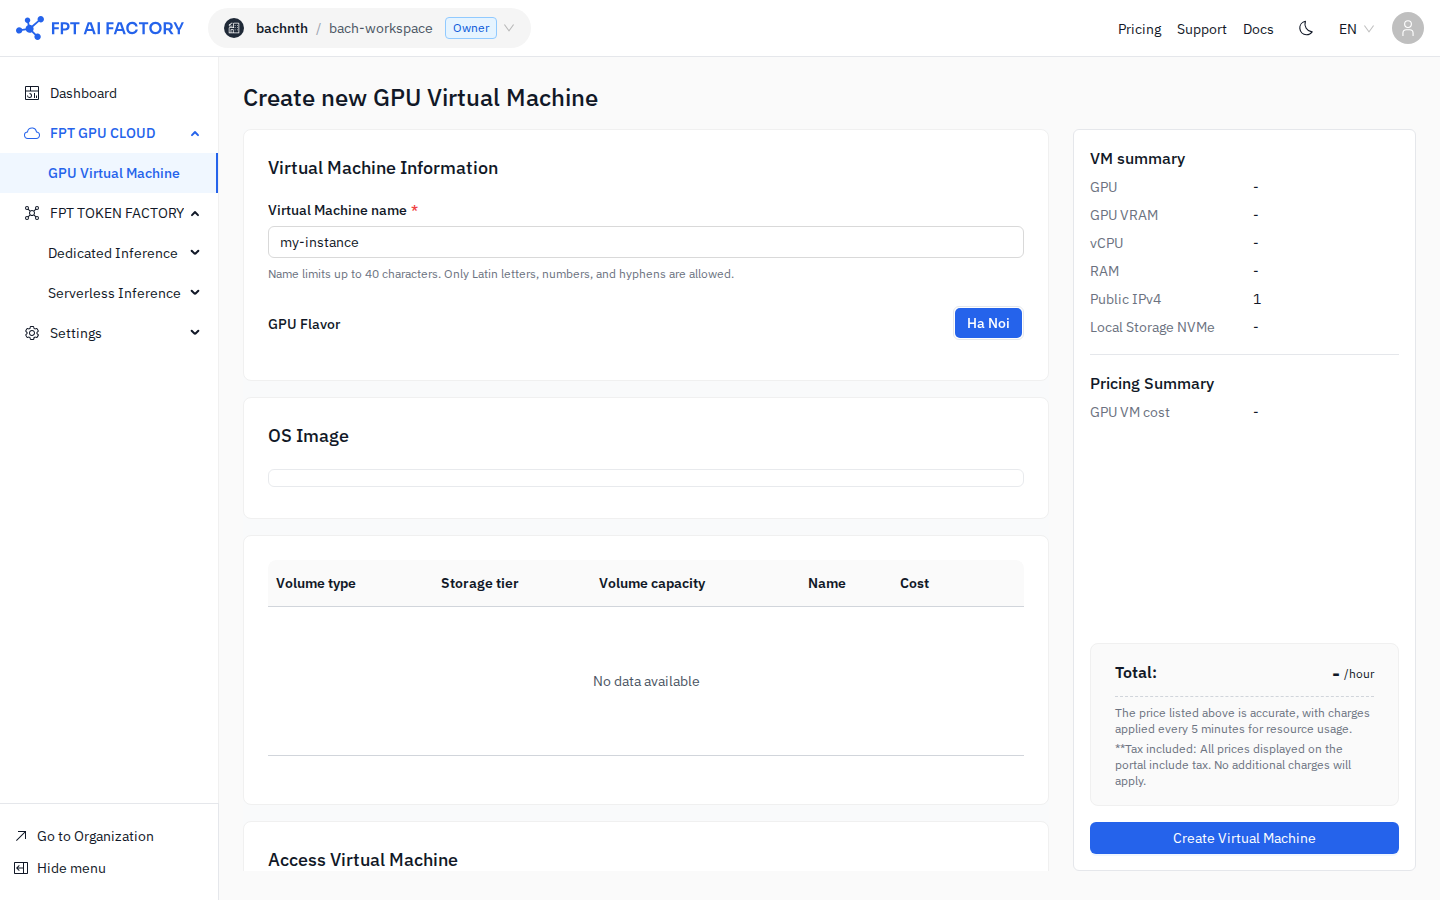
Step 3: Create a GPU VM
- Select GPU Virtual Machine in the side menu.
- Click Create New Virtual Machine and configure the VM.
- For the full walkthrough, see Create a GPU VM.
Step 4: Connect to your GPU VM
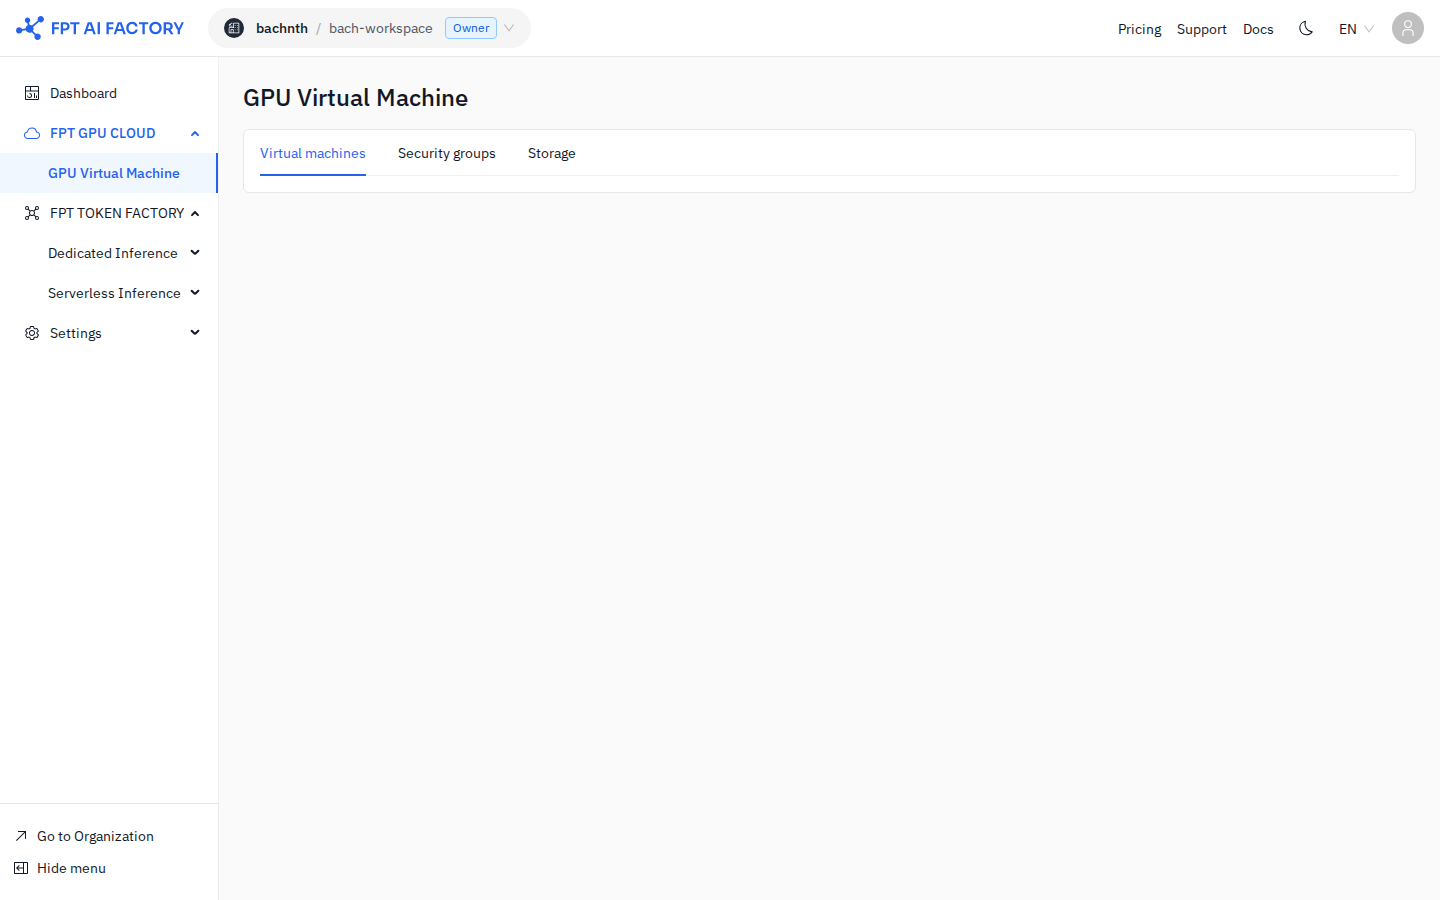
- On the VM List page, click the VM name to open the VM details and the monitoring dashboard.
- Based on your settings in the Access Virtual Machine section, connect using either the web console with a root password or a terminal with your SSH key.
- If you use the default security group, all inbound and outbound traffic is allowed for this VM. We recommend updating the rules to restrict access to trusted IPs and the exposed ports only, for example SSH 22, RDP 3389, and HTTP/HTTPS.
What's next
- Create a GPU VM — configure and deploy your VM.
- Manage GPU VMs — power on, power off, reboot, and delete your VM.
- Manage Storage — create and manage Block Storage volumes.