Create a GPU VM
This page explains how to configure and deploy a GPU virtual machine on the FPT AI Factory portal, including how to choose between Local NVMe and Block Storage.
To start, go to GPU Virtual Machine in the side menu, then click Create New Virtual Machine.
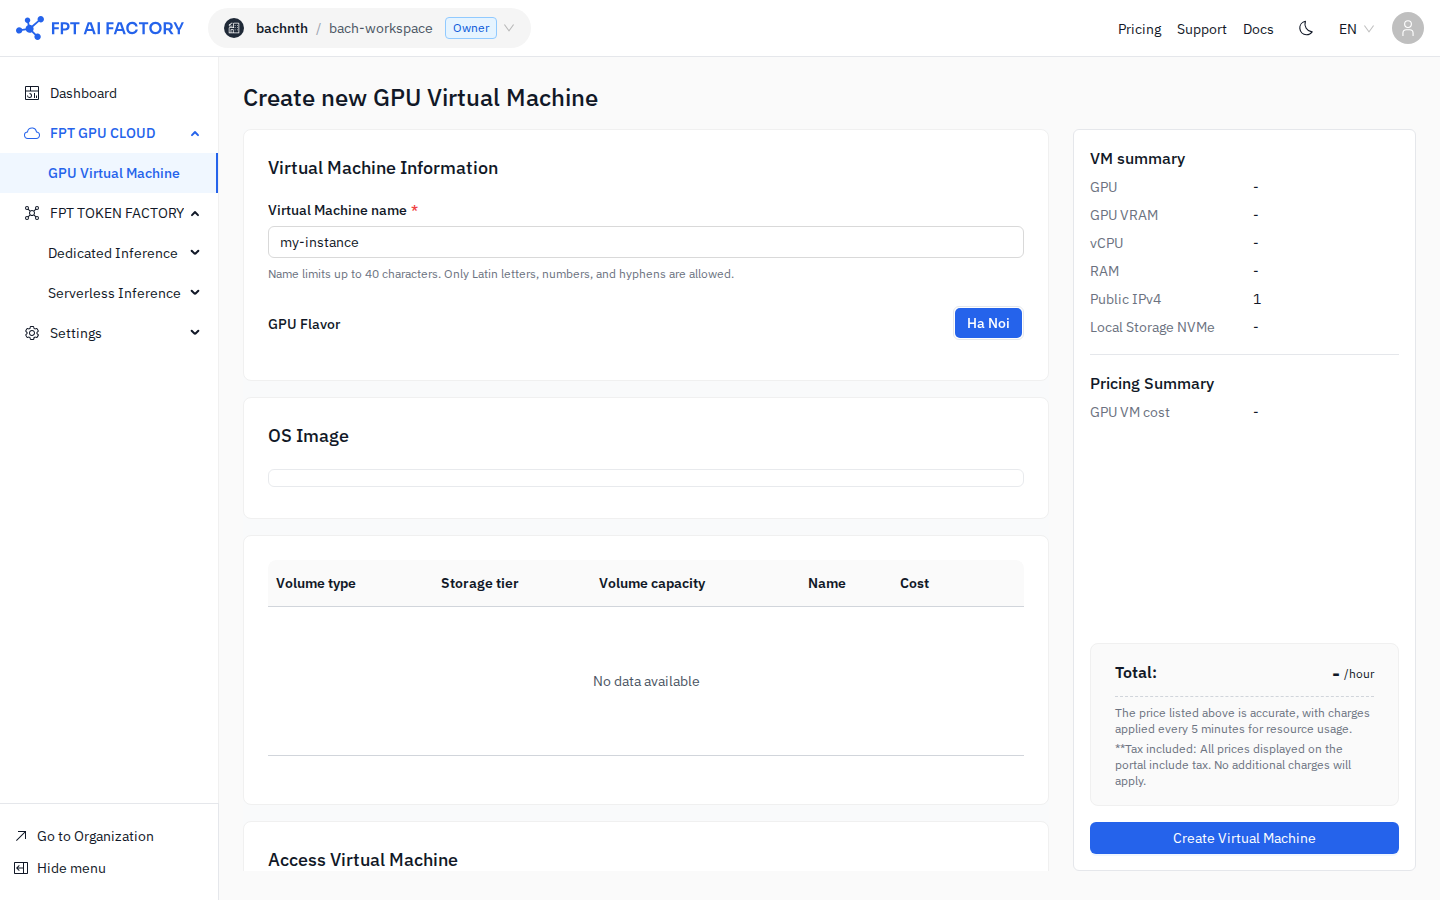
1. Set the VM information
- VM Name: Enter a unique name for your GPU virtual machine.
- Flavor: Select a VM configuration that meets your needs, including vCPU, RAM, GPU count, and GPU model. The available GPU models depend on the region.
- OS Image: Select an FPT public image (Ubuntu-based). See OS Images for the full list and the drivers included in each image.
2. Choose a storage type
You must choose a storage type before you can create the VM. The flavor cards and the storage section update based on your choice.
Local NVMe
High-speed local NVMe disk that is bundled with your GPU flavor.
- The size is fixed by the flavor and comes at no extra charge.
- Data on the NVMe disk is retained while the VM is stopped, but you continue to be charged while it is stopped.
- Best for high-performance training workloads. It is not suitable for long-term data retention.
Block Storage
Persistent block storage for long-term data that exists independently of the VM.
When you select Block Storage, the storage section shows a volume table with a Boot volume already added.
Boot volume
- A boot volume is always present and cannot be removed. It is the boot disk of the VM.
- The minimum size is 50 GB and the maximum is 3,000 GB. You can increase the size but not set it below 50 GB.
- The Storage tier defaults to Standard. You can choose Premium.
- The volume name is generated automatically in the format
boot-<4 random characters>and cannot be edited.
Data volume (optional)
- You can add one Data volume while creating the VM. To add more, use the Storage tab after the VM is created.
- The minimum size is 10 GB and the maximum is 3,000 GB.
- The volume name is generated automatically in the format
volume-<4 random characters>. Names must be unique within the Workspace, use only letters, numbers, and hyphens, and be at most 50 characters. - A data volume exists independently of the VM lifecycle until you delete it.
When creating a VM with Block Storage, you can add only one data volume. The Add volume button is disabled with the tooltip: "Only one volume can be added. You can add more after the VM is created successfully."
Free storage allowance
The first 50 GB × the number of GPUs in the selected flavor is free, and applies only to the Block Storage – Standard tier. For example, a 2× H100 flavor includes 100 GB of free storage.
- Any capacity above the free allowance is charged.
- Storage on the Premium tier, or any other non-Standard tier, is charged in full and is not eligible for the free allowance.
- The pricing summary updates in real time as you change the volume size and tier.
3. Configure access
- Auto assign static IP: A static public IP address is allocated from the IPv4 public range of FPT AI Factory. If you stop a VM that has a static IP, the address is kept. If you delete the VM, the address is released back to the range.
- Exposed ports: Define the network ports that are accessible on your virtual machine. Enter each port and press Enter to add it. Ports must be between 1 and 65535, with a maximum of 10 ports. The default value is
22for Local NVMe and blank for Block Storage. - Security group: Assign a security group to manage inbound and outbound traffic. See Security Group.
If you use the default security group, all inbound and outbound traffic is allowed for this VM. We recommend updating the rules to restrict access to trusted IPs and the exposed ports only, for example SSH 22, RDP 3389, and HTTP/HTTPS.
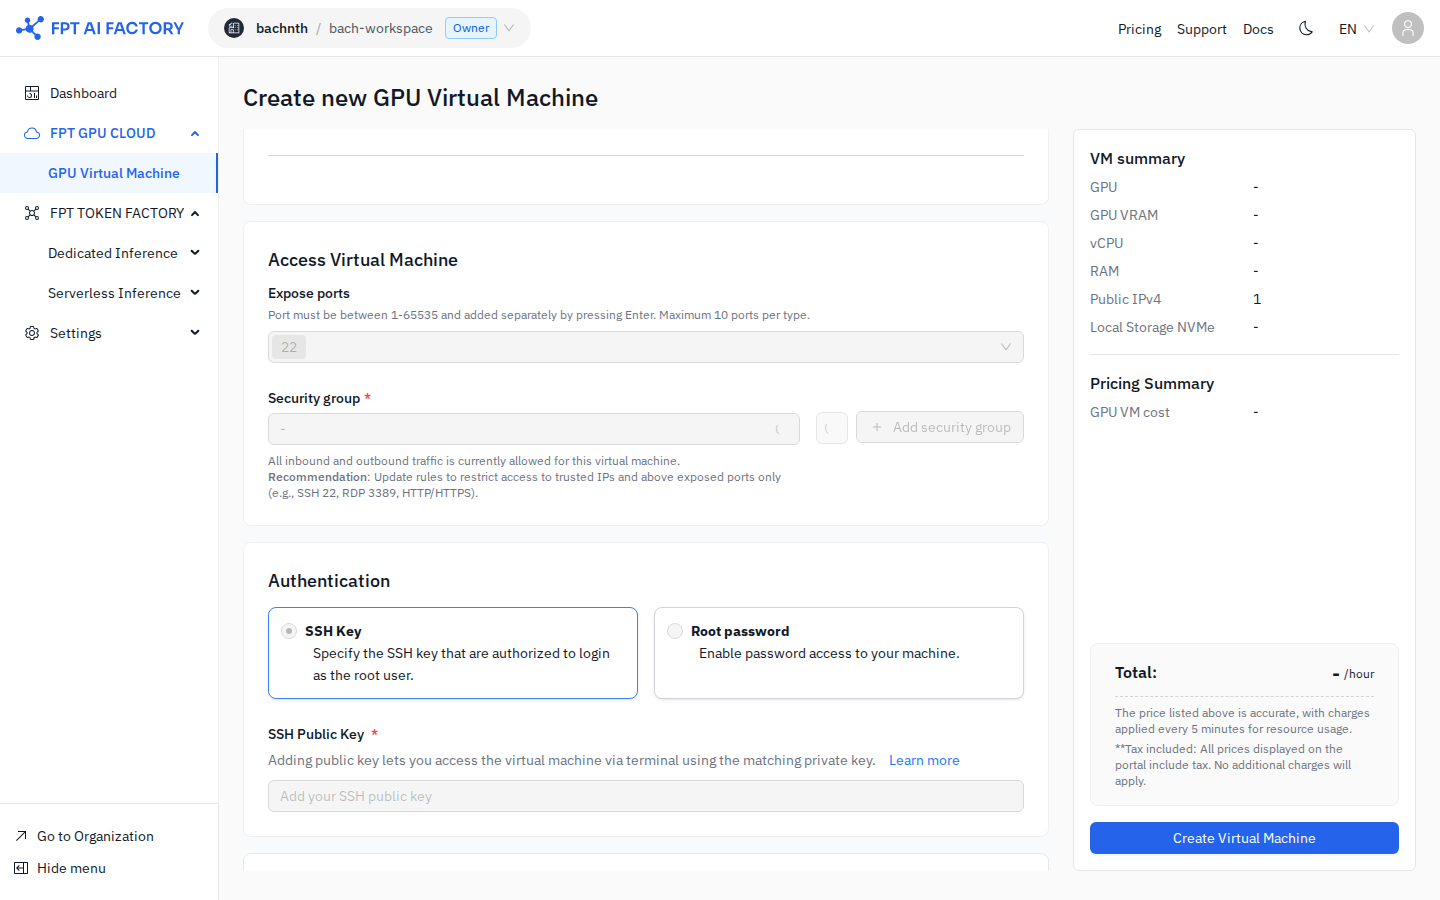
4. Set the authentication method
Choose one of the following authentication methods.
- SSH Key: The system automatically uses your latest SSH key. You can change it if needed.
- Password: Set a password and store it securely for console access.
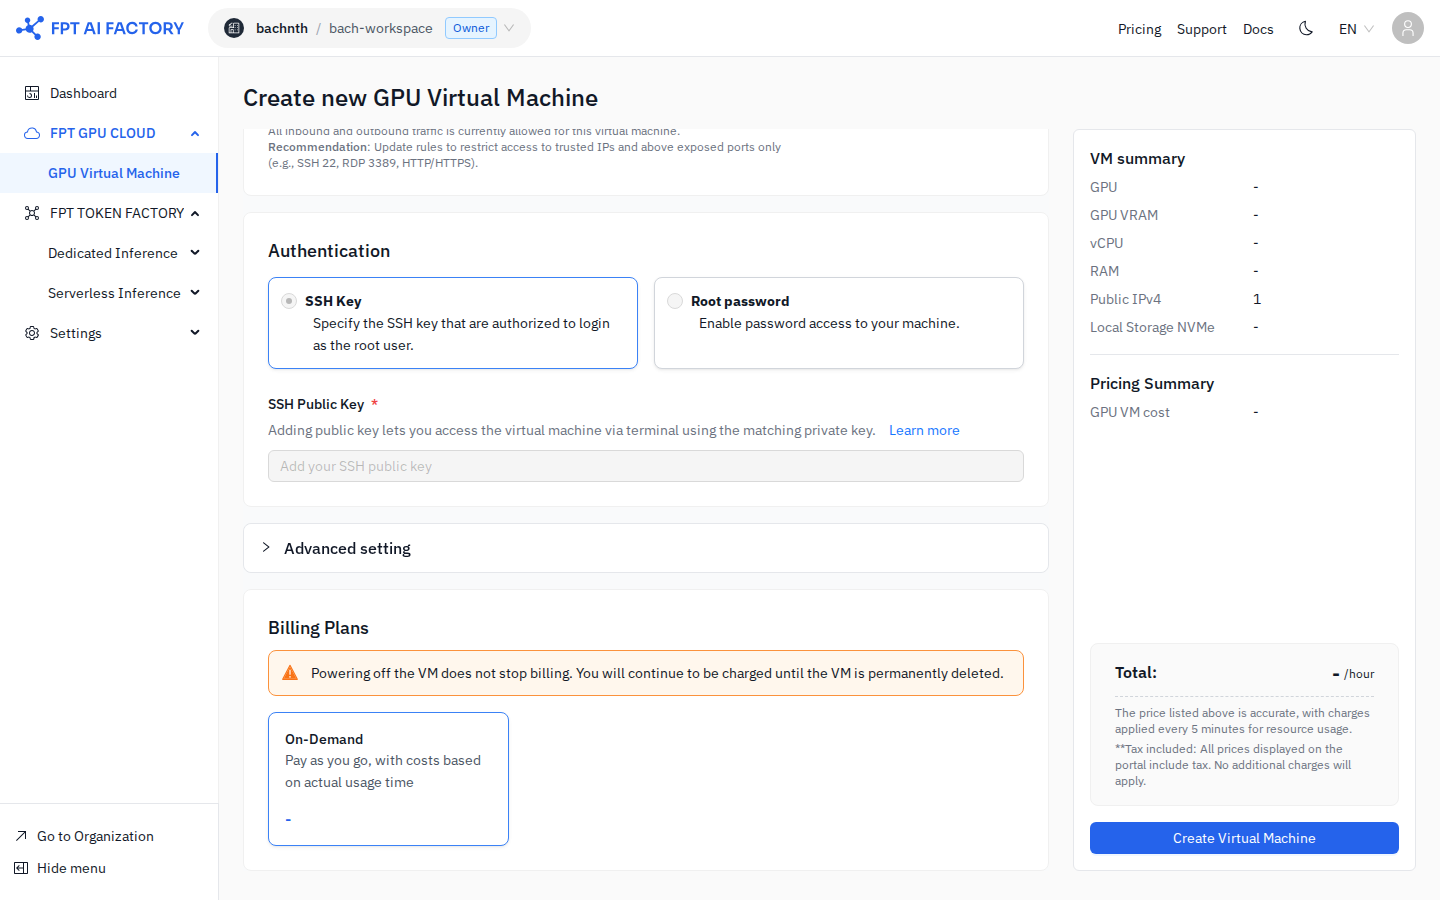
5. Add user data (optional)
The User Data field lets you add a cloud-init script. When the VM starts, cloud-init reads the metadata and automatically configures the system, including users, SSH keys, and network settings.
The following sample script creates a user testcloudinit with the password Abc123, and a second user testcloudinit2 with the password P@ssw0rd!.
#cloud-config
users:
  - name: testcloudinit
    sudo: ALL=(ALL) NOPASSWD:ALL
    lock_passwd: false
    shell: /bin/bash
    passwd: $6$rounds=4096$V6anciWl30$xKbcljqks1gUkMiM80pyKzhvyhn7U1n.jXcGCUfkUlX.rnllUWKUrmDEzekhhhP8aERSylRuC7gfDhJ32Xv0A1
  - name: testcloudinit2
    groups: sudo
    lock_passwd: false
    shell: /bin/bash
    plain_text_passwd: P@ssw0rd!
hostname: testcloudinit
6. Create the VM
Click Create Virtual Machine to deploy and start your GPU VM. Once the VM is created successfully, you can view its details on the VM List page.
"Not enough resources" error. Demand for virtual machines and GPUs in some FPT AI Factory regions can be higher than the available supply. When this happens, you may see a "Not enough resources" error when creating or restarting VMs in the affected region. Try again later or contact FPT Support.
What's next
- Manage GPU VMs — power on, power off, reboot, edit ports, and delete your VM.
- Manage Storage — create and manage Block Storage volumes.