Manage GPU VMs
This page explains how to manage the lifecycle of a GPU virtual machine. You can run these actions from the VM List page or the VM Details page by clicking the Actions icon for the VM.
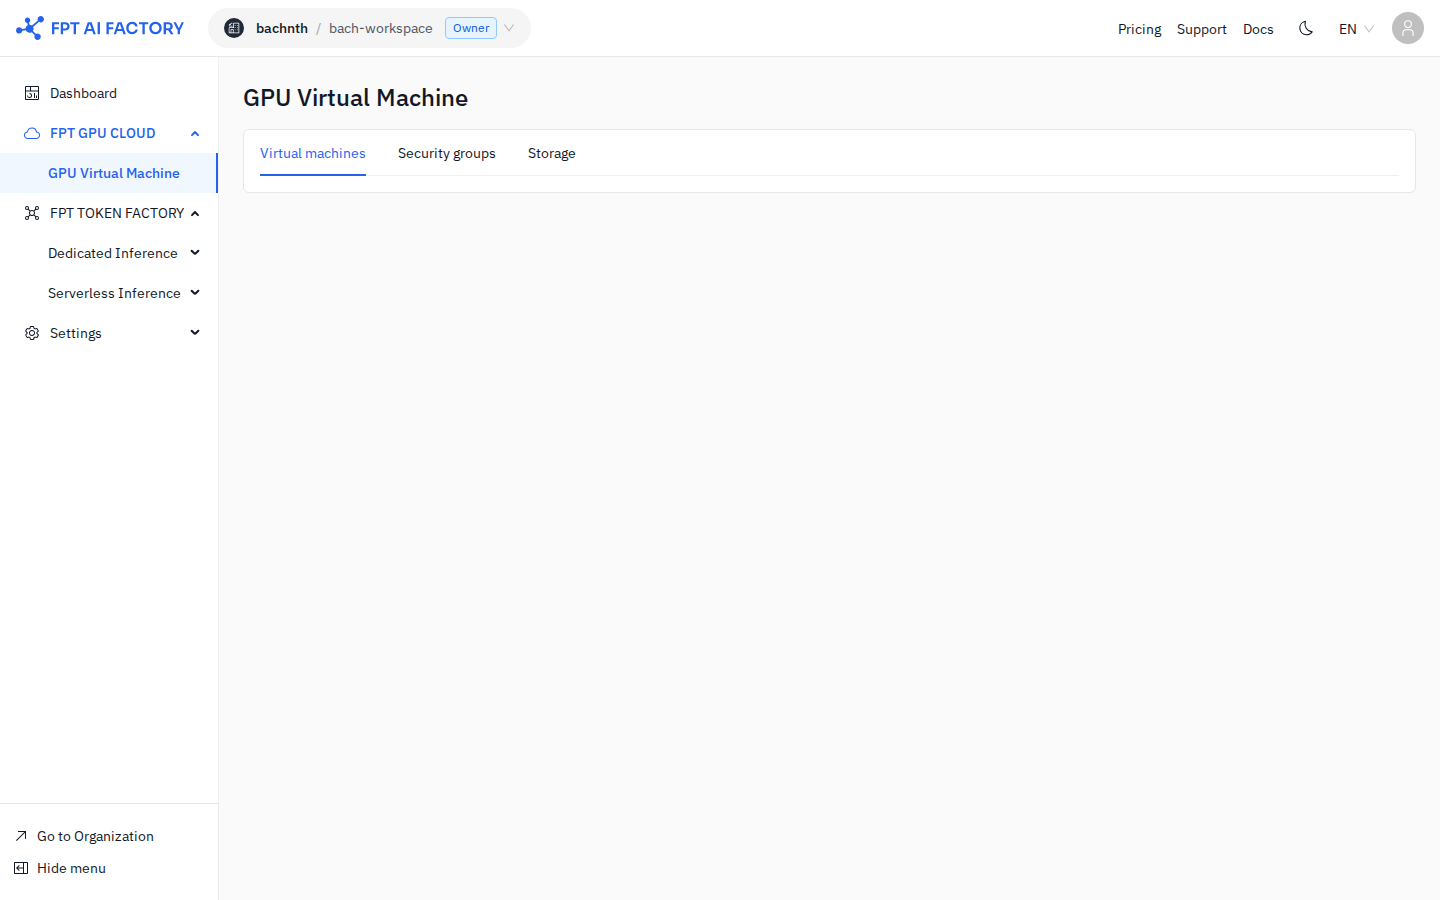
The actions available depend on the VM state. For example, Power off, Reboot, and Edit exposed ports are available when the VM is Running, while Power on is available when the VM is Stopped.
Storage type matters when you stop a VM. A VM that uses Local NVMe keeps its GPU while stopped. A VM that uses Block Storage releases its GPU while stopped and is assigned a GPU again when you power it on, so GPU availability is not guaranteed on restart.
1. Power on a VM
Power on starts a VM that is in the Stopped state.
- Open the VM List page or the VM Details page.
- Locate the VM and click the Actions icon.
- Select Power on.
For a VM that uses Block Storage, a GPU is attached again when you power on. If the region does not have enough free GPU resources for the flavor, the action fails with an error message.
2. Power off a VM
Power off stops a Running VM. While the VM is stopped, you cannot access it or use its resources. The confirmation message differs depending on the storage type.
- Open the VM List page or the VM Details page.
- Locate the VM and click the Actions icon.
- Select Power off and confirm.
Local NVMe VMs. Data on the Local NVMe disk remains intact, but billing continues while the VM is stopped. Delete the VM if you no longer need it to avoid charges.
Block Storage VMs. Data on the Block Storage remains intact. The GPU is detached from the VM and you stop paying for the GPU instance, but billing continues for Block Storage (both Boot and Data volumes). GPU availability is not guaranteed when you power the VM back on.
3. Reboot a VM
Reboot restarts the VM and clears any application sessions running inside it.
- Open the VM List page or the VM Details page.
- Locate the VM and click the Actions icon.
- Select Reboot and confirm.
Rebooting performs a hard reboot, which may interrupt services or cause unsaved data to be lost. Make sure all data is saved and services are shut down properly before you proceed.
4. Edit exposed ports
- Open the VM List page or the VM Details page.
- Locate the VM and click the Actions icon.
- Select Edit Exposed Ports.
- Update the port values as needed. Enter each port and press Enter to add it.
- Click Save to apply the changes.
- Valid port numbers range from 1 to 65535, with a maximum of 10 ports.
- Each port must be unique.
- Port changes may take a few moments to apply. Check the VM Details page to confirm the port status.
- Inbound traffic must be explicitly allowed in the associated security group rules for the exposed ports to be accessible.
5. Delete a VM
- Open the VM List page or the VM Details page.
- Locate the VM and click the Actions icon.
- Select Delete.
- Type
deletein the confirmation field, then click Confirm.
Deleting a VM permanently deletes all data and cannot be undone. Any Block Storage – Data volumes attached to the VM are deleted together with the VM. Back up any important data before you proceed.
VM states
A GPU VM moves through the following states.
| State | When it appears |
|---|---|
| Creating | After you click Create Virtual Machine, while the VM is being provisioned. |
| Running | The VM was created, powered on, or rebooted successfully. |
| Stopped | The VM was powered off successfully. |
| Powering on / Powering off / Rebooting | A transition state while the system processes the action. |
| Error | An action such as create or reboot failed, or a running VM was terminated. |
| Deleting | After you confirm a delete, while the system processes the action. |
After a VM is deleted, the system releases all of its resources, such as CPU, GPU, RAM, disk, and IP, and the VM no longer appears in the portal.
Resize (changing the VM flavor to one with larger resources) is planned for a future release and is not available in this version.
What's next
- Manage Storage — manage the Block Storage volumes used by your VMs.
- Security Group — control inbound and outbound traffic for your VMs.