Invitations
This page covers invitations from both sides: how to invite users to a Workspace, and how to accept an invitation you have received.
Inviting users
The Organization Owner and Workspace Admins can invite users to a Workspace from two places:
- Organization settings → User list → Invite user — use this when you want to add a user to the Organization and assign them to one or more Workspaces at the same time.
- Workspace settings → User list → Invite — use this when you want to add a user directly to a specific Workspace you manage.
In both cases, the invited user joins as a Workspace Member by default. The portal sends them an email with an invitation link. The user appears in the member list with an INVITING status until they accept. You can cancel a pending invitation at any time by clicking the cancel icon next to the user.
Accepting an invitation
From the Invitations page
The Invitations page shows all pending workspace invitations sent to you.
To open it: click Invitations in the left sidebar.
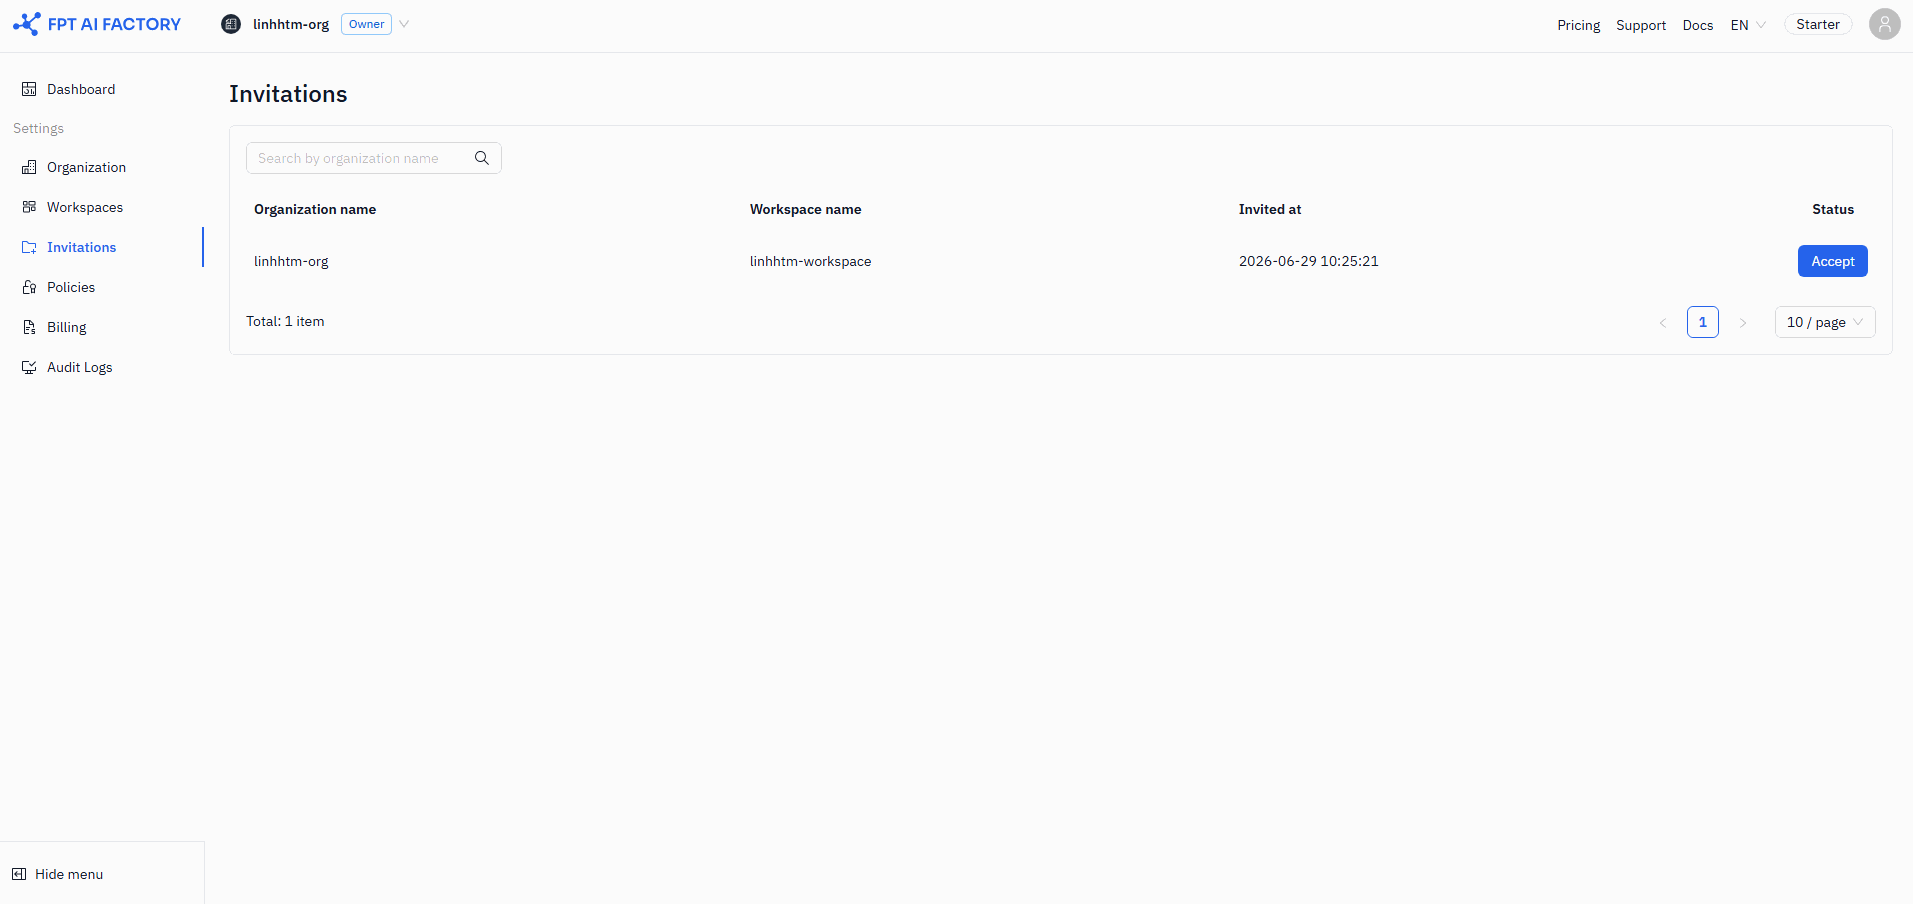
The list shows:
| Column | Description |
|---|---|
| Organization name | The Organization that owns the Workspace |
| Workspace name | The Workspace you are being invited to join |
| Invited at | Date and time the invitation was sent |
| Actions | Accept for pending invitations; Access for already-accepted ones |
Use the search box to filter by organization name. The list is sorted by most recent first.
To accept:
- Find the invitation in the list and click Accept.
- A confirmation dialog shows the Organization name, Workspace name, and your role.
- Click Accept to confirm — you are added to the Workspace as a Member and redirected to the Workspace Dashboard.
From the invitation email
Clicking the link in the invitation email automatically accepts the invitation and redirects you to the Workspace Dashboard — no manual steps needed.
If the link shows an "Invitation invalid or expired" screen, the invitation has either expired or already been used. Contact the person who invited you to send a new one.
Invitations expire after 24 hours. Accepting an invitation is irreversible — only a Workspace Admin or Organization Owner can change your role afterward.
What's next
- Organization — manage Organization-level members.
- Workspaces — manage Workspace-level members and services.
- Overview — roles and what each role can do.