Guide: Manage ISO Images
This guide describes how to upload and manage ISO Images — bootable installation files used to install an operating system from scratch on an Instance.
Before You Begin
- The file must be in .ISO format.
- Ensure you have a stable network connection throughout the upload process.
Upload an ISO Image
-
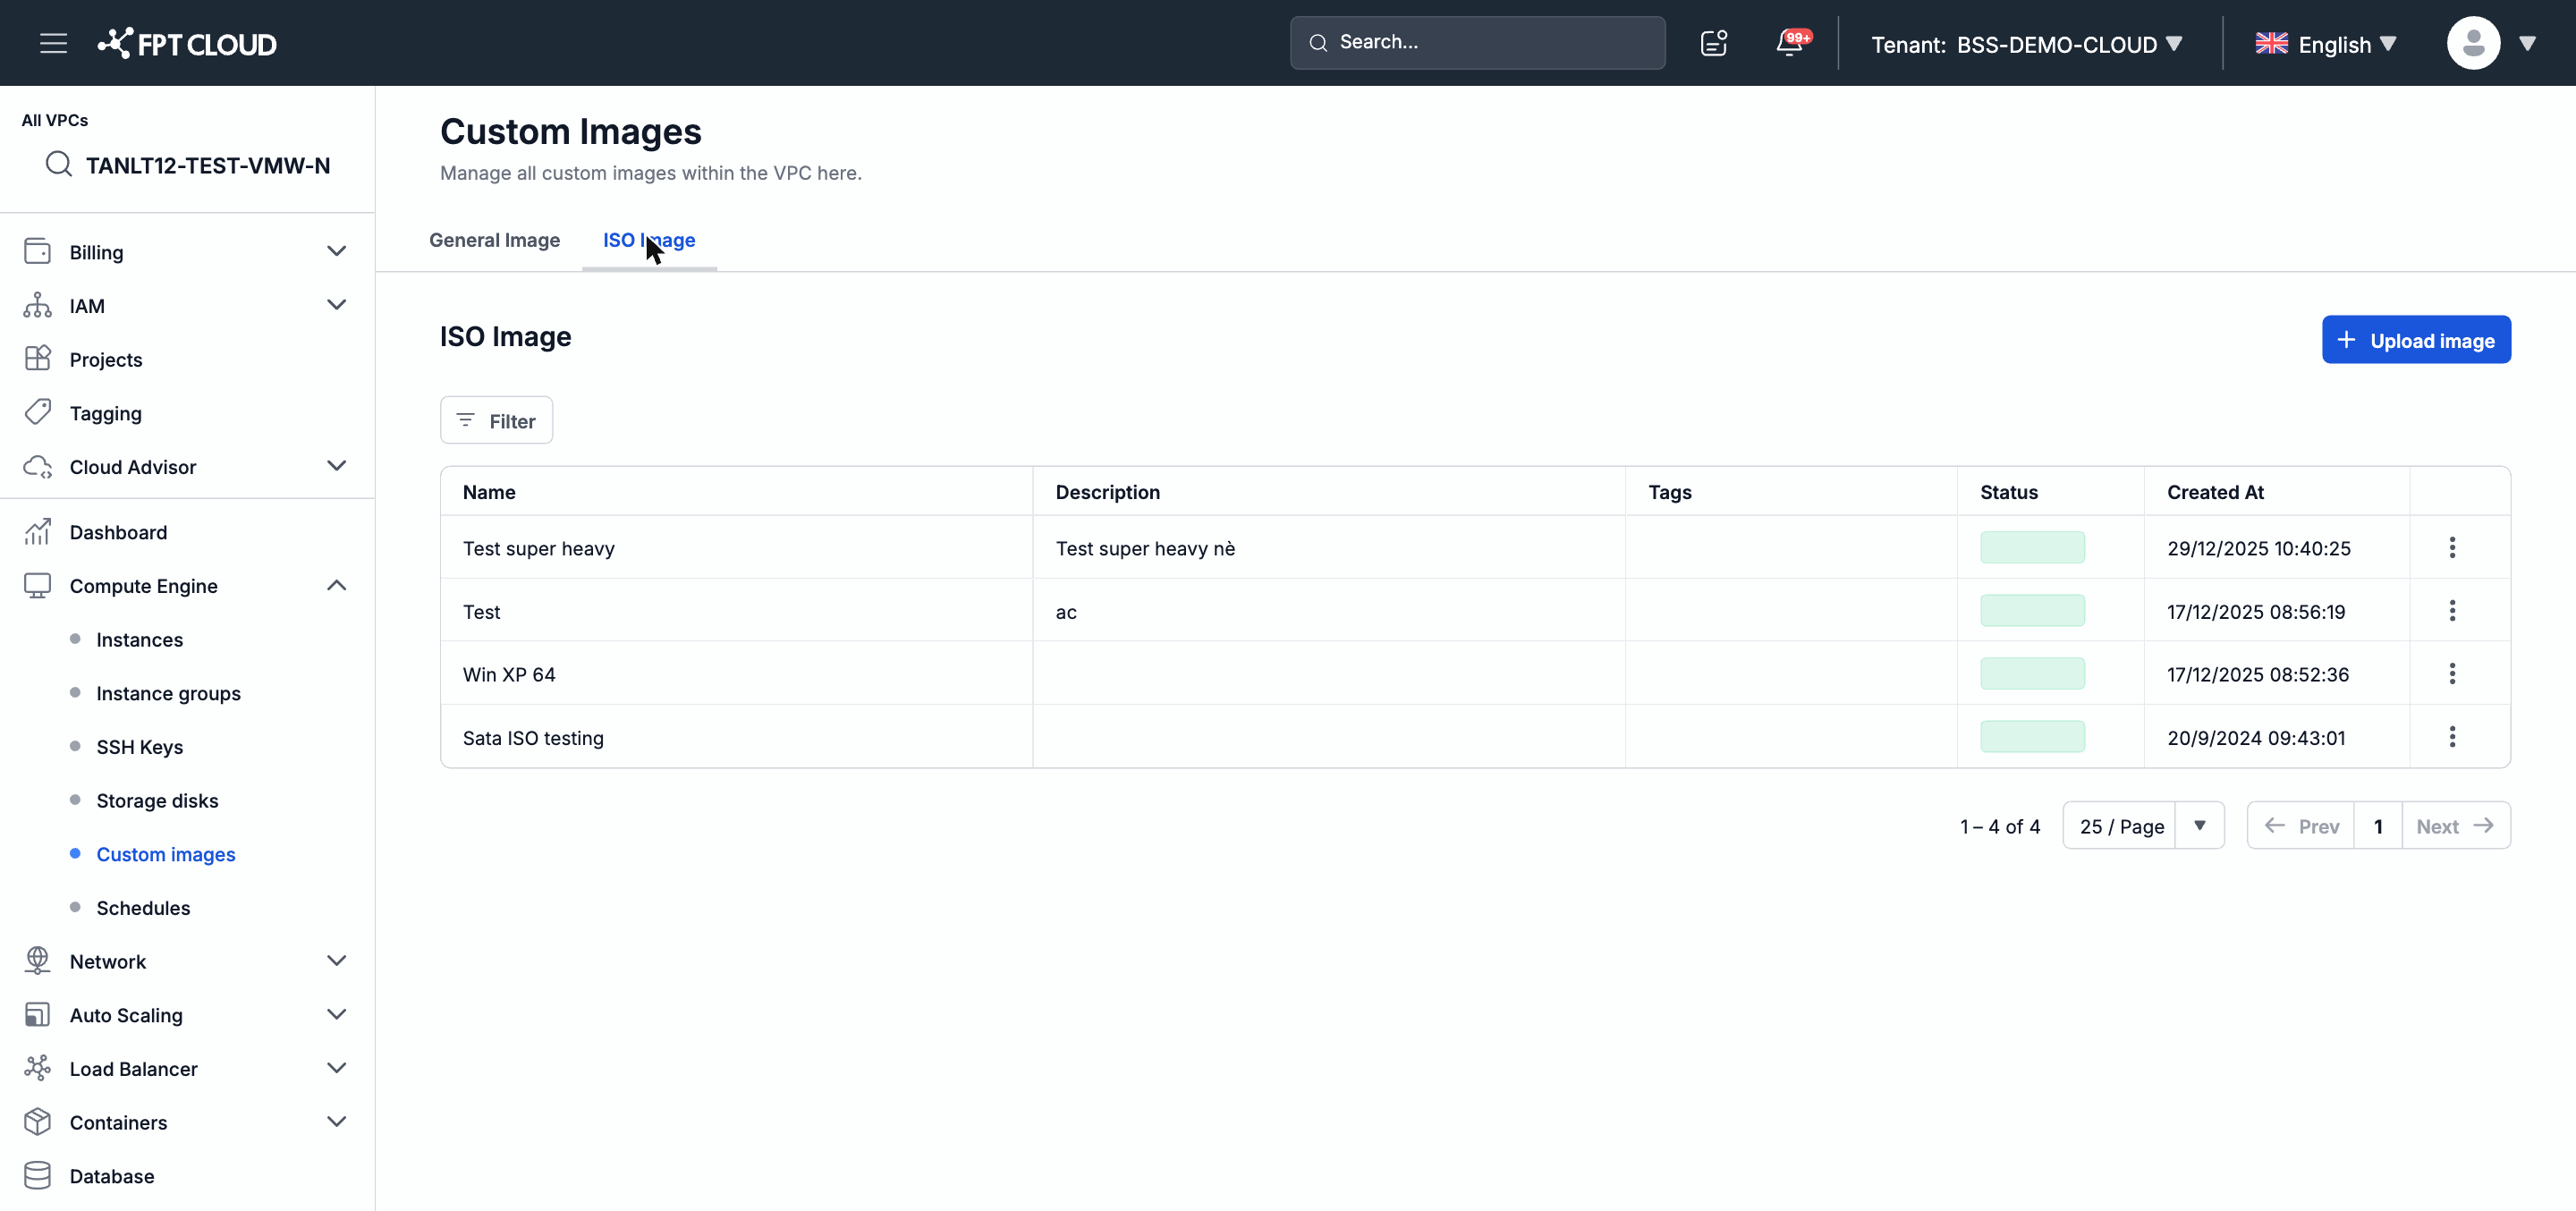
In the left navigation bar, select Compute Engine → Custom images.
-
Select the ISO Image tab.
-
Click the Upload button in the upper-right corner.
-
In the form that appears, select the
.ISOfile from your computer. -
Enter a Name for the ISO (required).
-
Click Confirm to start the upload.
-
The ISO appears in the list with Uploading status and changes to Active when complete.
Note: The upload progress is displayed directly in the list. Do not refresh the page to avoid interrupting the upload.
View the ISO Image List
-
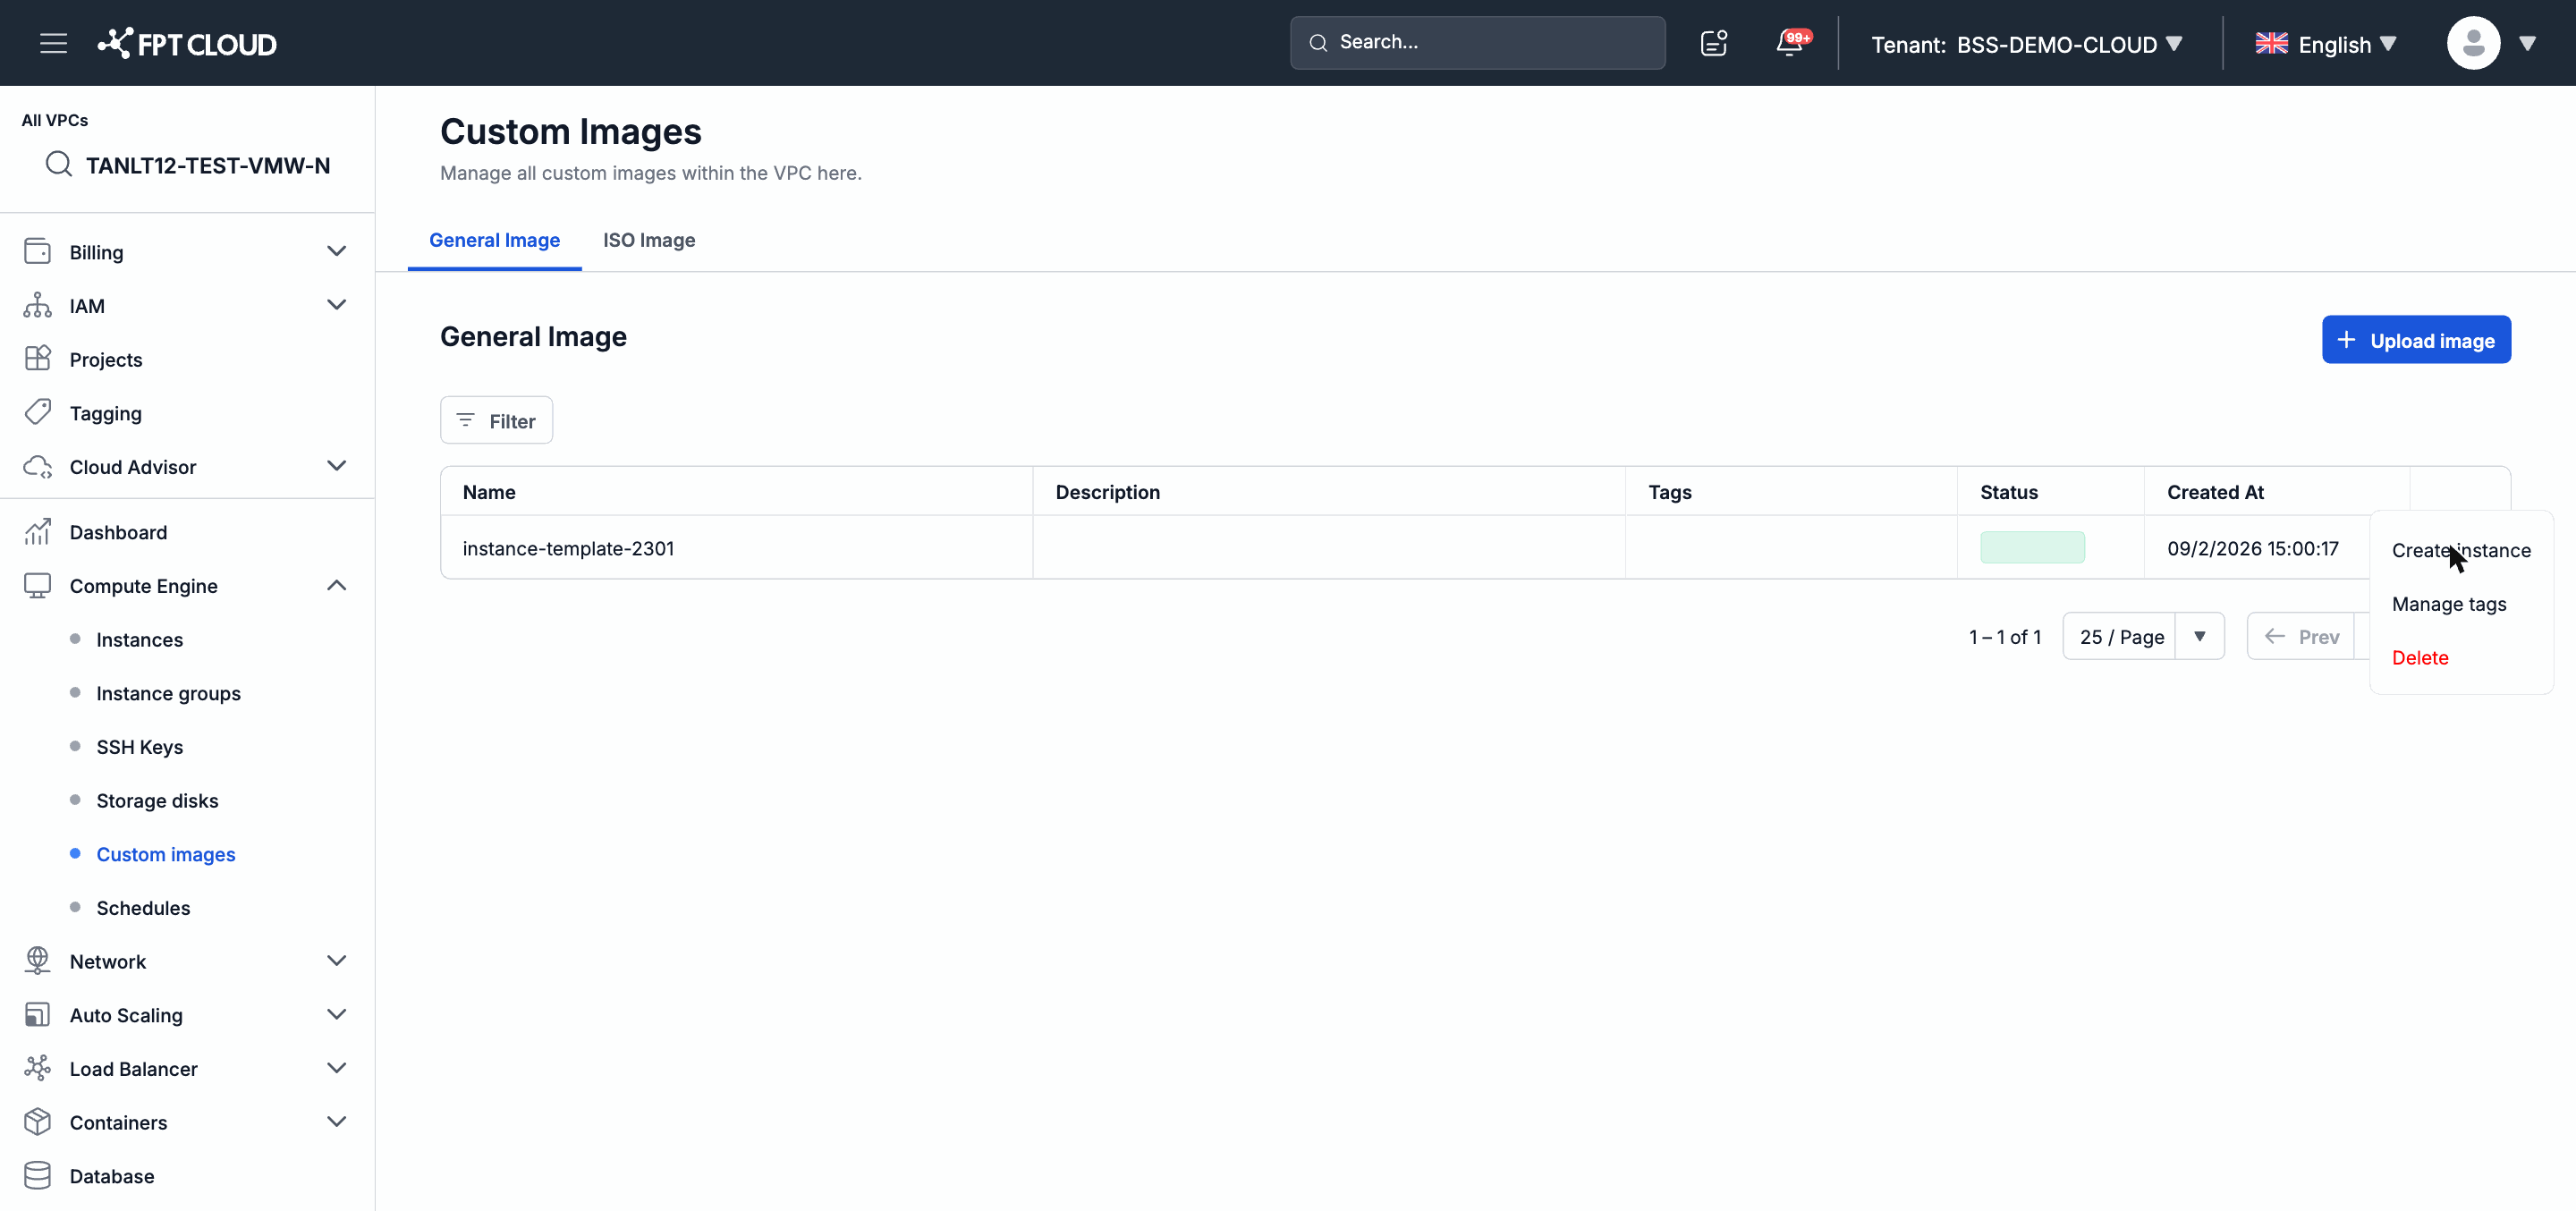
Select the ISO Image tab on the Custom images page.
-
The list displays each ISO's name, status, and available actions.
Use an ISO Image When Creating an Instance
Once the ISO is in Active status, you can select it as the boot source when creating a new Instance (depending on the VPC configuration and the Instance type supporting ISO boot).
Important: Installing an OS from an ISO requires console access (VNC/Serial) to the Instance. Make sure you are familiar with the installation process for the corresponding operating system before proceeding.