Guide: Upload a General Image
This guide describes how to upload a custom operating system image (in OVA or OVF format) for use when creating an Instance.
Before You Begin
- The image file must be in .OVA or .OVF format.
- Ensure you have a stable network connection — image files are typically large.
- You are in a Project that belongs to a Specific VPC or a General VPC.
Steps
-
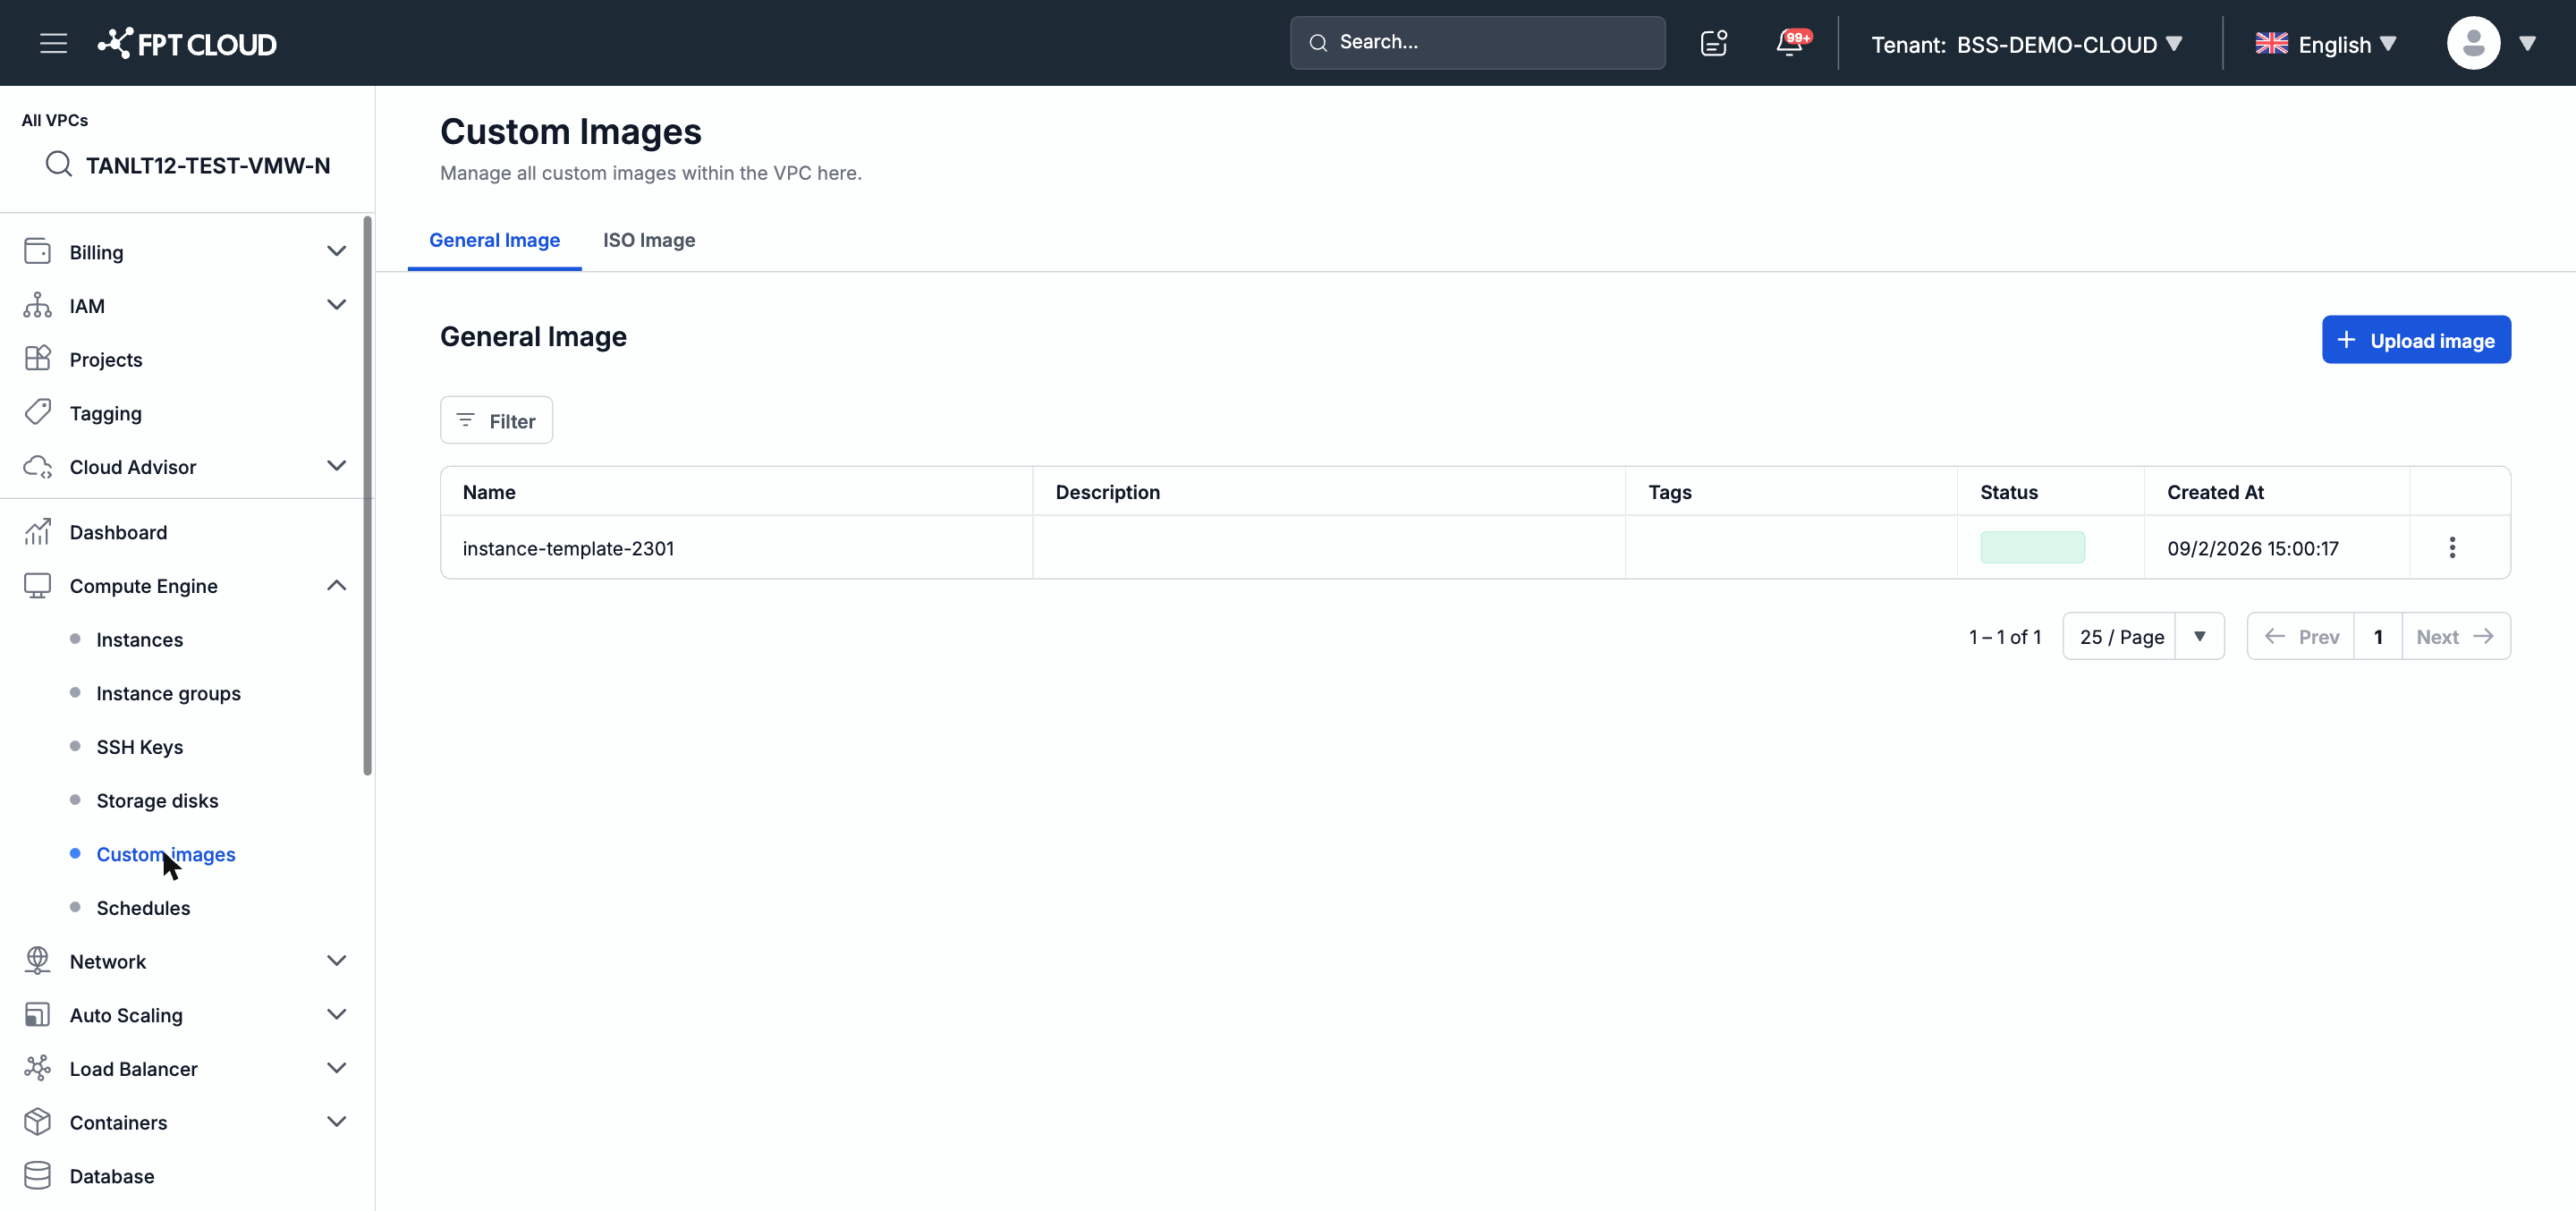
In the left navigation bar, select Compute Engine → Custom images.
-
Ensure the General Image tab is selected (the default tab).
-
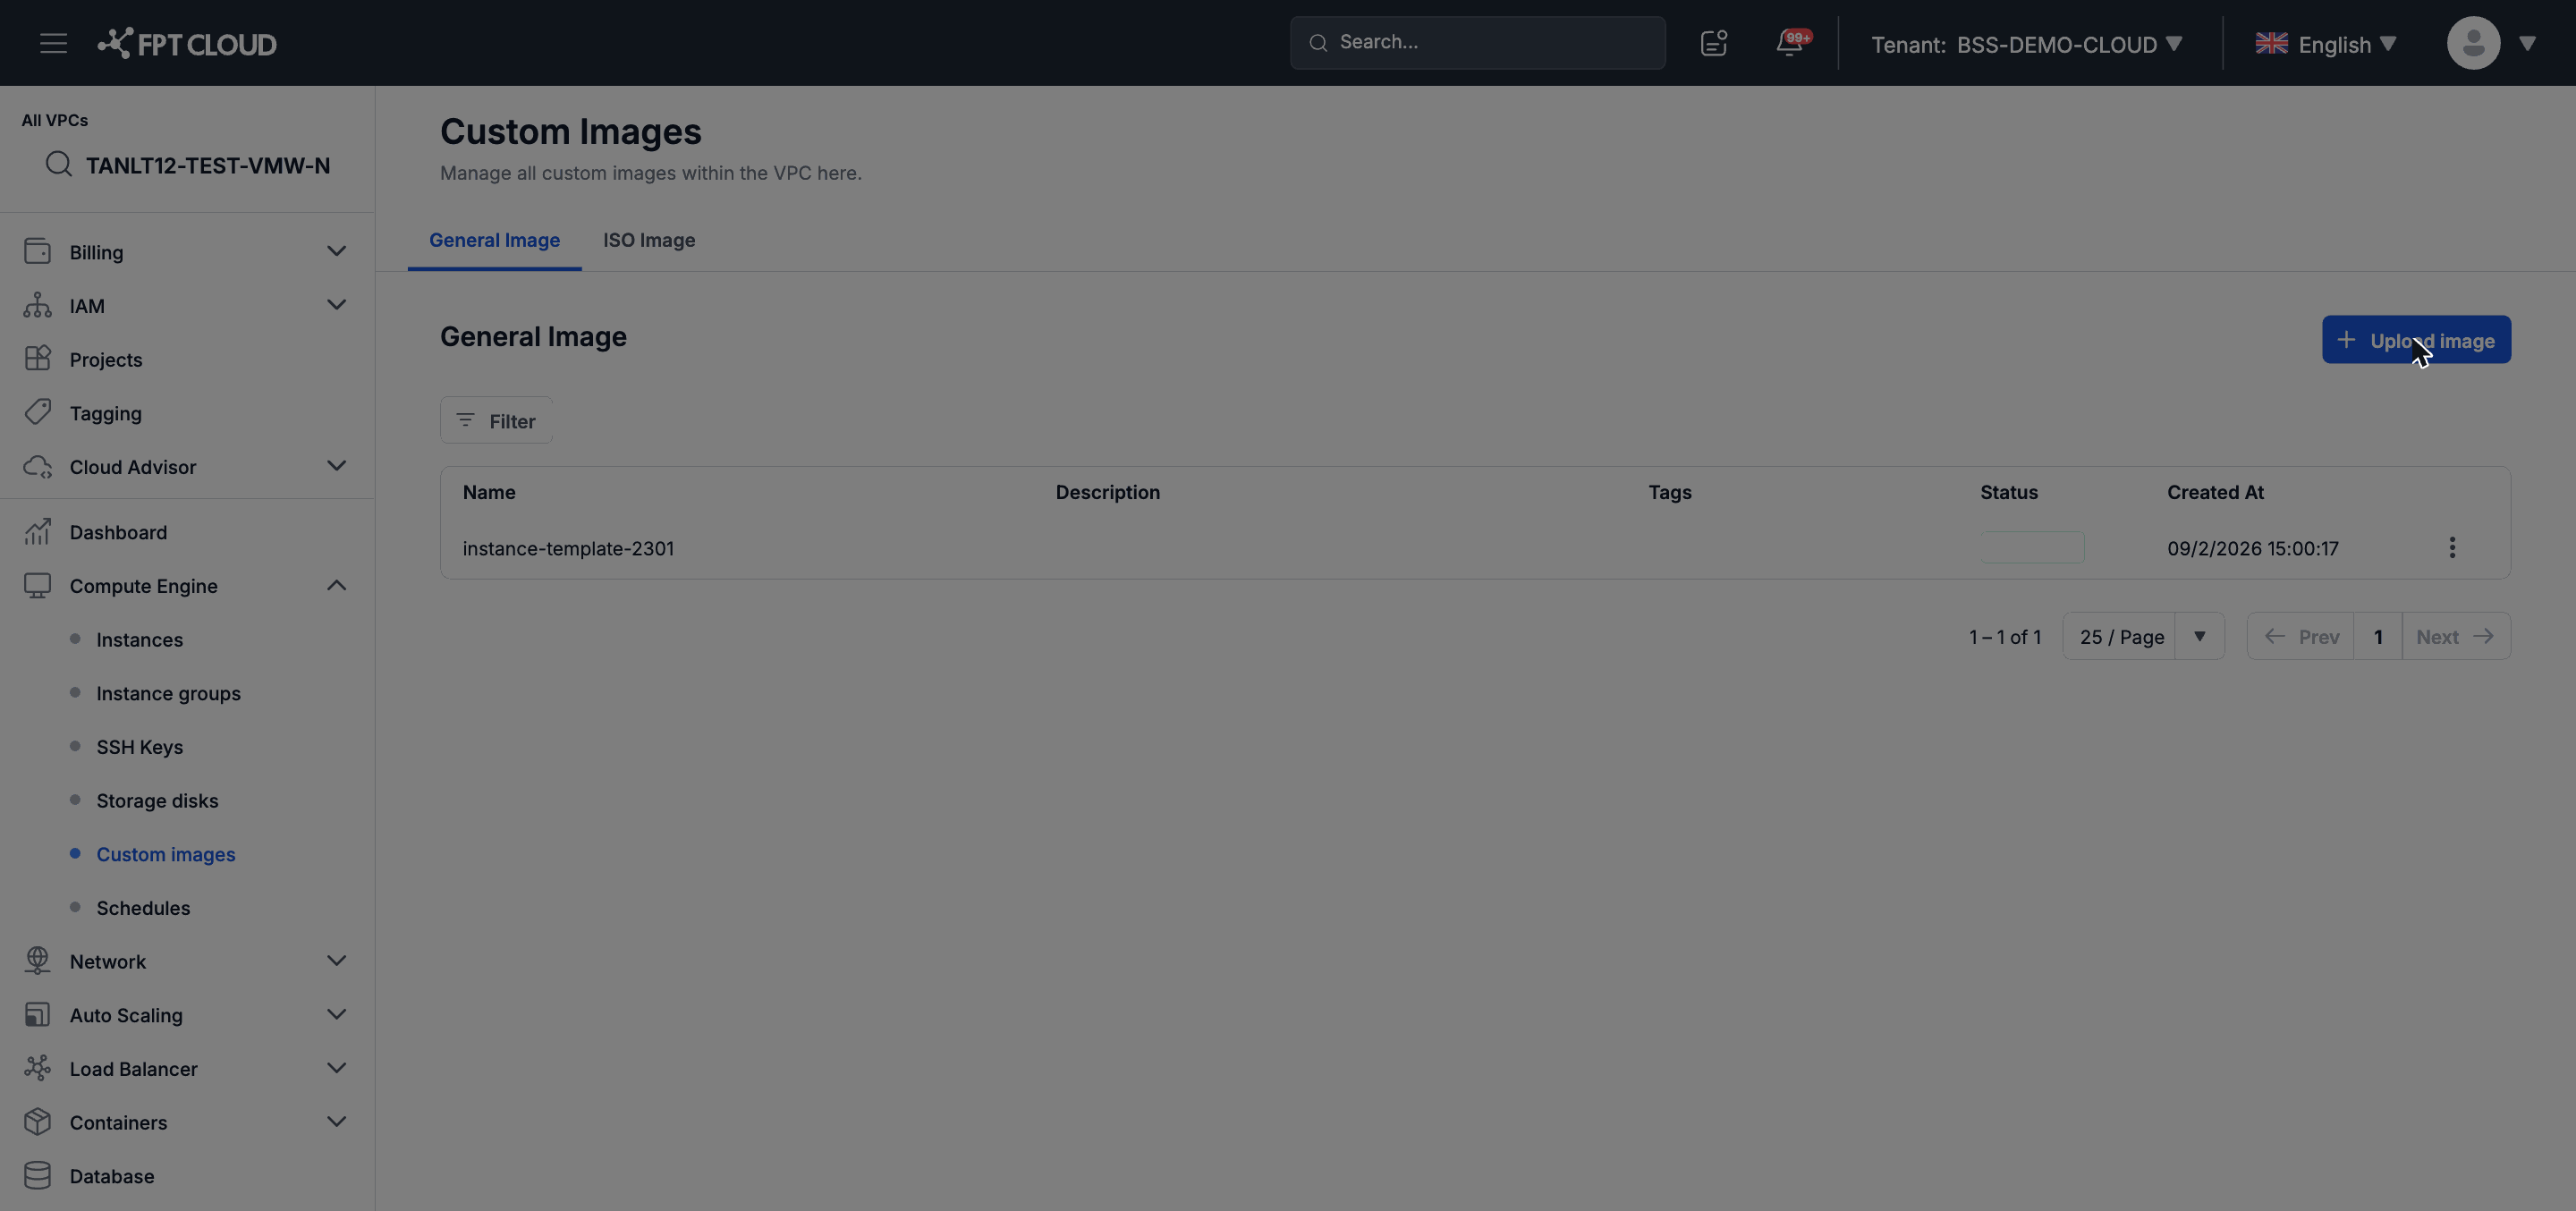
Click the Upload button in the upper-right corner.
-
Fill in the form:
- File — click to select a file or drag and drop a
.OVA/.OVFfile into the upload area. - Name — enter an identifier name for the image (required).
- Description — a short description of the image (optional).
- Add tag — enter tags to categorize the image (optional; multiple tags can be added).
- File — click to select a file or drag and drop a
-
Click Confirm to start the upload.
-
The image appears in the list with Uploading status while the upload is in progress, and changes to Active when complete.
Note: Do not close the browser tab during the upload — doing so may interrupt the upload process.
Note: Once the image is in Active status, you can select this image as the source when creating a new Instance from Compute Engine → Instances.