Manage Instance Groups
View the Instance Group List
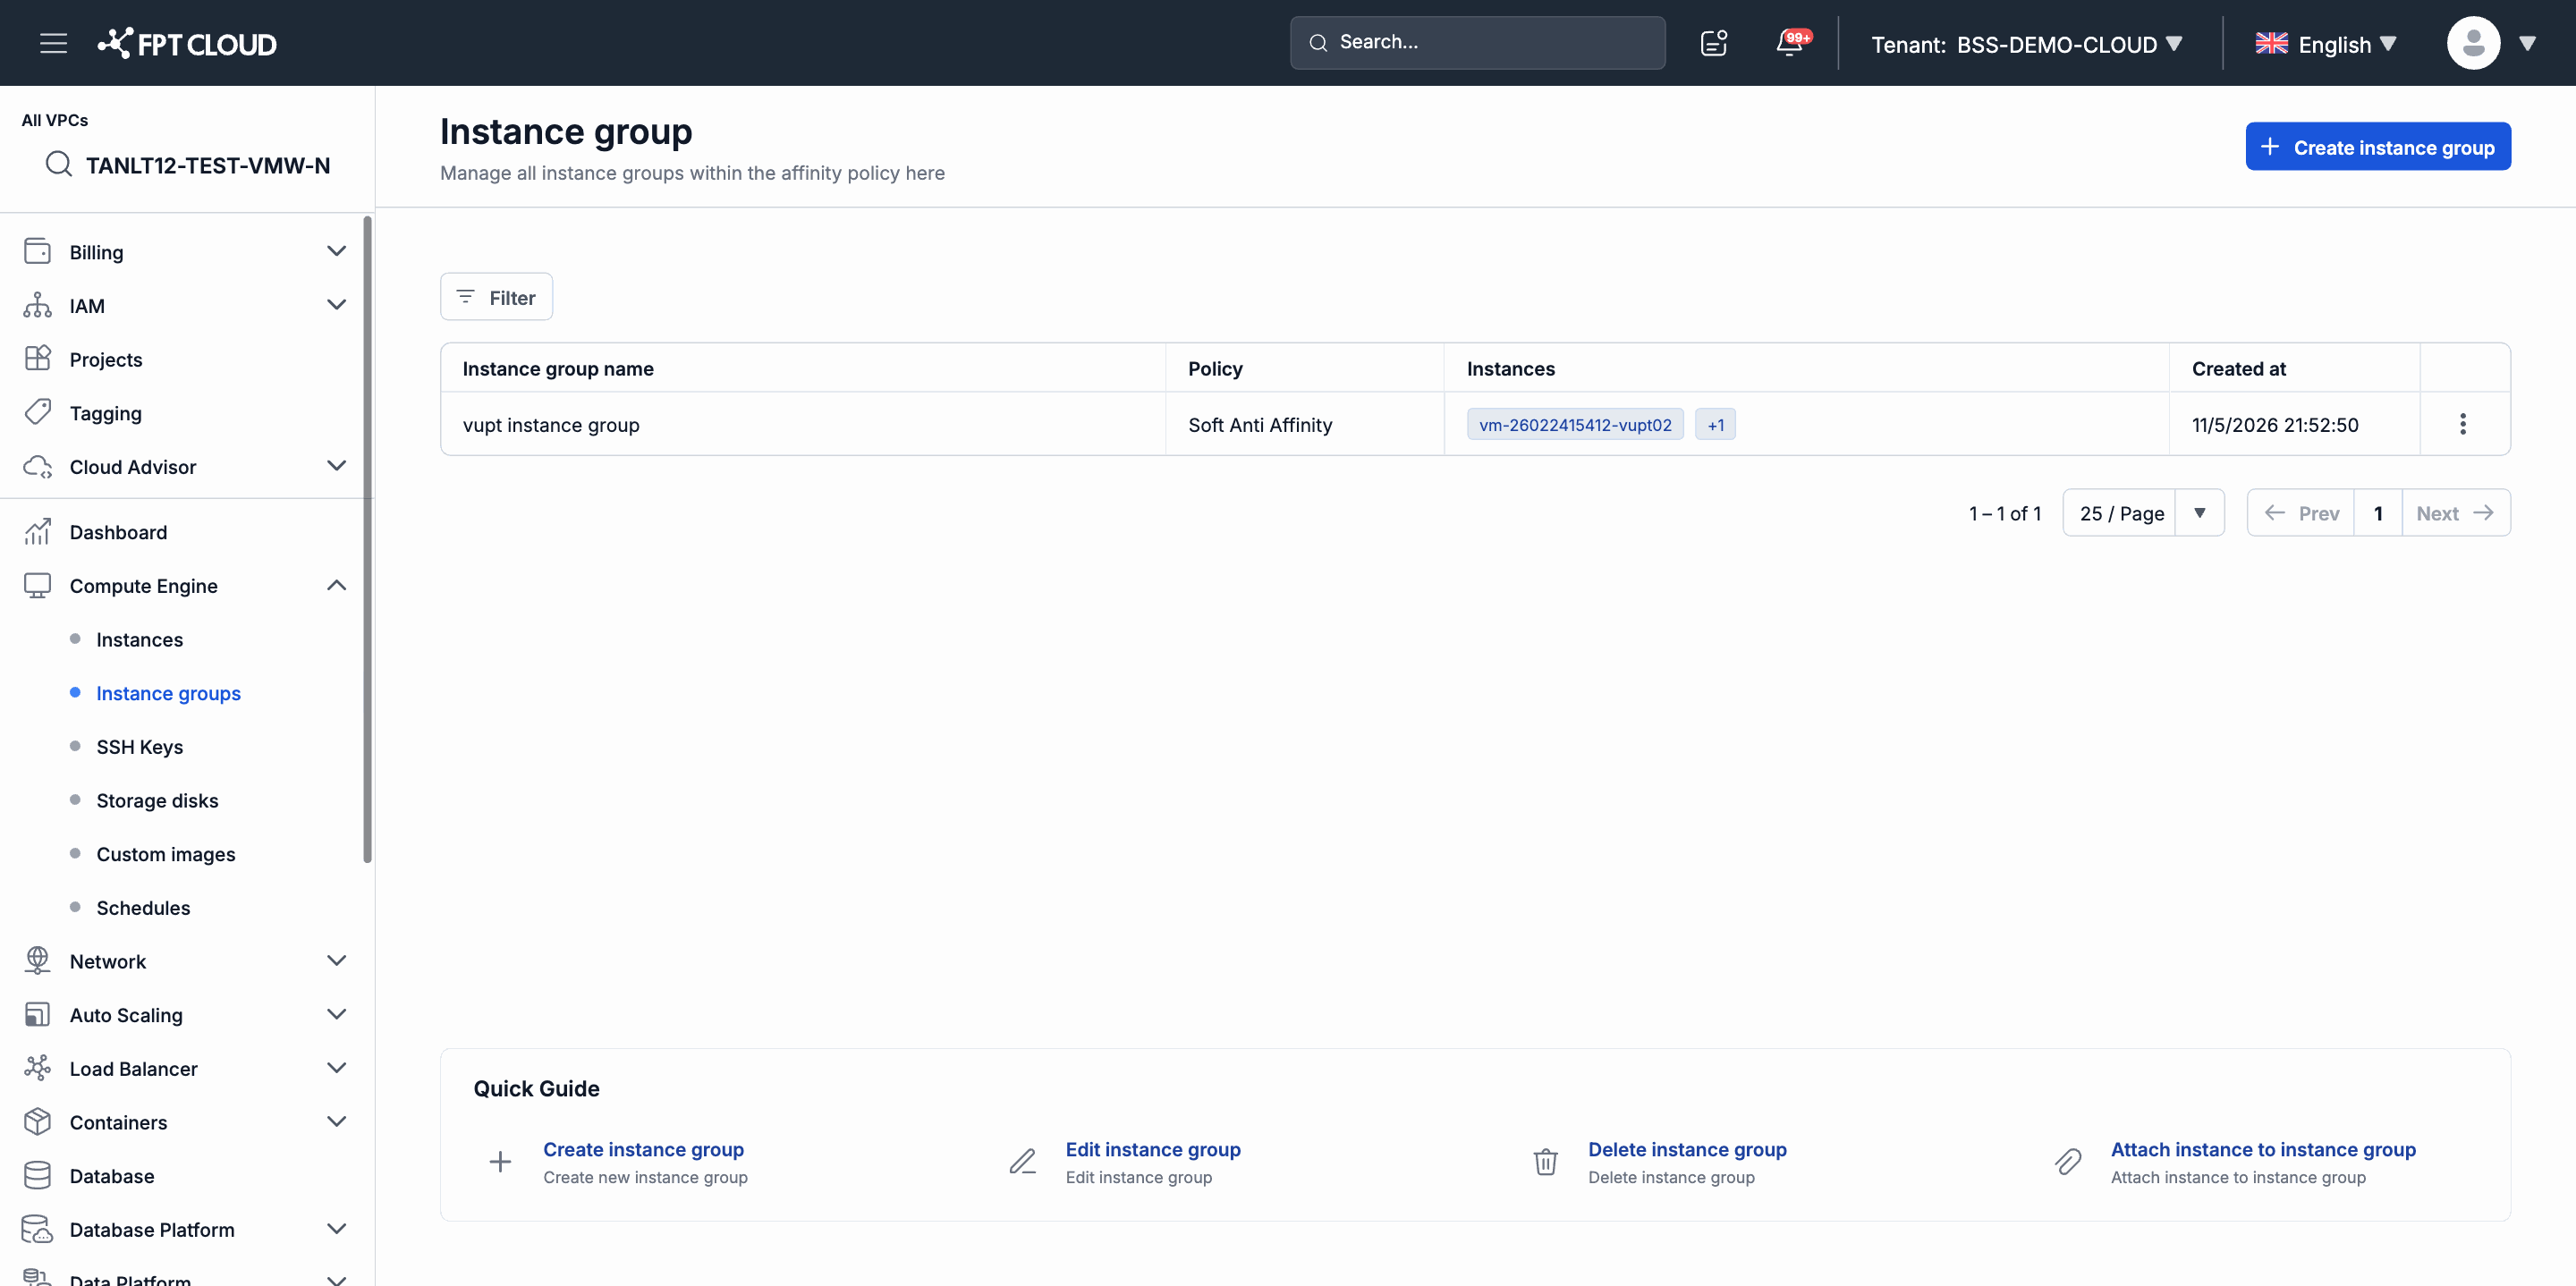
From the sidebar, select Compute Engine → Instance groups.
The list page displays all groups in the current VPC, including the group name, Affinity policy, the list of Instances in the group, and the creation time.
Attach an Instance to a Group
Step 1. On the row of the group you want to work with, click the action menu icon (⋮).
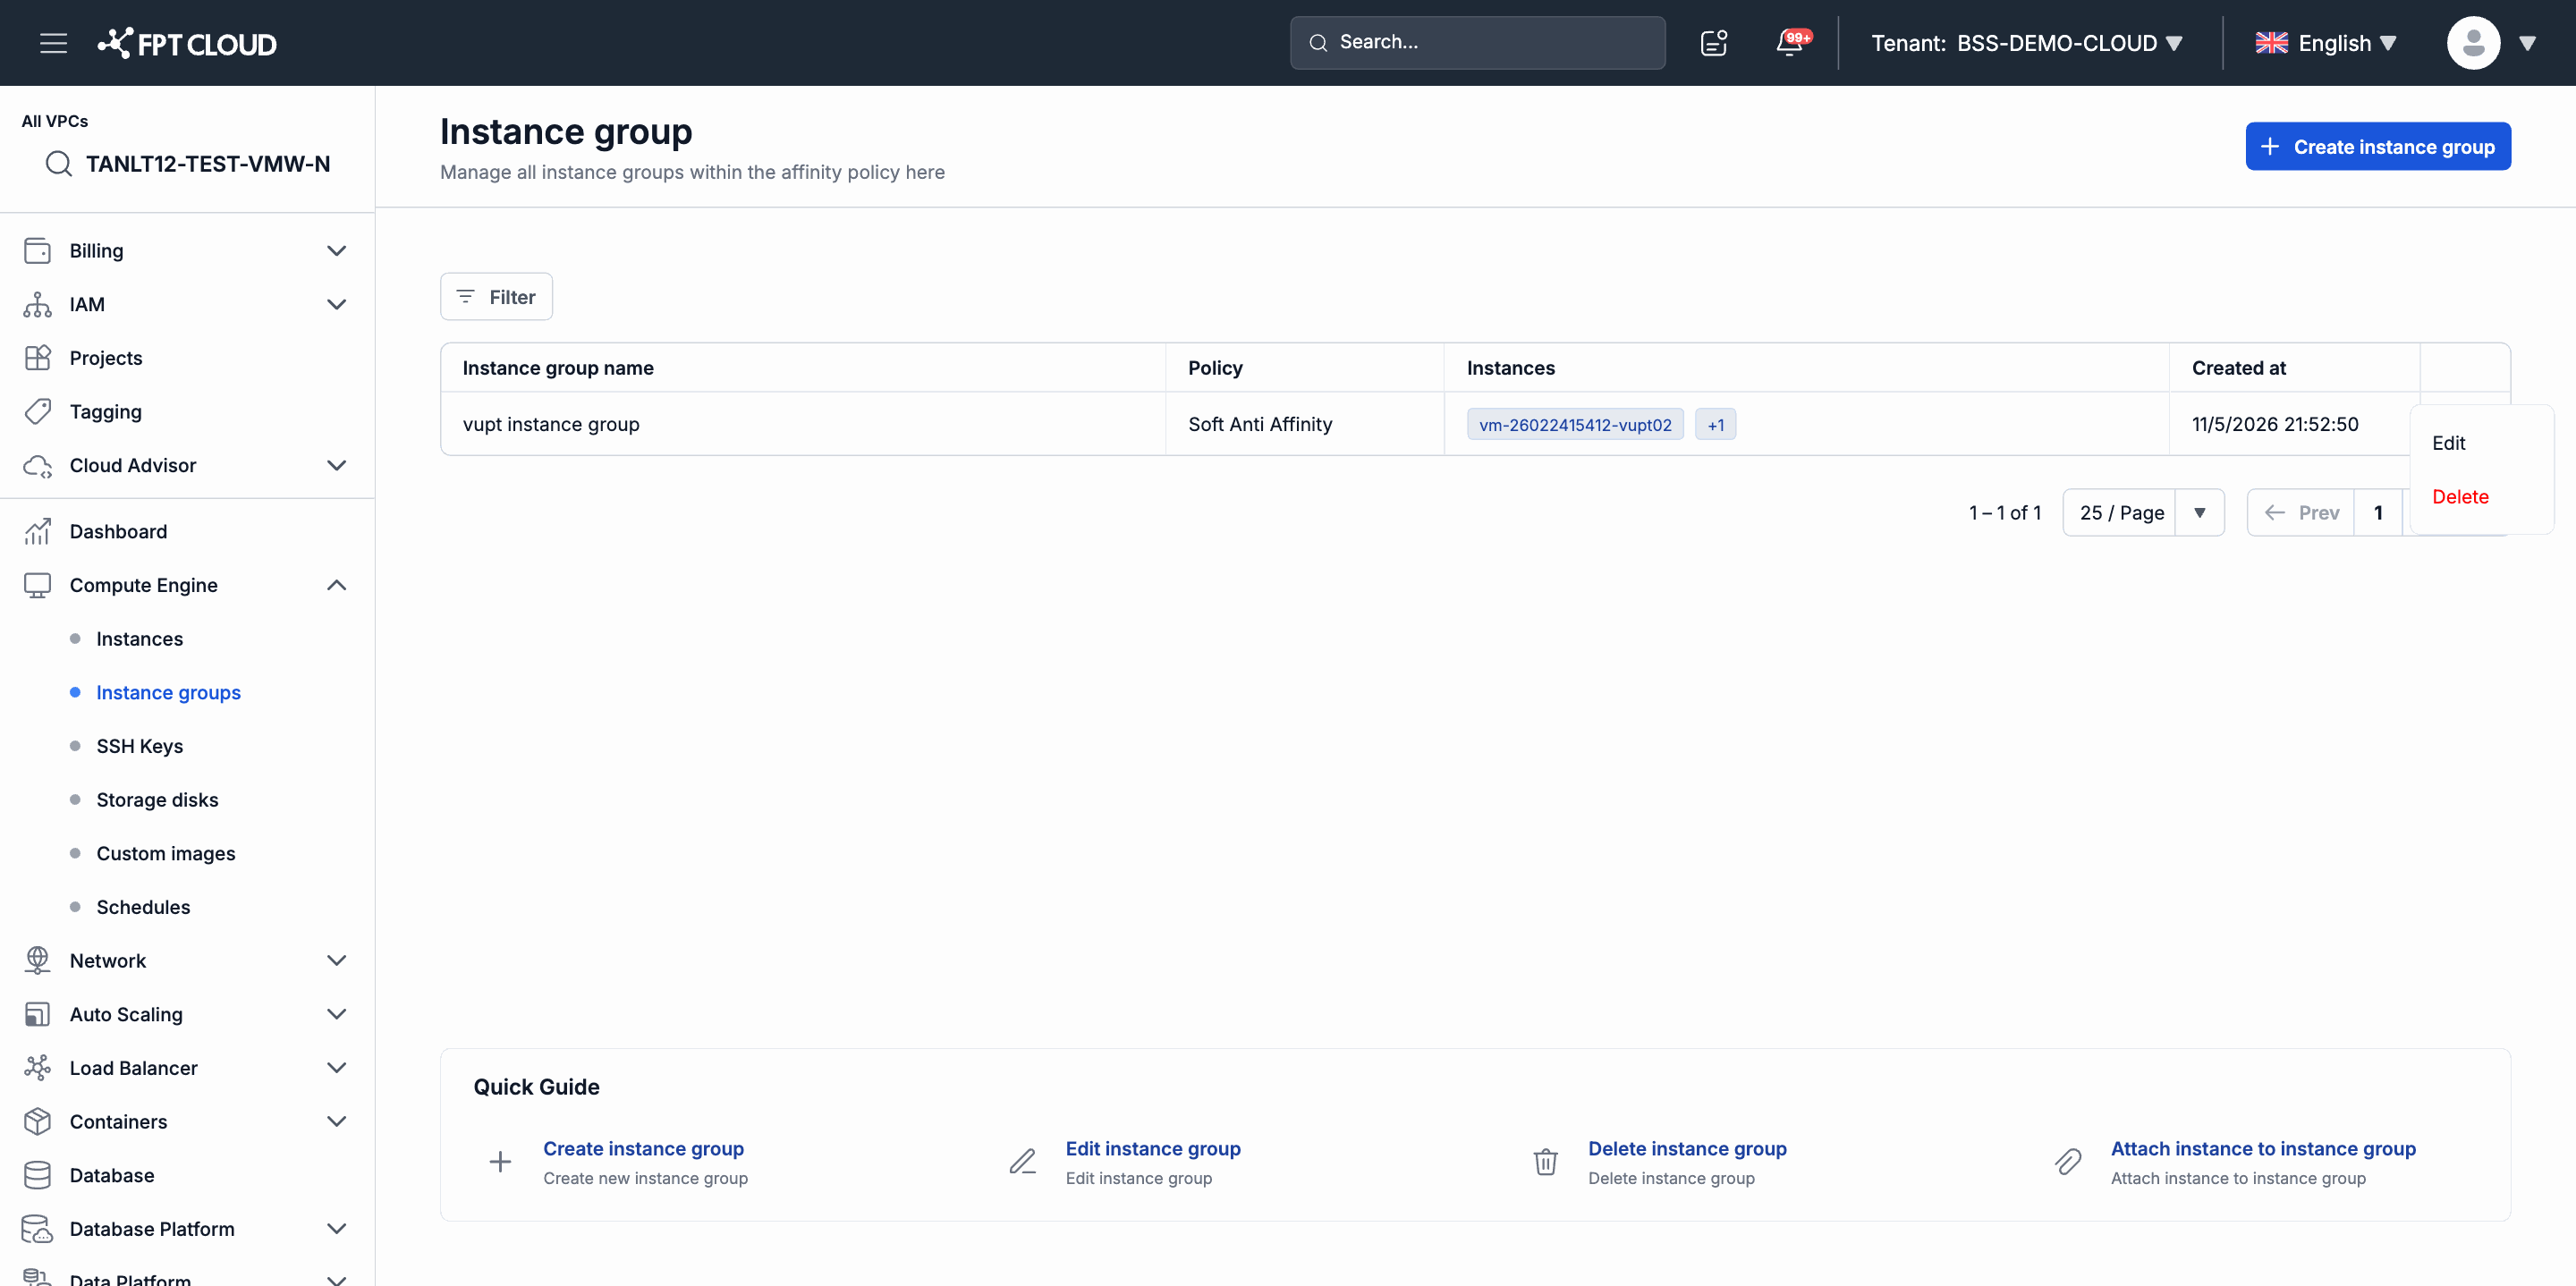
Step 2. Select Attach instance to instance group.
Step 3. In the list, select the Instance you want to add.
Step 4. Click Confirm.
Note: Each VPC allows a maximum of 10 instances per group. If the group already has 10 Instances, the Attach option will be unavailable.
Edit a Group
Step 1. On the row of the group you want to edit, click the action menu (⋮).
Step 2. Select Edit instance group.
Step 3. Change the name or the list of Instances in the group, then click Save.
Note: The Affinity policy (Soft Anti Affinity / Soft Affinity) cannot be changed after the group has been created. If you need to change the policy, delete the old group and create a new one.
Delete an Instance Group
Step 1. On the row of the group you want to delete, click the action menu (⋮).
Step 2. Select Delete instance group.
Step 3. Confirm in the dialog.
Important: Deleting a group only removes the group record and its associated Affinity policy — the Instances inside are not deleted and continue to operate normally. However, after the group is deleted, the system no longer applies the Affinity policy to those Instances.