Create an Instance with Advanced Options
This document describes the advanced options available when creating an Instance on the FPT Cloud Customer Portal, including creating from an ISO image, selecting a GPU type, creating from a Snapshot, creating from a NAT Instance, and using User Data (cloud-init). Each option is suited to a specific deployment need.
Note: Some features are only available depending on the VPC type. This guide clearly annotates which VPC type each option applies to.
Create an Instance from an ISO Image (Specific VPC)
This option lets you install an operating system manually from an ISO file. It is suitable when you need to use a custom OS distribution or a version not available in the existing image list.
- Start the Instance creation flow as usual.
- In the Image section, select ISO as the source.
- Select the ISO file from the available list.
- Complete the remaining information (Flavor, Storage, Network) then click Create Instance.
- After the Instance boots, open the Console to manually install the operating system following the ISO's installation process.
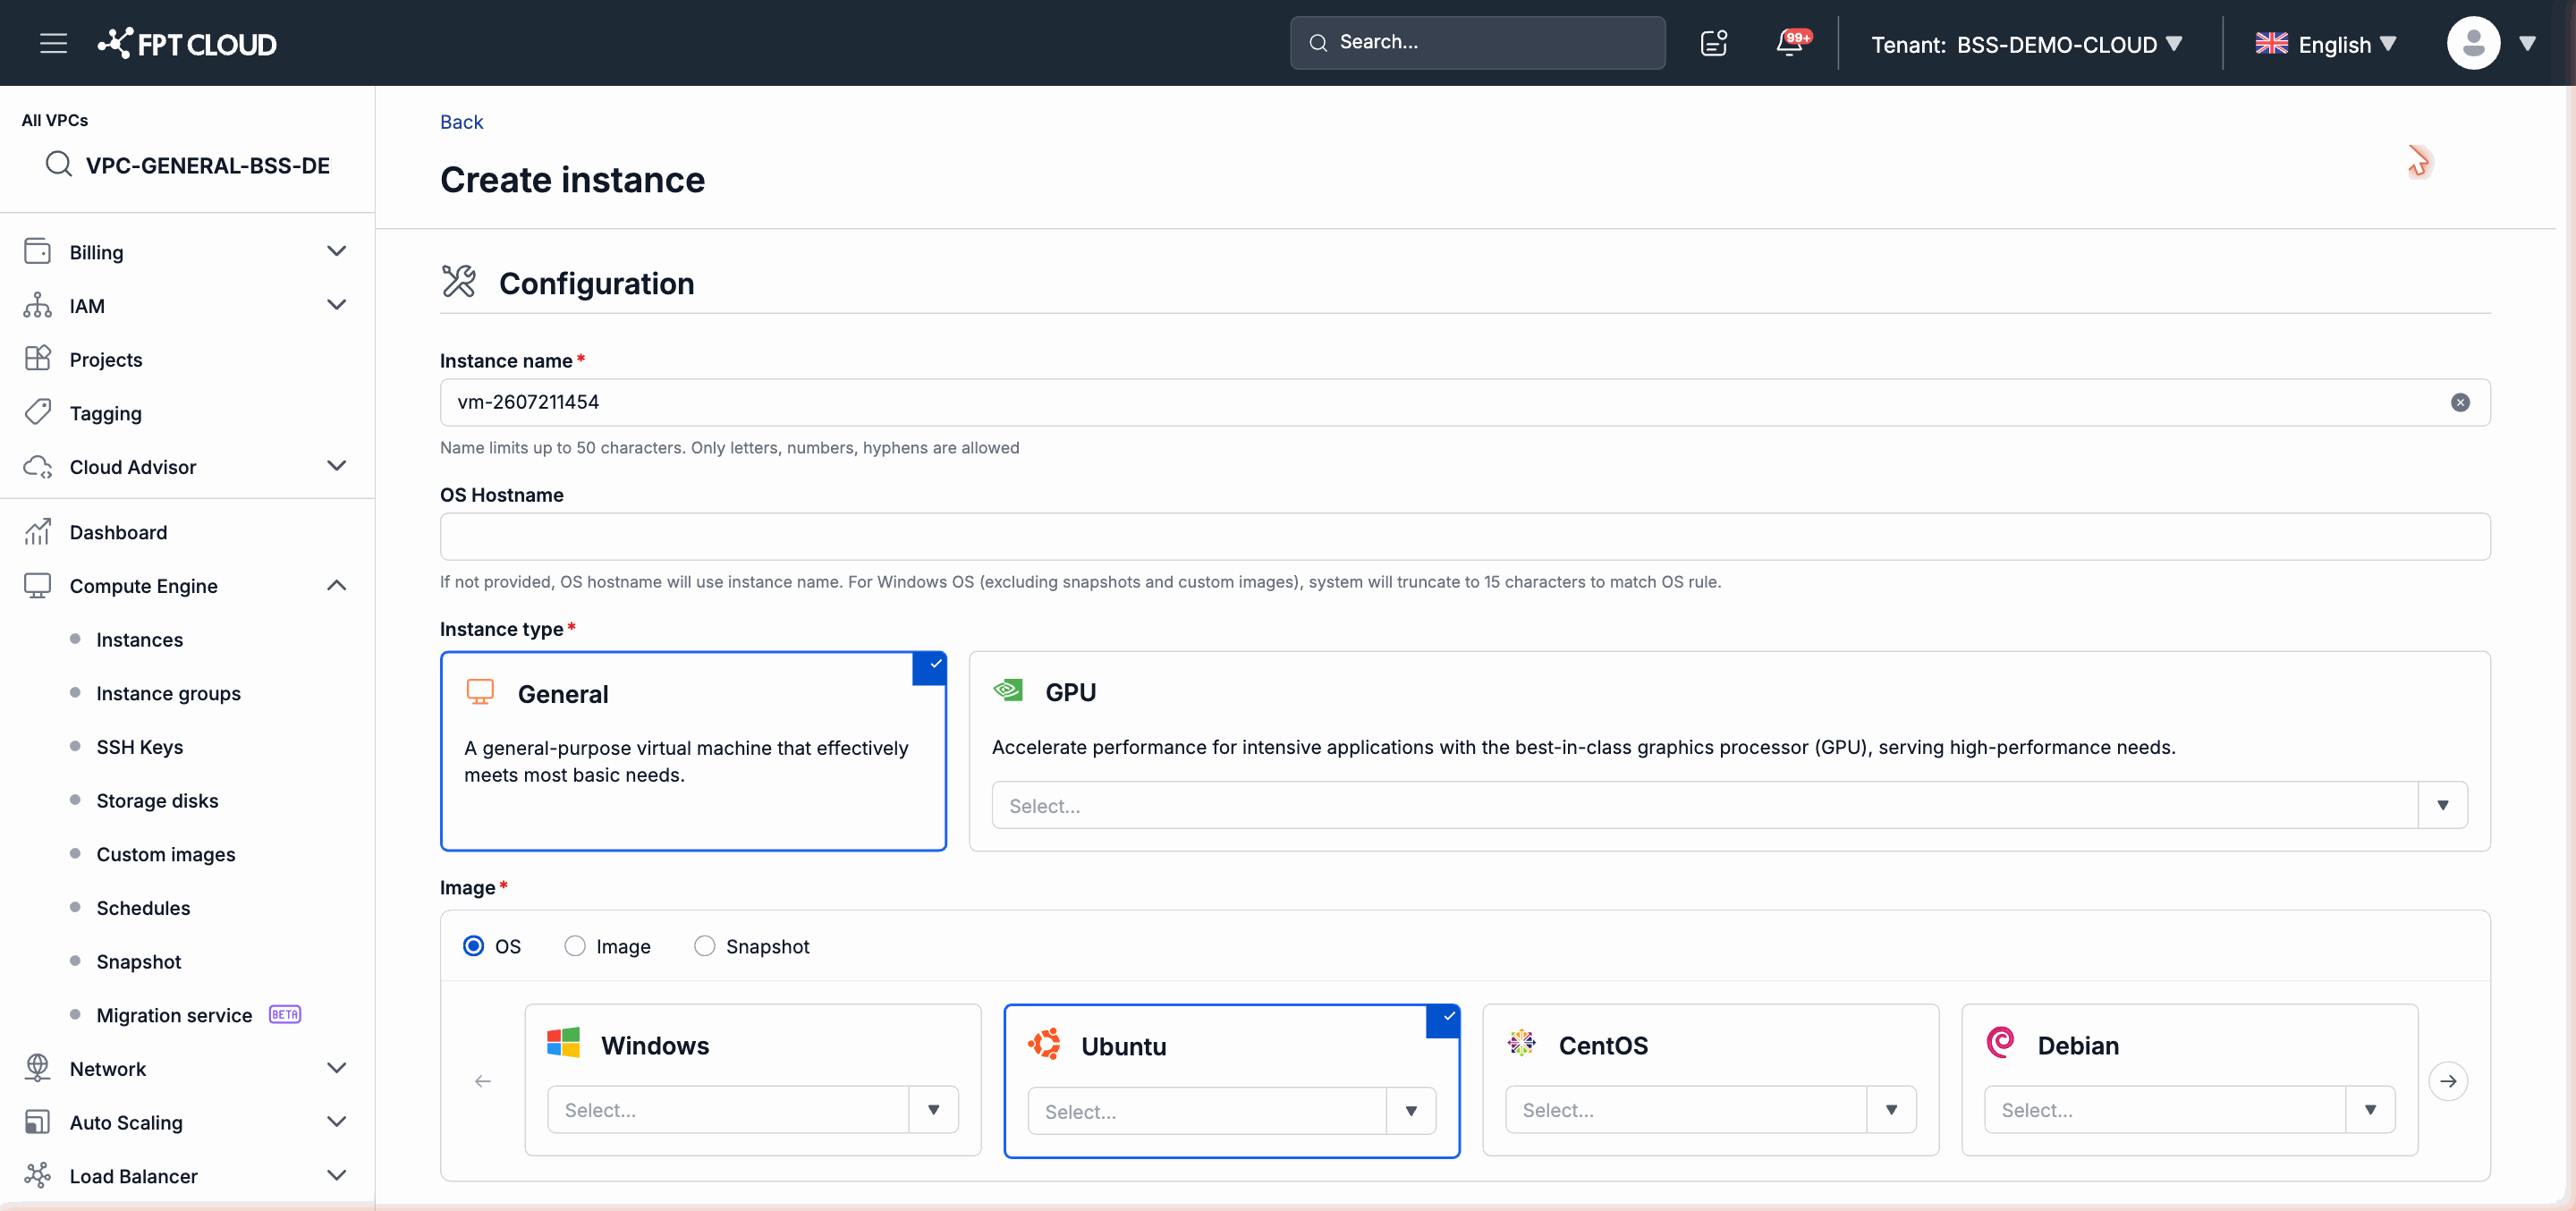
Note: An Instance created from an ISO will boot into the OS installation screen. You need to complete the installation via Console before the Instance is ready for use.
Select a GPU Type When Creating an Instance (Specific VPC)
When you need GPU resources to run AI, machine learning, or graphics workloads, select a GPU Instance Type during the Instance creation flow.
- In the Instance Type section, select the GPU group.
- The Flavor list will filter to show only GPU-compatible configurations.
- Select the vGPU type that suits your workload.
- Continue selecting the Image and filling in the remaining information.
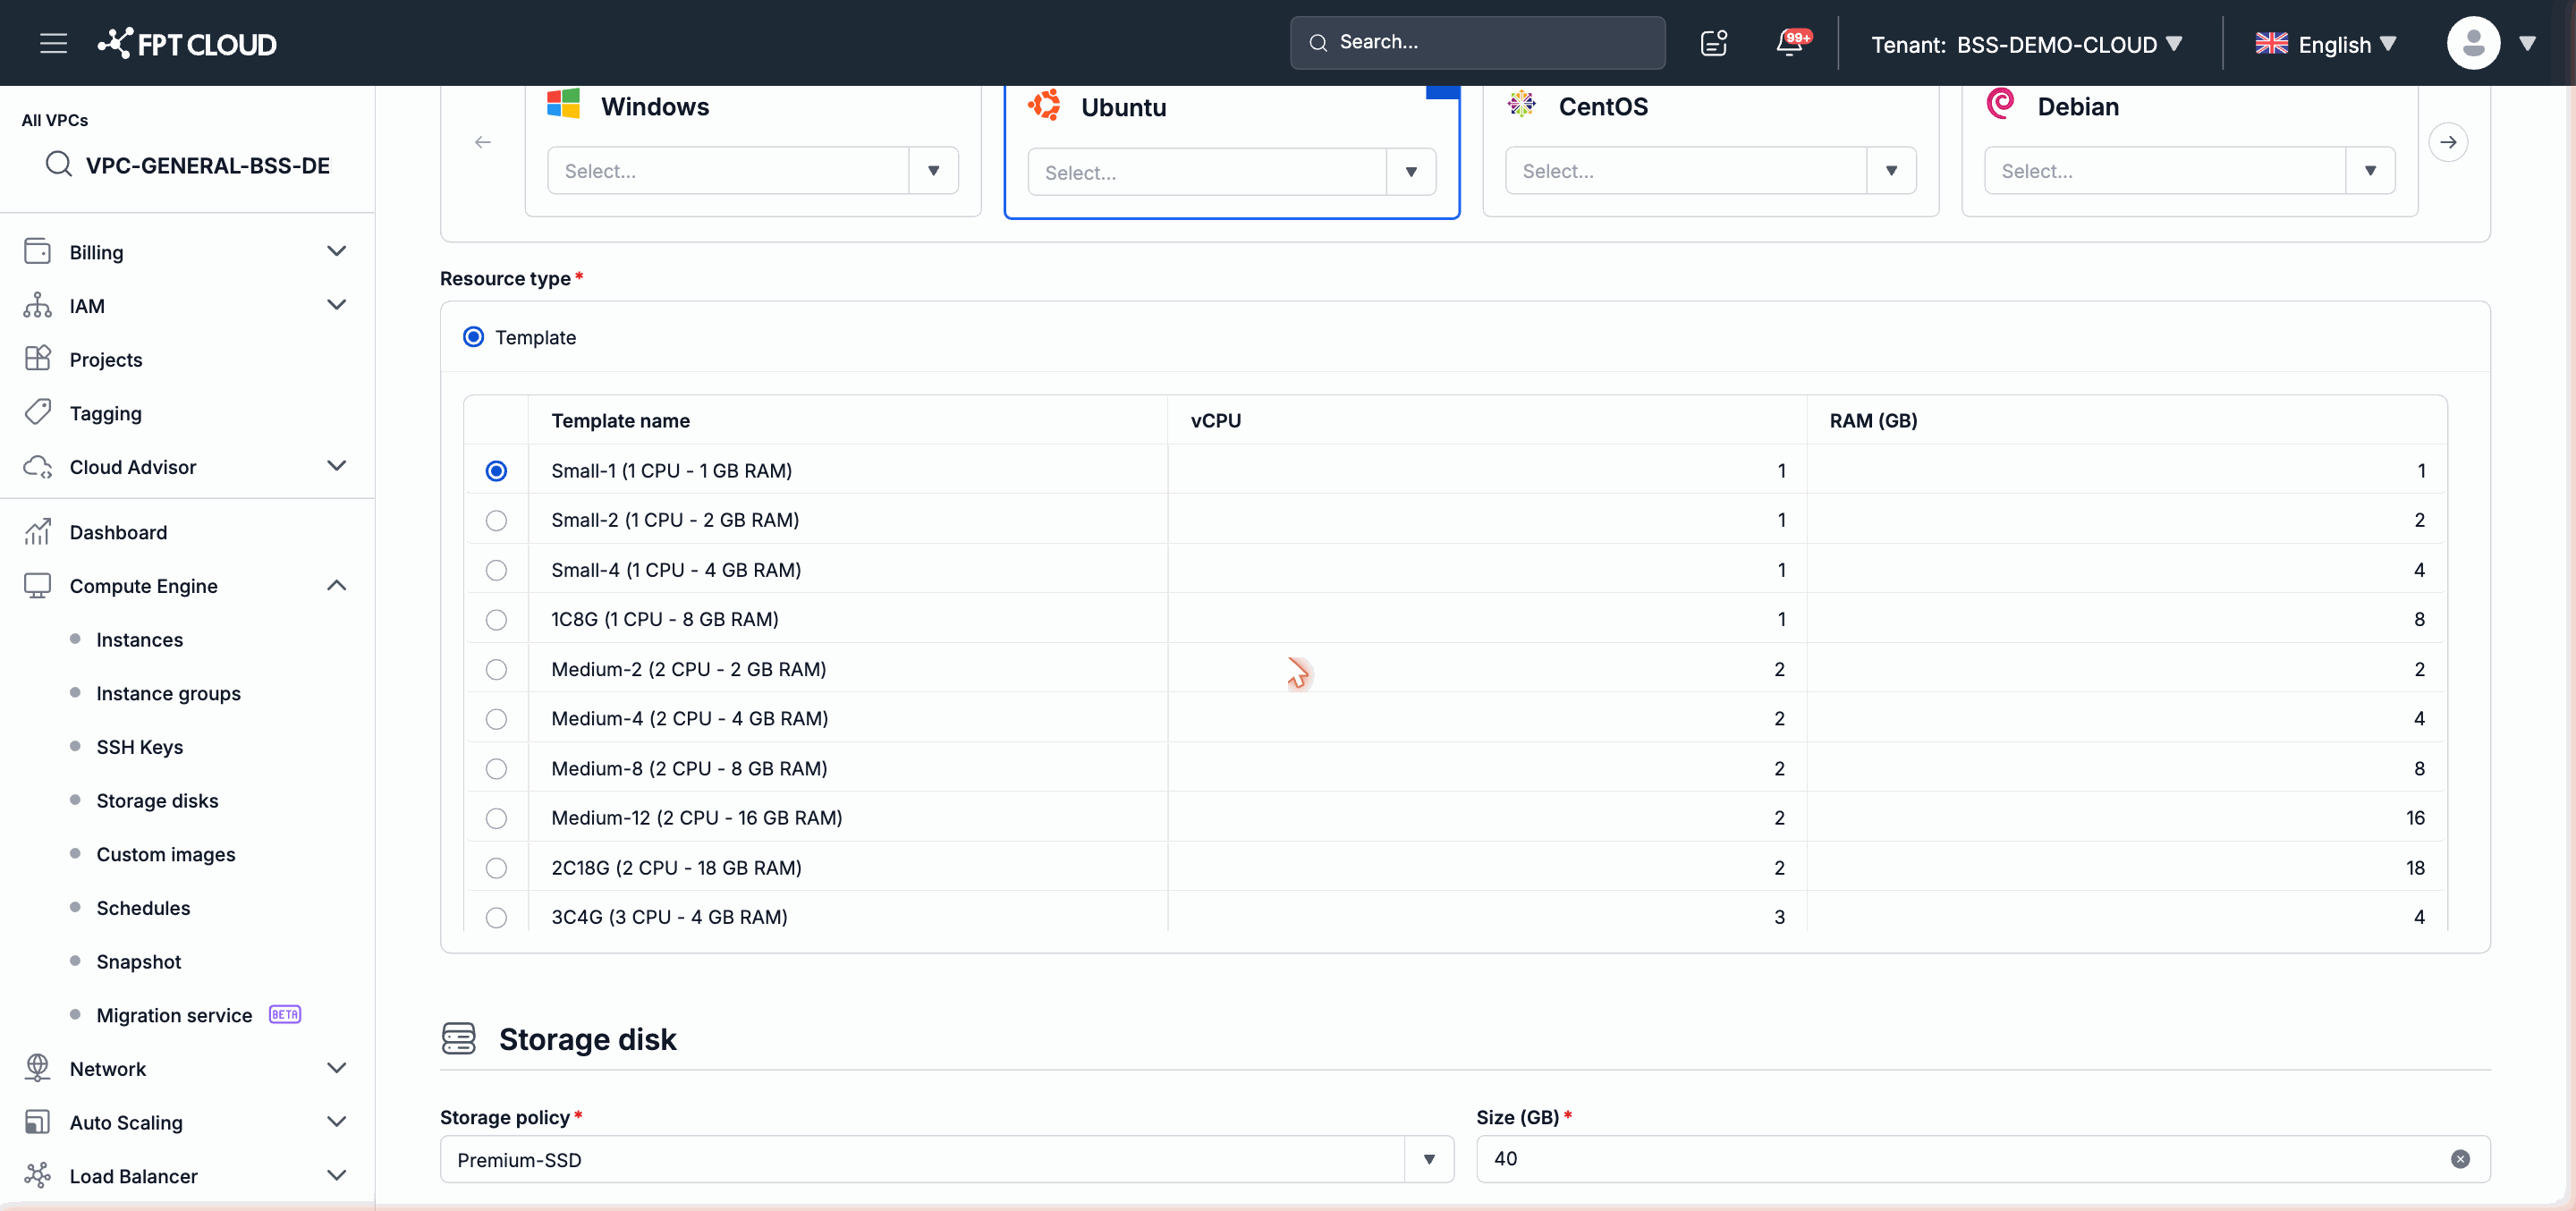
Note: The Image you choose must support GPU drivers. In the image list, select an image labeled GPU to ensure the driver is pre-integrated.
Create an Instance from a Snapshot (General VPC)
This option lets you launch a new Instance from an existing Snapshot, meaning the new Instance will start in the exact state captured at the time the Snapshot was created.
- In the Image section, select Snapshot as the source.
- The list of available Snapshots in the Project will appear.
- Select the Snapshot you want to restore from.
- Complete the Flavor, Storage, and Network information then click Create Instance.
Note: The Snapshot must belong to the same Project as the Instance being created. If you cannot see the Snapshot in the list, check which Project is currently selected.
Create an Instance from a NAT Instance (General VPC)
A NAT Instance is a special Instance that acts as a network address translation gateway for Instances in a Subnet without direct Internet connectivity. This option helps you quickly deploy a NAT Instance with a standard configuration.
- In the Image section, select NAT Instance as the source.
- Select the NAT Instance configuration appropriate for your required network bandwidth.
- Configure the Network — ensure the Instance is attached to the correct public Subnet and the private Subnet that needs NAT.
- Complete the remaining information then click Create Instance.
Use User Data (cloud-init)
User Data lets you pass a cloud-init script to an Instance to be executed automatically at first boot. This feature automates software installation, user creation, and service configuration without needing to manually log in after the Instance is created.
User Data is supported on both Specific VPC and General VPC.
How to Add User Data
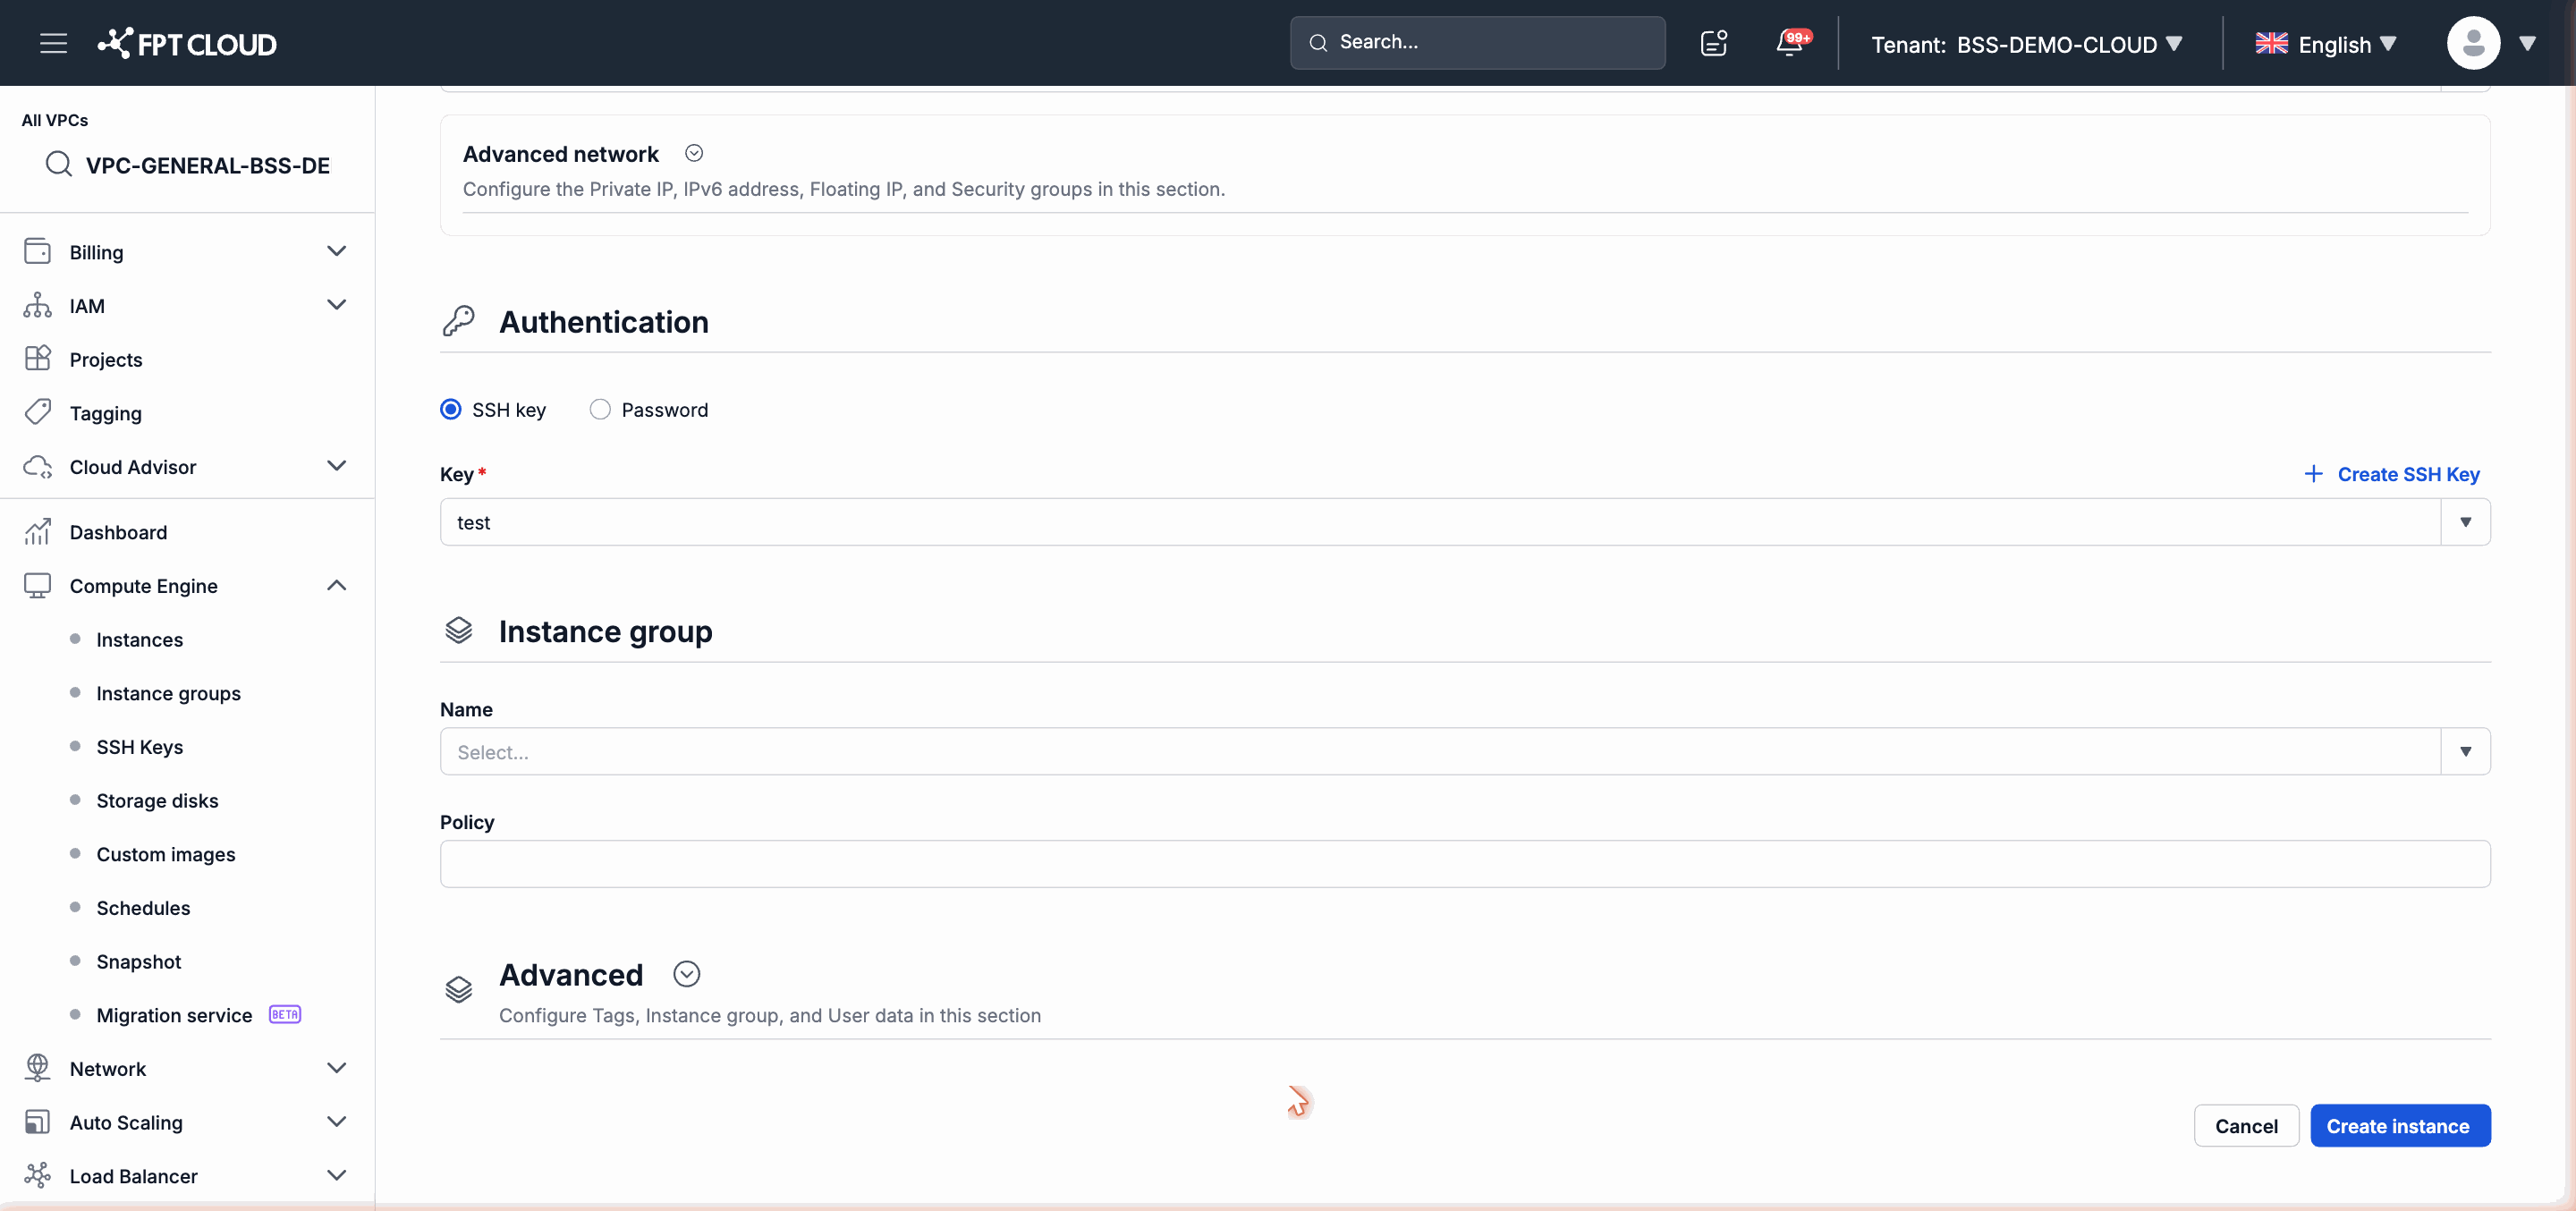
- In the Instance creation flow, open the Advanced section.
- Paste the cloud-init script into the User Data field.
- Complete the remaining information and create the Instance as normal.
Minimal cloud-init Script Example
The script below installs nginx and starts the service when the Instance first boots:
#!/bin/bash
apt-get update -y
apt-get install -y nginx
systemctl enable nginx
systemctl start nginx
Note: The script runs only once at the Instance's first boot. If you need to run it again, use the
cloud-init cleanmechanism or create a new Instance.
Important: Ensure your script starts with a shebang line (
#!/bin/bashor equivalent). An invalid script will be silently ignored without a clear error message in the interface.
See Also
- To see the complete end-to-end Instance creation flow, see tutorial-create-first-instance.md.
- To clone an existing Instance, see tutorial-clone-instance.md.