Manual Snapshot (Specific VPC)
A Snapshot is a copy of the entire Instance state at a specific point in time, including the operating system, applications, and data. When needed, you can restore the Instance to exactly that state.
Note: The manual Snapshot feature is only available in Specific VPC. If your Instance belongs to General VPC, see the guide for creating a disk Snapshot in the Storage Disk tab.
Manual Snapshot and Automatic Snapshot (scheduled) are two independent features:
- Manual Snapshot (this guide): you actively create one at any time — before upgrading software, before making major configuration changes, or when you want to save the current state.
- Scheduled Snapshot: the system automatically creates Snapshots on a cycle you set in advance. See the guide in guide-schedule-snapshot.md.
Create a Snapshot
From the Instance List Page
- In the Instance list, find the Instance you want to snapshot.
- Open the action menu (three-dot icon or Actions column).
- Select Create Snapshot.
- Enter a name for the Snapshot.
- Click Confirm.
From the Snapshot Tab on the Detail Page
- Go to the Instance detail page.
- Select the Snapshot tab.
- Click Create Snapshot.
- Enter a name for the Snapshot.
- Click Confirm.
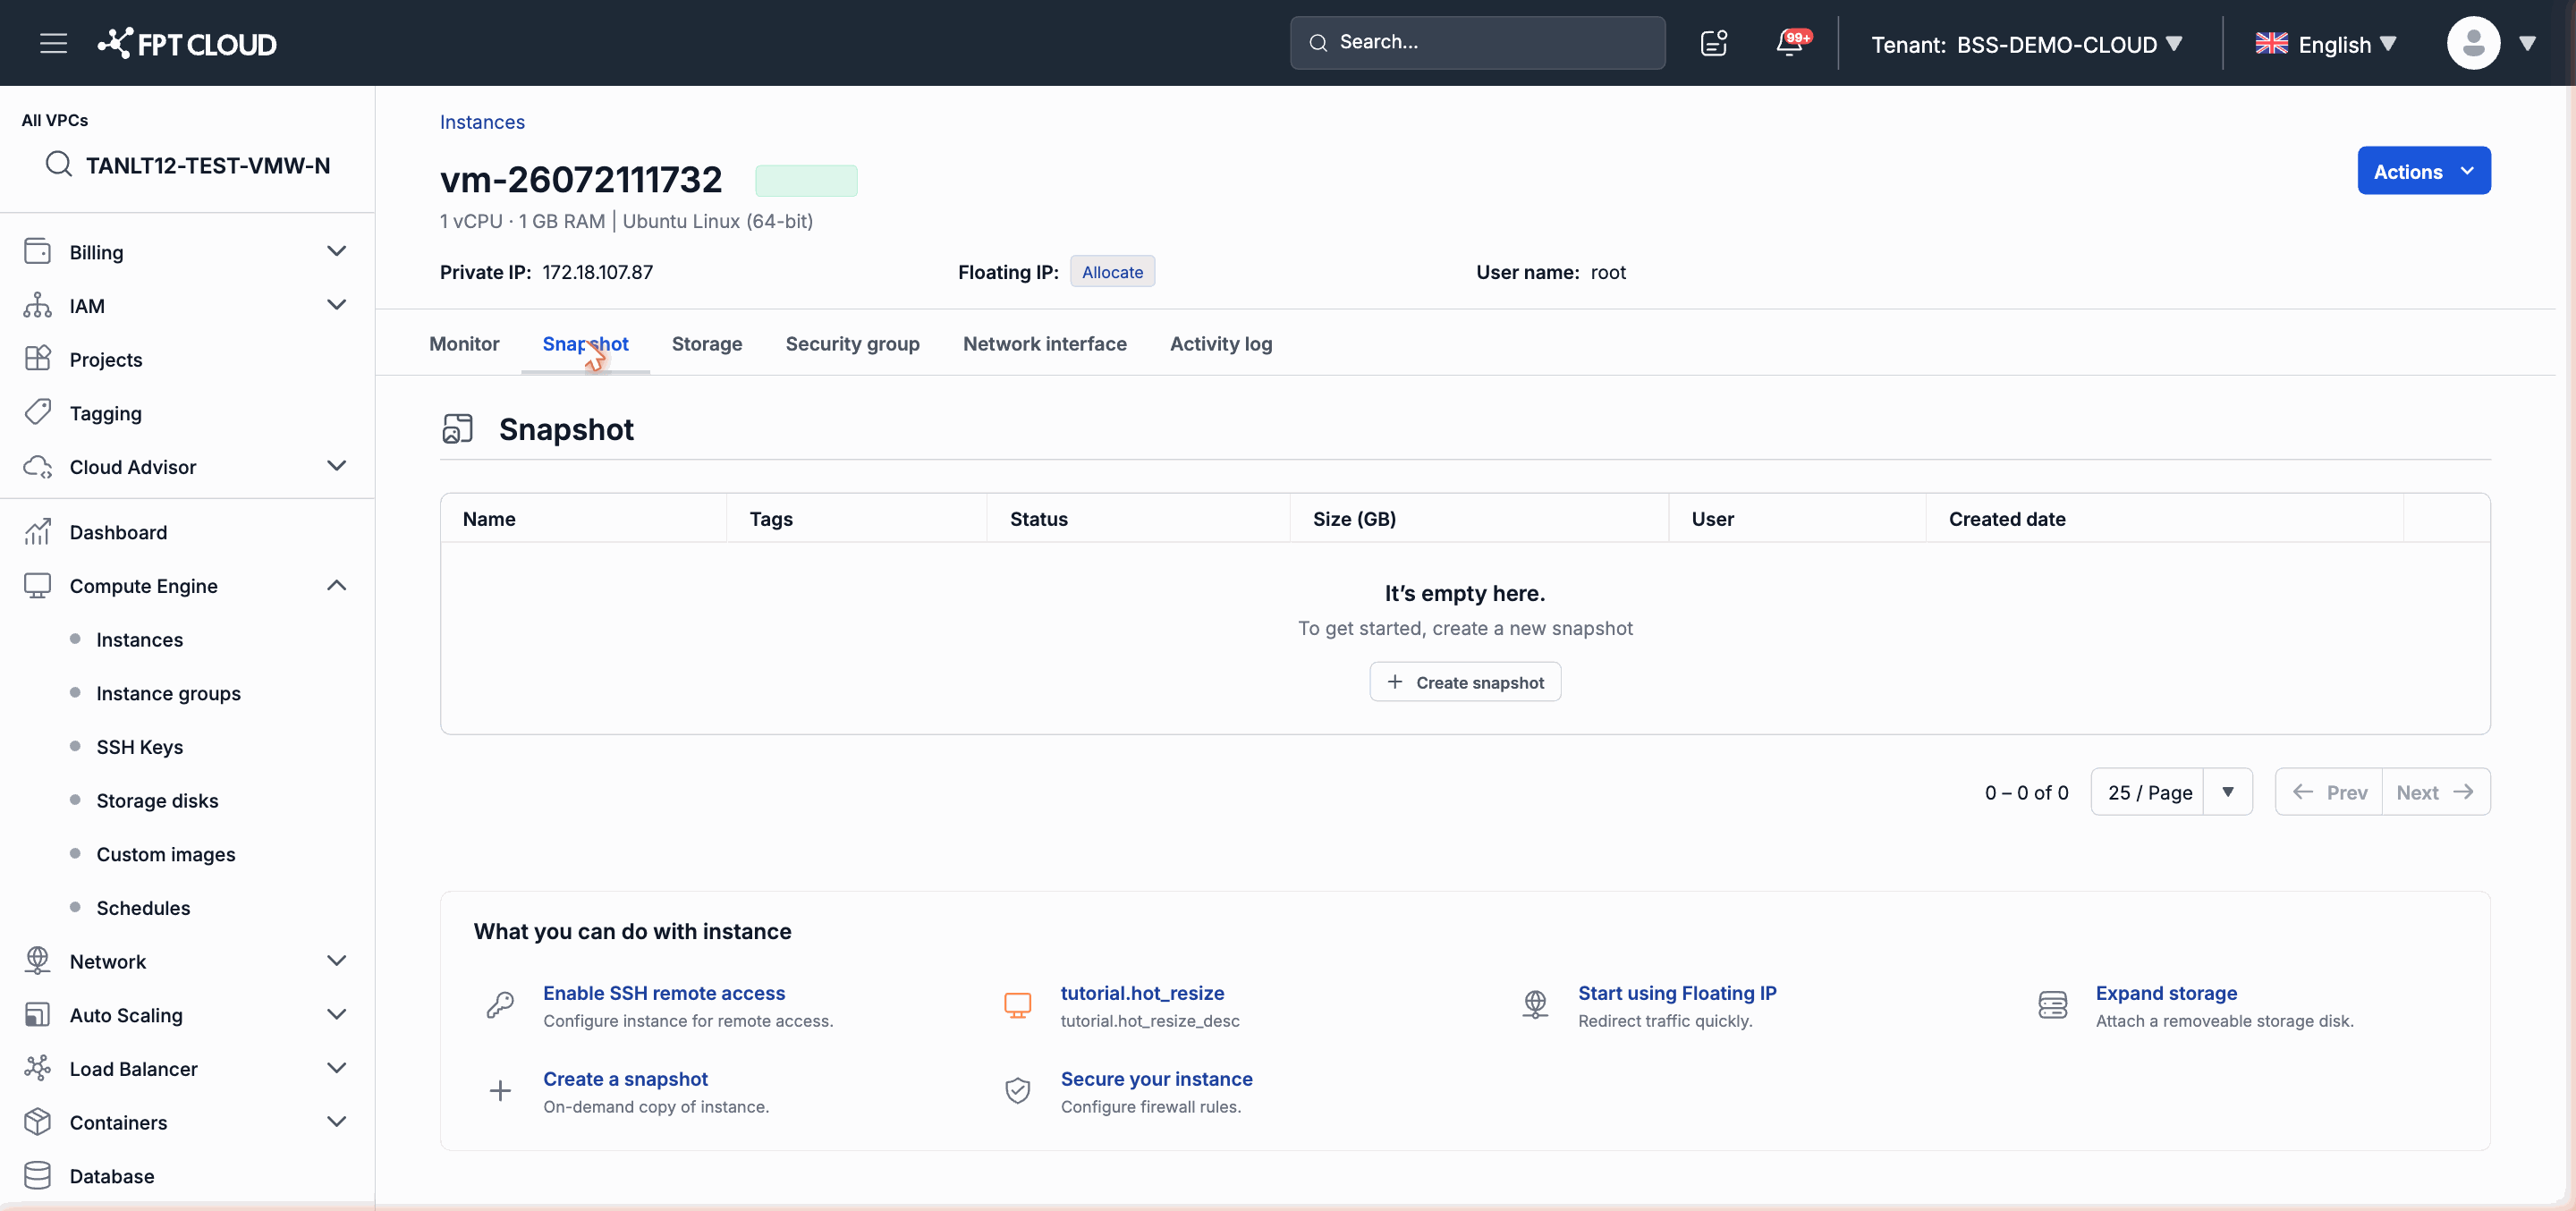
Note: Snapshots are created asynchronously. The process may take a few minutes depending on the disk size and current system load. During this time, the Instance continues to operate normally.
After successful creation, the Snapshot appears in the list with Available status and the creation timestamp.
Restore an Instance from a Snapshot
Restore returns the entire Instance to the state it was in at the time the Snapshot was created.
Important: Restore will return the Instance to the state at the time the Snapshot was created. All changes made after that point — new data, modified configuration, additionally installed applications — will be lost. The Instance will automatically Reboot after the restore completes.
From the Instance List Page
- Open the Instance's action menu.
- Select Restore Snapshot.
- Select the Snapshot you want to restore from the list.
- Read the warning and confirm the operation.
From the Snapshot Tab on the Detail Page
- In the Snapshot tab, find the Snapshot you want to restore.
- Click Restore on that Snapshot row.
- Confirm the operation.
After confirmation, the Instance status changes to Restoring. When complete, the Instance automatically Reboots and returns to Running state with the configuration and data from the Snapshot's point in time.
Delete a Snapshot
- In the Snapshot tab, find the Snapshot to delete.
- Click Delete (or select from the action menu).
- Confirm the operation.
Warning: Deleting a Snapshot cannot be undone. After deletion, you cannot restore the Instance to that point in time.
Note: If a Snapshot is being used in a currently running restore process, the Delete option will be disabled until the restore process completes or fails.
Schedule Automatic Snapshots
If you want the system to automatically create Snapshots on a recurring basis (daily, weekly...), use the Scheduled Snapshot feature — this is a separate feature from manual Snapshots.
See the detailed guide in guide-schedule-snapshot.md.
Next step: if you need to restore an Instance from a backup (different from a Snapshot), see the guide in guide-restore-backup.md.