Manage Tags on an Instance
Tags are classification labels attached to resources to help you organize, search, and track Instances by group — for example: by environment (production, staging), by project, or by responsible team.
This guide describes how to attach and remove Tags on an Instance. To create and manage the Tag list, see the Tags module documentation.
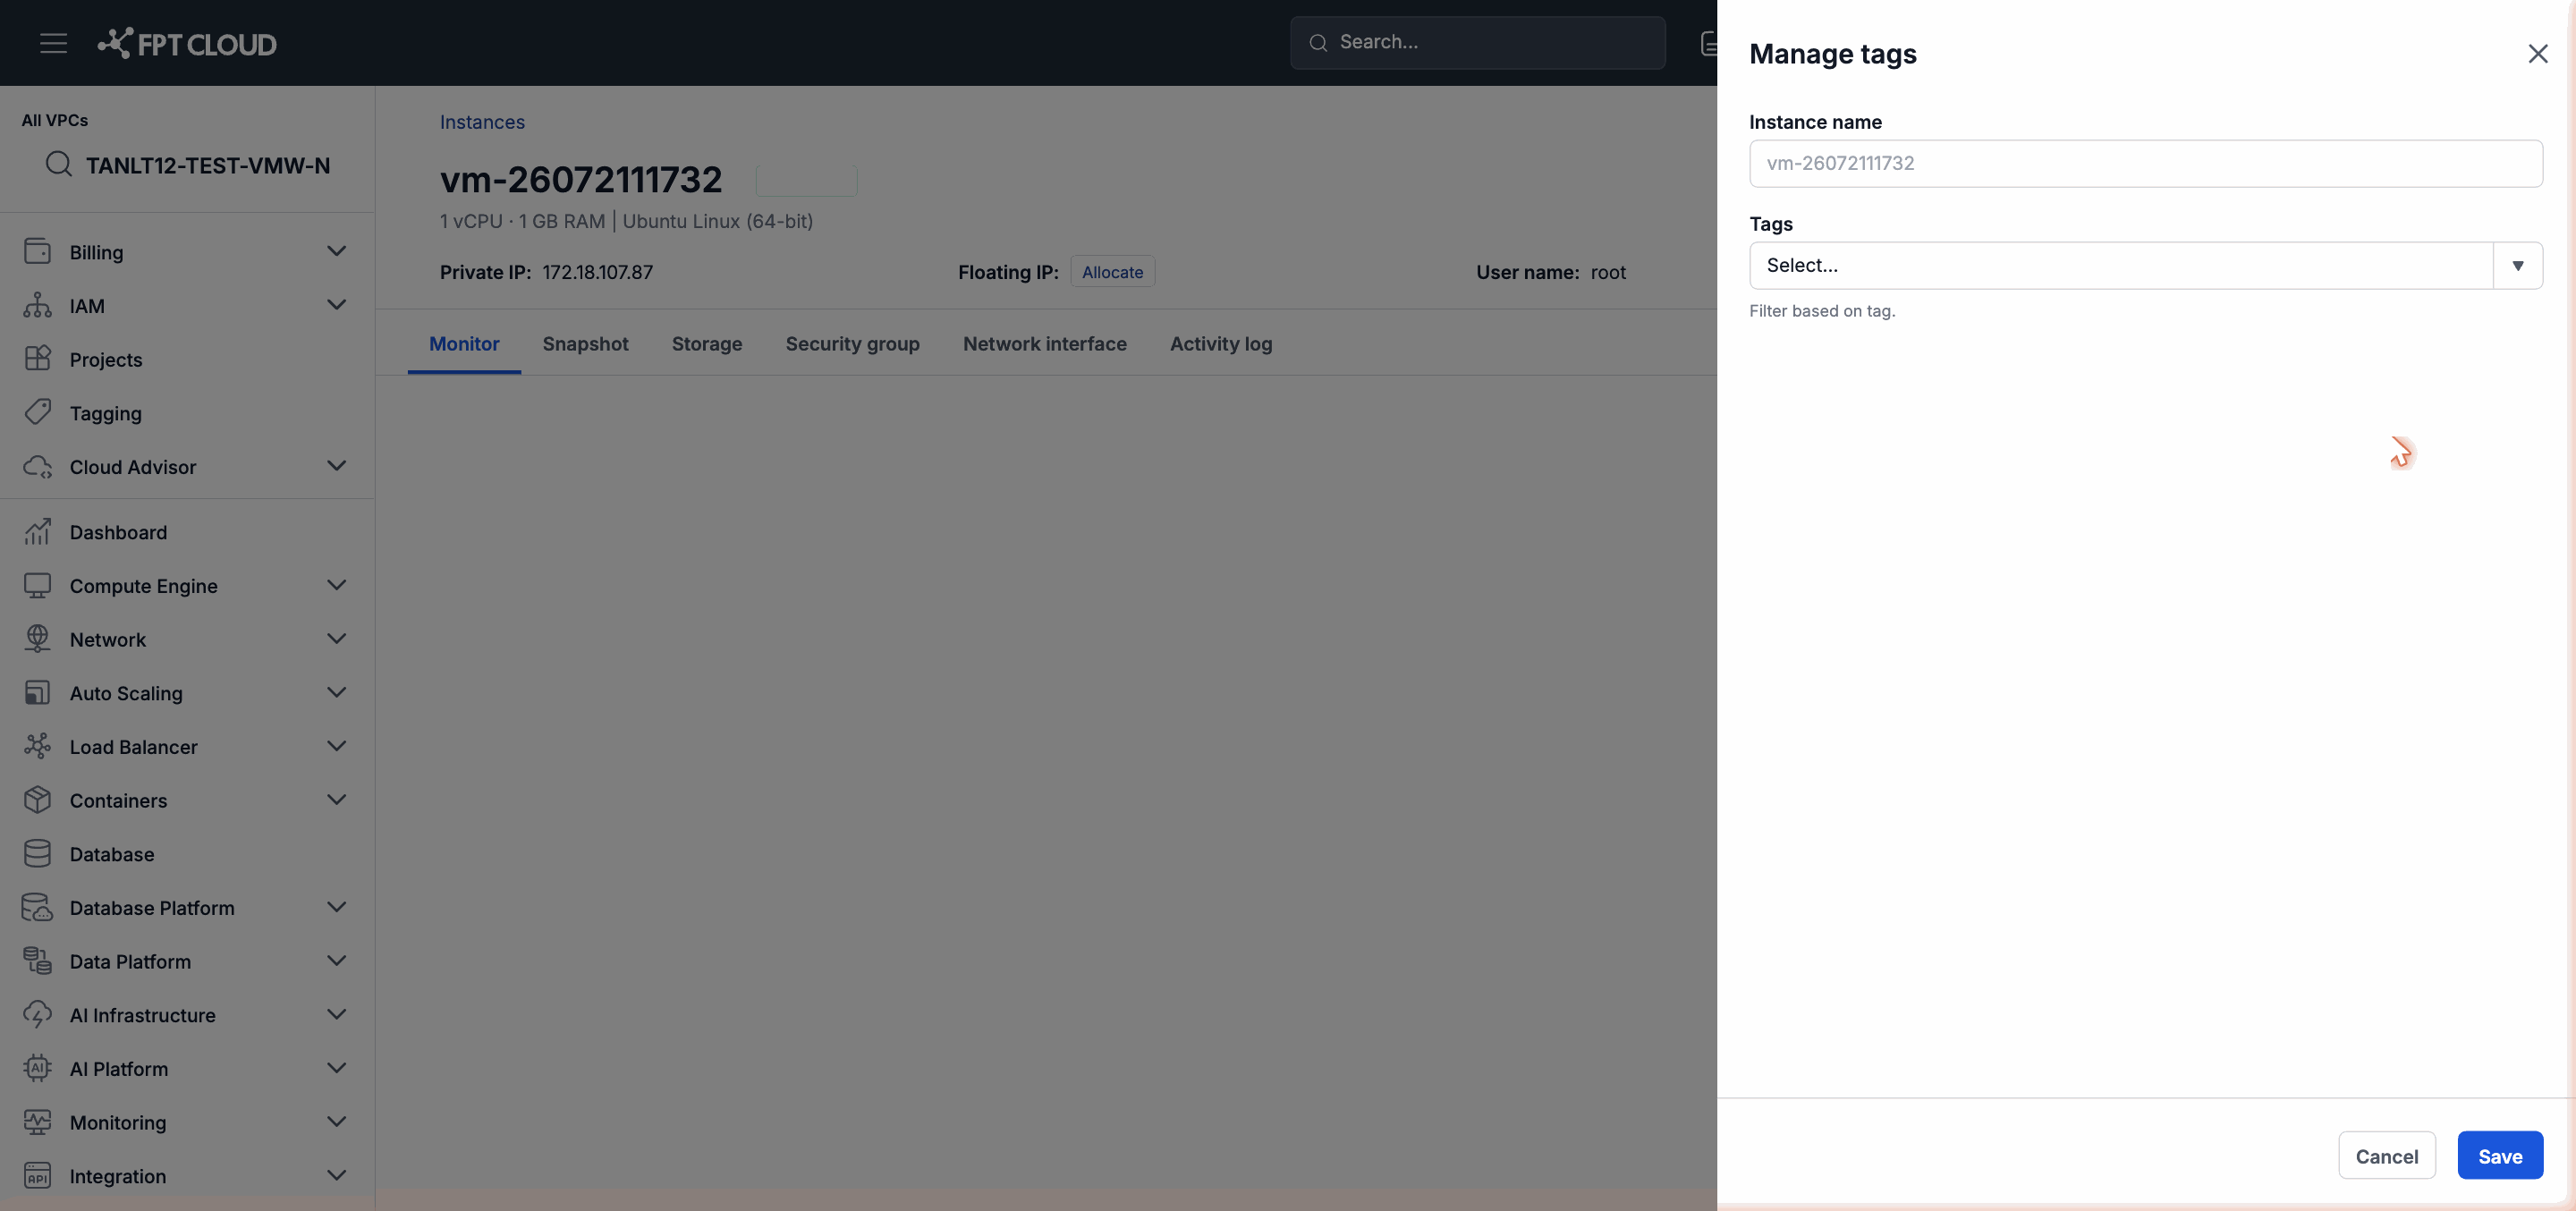
Attach and Remove Tags After an Instance Is Created
You can update Tags on an Instance at any time after it has been successfully created, regardless of the Instance's current state.
Step 1: From the Instance list or the detail page, click the action menu.
Step 2: Select Manage Tags.
Step 3: In the Manage Tags dialog:
- To attach a Tag: find and select a Tag from the list or type the Tag name to filter, then click Add.
- To remove a Tag: click the delete icon next to the Tag you want to remove.
Step 4: Click Save to apply the changes.
Attach Tags When Creating an Instance
You can attach Tags during the Instance creation process, instead of adding them manually after creation.
In the Instance creation wizard, open the Advanced section → find the Tags item → select the Tags you want to attach.
At this step, you also have the option to apply the same set of Tags to accompanying resources created at the same time:
- The root Storage Disk
- Floating IP (if any)
Check the resources you want to apply the Tags to, then continue completing the Instance creation wizard.
Note: Tags are applied after provisioning is complete. If the Instance creation fails, Tags will not be attached to any resource.
Next Steps
- See the Tags module documentation to create new Tags and manage the Tag list in the Project.
- Use the filter in the Instance list to filter by Tag: see Filter and Search Instances.