Guide — Use a Snapshot (Launch / Create Disk)
From an Instance snapshot, you can perform three main operations: launch a new Instance, create a Storage Disk, or manage tags. This guide describes the two most common operations.
Note: This feature is only available on General VPC.
Launch a New Instance From a Snapshot
This operation creates a new Instance using the snapshot as the source image. Use it to migrate an Instance to different hardware specifications or to create a copy of the Instance at the point in time captured by the snapshot.
-
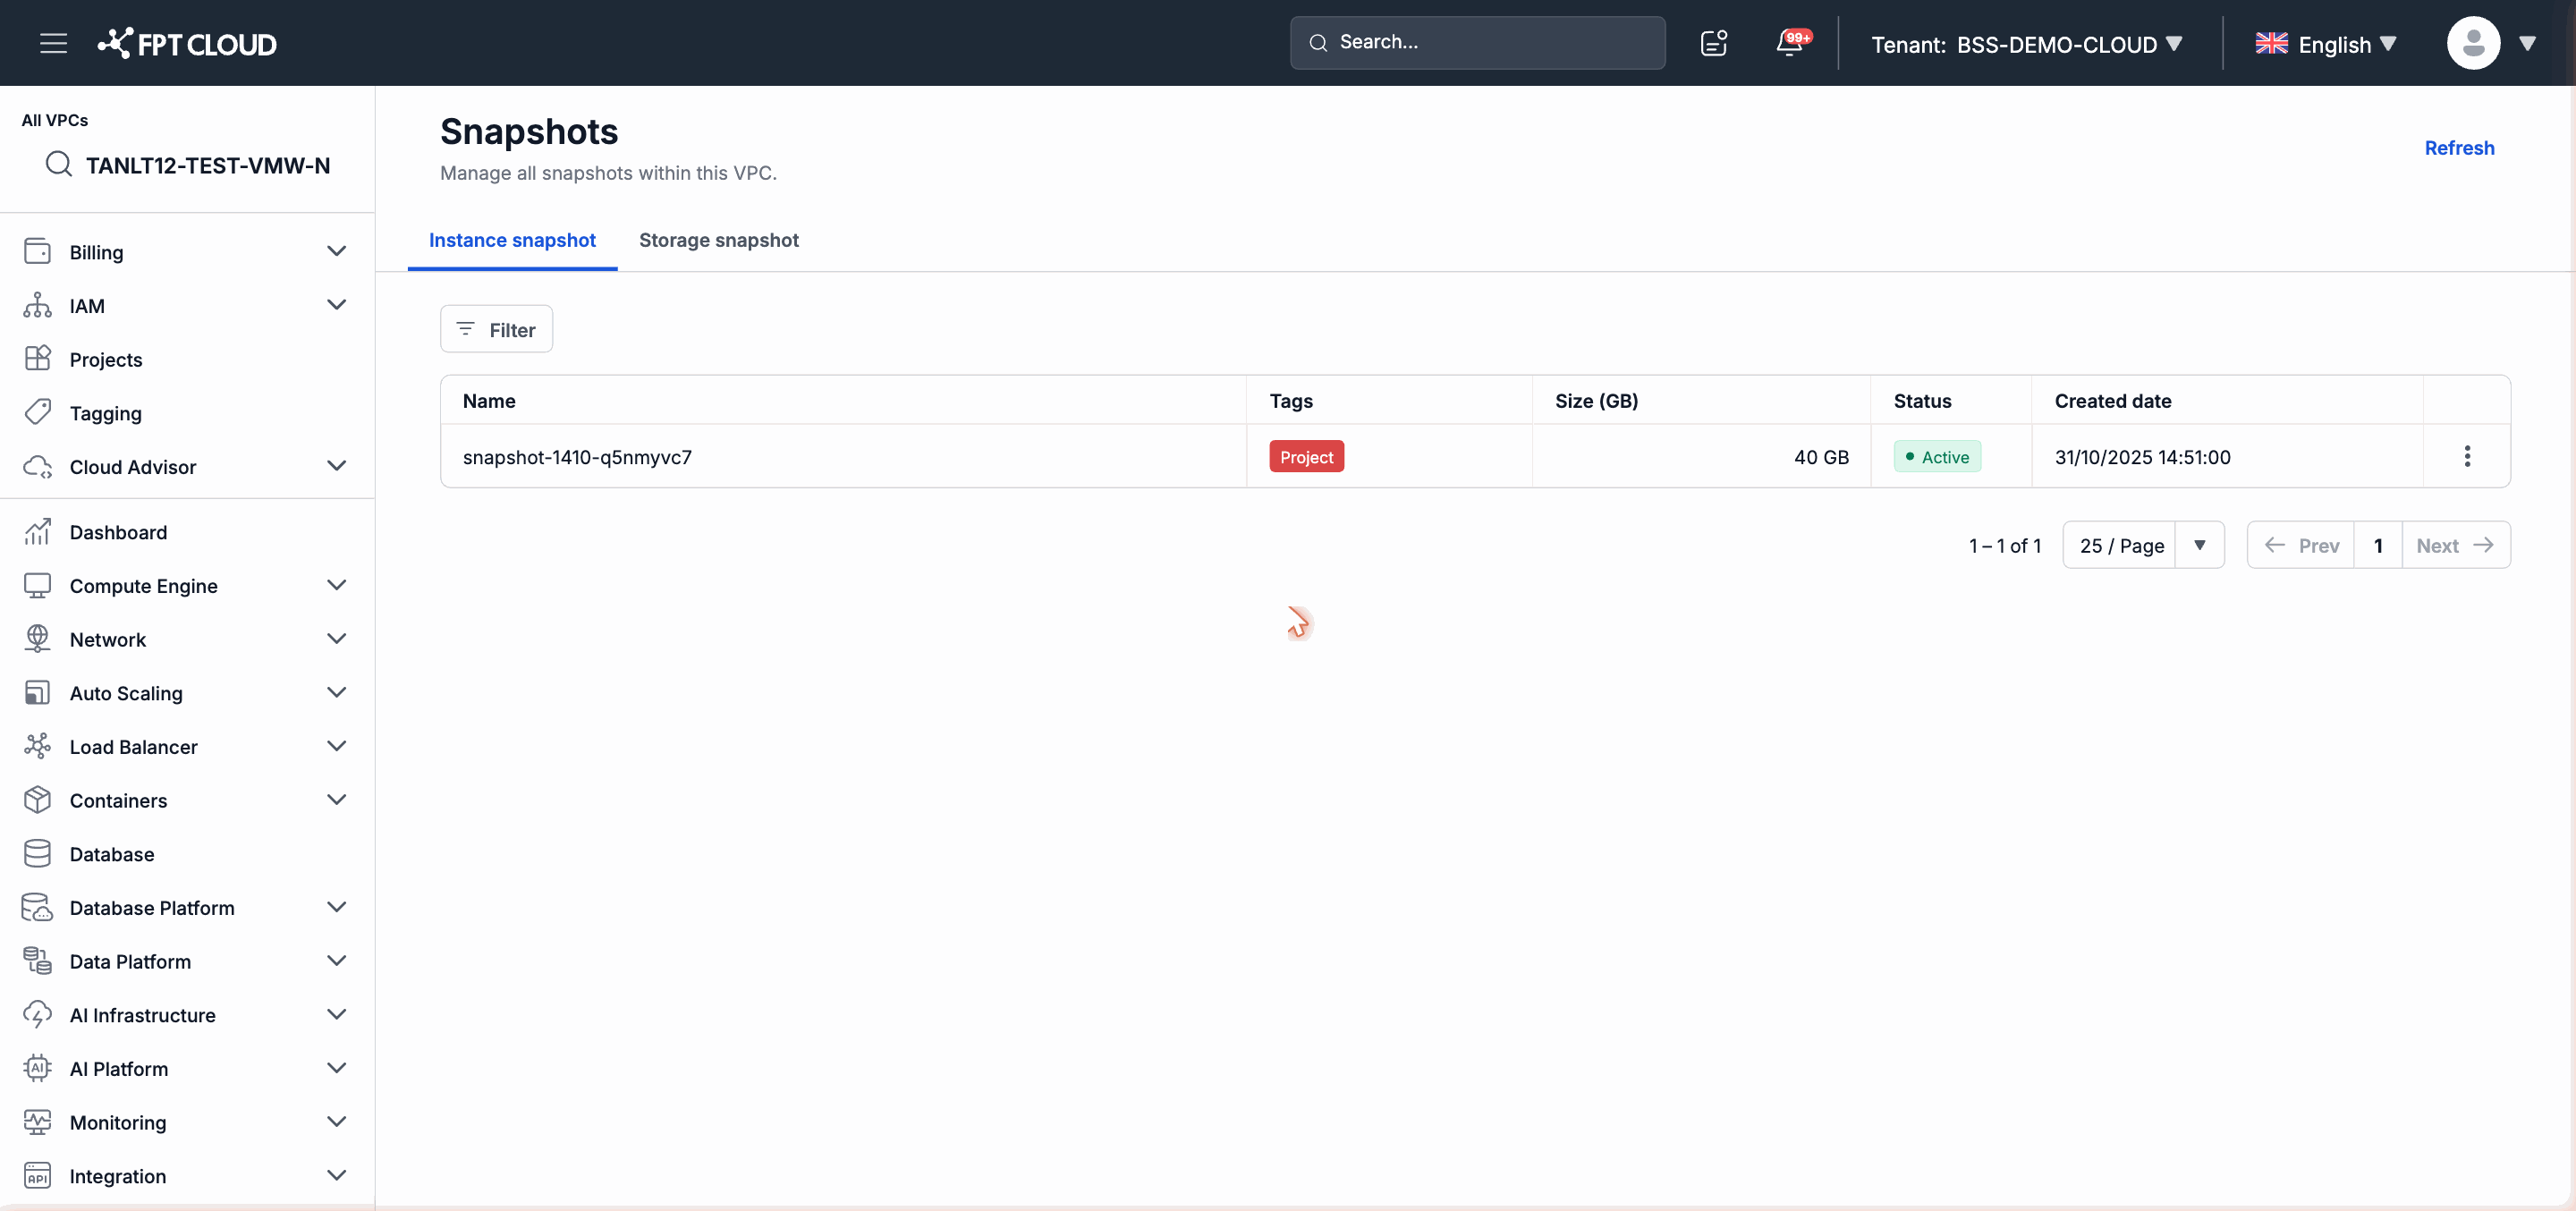
In the left navigation bar, select Compute Engine → Snapshots.
-
Select the Instance snapshot tab.
-
Find the snapshot you want to use in the list.
-
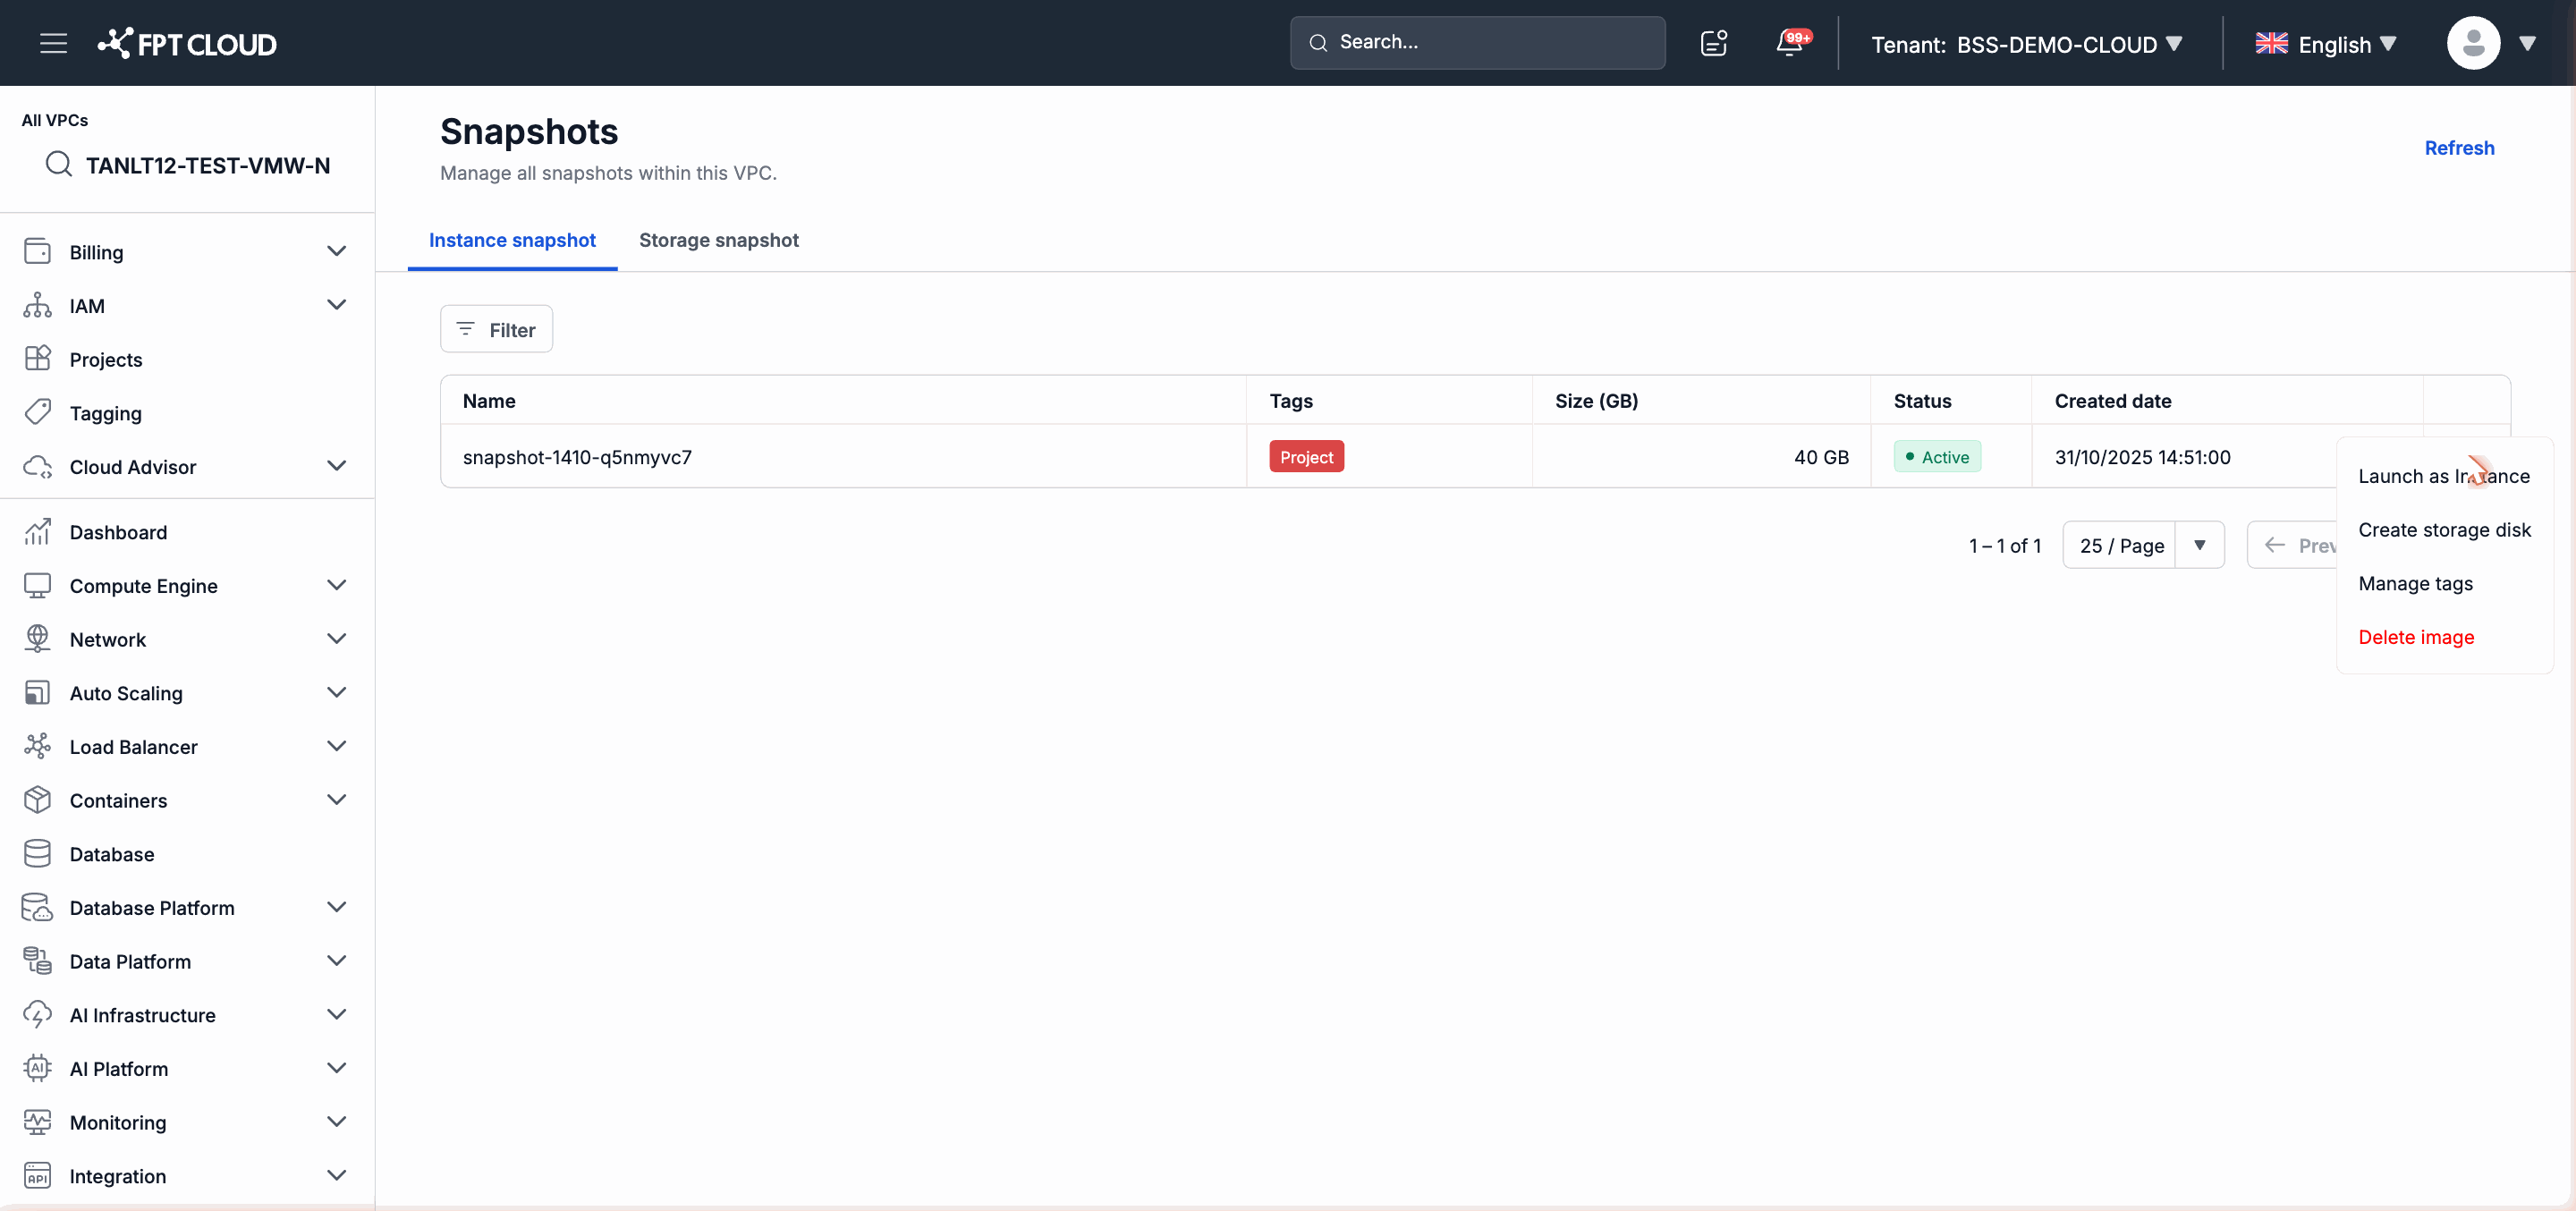
Click the action menu icon (⋮) at the end of that snapshot's row.
-
Select Launch as Instance.
-
The system navigates to the Instance creation form with the selected snapshot as the source image. Fill in the configuration details for the new Instance (name, flavor, network, etc.).
-
Confirm to launch the Instance.
Create a Storage Disk From a Snapshot
This operation creates a new Storage Disk with data from the snapshot, without creating an Instance.
-
In the left navigation bar, select Compute Engine → Snapshots.
-
Select the Instance snapshot tab.
-
Click the action menu icon (⋮) at the end of the row for the snapshot you want to use.
-
Select Create storage disk.
-
Fill in the name and configuration for the new Storage Disk.
-
Confirm to create the disk.
The new disk appears in Compute Engine → Storage Disks when the process is complete.
Manage Tags on a Snapshot
- Click the action menu icon (⋮) on the snapshot you want to update.
- Select Manage tags.
- Add, edit, or remove tags as needed.
- Save the changes.