2.2 MongoDB source connector
Create a connector where Type is source and Database is MongoDB
Pre-condition: CDC service status is Healthy
Configuring MongoDB
1. Enable oplogs: oplogs must be enabled on the MongoDB server (this only applies to standalone; clusters have it enabled by default).
2. Permission: The MongoDB Connector requires a user that has permission to perform find and changeStream operations on the configured database.
- To create a user with these permissions, you can use the following command:
db.createUser({
 user: "<USERNAME>",
 pwd: "<PASSWORD>",
 roles: [
 { role: "readWrite", db: "<DATABASE>" }
 ]
 })
- Or across all databases:
db.createUser({
 user: "<USERNAME>",
 pwd: "<PASSWORD>",
 roles: [
 { role: "readWrite", db: "" }
 ]
 })
Steps to create a connector:
To create a connector, follow these steps:
Step 1: In the menu bar, select Data Platform > select Workspace Management > select Workspace name
Step 2: In the My services section, select CDC service
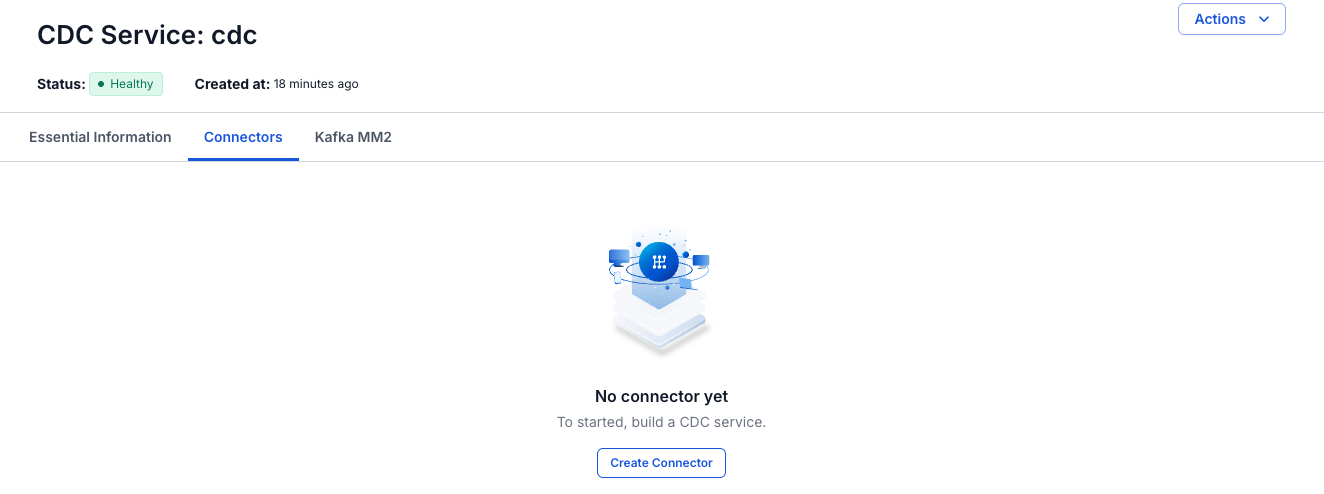
Step 3: On the CDC service detail screen > select the Connectors tab > click Create a connector
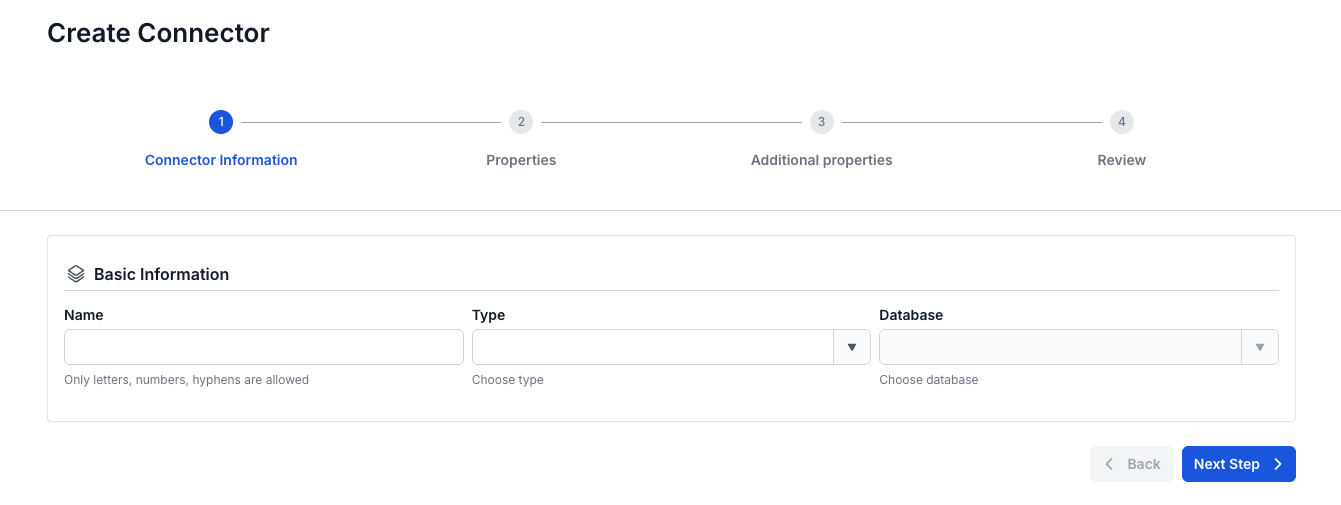
Step 4: Enter the information on the Connector Information screen:
- Name (required): Connector name *Note: The connector name can contain lowercase letters a-z or digits 0-9. In particular, spaces are not allowed — you can replace spaces with "-".
- Type (required): select source
- Database (required): select MongoDB
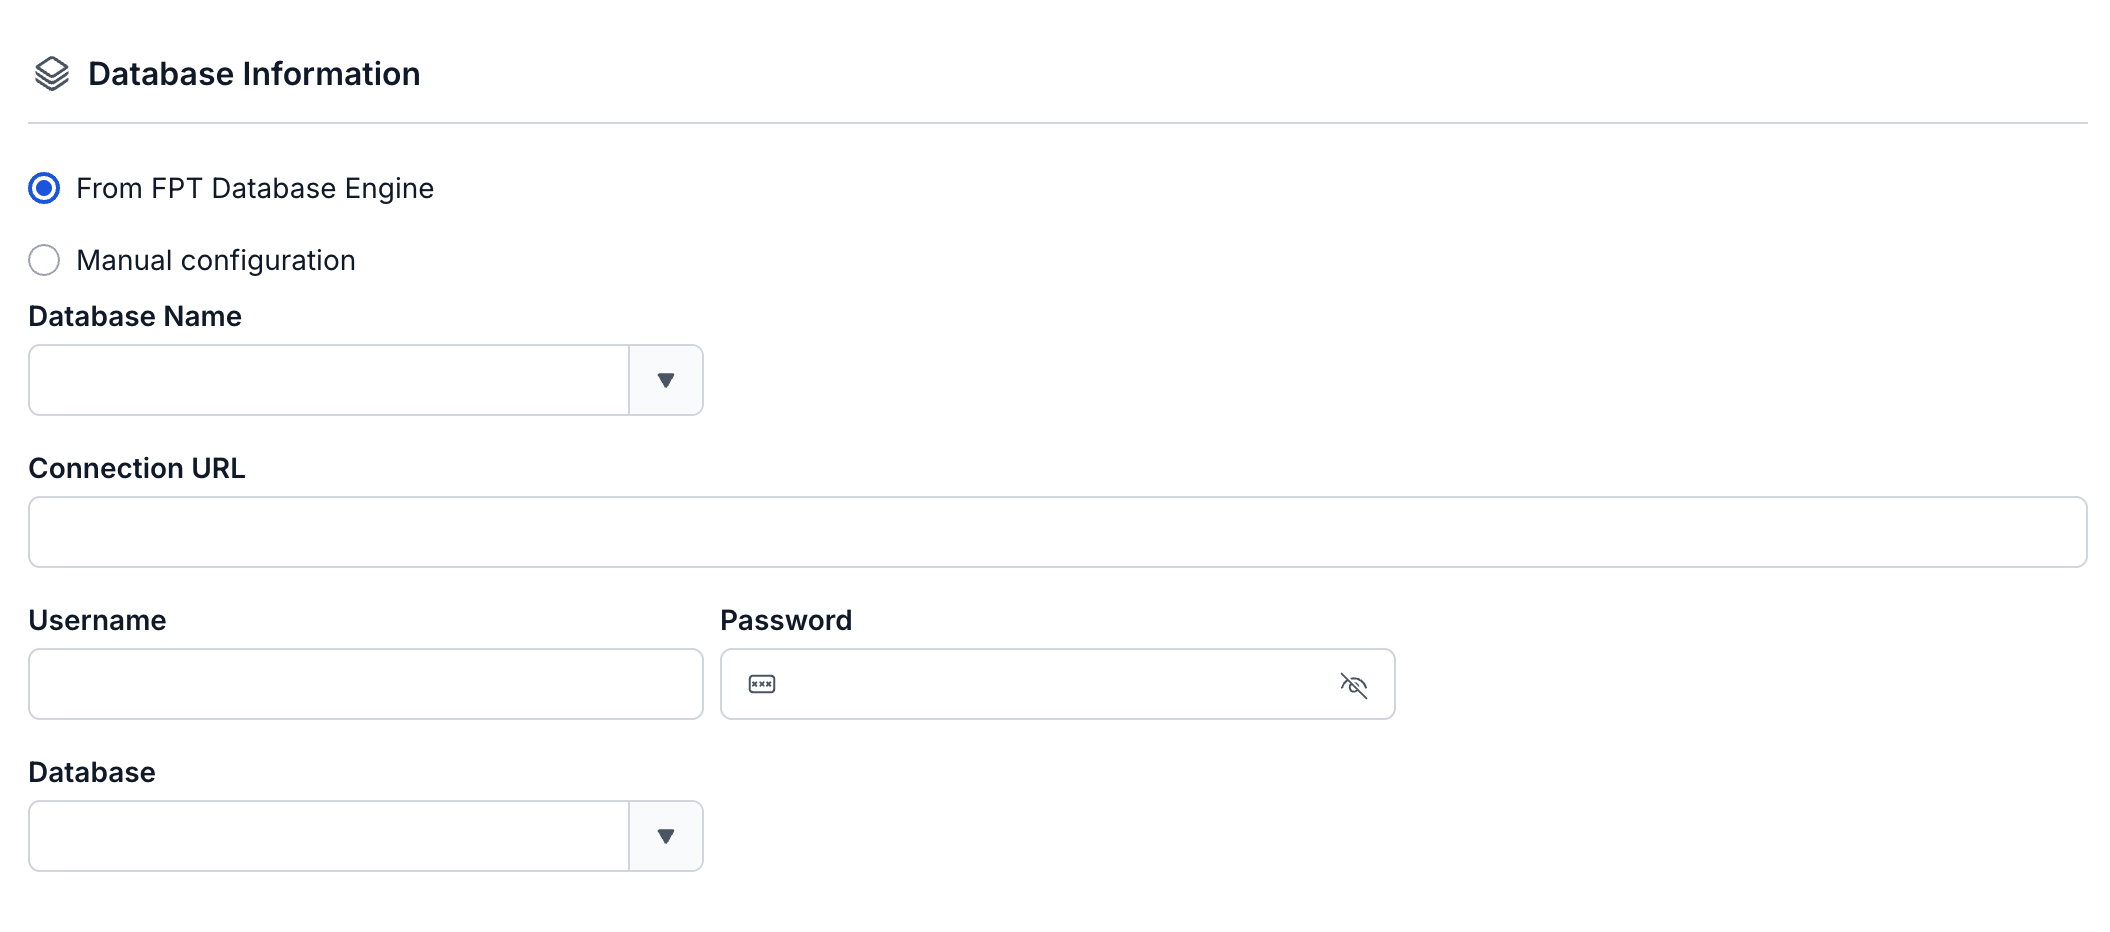
Step 5: Click Next in the top-right corner of the screen to proceed to the Properties screen, and fill in the following information:
- If you select From FPT Database Engine - fill in the following information:
- Database name (required): Select the Database
- Connection string (required): MongoDB connection uri
- Database: The database the connector will listen for changes on
- Username (required): Username to connect to MongoDB
- Password (required): Password to connect to MongoDB
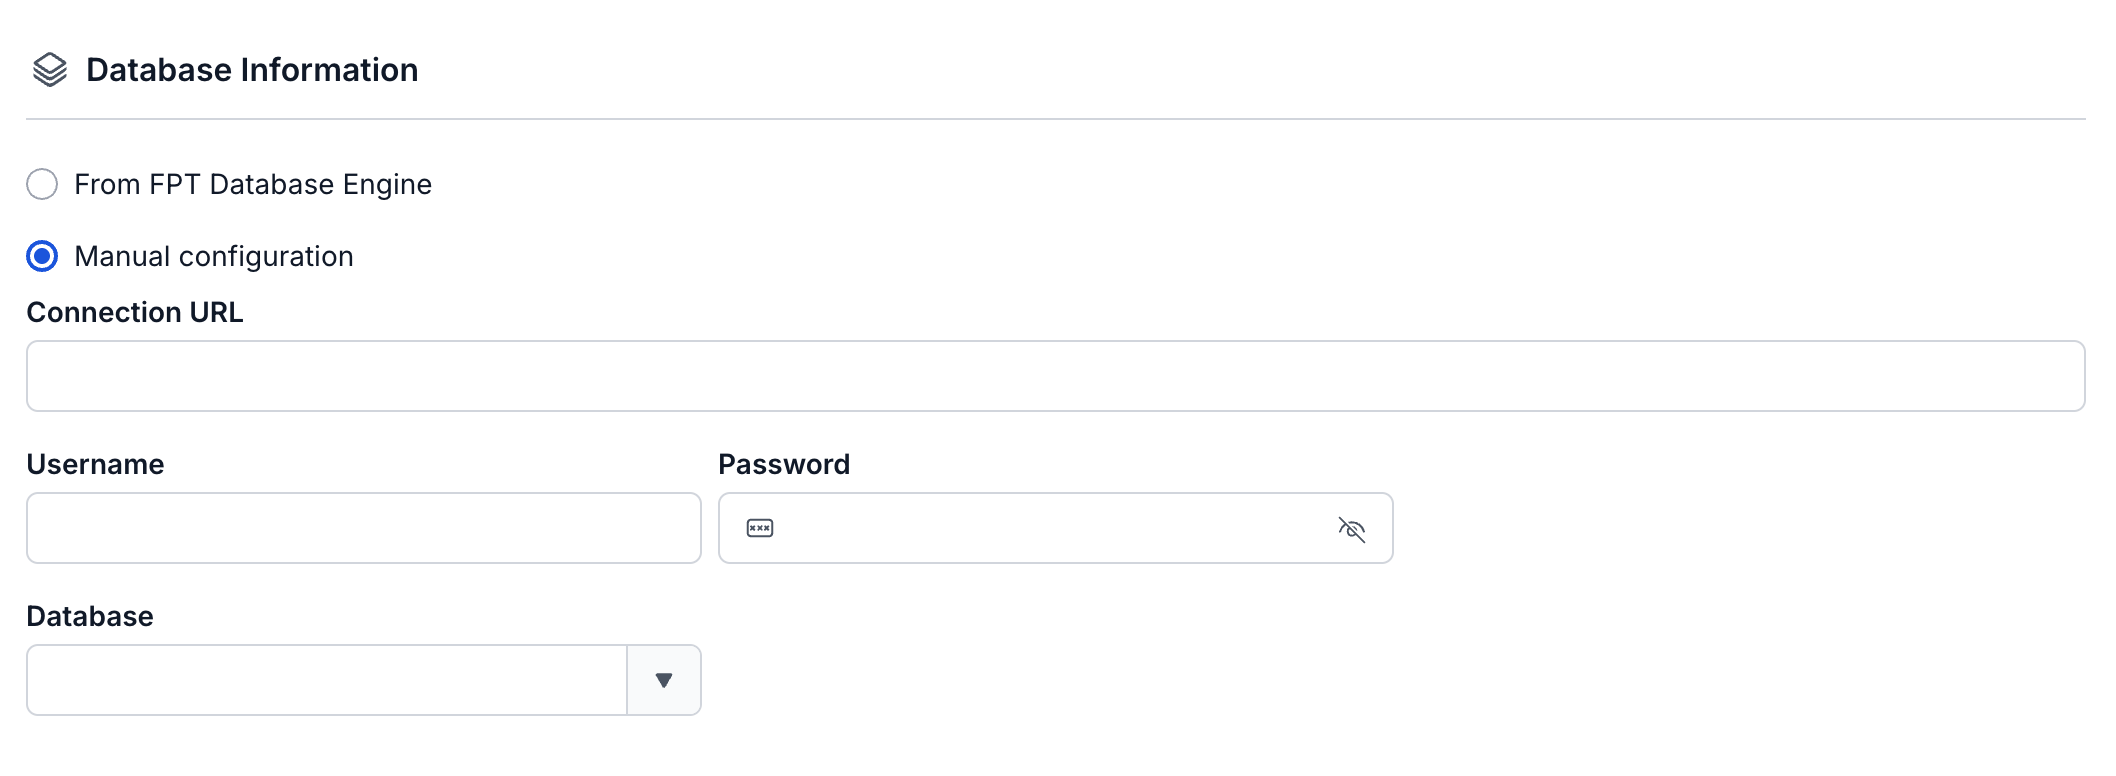
- If you select Manual configuration - fill in the following information
- Connection string (required): MongoDB connection uri
- Database: The database the connector will listen for changes on
- Topic prefix (required): Prefix of the topic name (<topic.prefix>.database.collection).

Step 6: Click Next to proceed to the Additional Properties screen
Select the following information:
- Snapshot: The connector's behavior after initialization
- Latest: The Connector only listens for data changes
- Copy_existing: The Connector will copy all currently existing data while simultaneously listening for changes. If the collection changes during the copy process, the connector will generate 2 events for the same record with 2 different operations (copyingData and that record's operation: insert/update/delete).

- Collection: The collection the connector will listen for changes on

- Error Tolerance: The connector's behavior toward exceptions.
- None: the connector will stop
- All: Failed messages will be sent to the specified topic

Step 7: Click Next to proceed to the Review screen
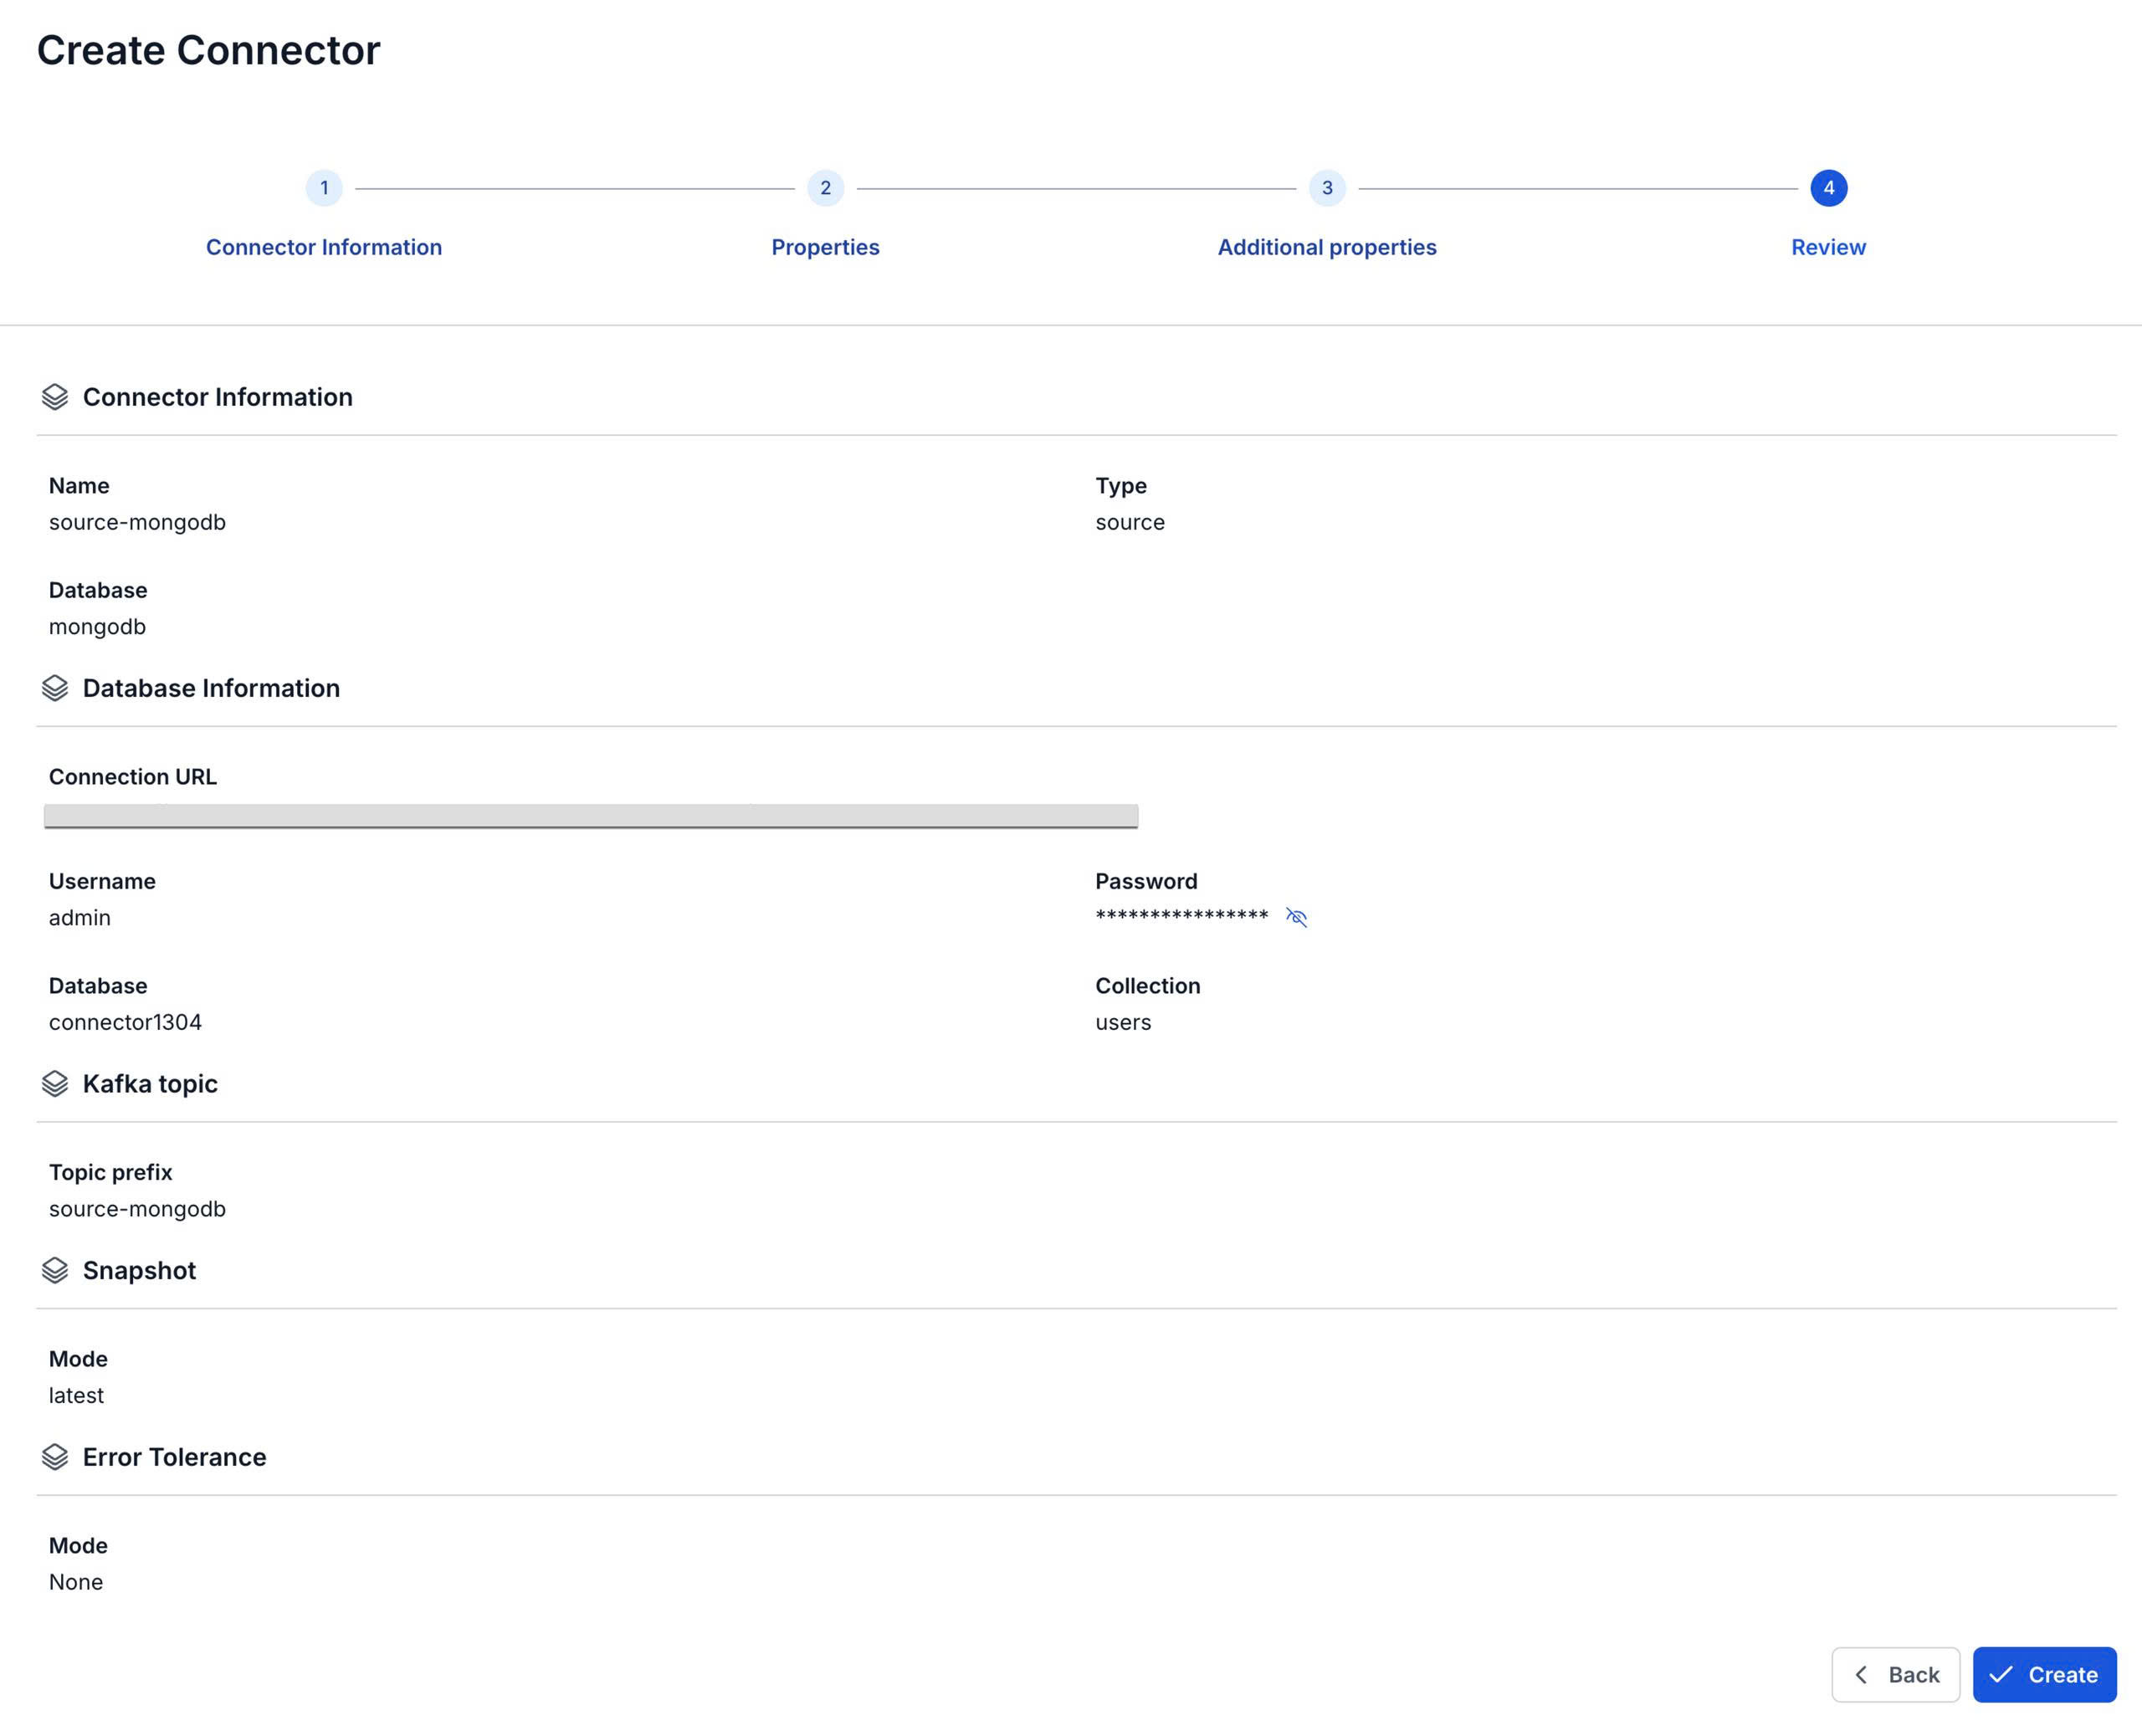
Step 8: Review the information and click the Create button to finish creating the connector.