2.8 MongoDB Sink Connector
Use case: creating a connector where Type is sink and Database is MongoDB
Pre-condition: CDC service status is healthy
Steps to create a connector:
Step 1: In the menu bar, select Data Platform > select Workspace Management > select Workspace name
Step 2: In the My services section, select CDC service
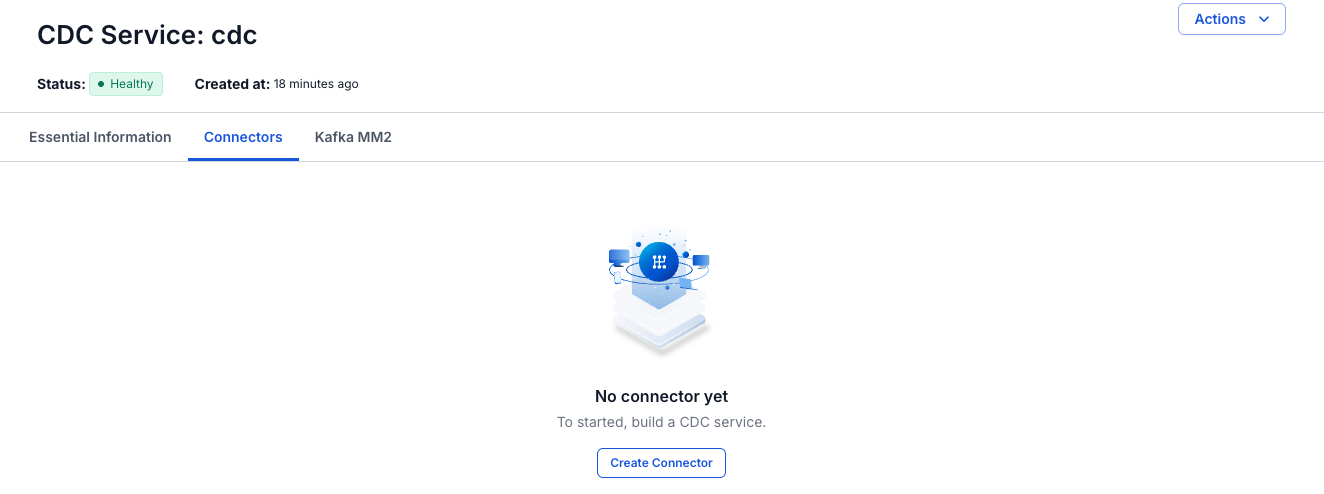
Step 3: On the CDC service detail screen > select the Connectors tab > click Create a connector
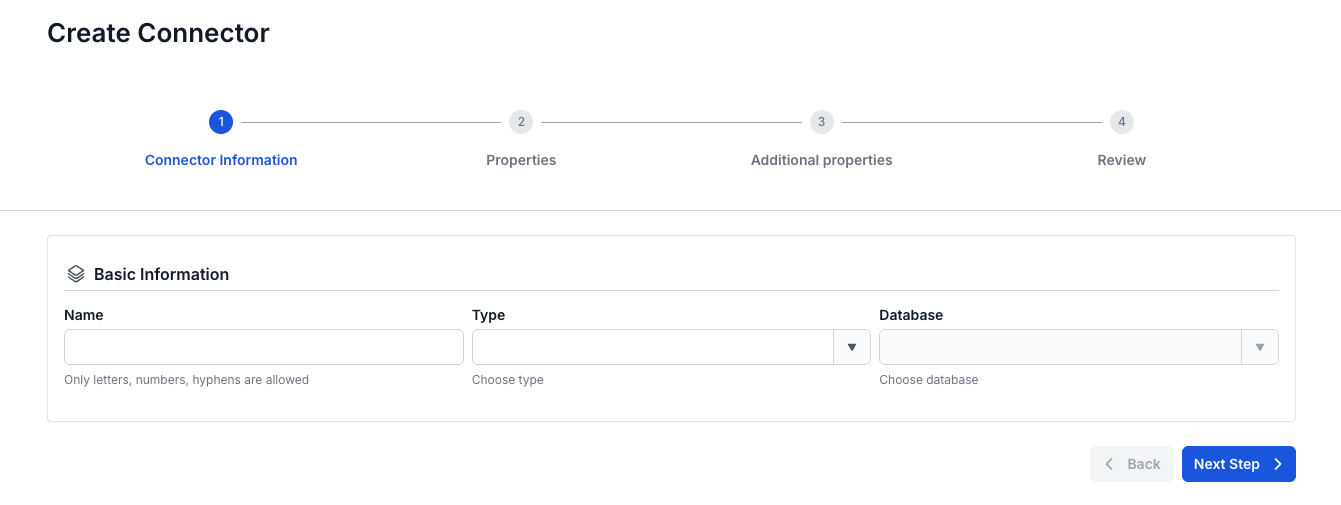
Step 4: Enter the information on the Connector Information screen:
- Name (required): connector name
Note: The connector name can contain lowercase letters a-z or digits 0-9. In particular, spaces are not allowed — you can replace spaces with "-".
- Type**(required):** select sink
- Database (required): select MongoDB
Step 5: Click Next to proceed to the Properties screen
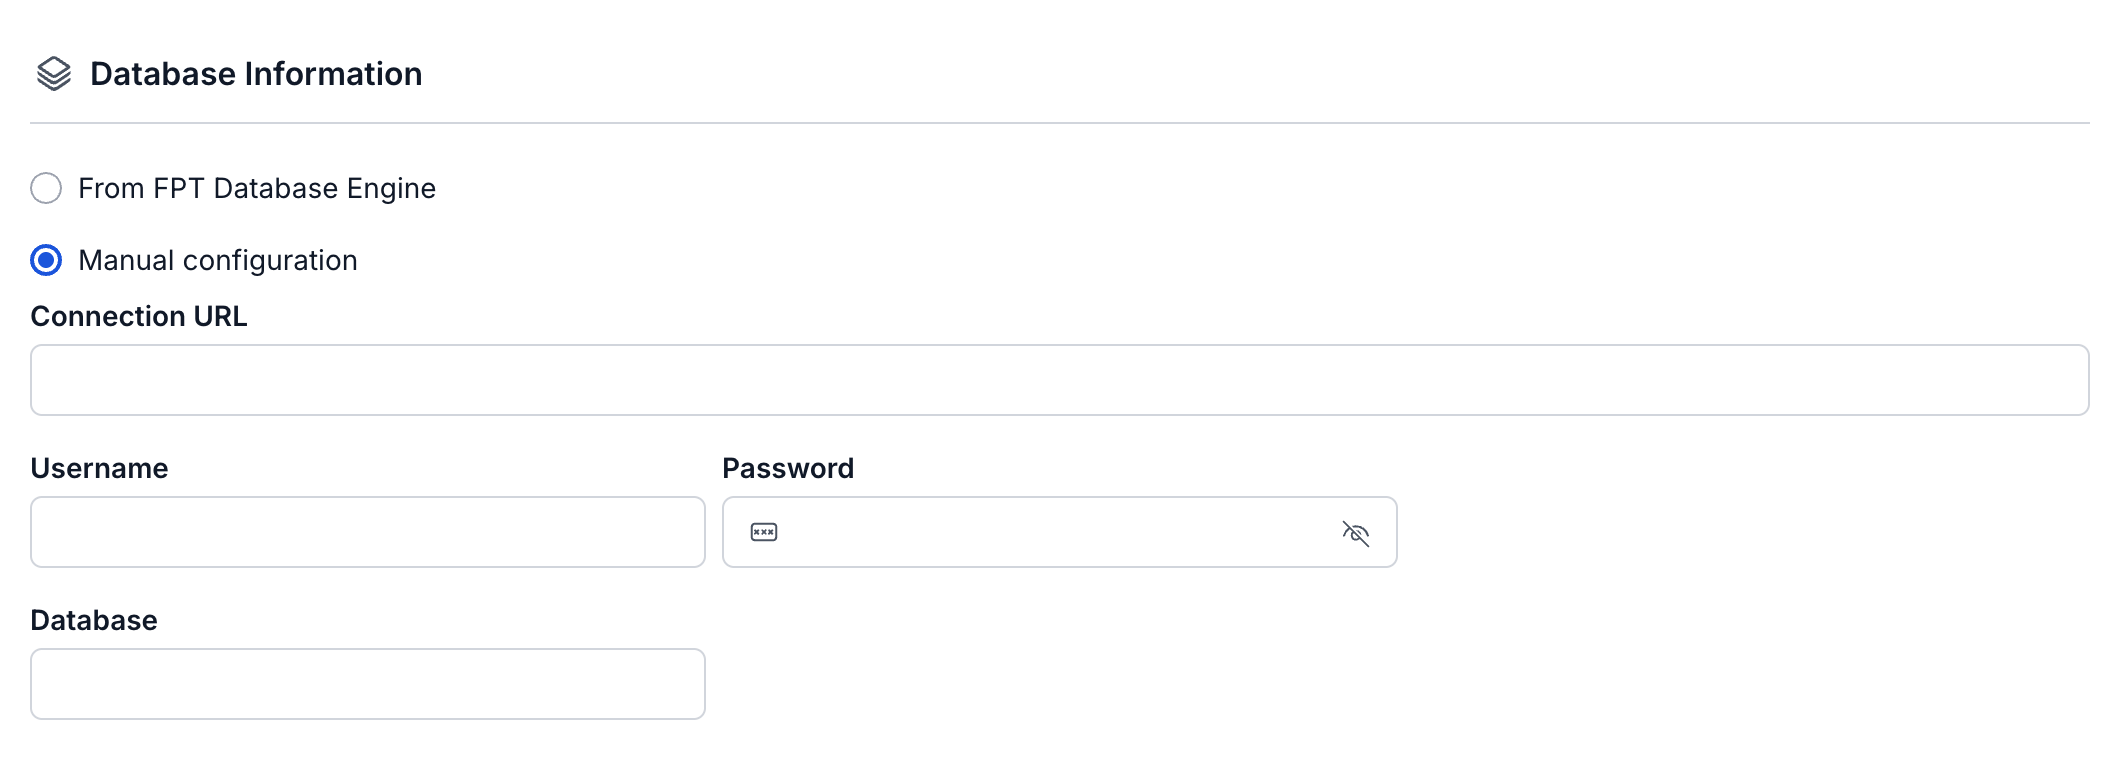
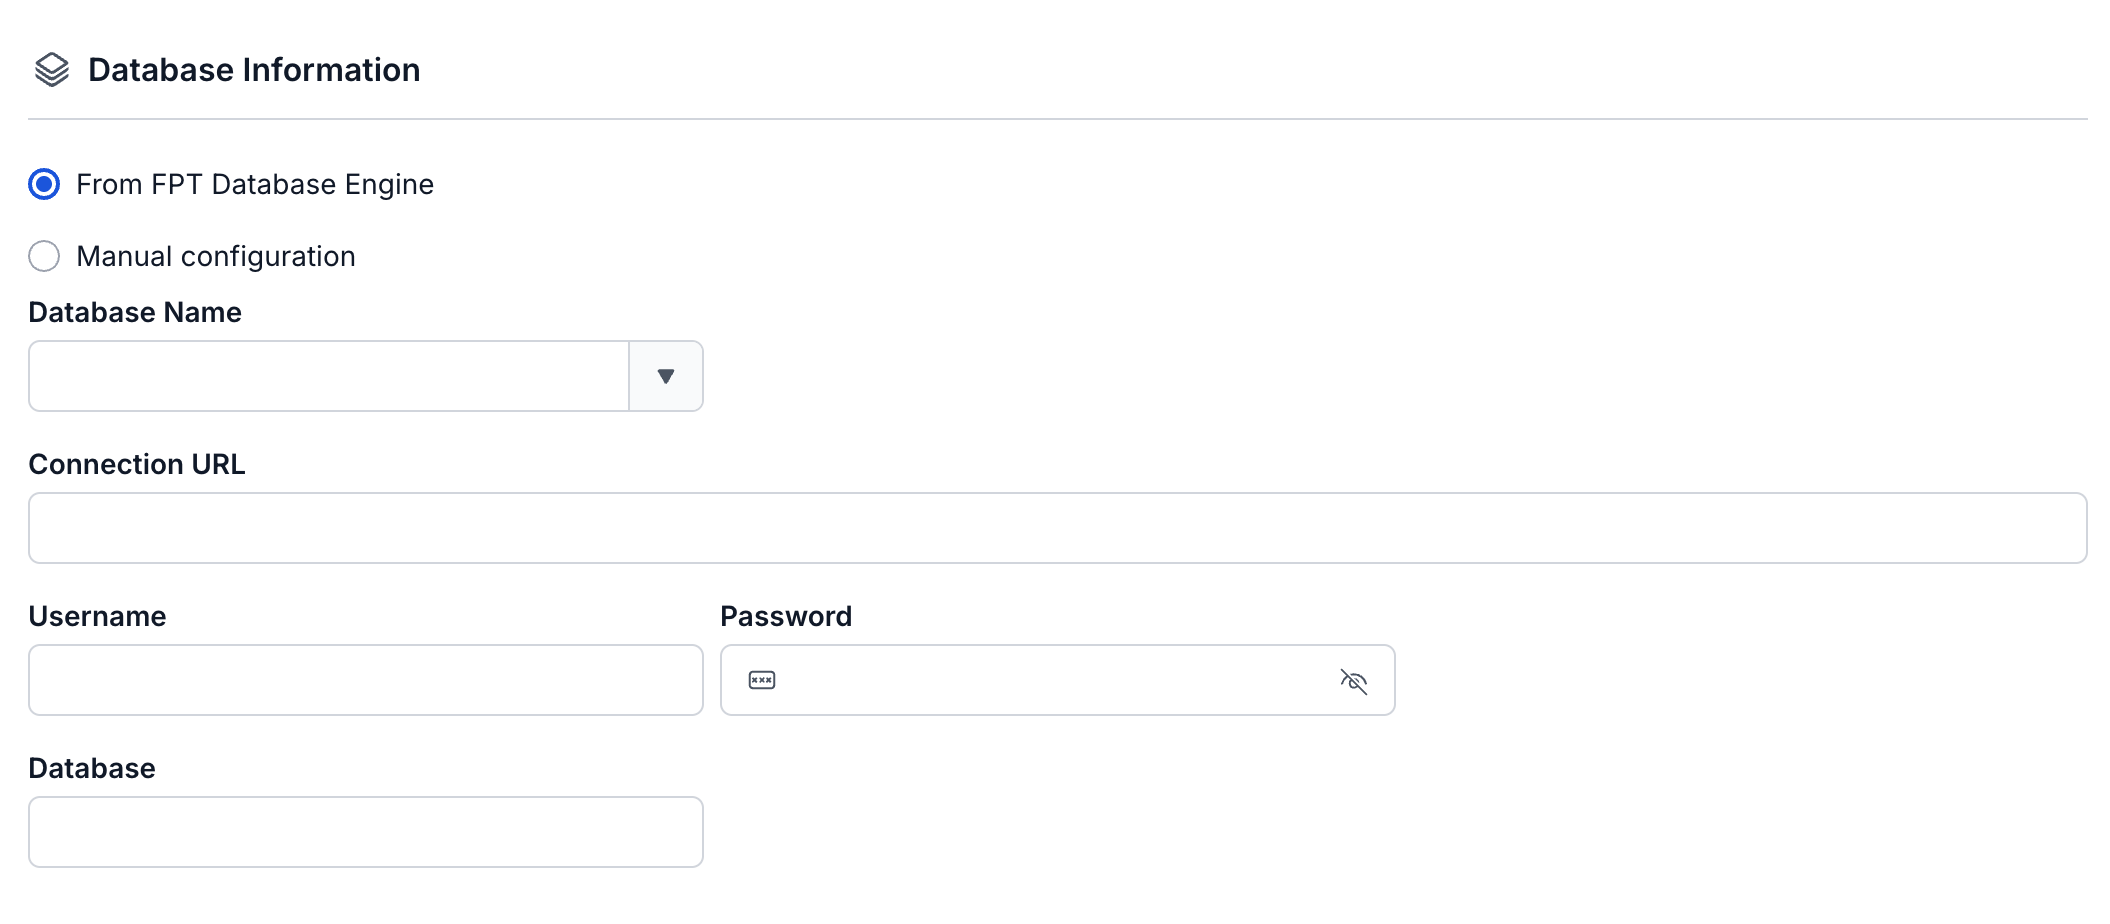
Step 6: There are two options: From FPT Database Engine, Manual configuration
- If you select Manual configuration - fill in the following information:
- Connection string (required): MongoDB connection uri
- Database (required): database name
Note: The database name can contain lowercase letters, uppercase letters, or digits 1-9. In particular, spaces are not allowed; you can replace spaces with '-' or '_'
- If you select From FPT Database Engine - fill in the following information:
- Connection string (required): MongoDB connection uri
- Database (required): database name
Note: The database name can contain lowercase letters, uppercase letters, or digits 1-9. In particular, spaces are not allowed; you can replace spaces with '-' or '_'
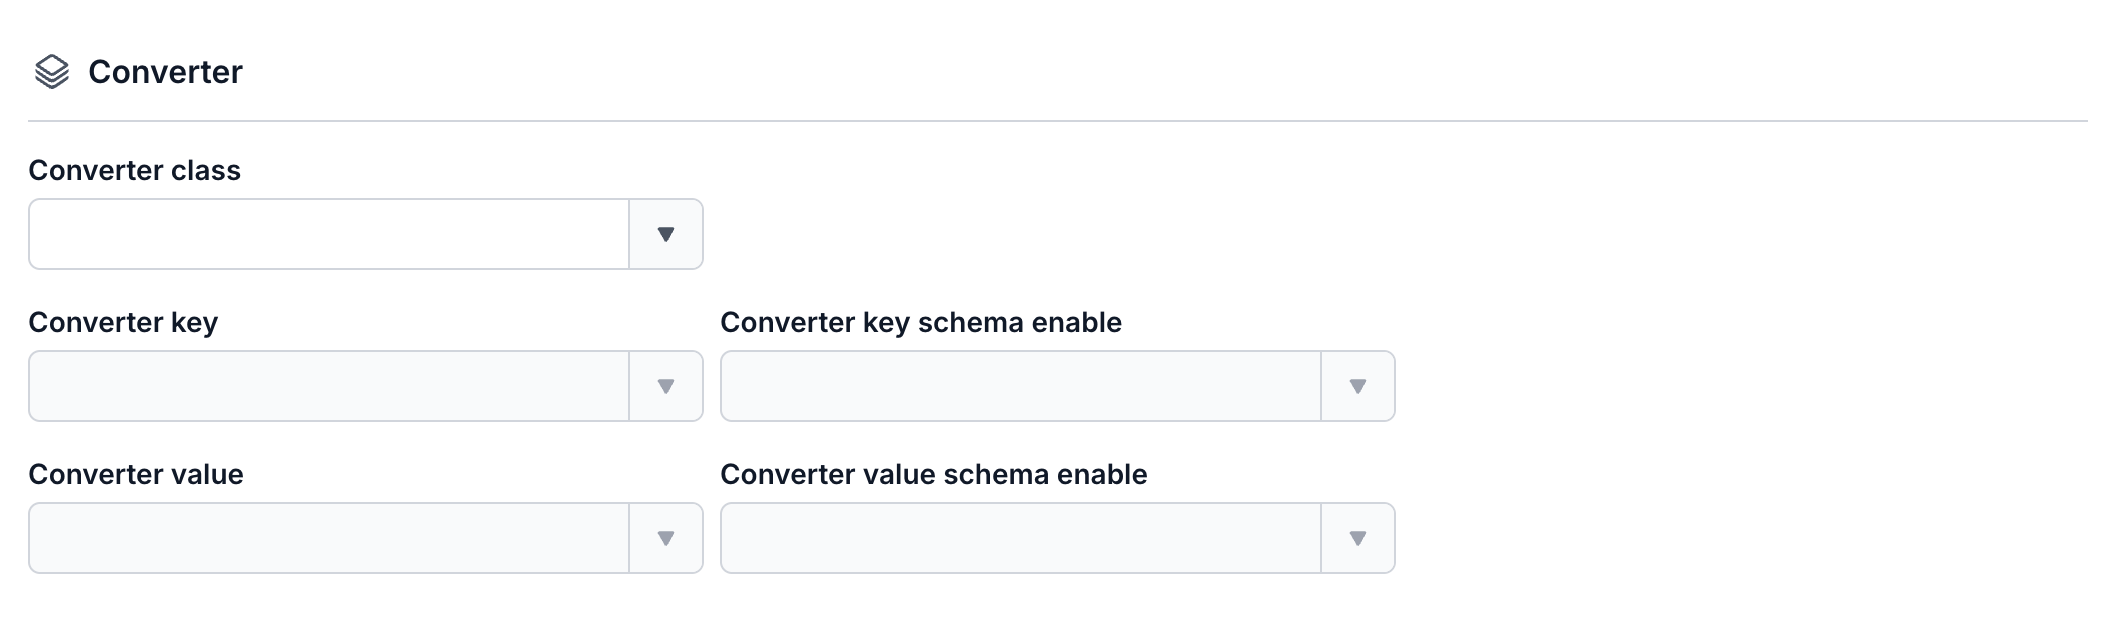
- Converter
- Converter key: select the key value for the converter
- Converter key schema enable: select whether or not to use a schema in the Converter key
- Converter value: select the value for the converter
- Converter value schema enable: select whether or not to use a schema in the Converter value
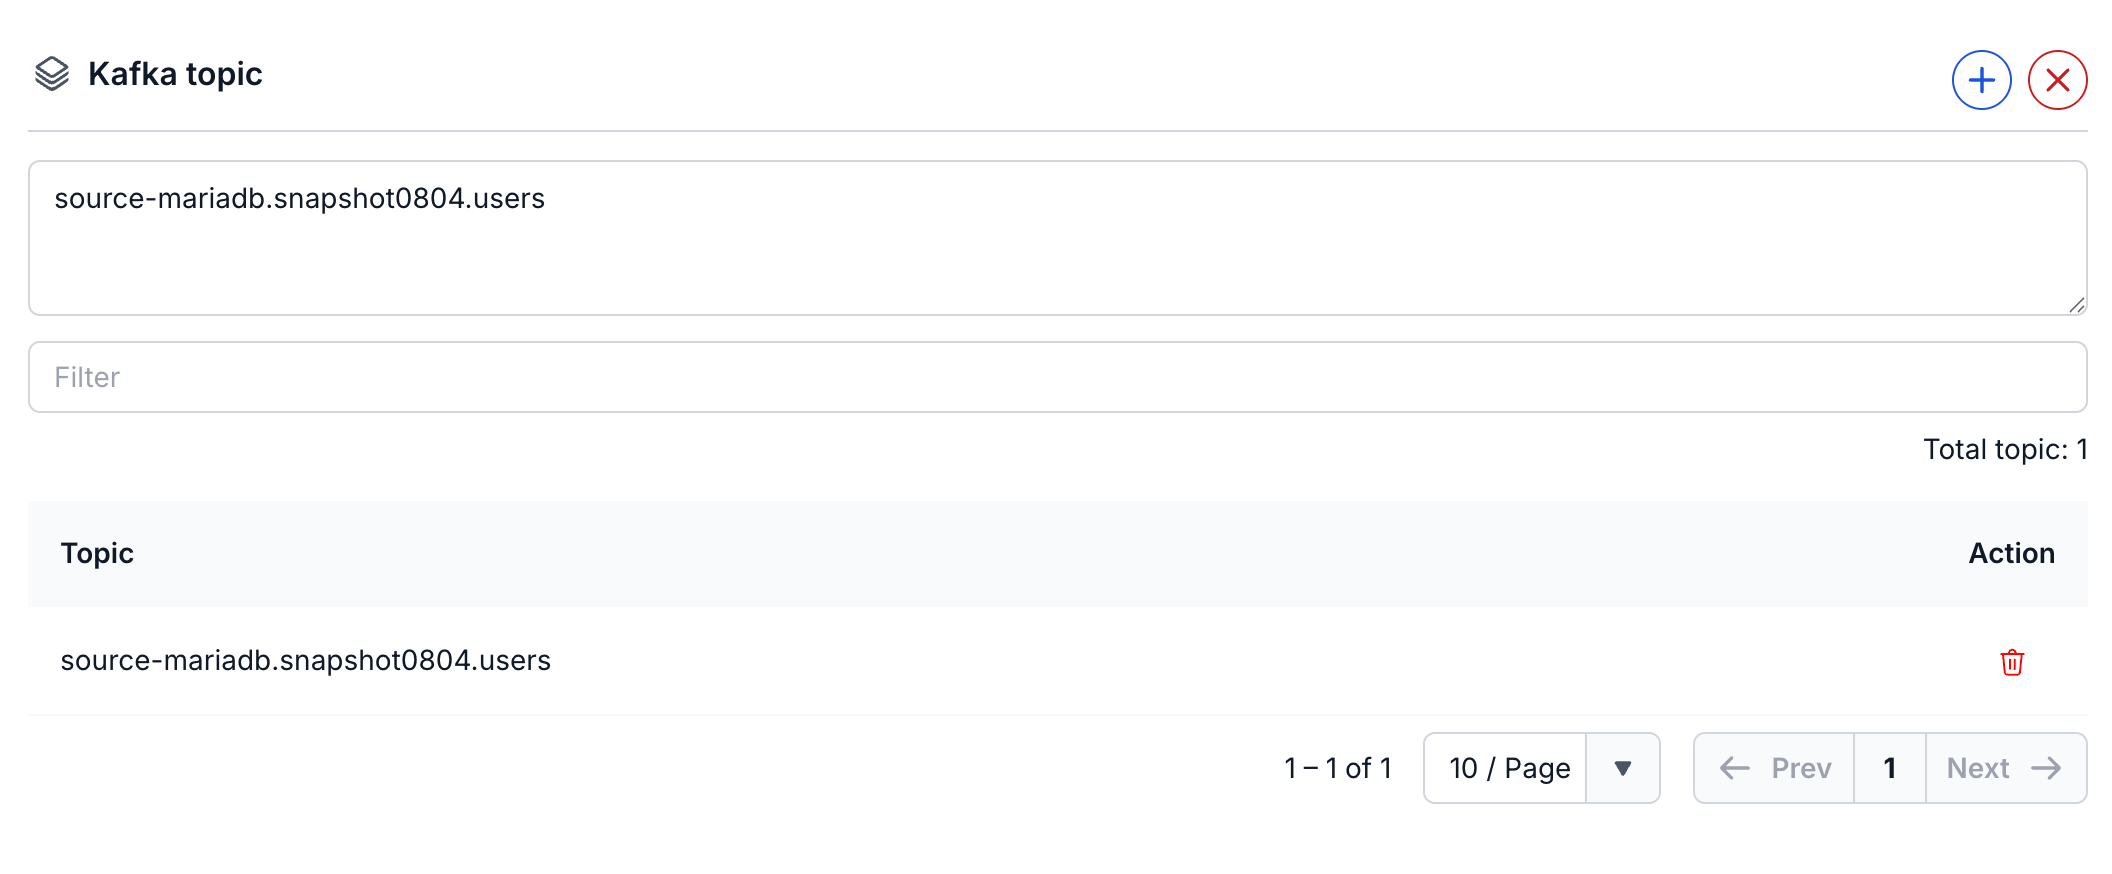
- Topics (required): List of topics
Step 7: Click Next in the top-right corner of the screen to proceed to the Additional Properties screen
Step 8: Fill in the following information:
- Tasks max (required): The number of tasks the connector can run concurrently, if the topics have more than 1 partition. When task max > 1, messages may be consumed out of order (you need to make sure the message key works correctly, in which case messages with the same key will be pushed to the same partition).

- Database source: select the source Database type

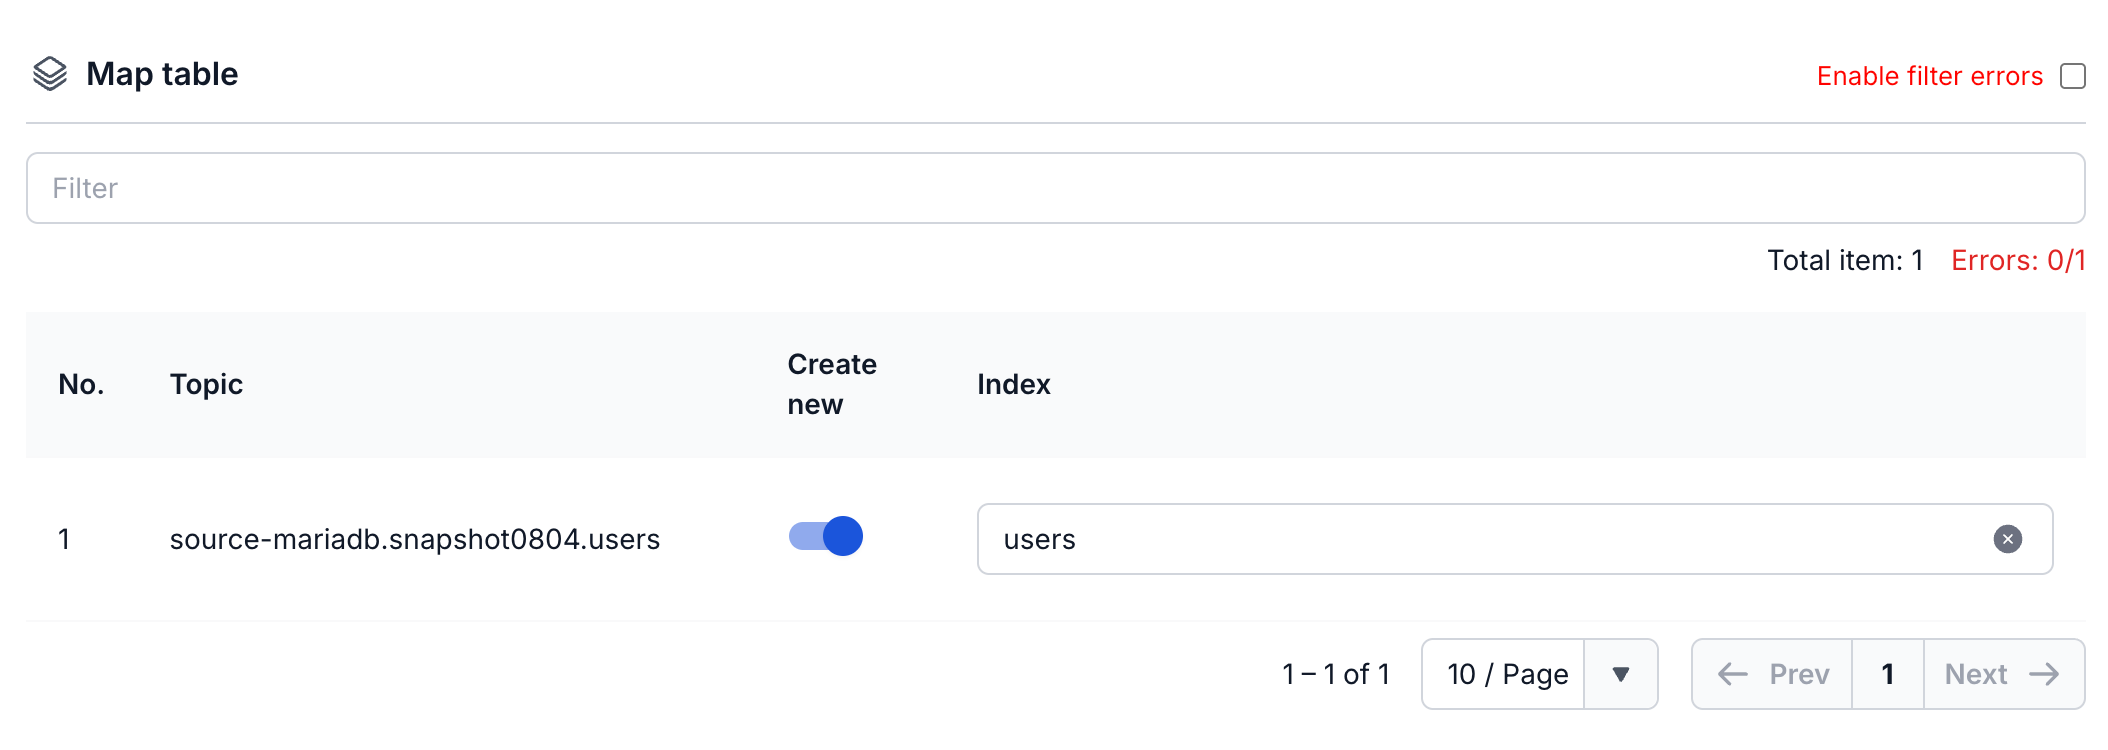
- Map table: Displays the mapping list between Topics and Indexes.
- Topic: The topic name that receives change data from the Source Connector.
- Create new: Enable to create a new index on the target system; disable to use an existing index.
- Index: The index name that stores data synced from the corresponding topic.
Step 9. Click Next to proceed to the Review screen
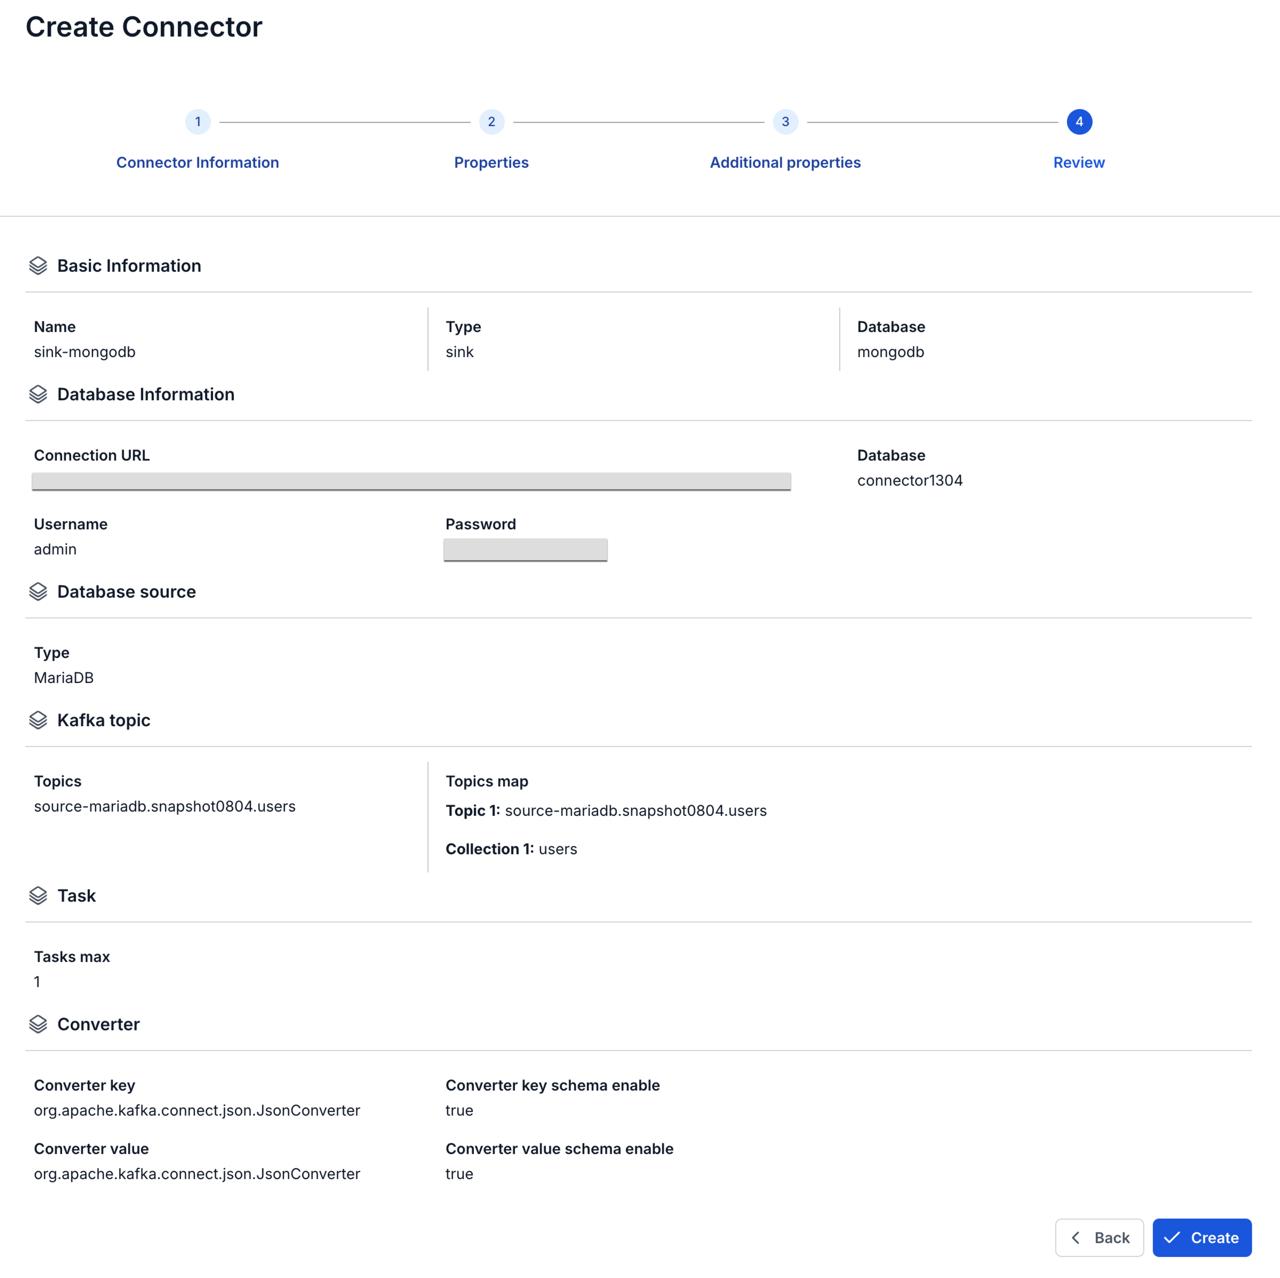
Step 10: Review the information and click the Create button to finish creating the connector.