2.3 SQL Server source connector
Create a connector where Type is source and Database is SQLserver
Pre-condition: CDC service status is healthy
The SQL Server source connector is based on the change data capture feature in SQL Server 2016 and later, Standard or Enterprise edition.
Configuring SQL Server
Prerequisites:
- Perform these tasks with sysadmin privileges.
- Perform these tasks on the database with db_owner privileges.
1. To perform CDC with SQL Server, you must first enable the SQL Server Agent.
- For details, refer to Configure SQL Server Agent and Install SQL Server Agent.
- For FPTCloud's service, contact Support for assistance.
2. Create a SQL Server user:
CREATE LOGIN <YOUR_USERNAME> WITH PASSWORD = '<YOUR_PASSWORD>';
 CREATE USER <YOUR_USERNAME> FOR LOGIN <YOUR_USERNAME>;
3. Optional - Create a role for CDC:
- The Connector can use sysadmin or dbowner. However, if you want a higher level of security, you can create a new role for this user.
CREATE ROLE <YOUR_ROLE_NAME>;
- Add user to Role:
ALTER ROLE <YOUR_ROLE_NAME> ADD MEMBER <YOUR_USERNAME>;
4. Configure CDC on the SQL Server database:
USE <YOUR_DATABASE_NAME>
 GO
 EXEC sys.sp_cdc_enable_db
 GO
5. Configure CDC on the table you need to listen for changes on:
- With the role just created:
USE <YOUR_DATABASE_NAME>
 GO
 EXEC sys.sp_cdc_enable_table
 @source_schema = N'dbo',
 @source_name = N'<YOUR_TABLE>',
 @role_name = N'<YOUR_ROLE_NAME>',
 @supports_net_changes = 0;
 GO
- With only sysadmin or db_owner role:
USE <YOUR_DATABASE_NAME>
 GO
 EXEC sys.sp_cdc_enable_table
 @source_schema = N'dbo',
 @source_name = N'<YOUR_TABLE>',
 @role_name = NULL,
 @supports_net_changes = 0;
 GO
6. Check permissions again with the CDC user. Note: Perform this operation with the user created above.
USE <YOUR_DATABASE_NAME>
 EXEC sys.sp_cdc_help_change_data_capture;
 GO
Steps to create a connector:
To create a connector, follow these steps:
Step 1: In the menu bar, select Data Platform > select Workspace Management > select Workspace name
Step 2: In the My services section, select CDC service
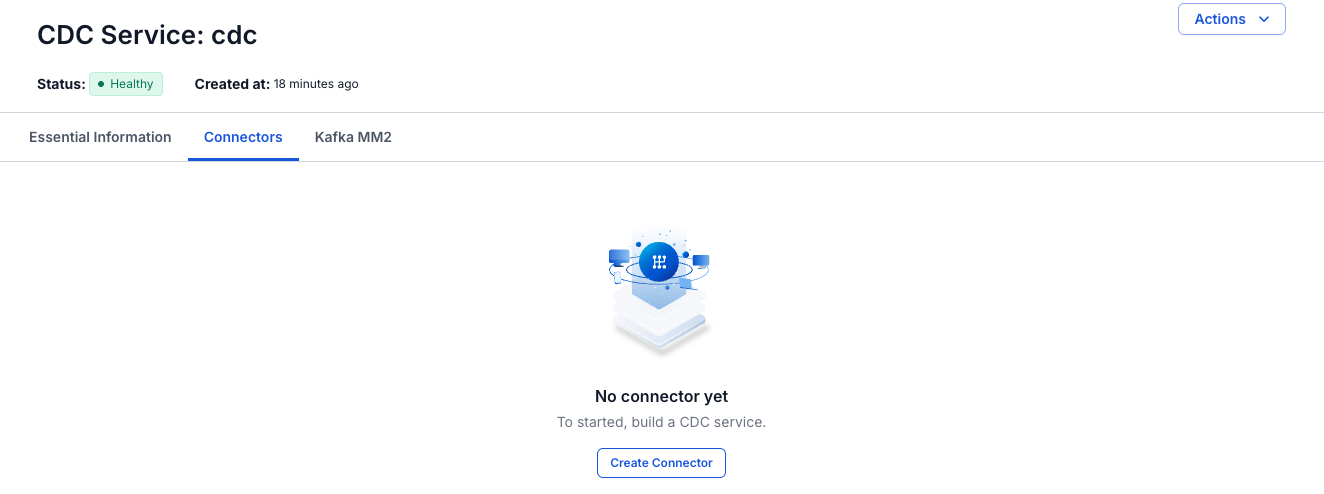
Step 3: On the CDC service detail screen > select the Connectors tab > click Create a connector
Step 4: Enter the information on the Connector Information screen:
- Name (required): connector name
Note: The connector name can contain lowercase letters a-z or digits 0-9. In particular, spaces are not allowed — you can replace spaces with "-".
- Type (required): select source
- Database (required): select SQLserver
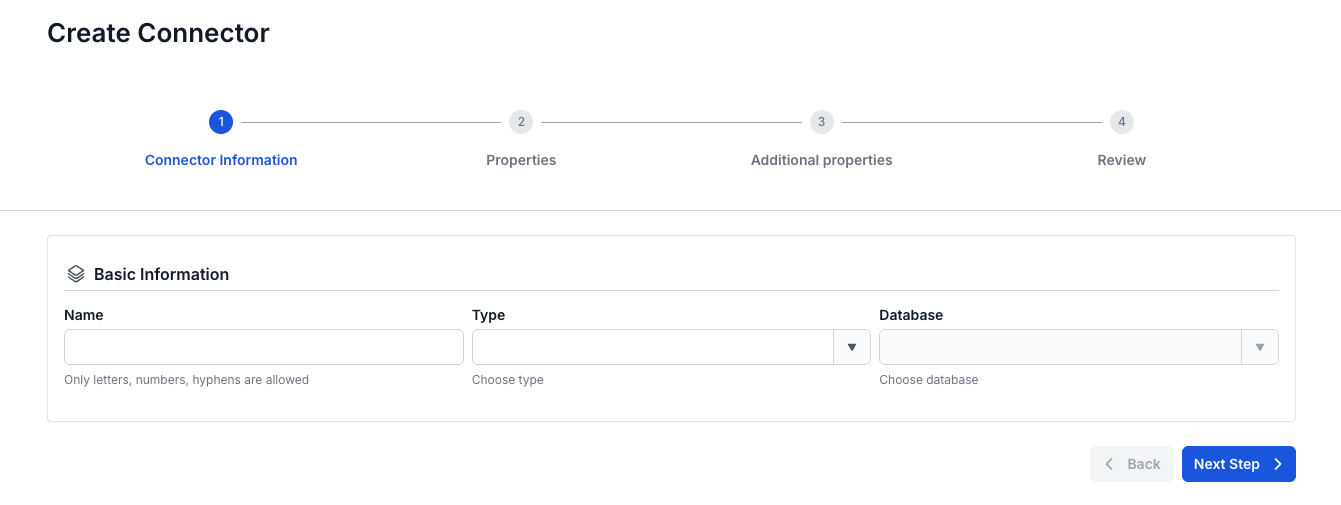
Step 5: Click Next to proceed to the Properties screen
Enter the information on the Properties screen
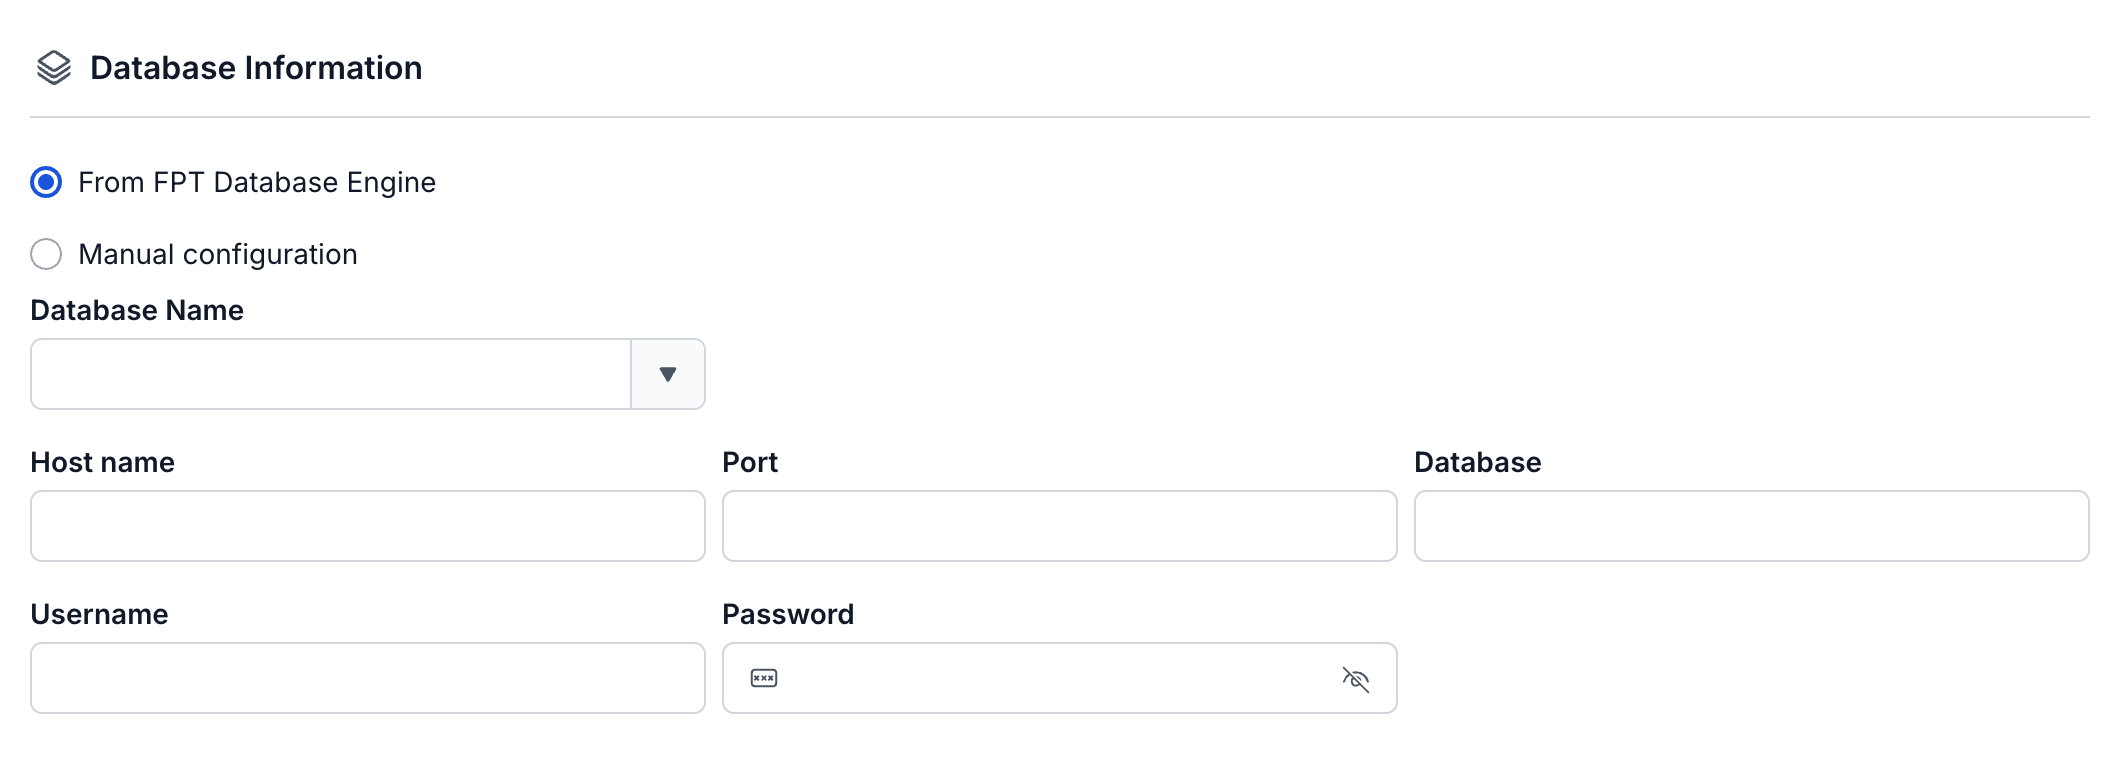
- If you select Manual configuration - fill in the following information:
- Host name (required): Hostname or IP of SQLserver
- Port (required): SQLserver port, default:
1433. - Database name (required): The target database that the Connector will sink data into
- Username (required): Username used by the Connector
- Password (required): Password used by the Connector
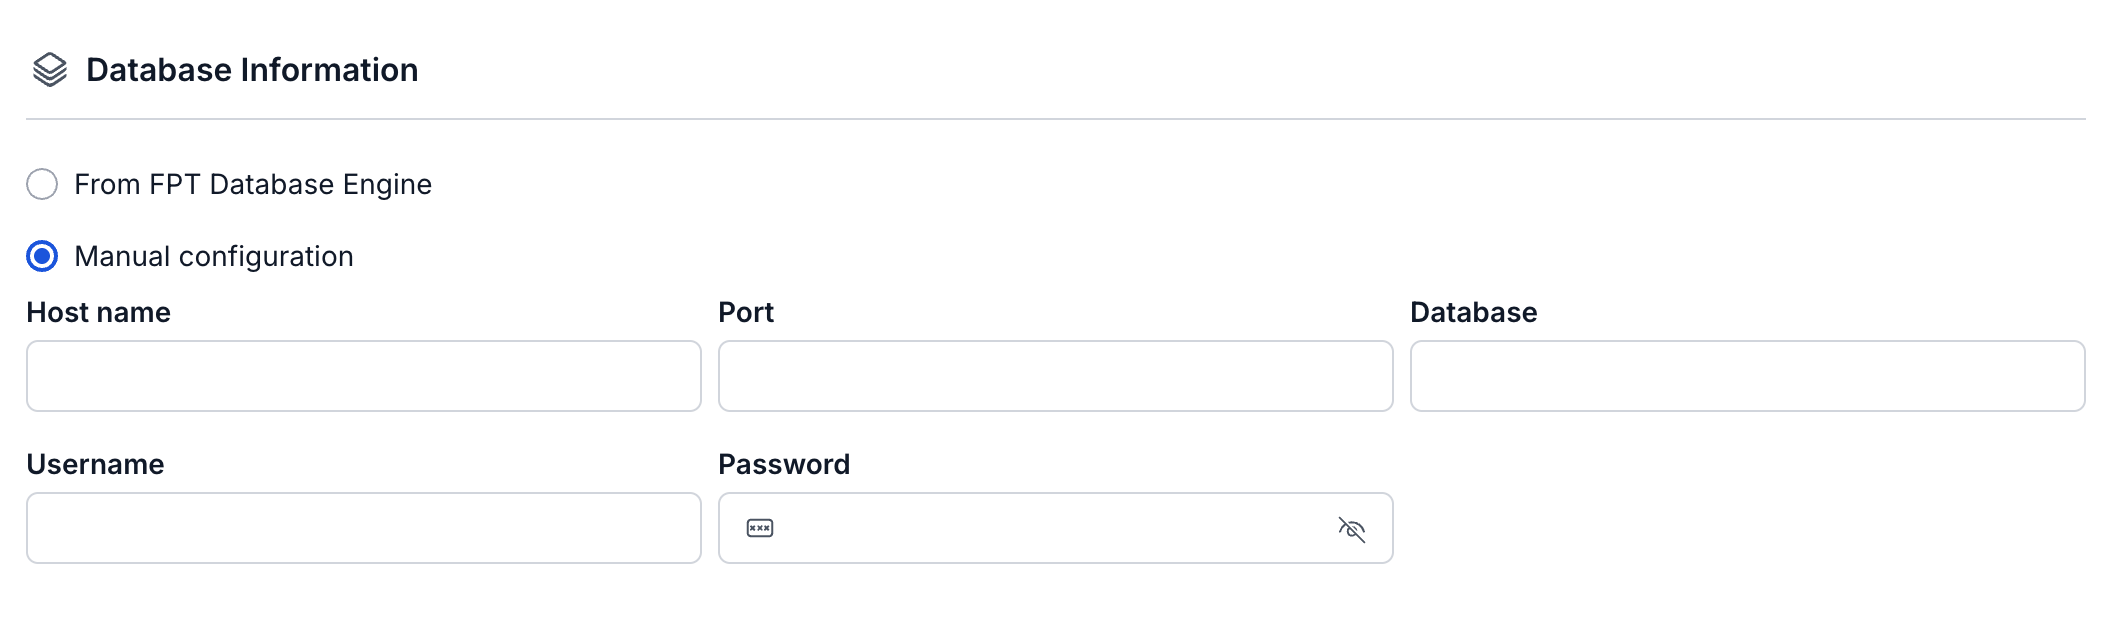
- If you select From Database Engine - fill in the following information:
- Database name (required): Database name
- Host name (required): Hostname or IP of SQLserver
- Port (required): SQLserver server port, default:
1433. - Database name (required): The target database that the Connector will sink data into
- Username (required): Username used by the Connector
- Password (required): Password used by the Connector
- Kafka Topic - Topic prefix (required): The list of topics the Connector will consume and sink data into the target database, separated by ","

Click Test connection to verify the connection from the Workspace to the entered Database
Step 6: Click Next to proceed to the Additional Properties screen, and enter the following information:
- Mode (required): The Connector's behavior - select one of the following modes:
- Initial (default): The Connector will snapshot all existing data in the tables, then continue to capture data changes on those tables
- Initial_only: The Connector will only snapshot all existing data in the tables, then not listen for data change events on the tables
- Never: The Connector will not snapshot existing data in the tables, and will only listen for data change events on the tables

- Schema (optional): a namespace used to group tables that share a common characteristic for easier management.
- Table (optional): the name of a table in the schema
- Column (optional): the name of a data column you want to retrieve from the table

-
Heartbeat (optional): Configure the interval (in milliseconds) between heartbeat messages sent by the connector to maintain its running state and update the offset when there are no data changes from the source.
- Default value:
0 - Valid value range:
0-30000 - Only applies to the following Source Connectors: PostgreSQL, MariaDB, MySQL, and SQL Server.
- For PostgreSQL, you need to create the heartbeat table in the source database before using this feature.
- Examples:
0: No heartbeat is sent.1000: A heartbeat is sent every 1 second.5000: A heartbeat is sent every 5 seconds.
- Default value:

Step 7: Click Next to proceed to the Review screen
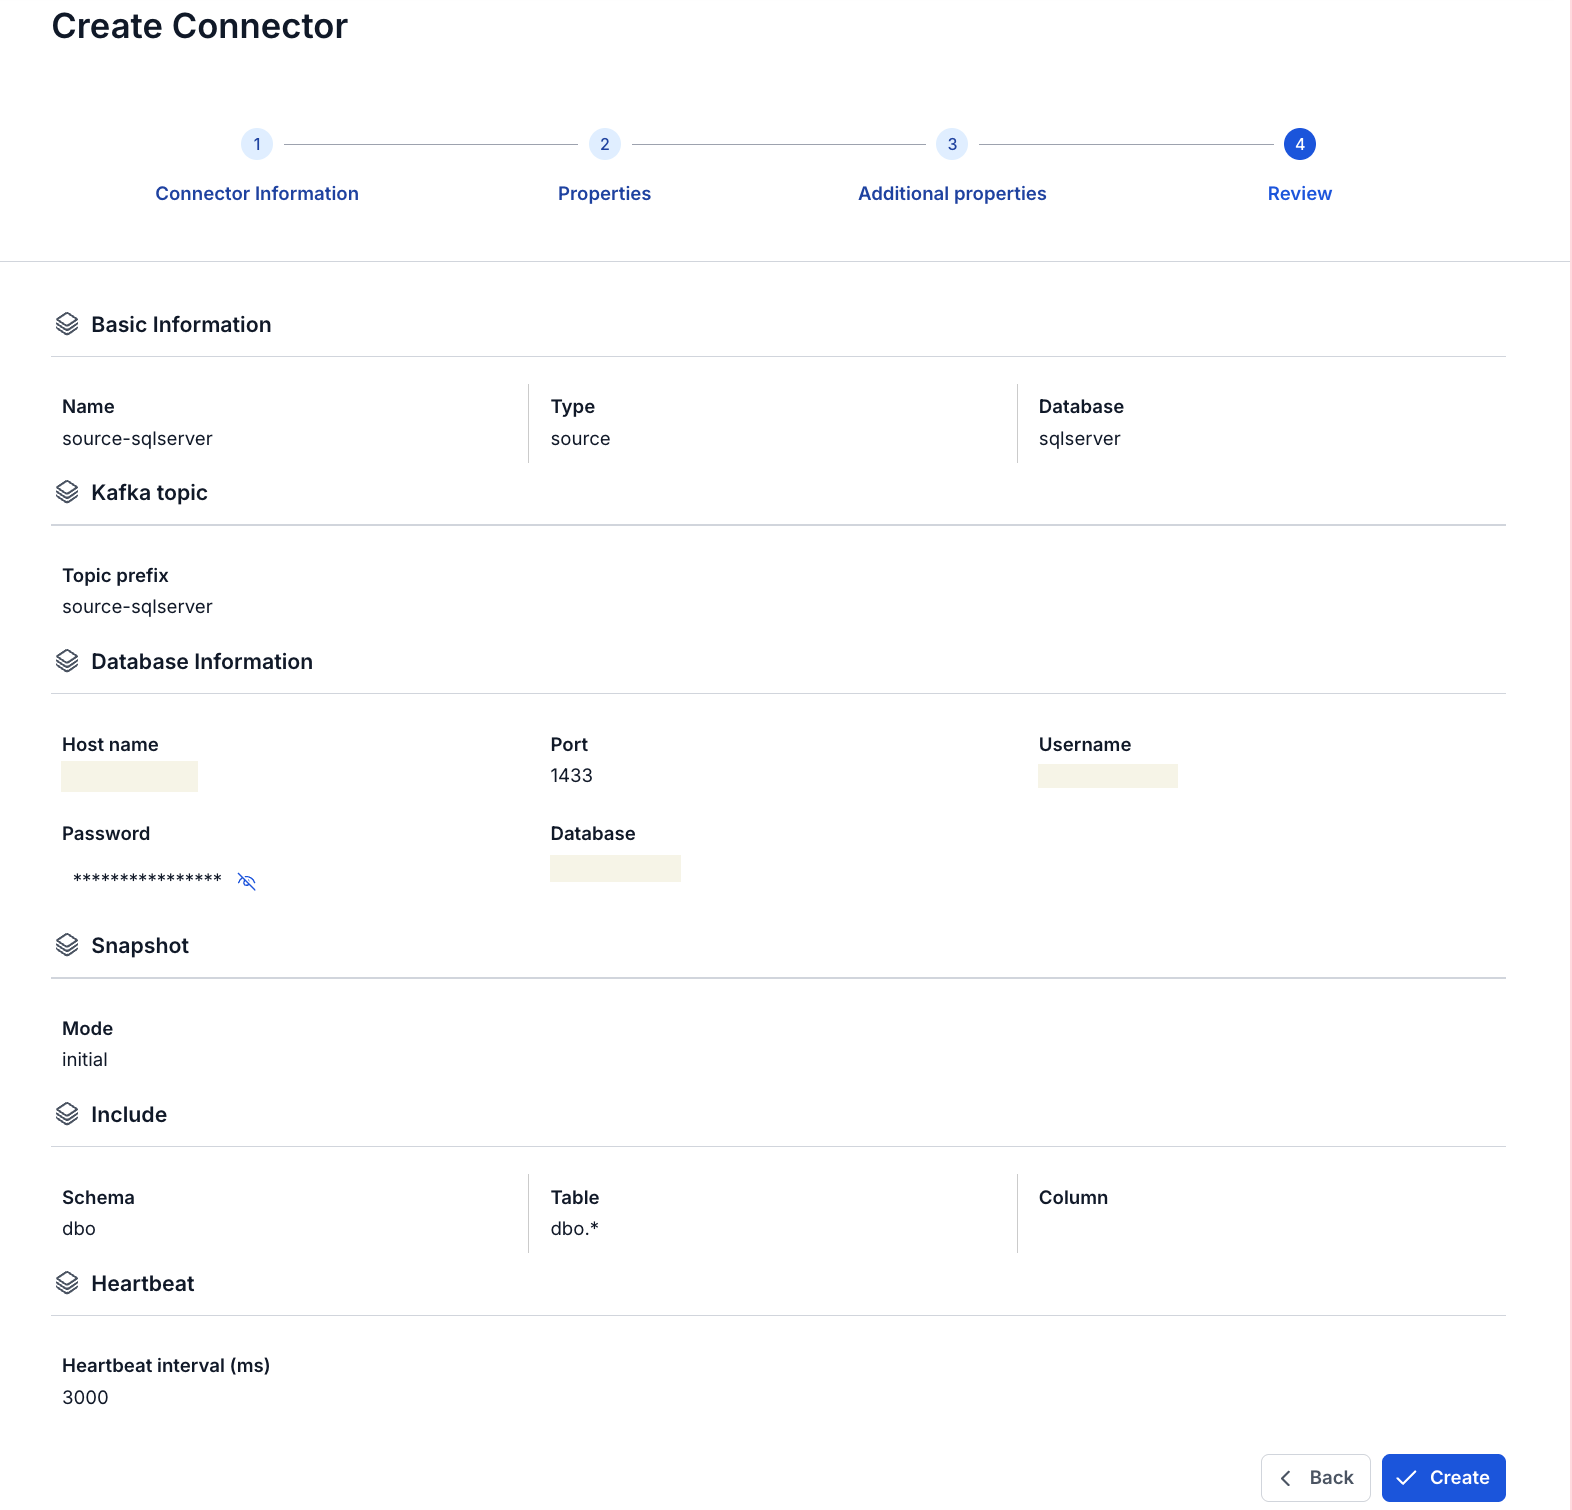
Step 8: Review the information, then click Create to finish creating the connector