Create JupyterHub
To create a JupyterHub, follow these steps:
Step 1: In the menu bar, select Data Platform > Workspace Management > Workspace name
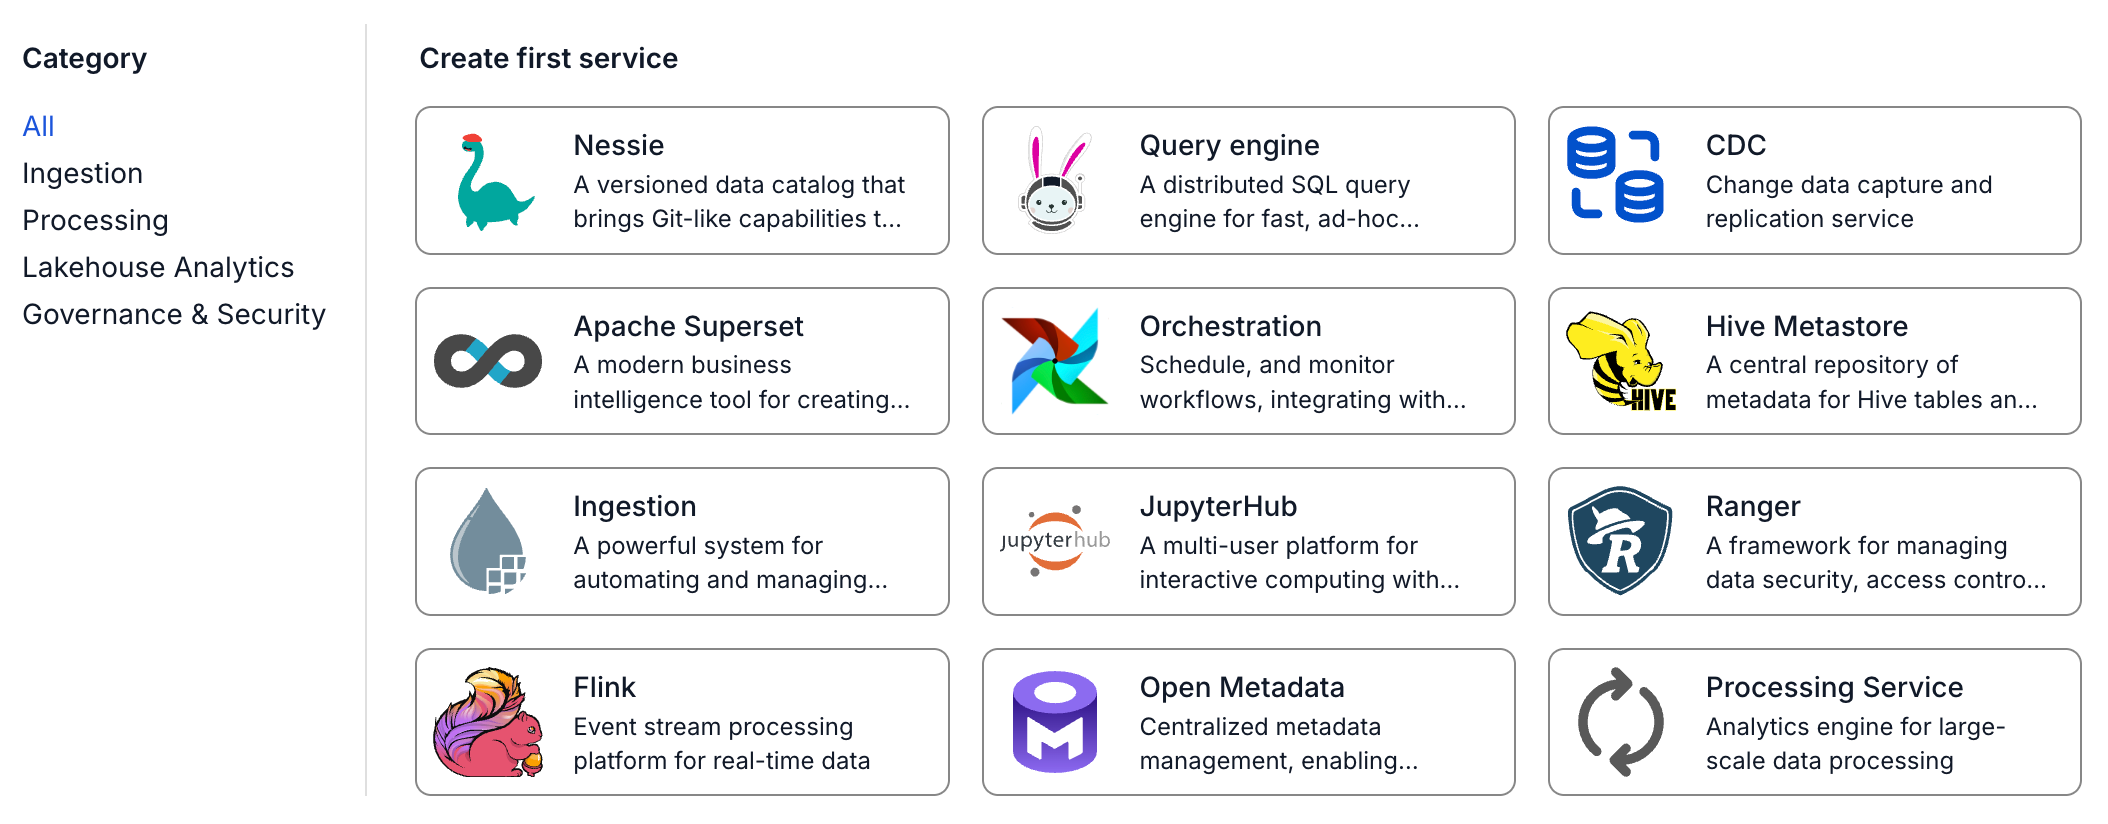
Step 2: In the Workspace Details section, click Create > the Services popup appears, select JupyterHub service > Create Service
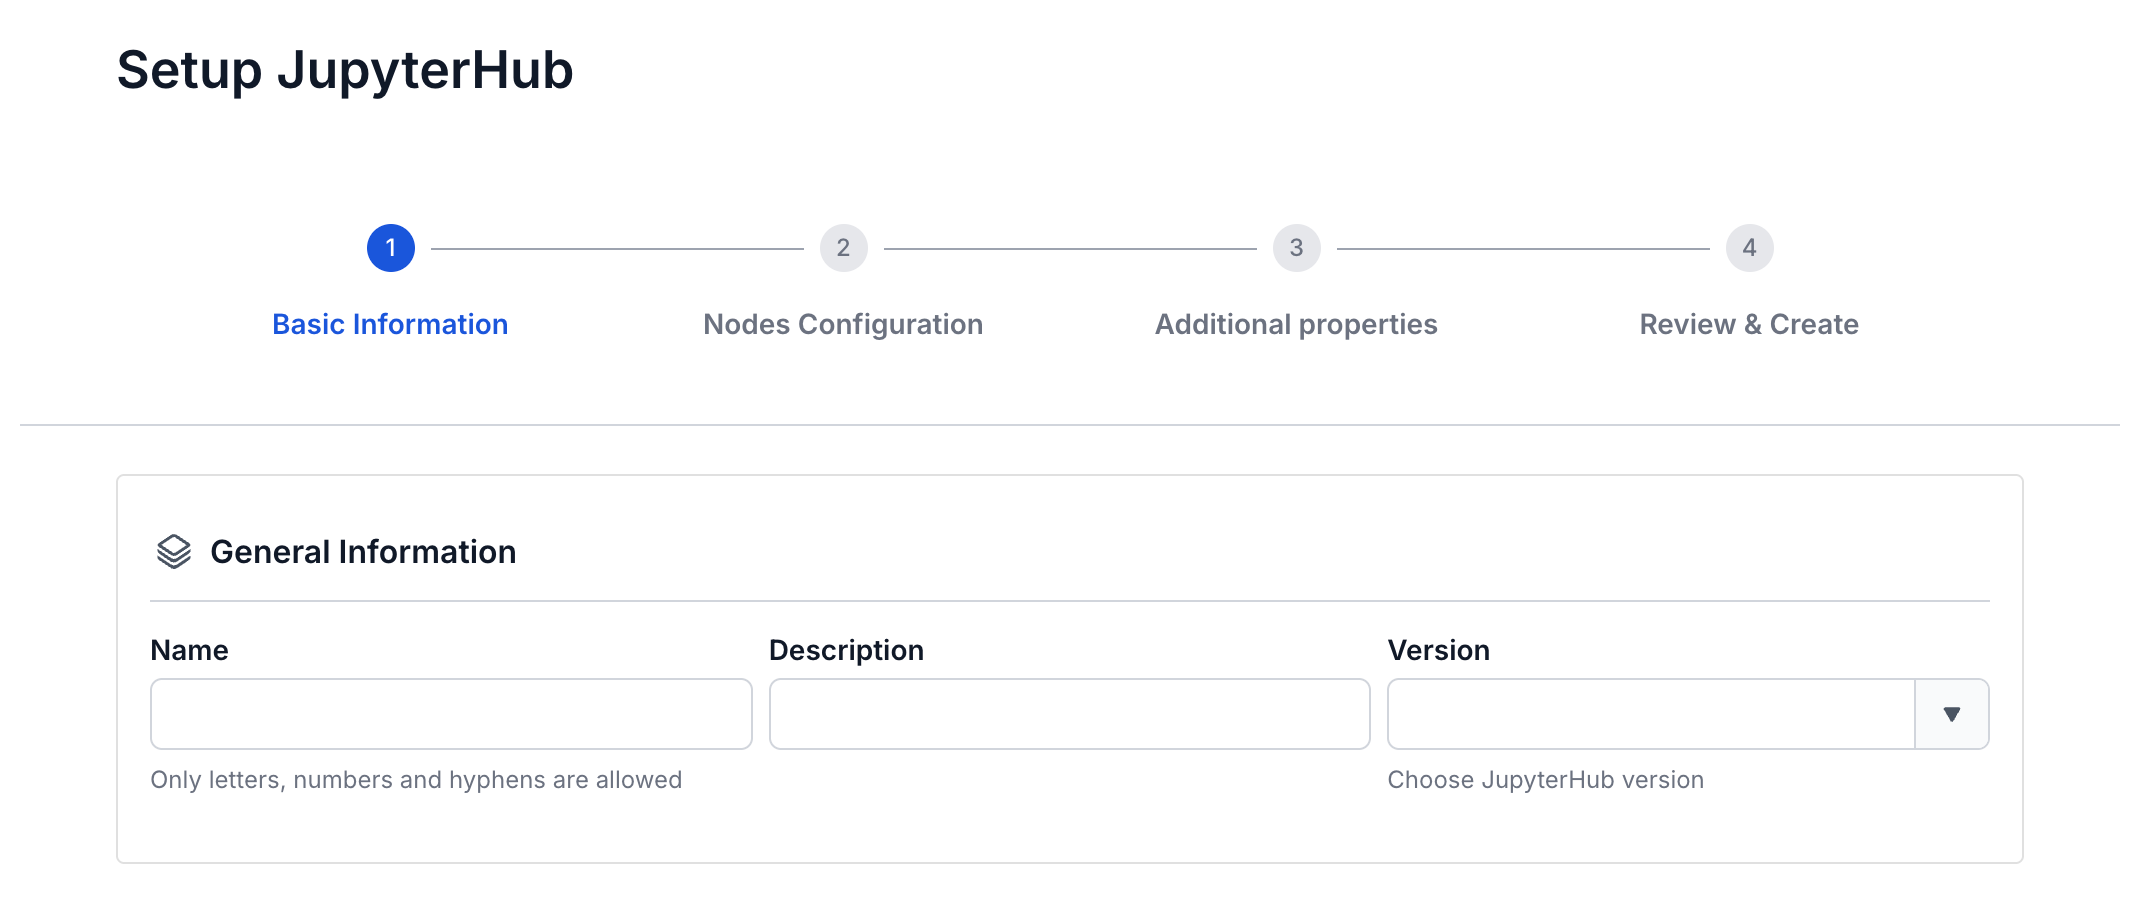
Step 3. In the JupyterHub creation form, enter the information on the Basic Information screen
- Name (required): Service name
Note: The name can contain lowercase letters a-z, uppercase letters A-Z, or digits 0-9. Spaces are not allowed; use "-" or "_" instead.
- Description (optional): description
- Version (required): select the JupyterHub version
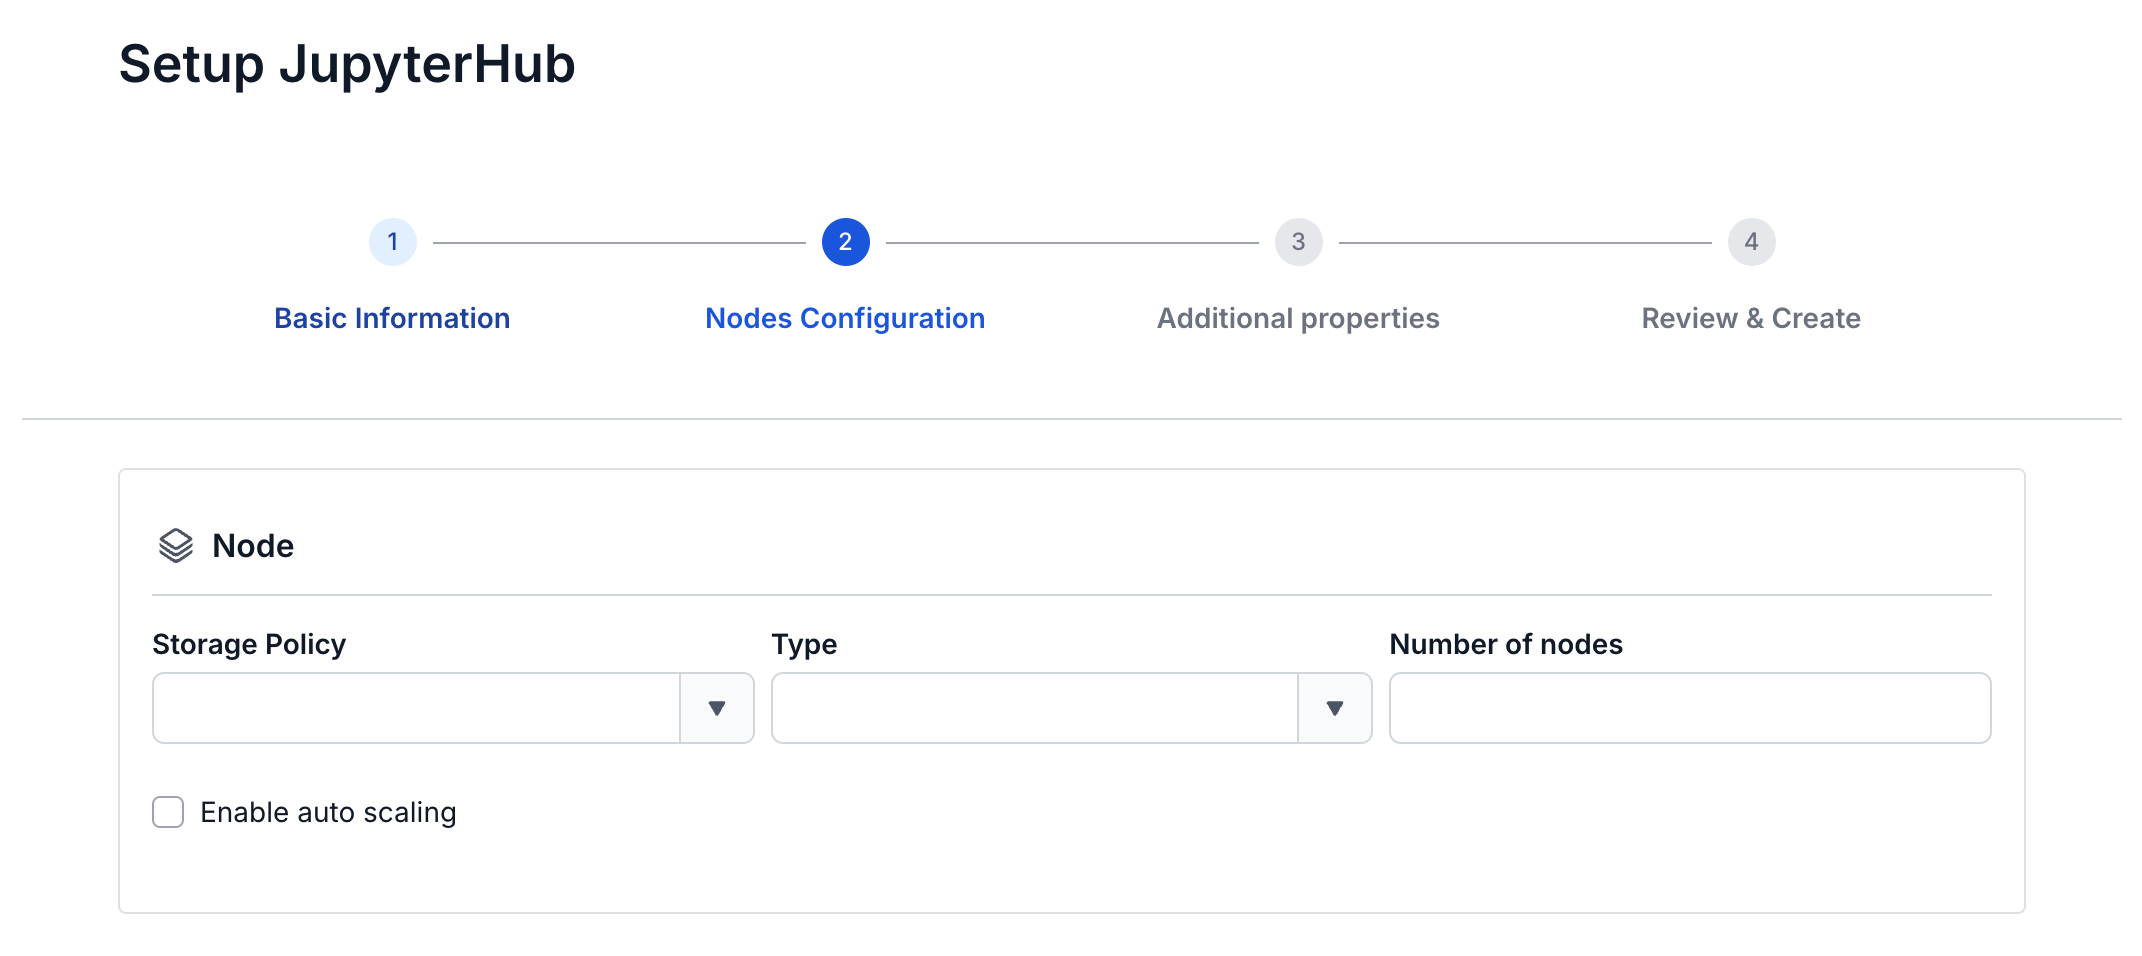
Step 4: Click Next Step to proceed to the Nodes Configuration screen
Enter the following information:
- Storage policy: select a storage policy
- Type: select the flavor type
- Number of nodes: enter the number of nodes to configure for JupyterHub
The number of nodes must be greater than or equal to 2 and less than or equal to 10
Step 5: Click Next Step to proceed to the Advanced Properties screen
Select the following information:
Custom workspace: Check to save user data to S3
Mount S3 storage (directory for storing the user's Workspace code)
- Storage name: select the storage name
- S3 workspace path: enter the storage path

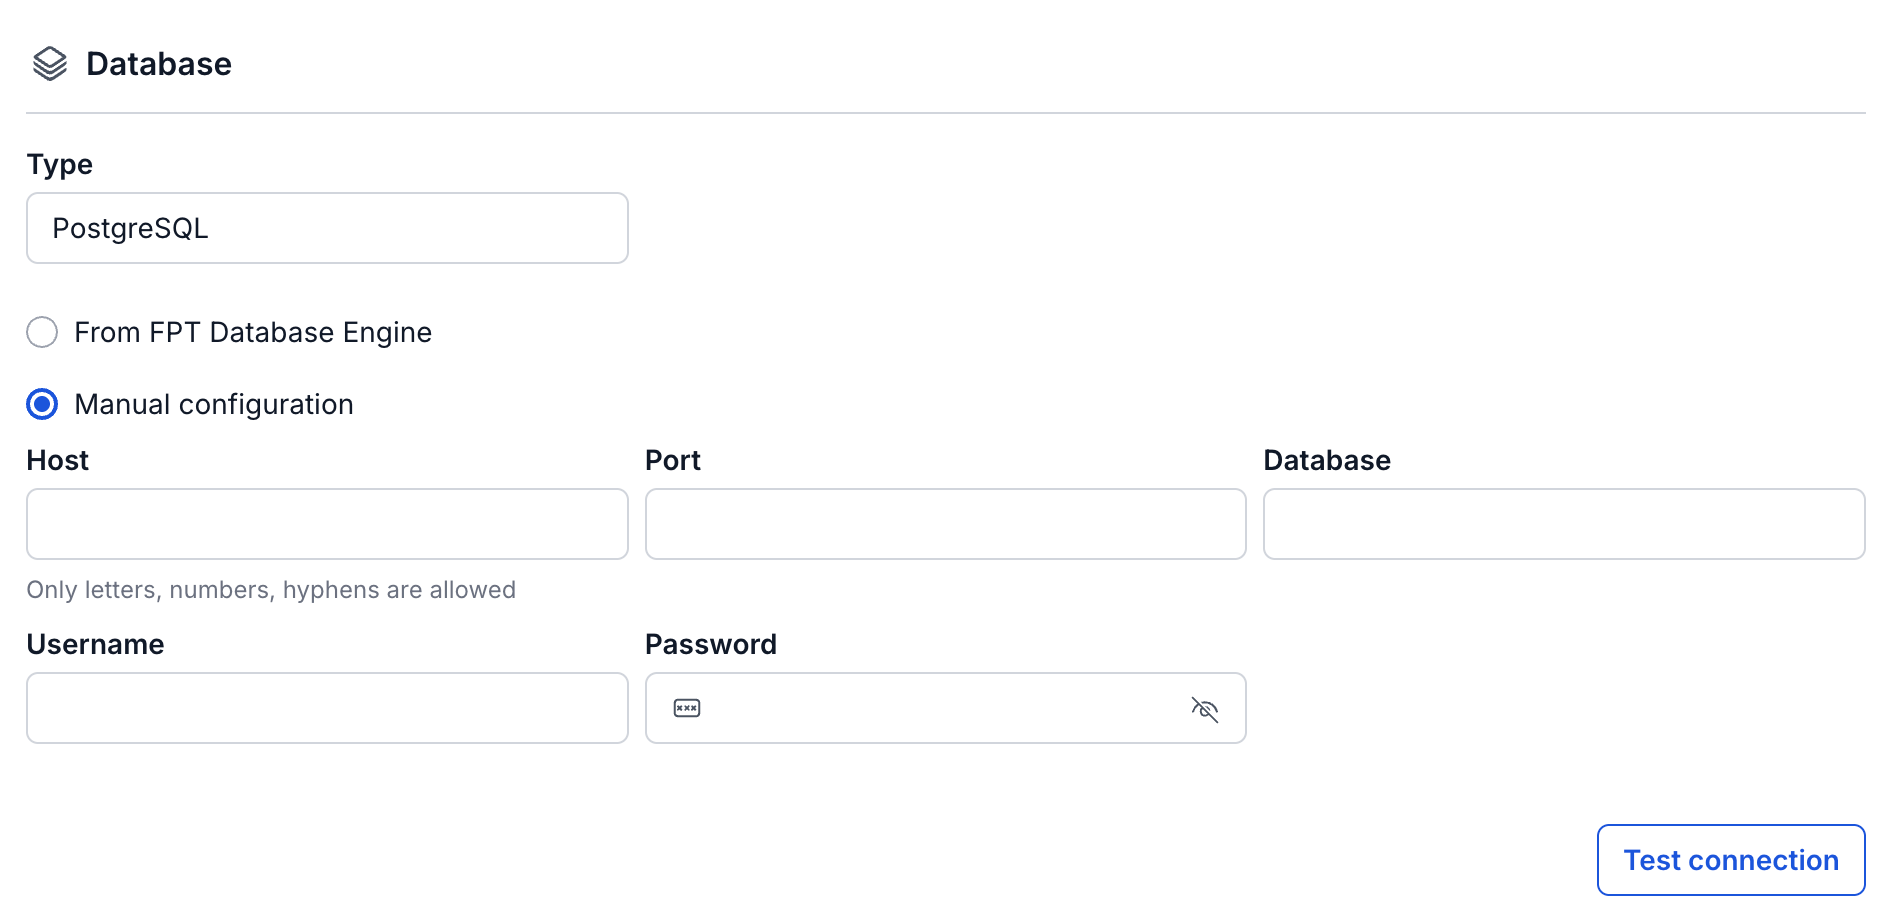
Database
- Type: default is PostgreSQL
- Host name (required): hostname or IP address of Postgres
- Port (required): connection port, default is 5432
- Database name (required): database name
- Username (required): access account username
- Password (required): access password
Data encryption
- Keystore name: Select from the Workspace's Keystore catalog to encrypt sensitive data when JupyterHub connects to the Database

Single Sign On: Check to use SSO for authentication with JupyterHub
- Provider: Fpt ID
- Username: username
- Email: FPT email address

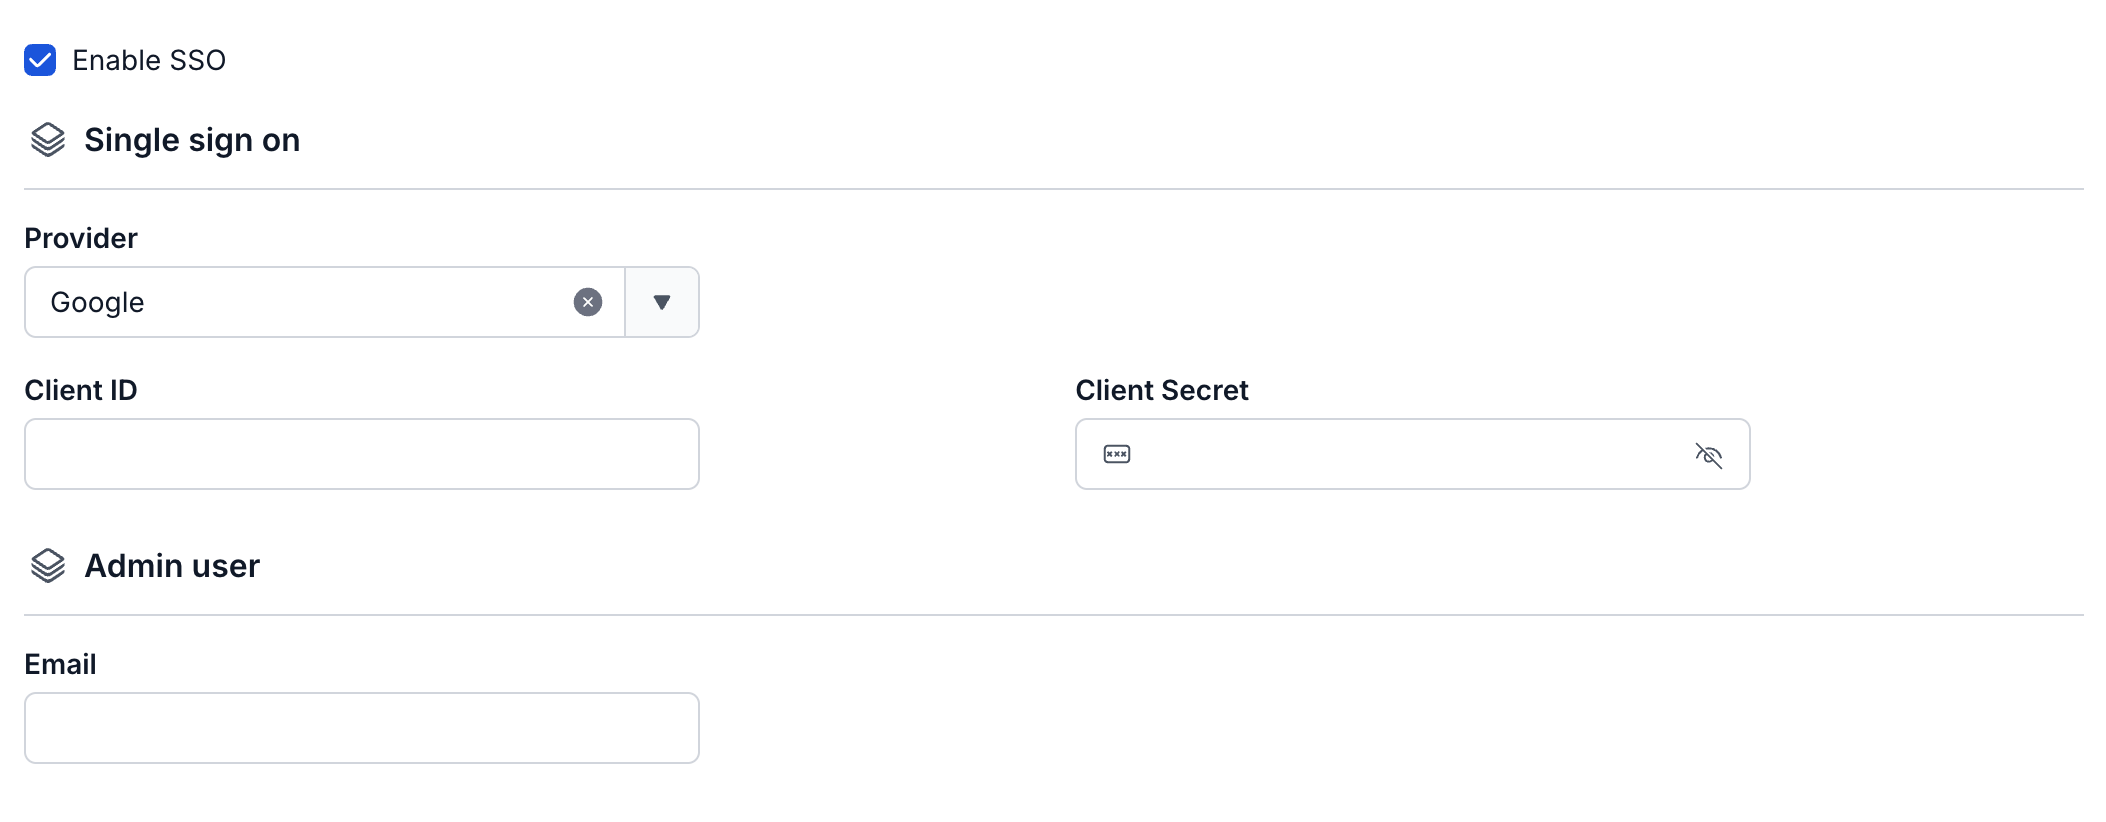
- Provider: Google
- Client ID: Client ID information
- Client Secret: Secret information
- Email: email address
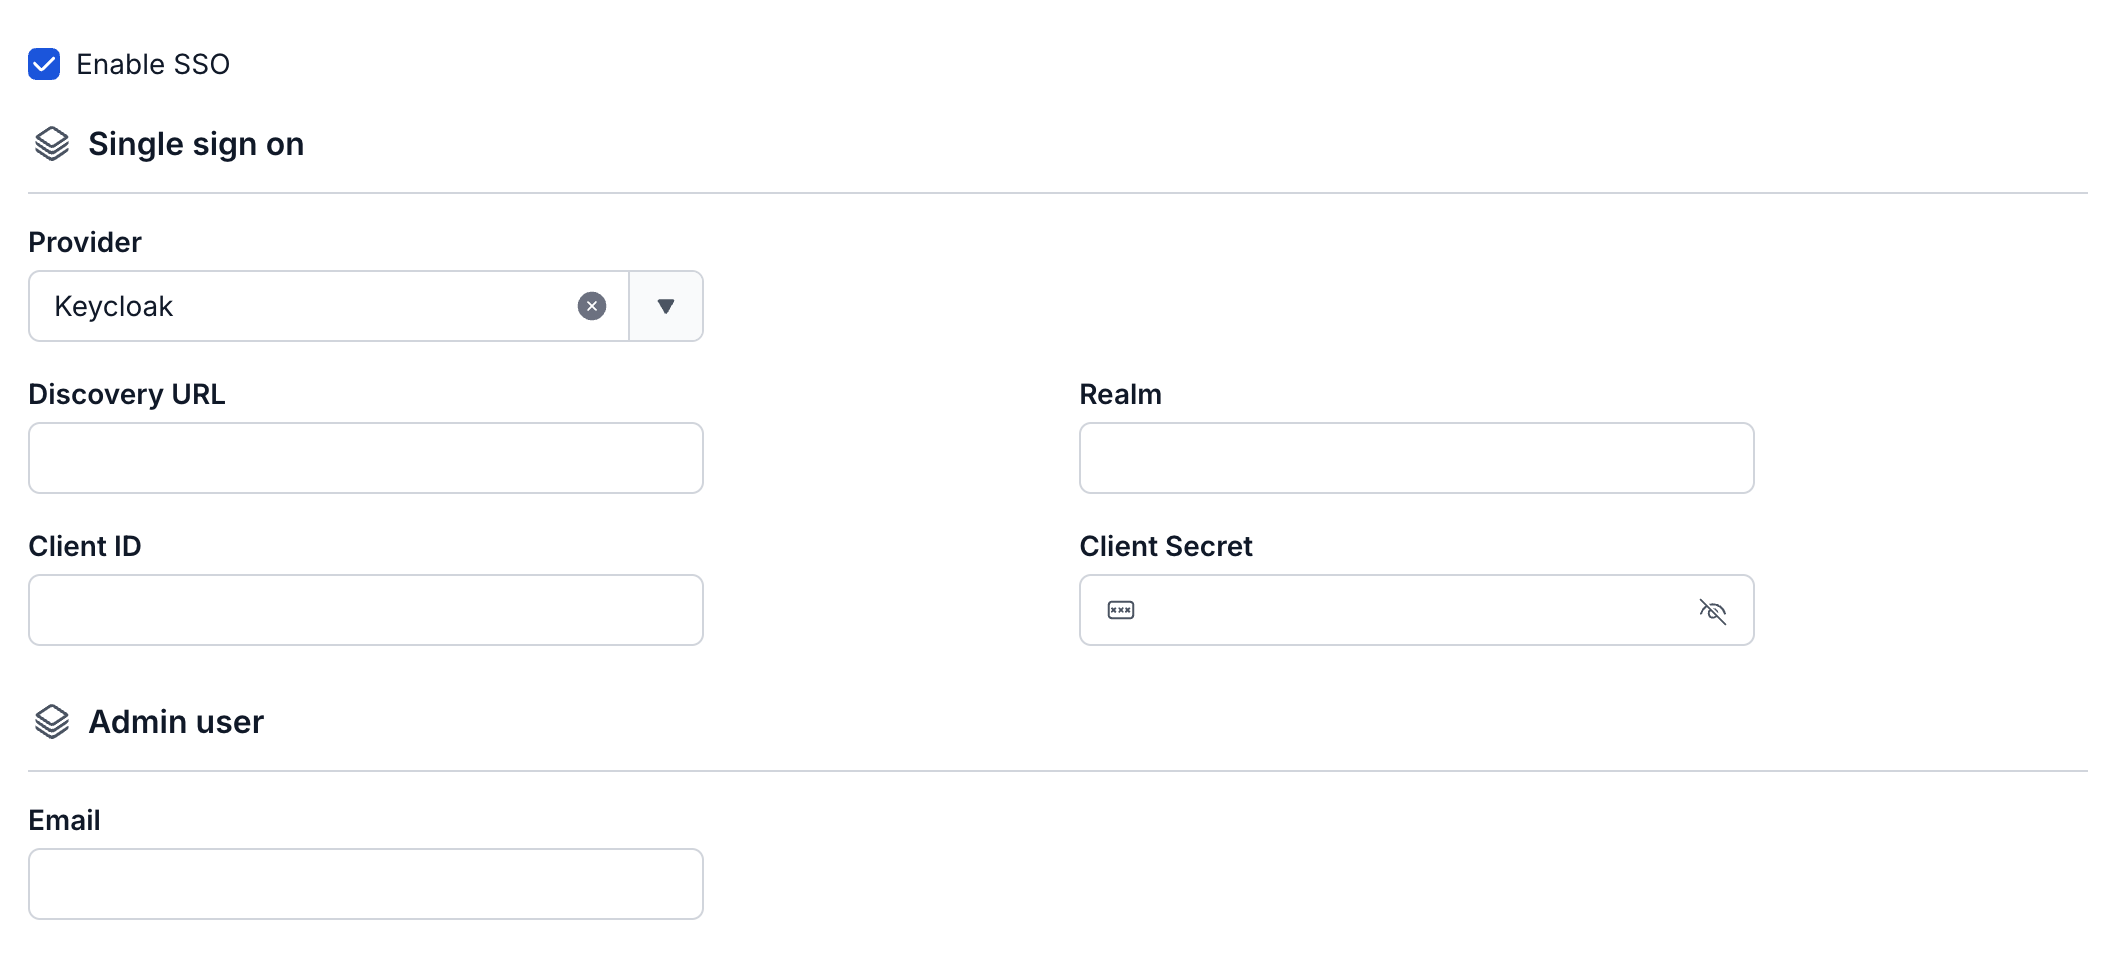
- Provider: Keycloak
- Auth Provider name: Provider name
- Realm: Realm information
- Auth server url: auth URL address
- Client ID: Client ID information
- Client Secret: Secret information
- Username: account username
- Email: email address
Custom Domain
-
Purpose: Allows configuring a custom domain to access services.
- For Public Workspace: Used to assign a domain and certificate without needing to enable/disable TLS (HTTPS is always available).
- For Private Workspace: In addition to domain and certificate, users can optionally enable or disable TLS/SSL to decide whether to use HTTPS or HTTP.
-
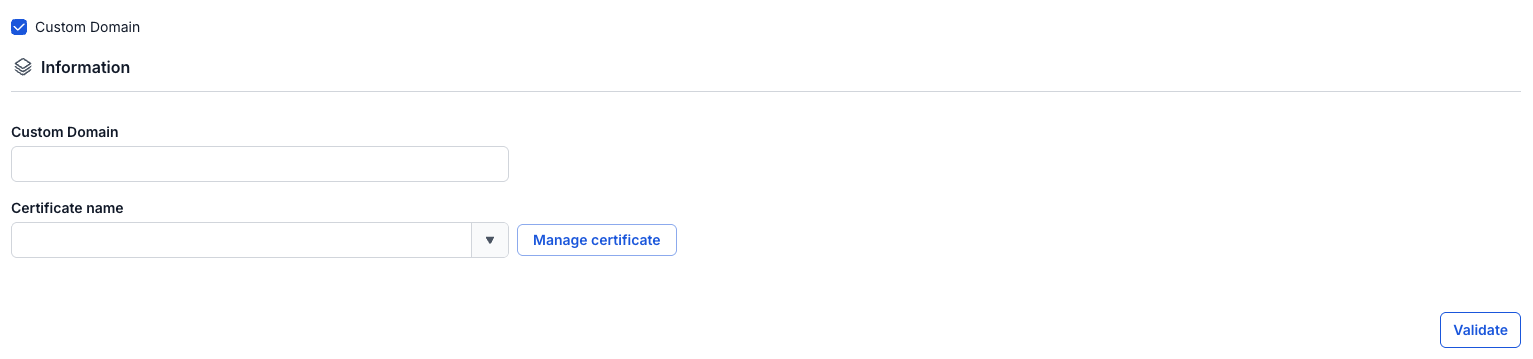
Workspace is Public
- Custom domain: Check to enable a custom domain.
- Domain: Enter the domain name (e.g., abc.local, jupyter.example.com).
- Certificate name: Select from the list of certificates already imported in Certificate Manager.
- Buttons:
- Manage certificate: Opens the certificate management screen.
- Validate: Checks that the certificate is valid for the domain.
noteFor a Public Workspace, the TLS/SSL certificate option is not displayed — the system supports HTTPS by default.
-
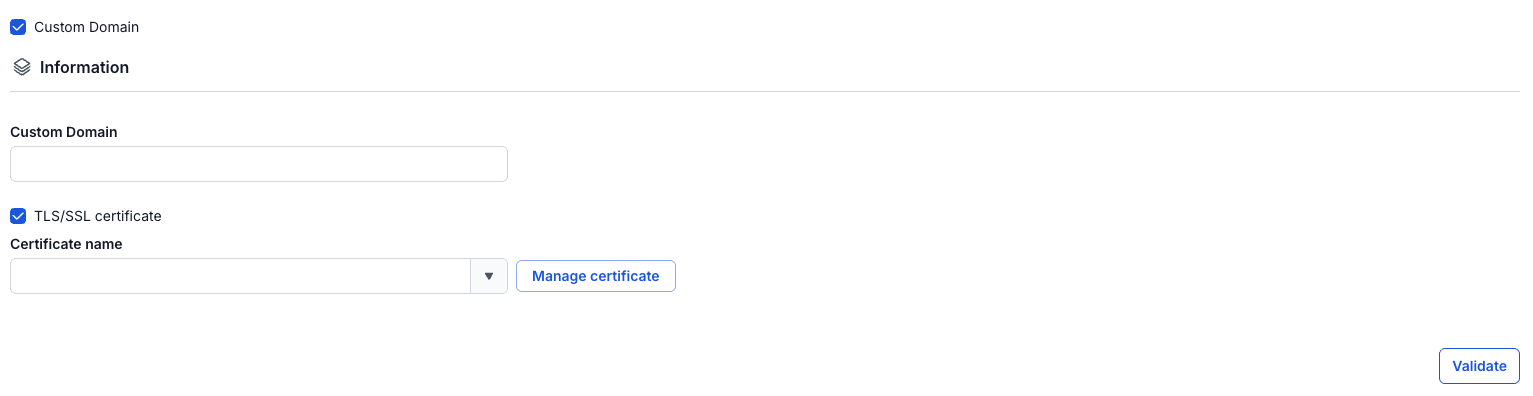
Workspace is Private
- Custom domain: Check to enable a custom domain.
- Domain: Enter the domain name.
- TLS/SSL certificate: Check to enable HTTPS for services.
- Certificate name: Select from the certificate list.
- Buttons:
- Manage certificate: Opens certificate management.
- Validate: Checks the certificate.
noteIf TLS/SSL certificate is unchecked, the service will run on HTTP and no certificate is required.
Step 6. Click Next Step to proceed to the Review & Create screen
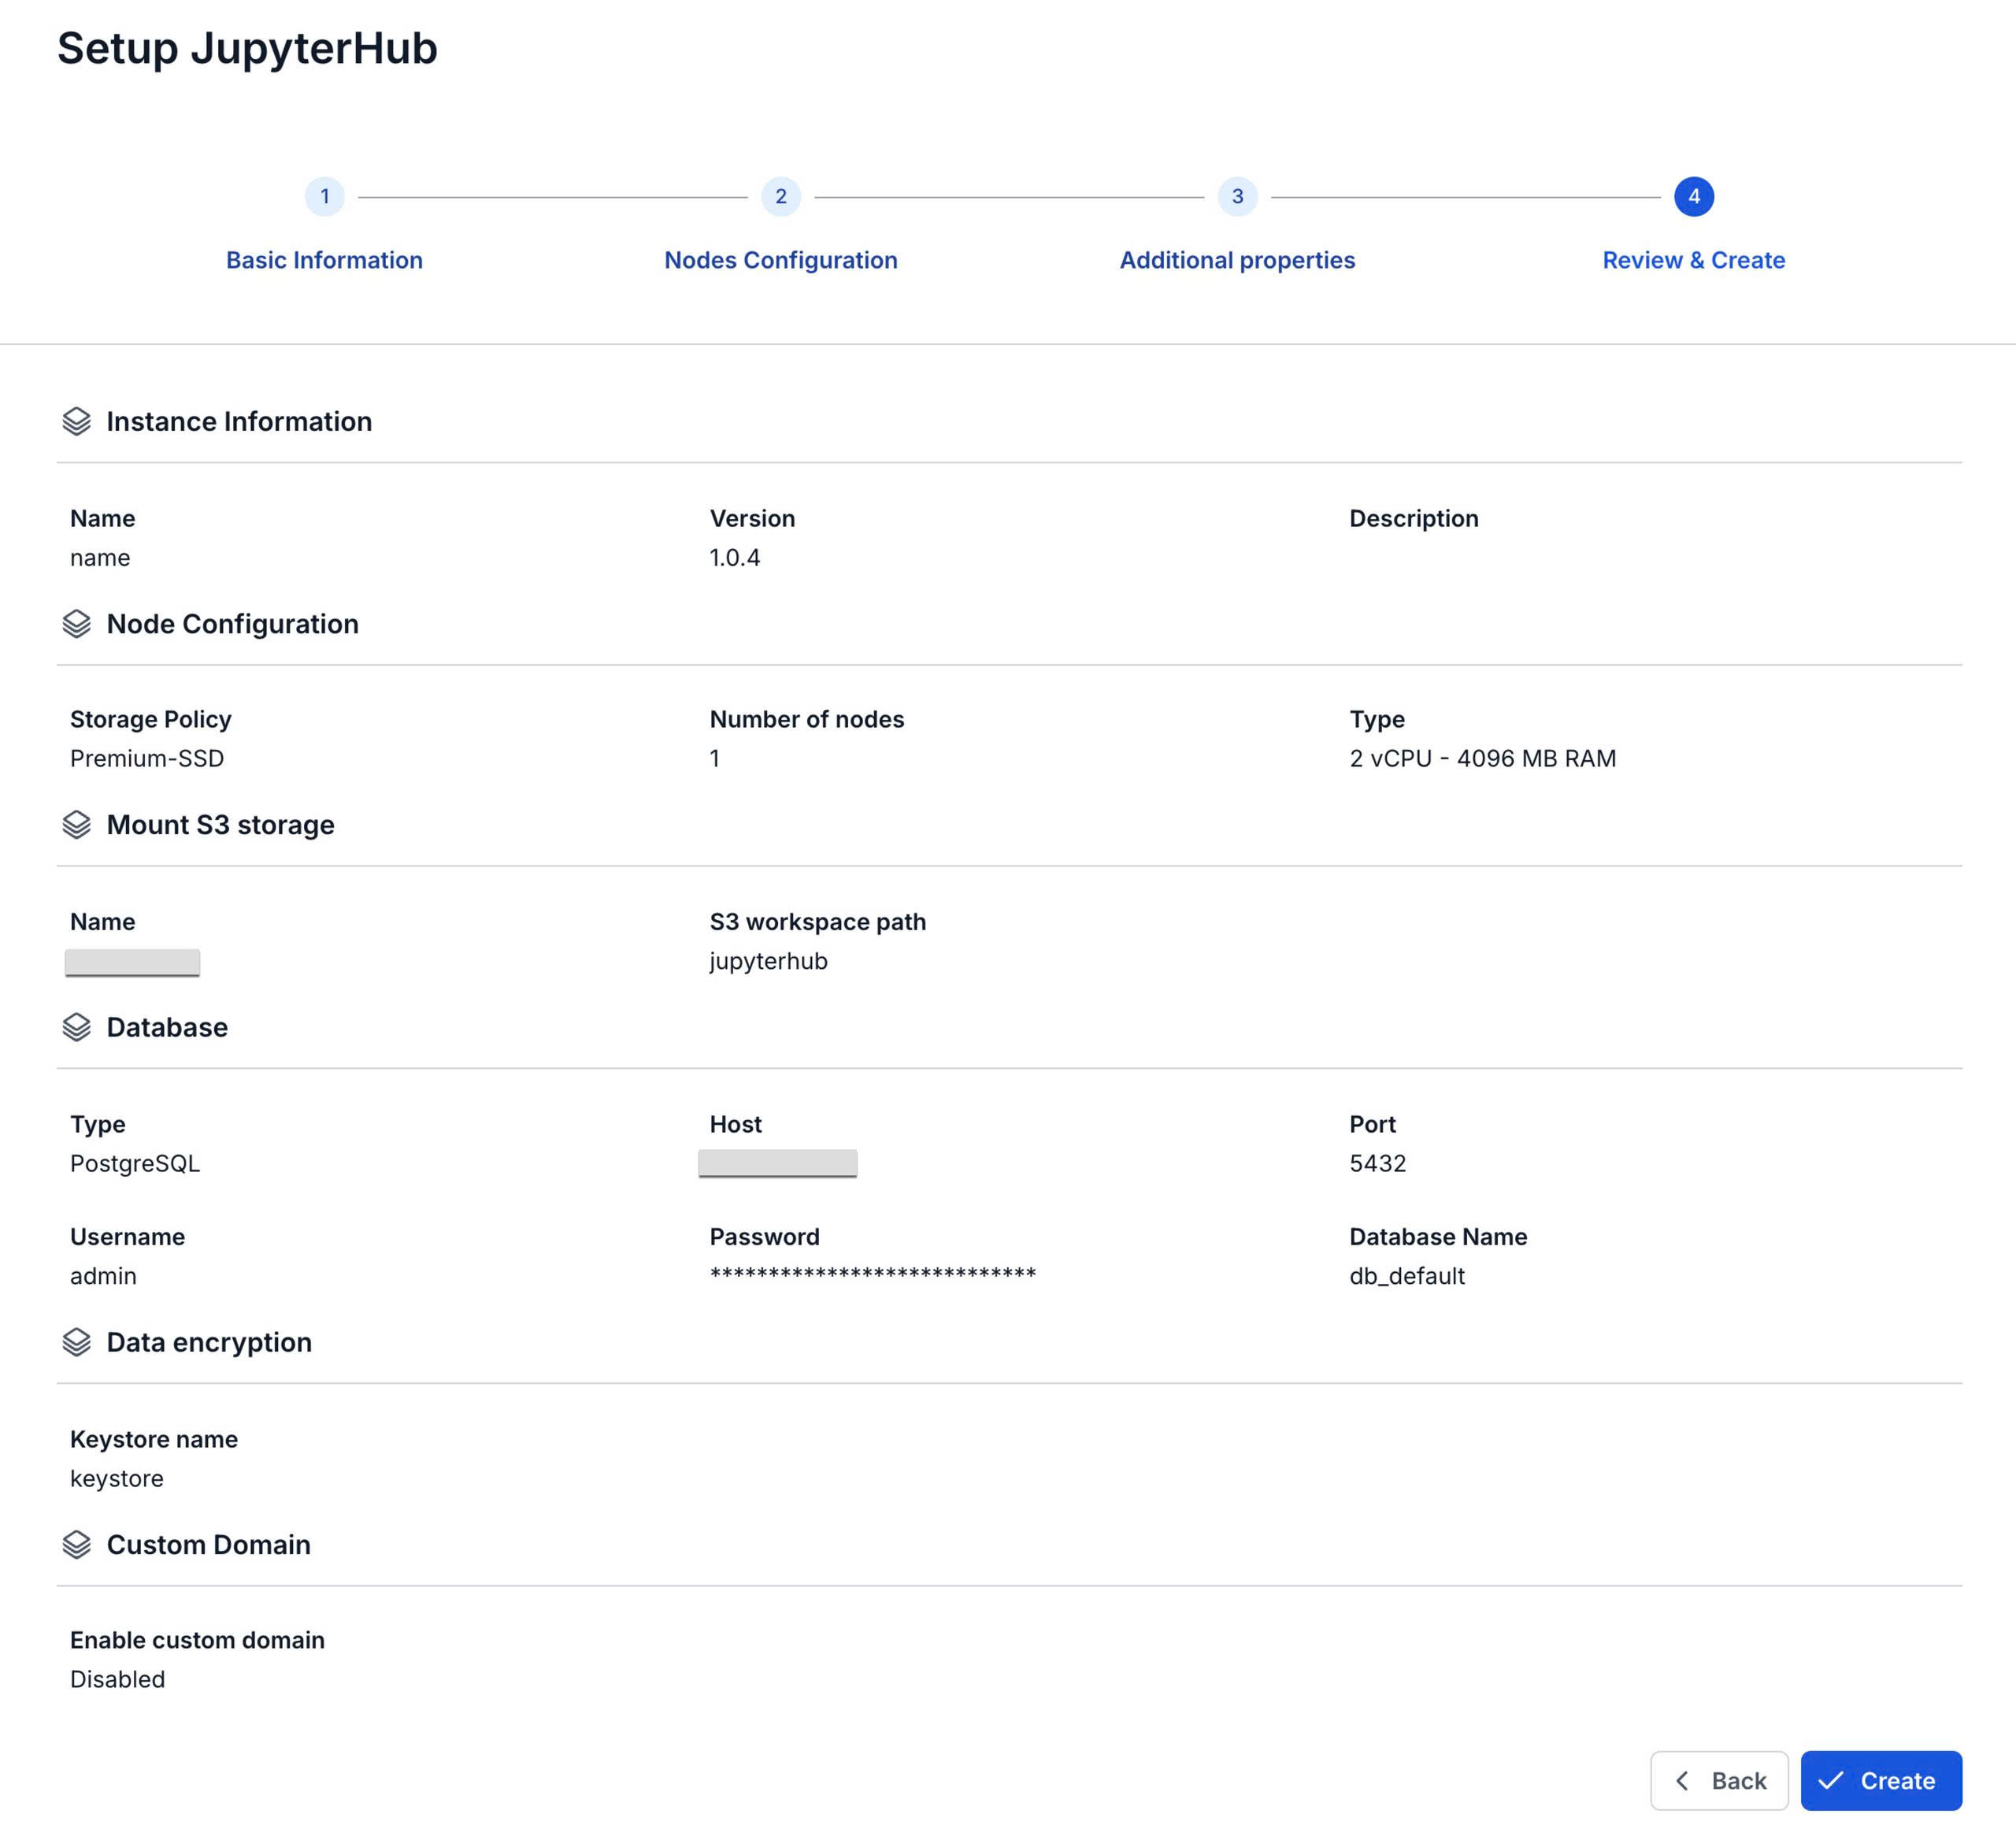
Step 7. Review the information, then click Create to complete creating the JupyterHub
JupyterHub initialization is complete when the Worker Status is Succeeded and the Status of JupyterHub is Healthy (~10 minutes)