Create Nessie
Nessie is designed to support large and complex distributed data environments, helping data teams more effectively manage the development, control, and deployment of data within the system.
To create Nessie, follow these steps:
Step 1. In the menu bar, select Data Platform > select Workspace Management > select Workspace name
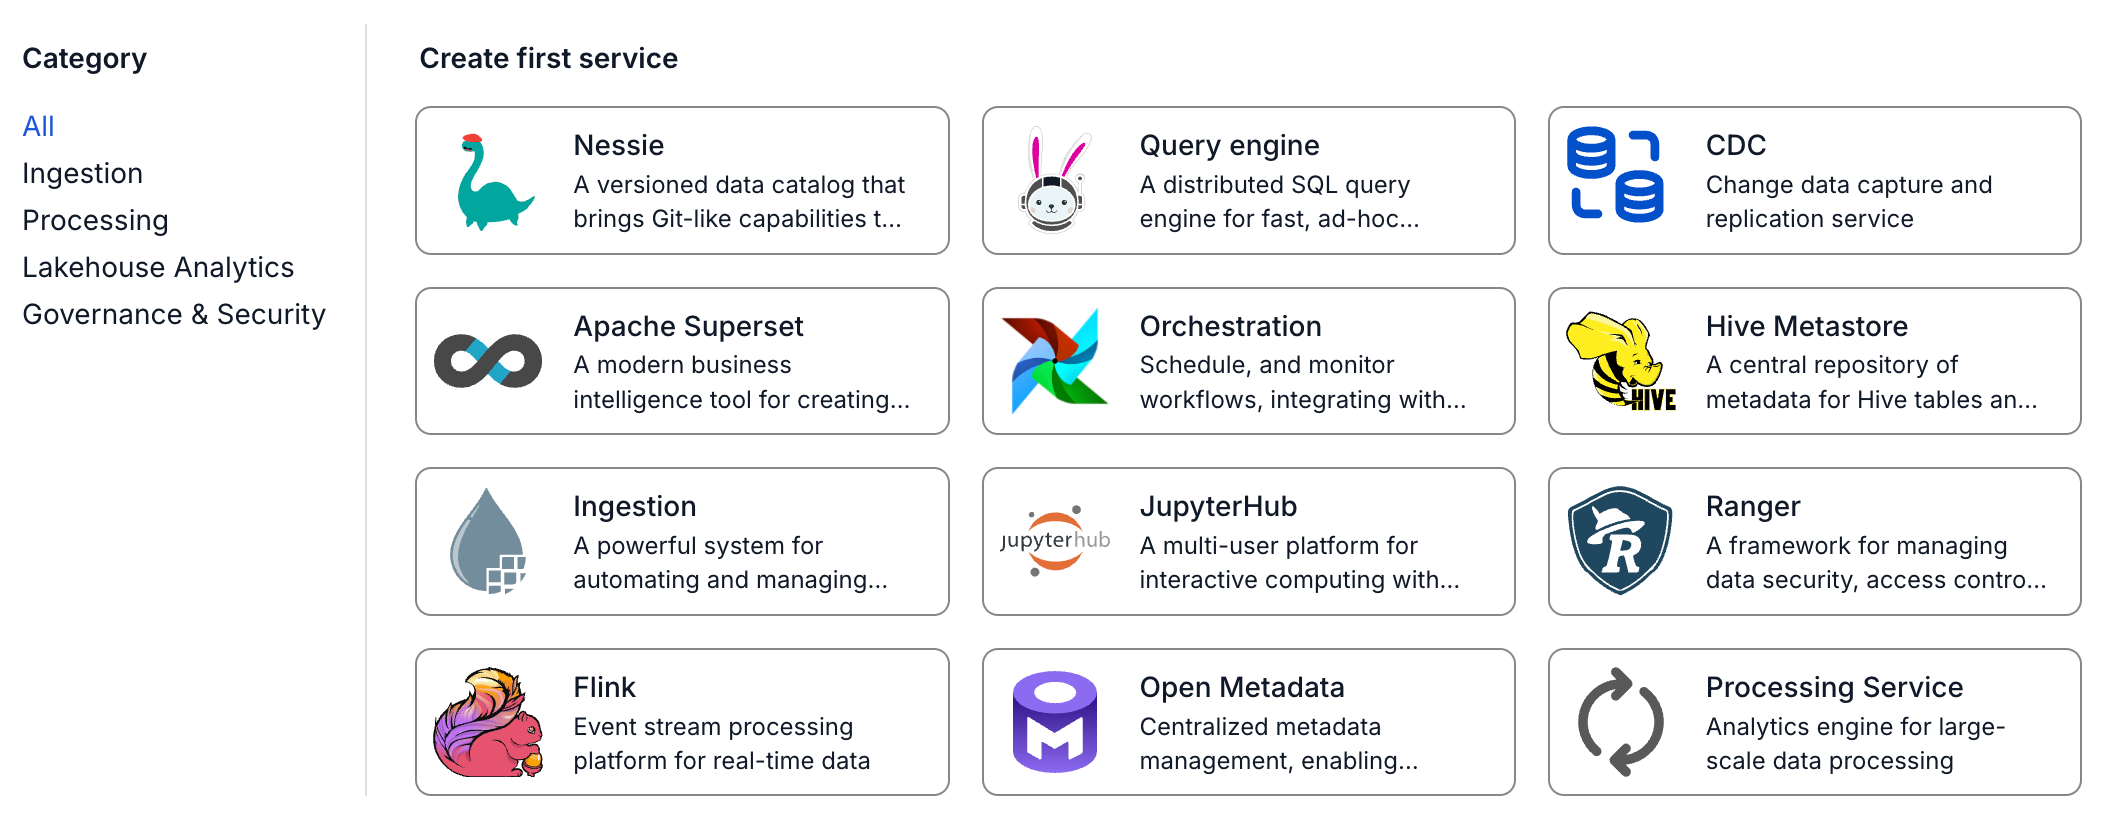
Step 2. In the application section, click Create > a popup appears for selecting the application, select Nessie > Create
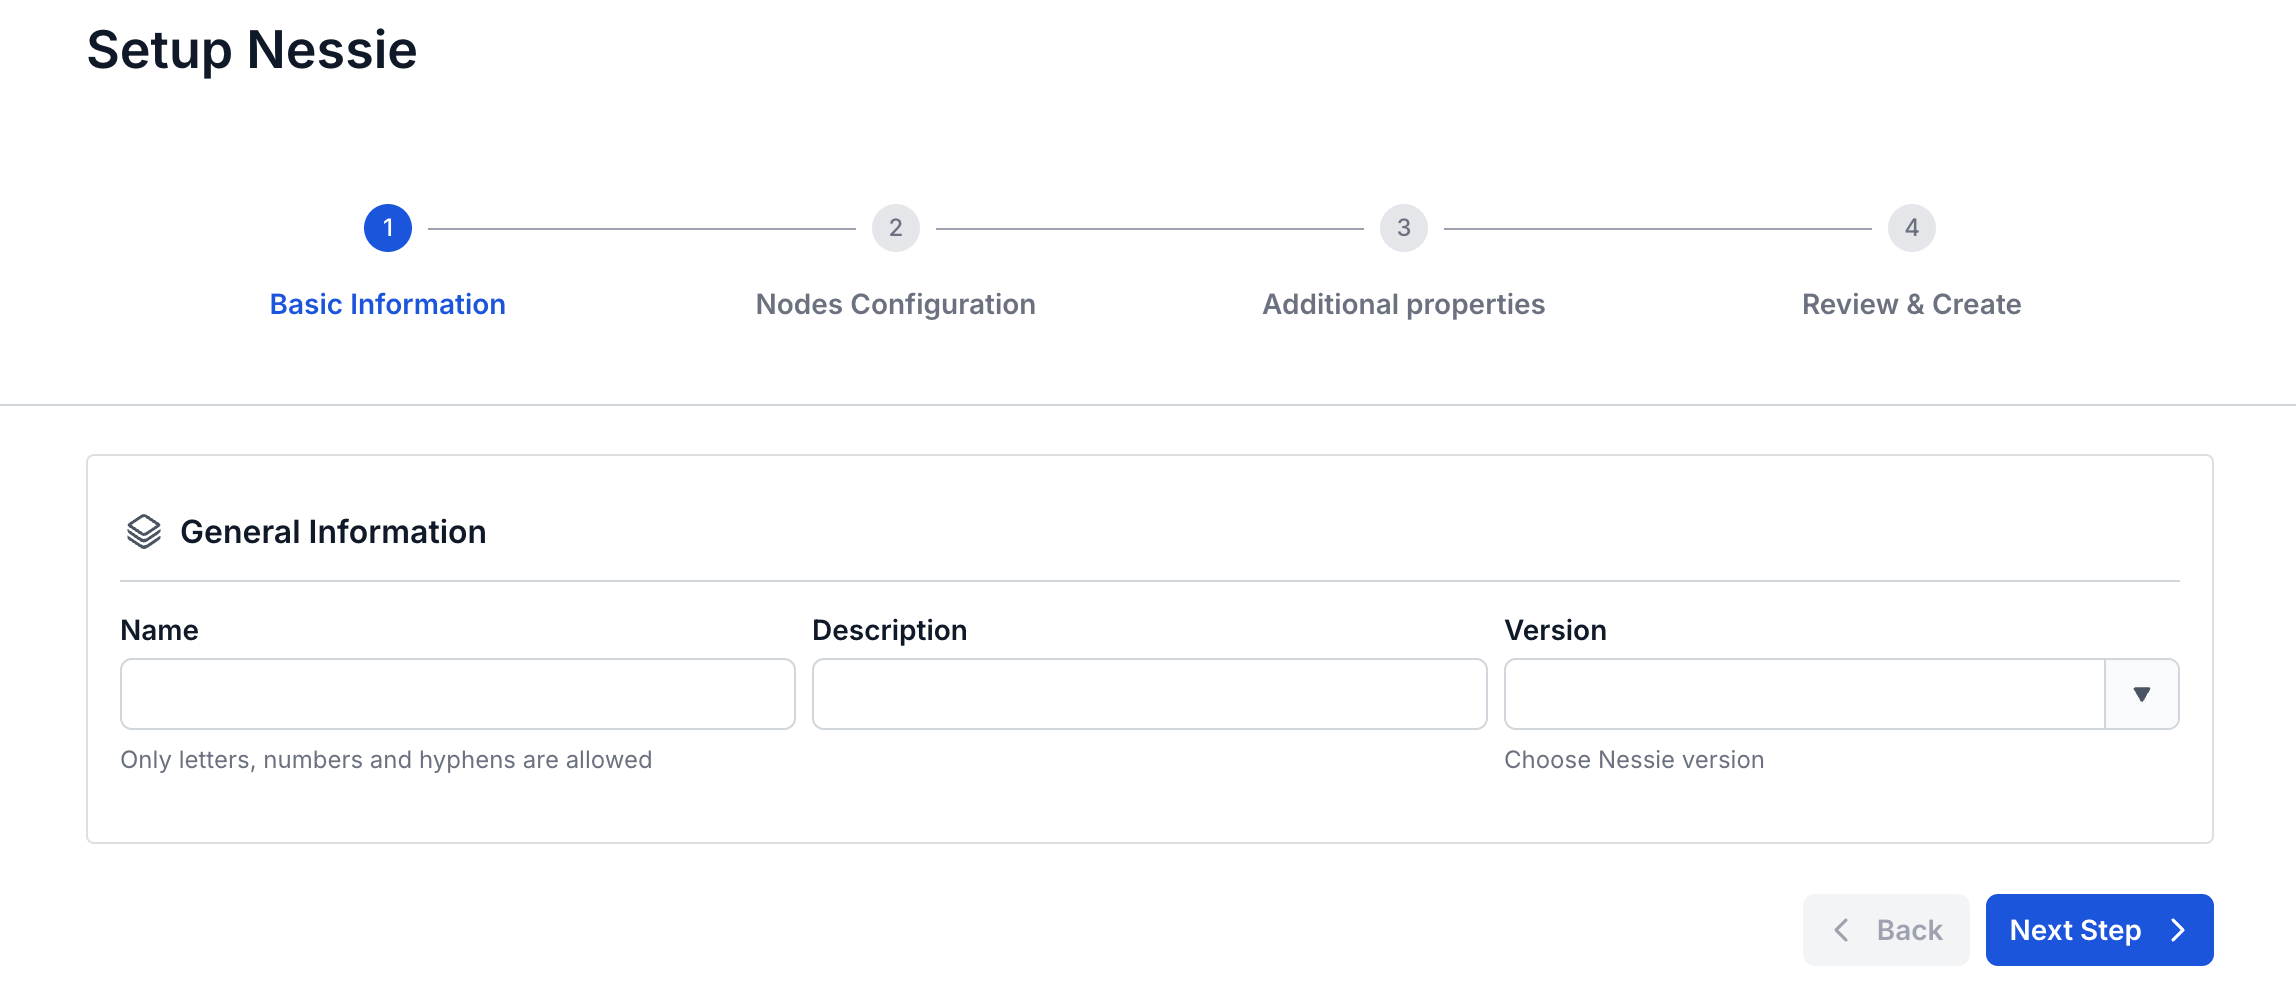
Step 3. In the nessie creation form, enter the information on the Basic Information screen:
- Name (required): Nessie name
The Nessie name must be between 1 and 30 characters. It can contain lowercase letters a-z, uppercase letters A-Z, or numeric characters 0-9
- Description (optional): Description
- Version (required): select the version
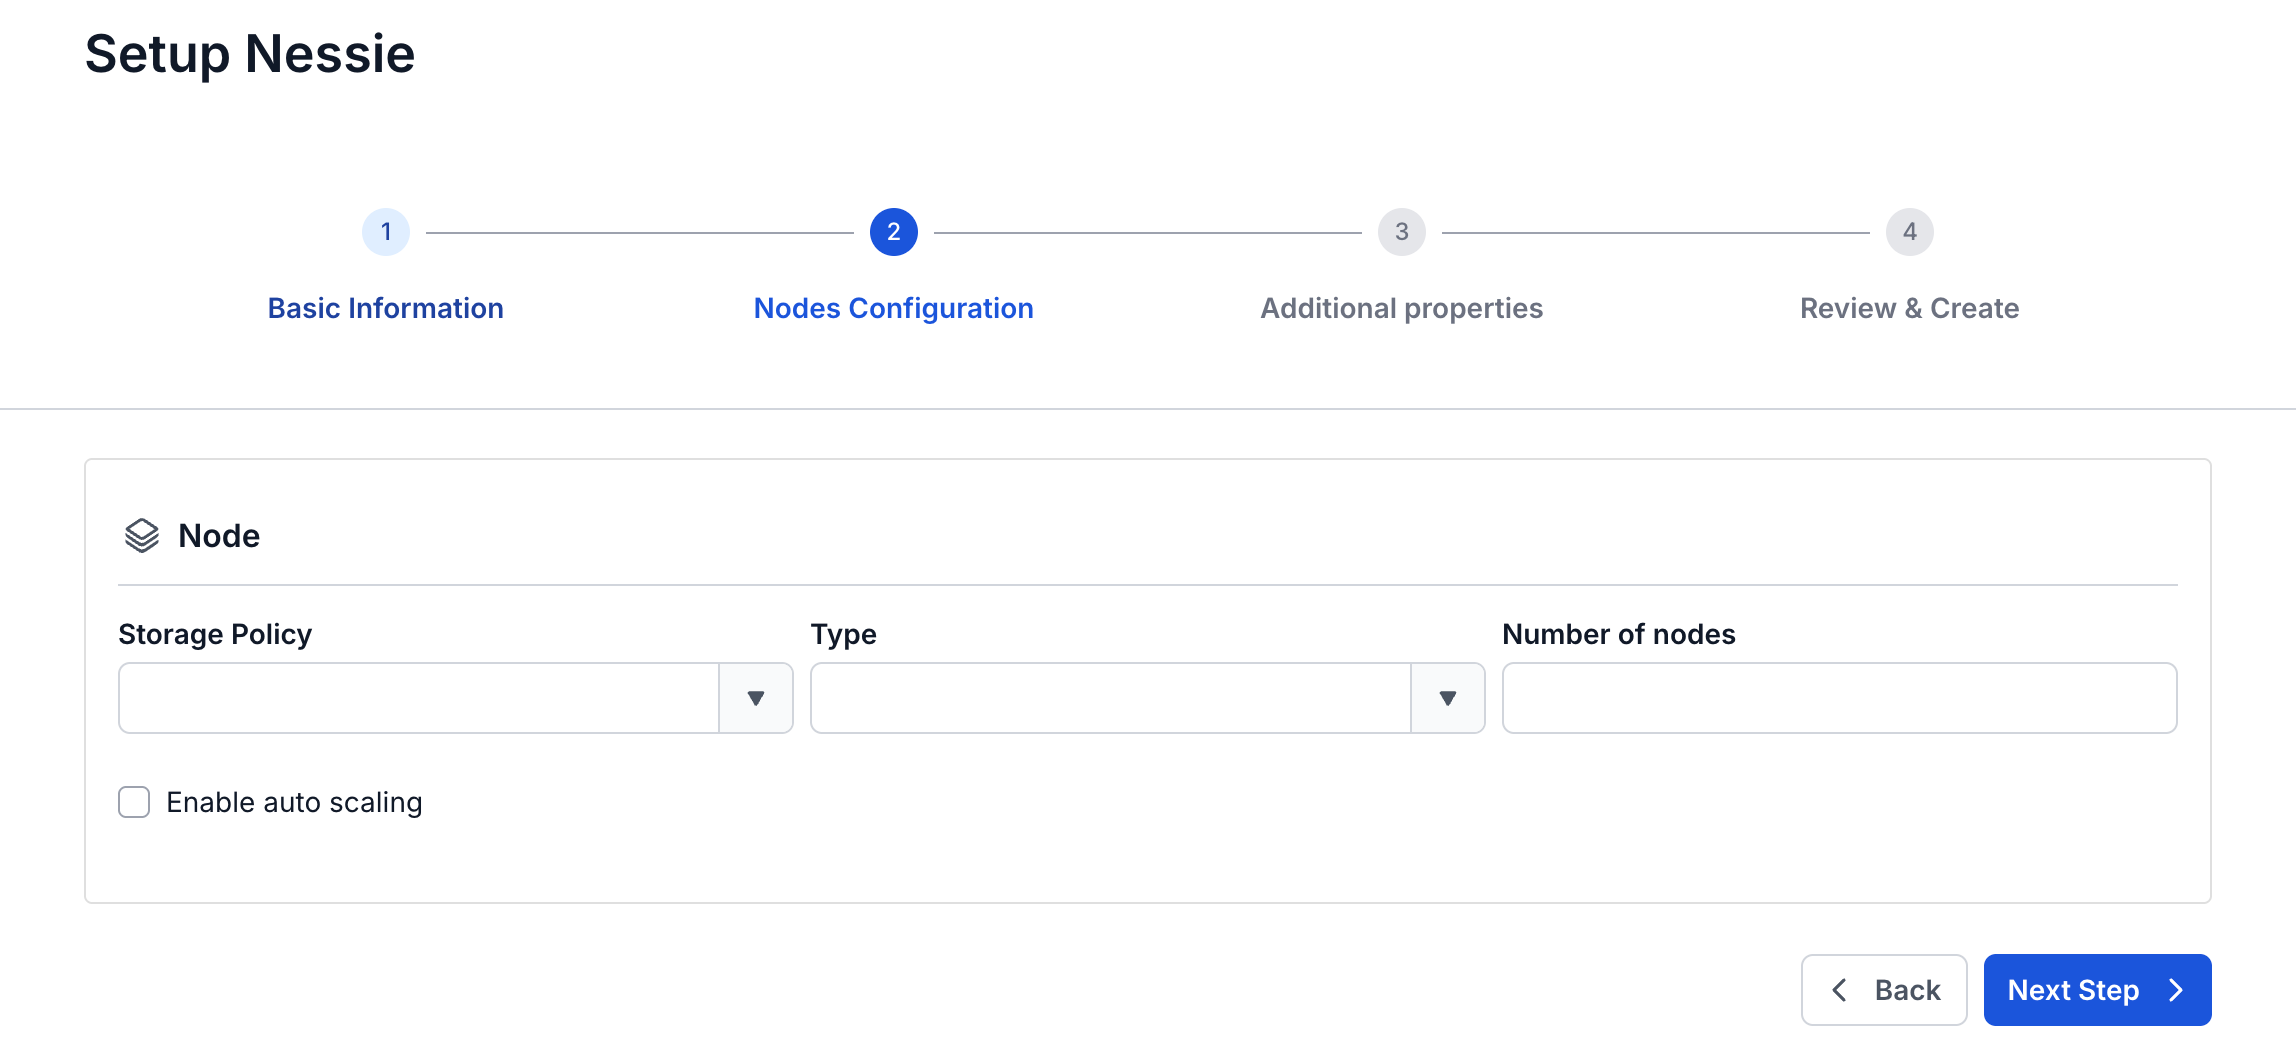
Step 4. Click Next Step to proceed to the Node configuration screen
Enter the following information:
- Storage policy (required): select the Storage for Nessie
- Type (required): select the configuration type for Nessie
- Number of nodes: enter the number of nodes
The number of nodes must be greater than or equal to 2
If you need to enable auto scaling for the service, check Enable auto scaling and enter the desired number of nodes
The number of scaled nodes must be greater than the Number of node
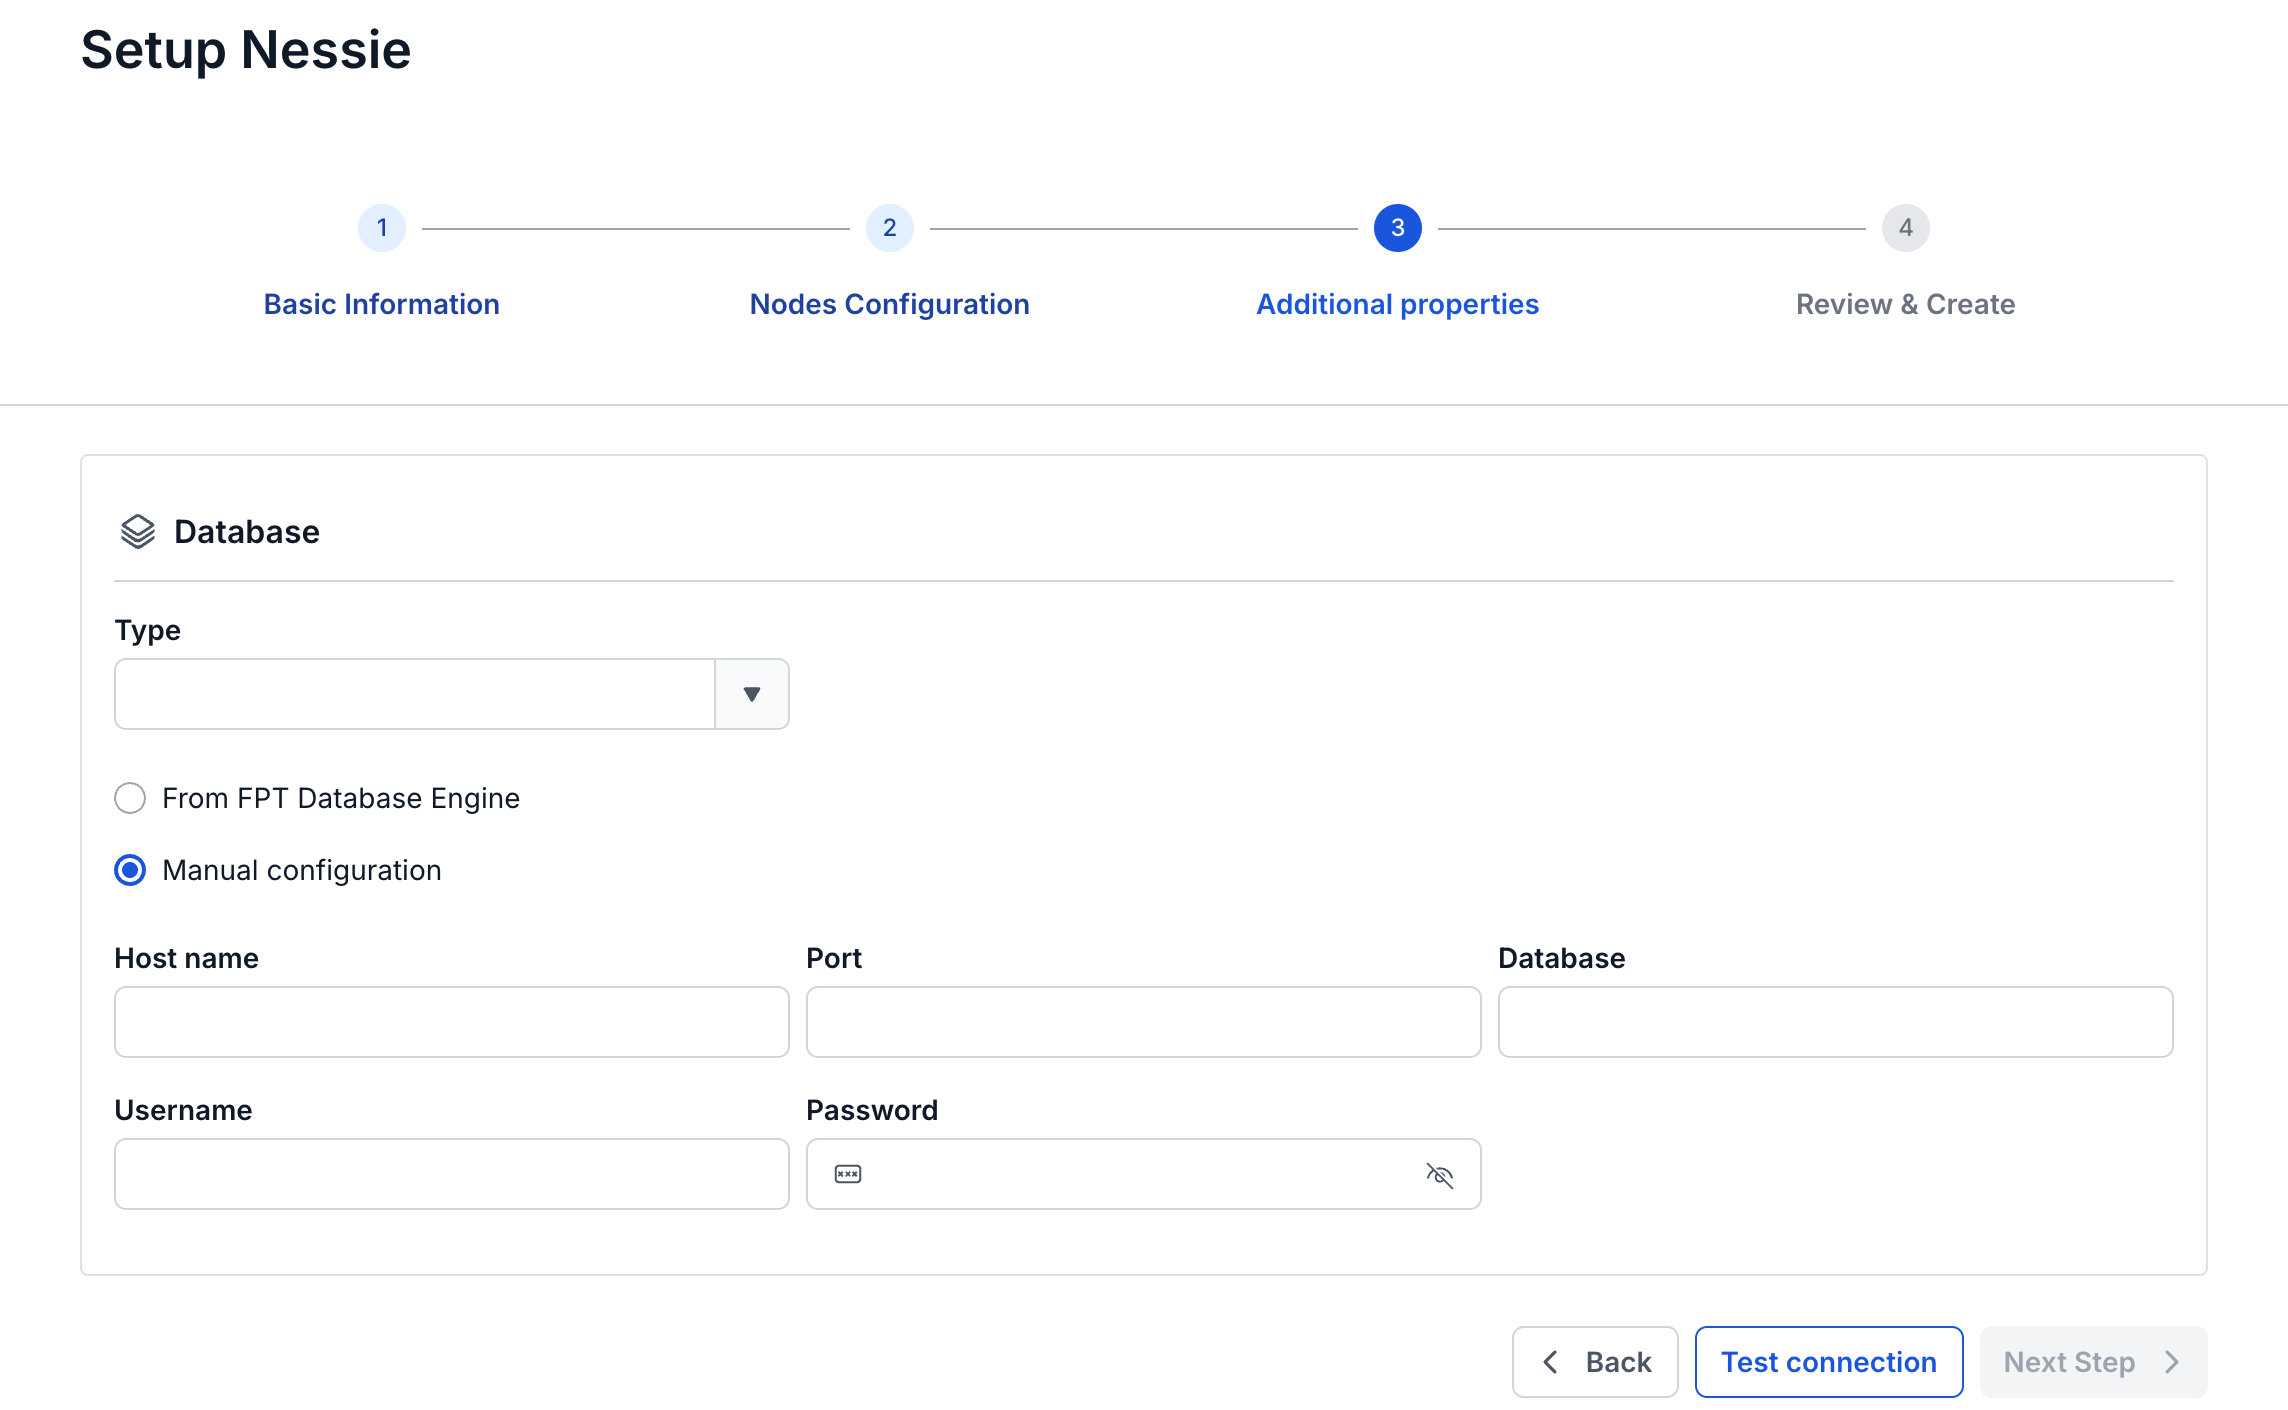
Step 5. Click Next Step to proceed to the Additional properties screen
Enter the following information:
- If the selected type is PostgreSQL:
- Host name (required): Hostname or IP of the Postgres server
- Port (required): Postgres server port, default is 5432
- Database name (required): Database name
- Username (required): Username to access the postgres server
- Password (required): password to access the postgres server
- If the selected type is MySQL:
- Host name (required): Hostname or IP of the MySQL server
- Port (required): MySQL server port, default is 5432
- Database name (required): Database name
- Username (required): Username to access the MySQL server
- Password (required): password to access the MySQL server
Users can choose to use the Database from FPT or use their own Database
Step 6. Click Next Step to proceed to the Review & Create screen
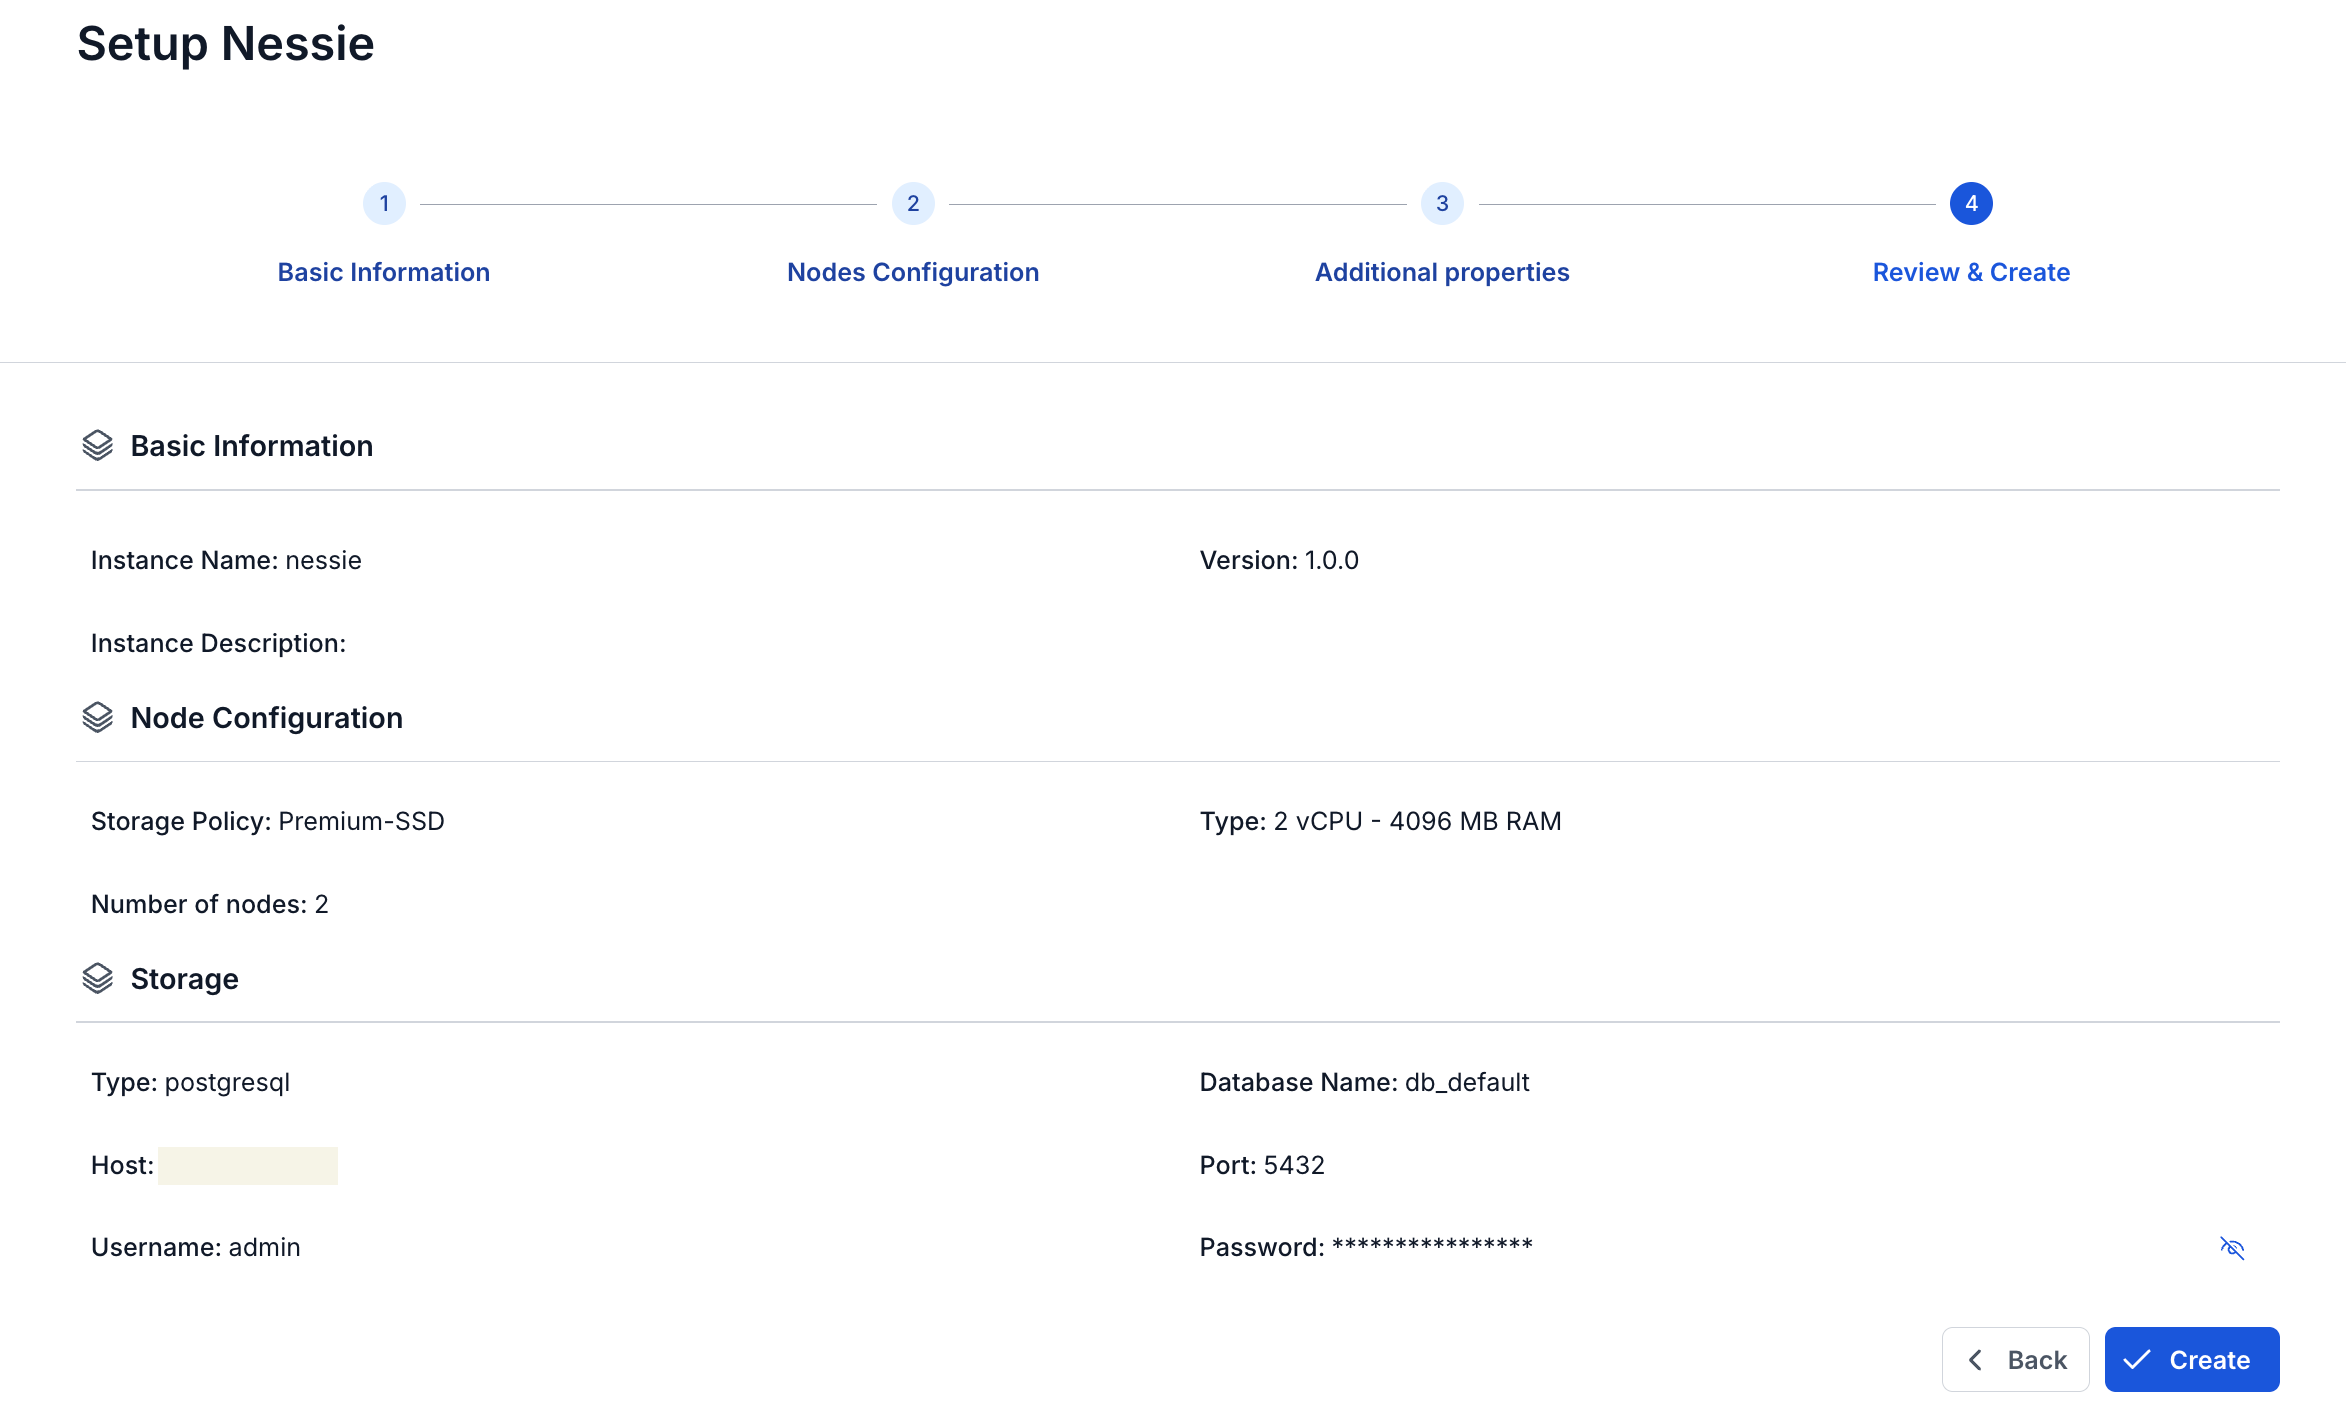
Step 7. Check the entered information, then click Create to complete.