Create Query Engine
FPT Query engine uses Trino, an open-source, distributed SQL query engine designed to process queries quickly and efficiently over large datasets. Trino allows you to query data from many different sources, including relational databases, data warehouses, and non-relational data storage systems, without having to move or copy the data.
To create a Query engine, follow the steps below:
Step 1: In the menu bar, select Data Platform > select Workspace Management > select Workspace name
Step 2: In the My services section, click Create > a popup appears for selecting New service, choose Trino > Create
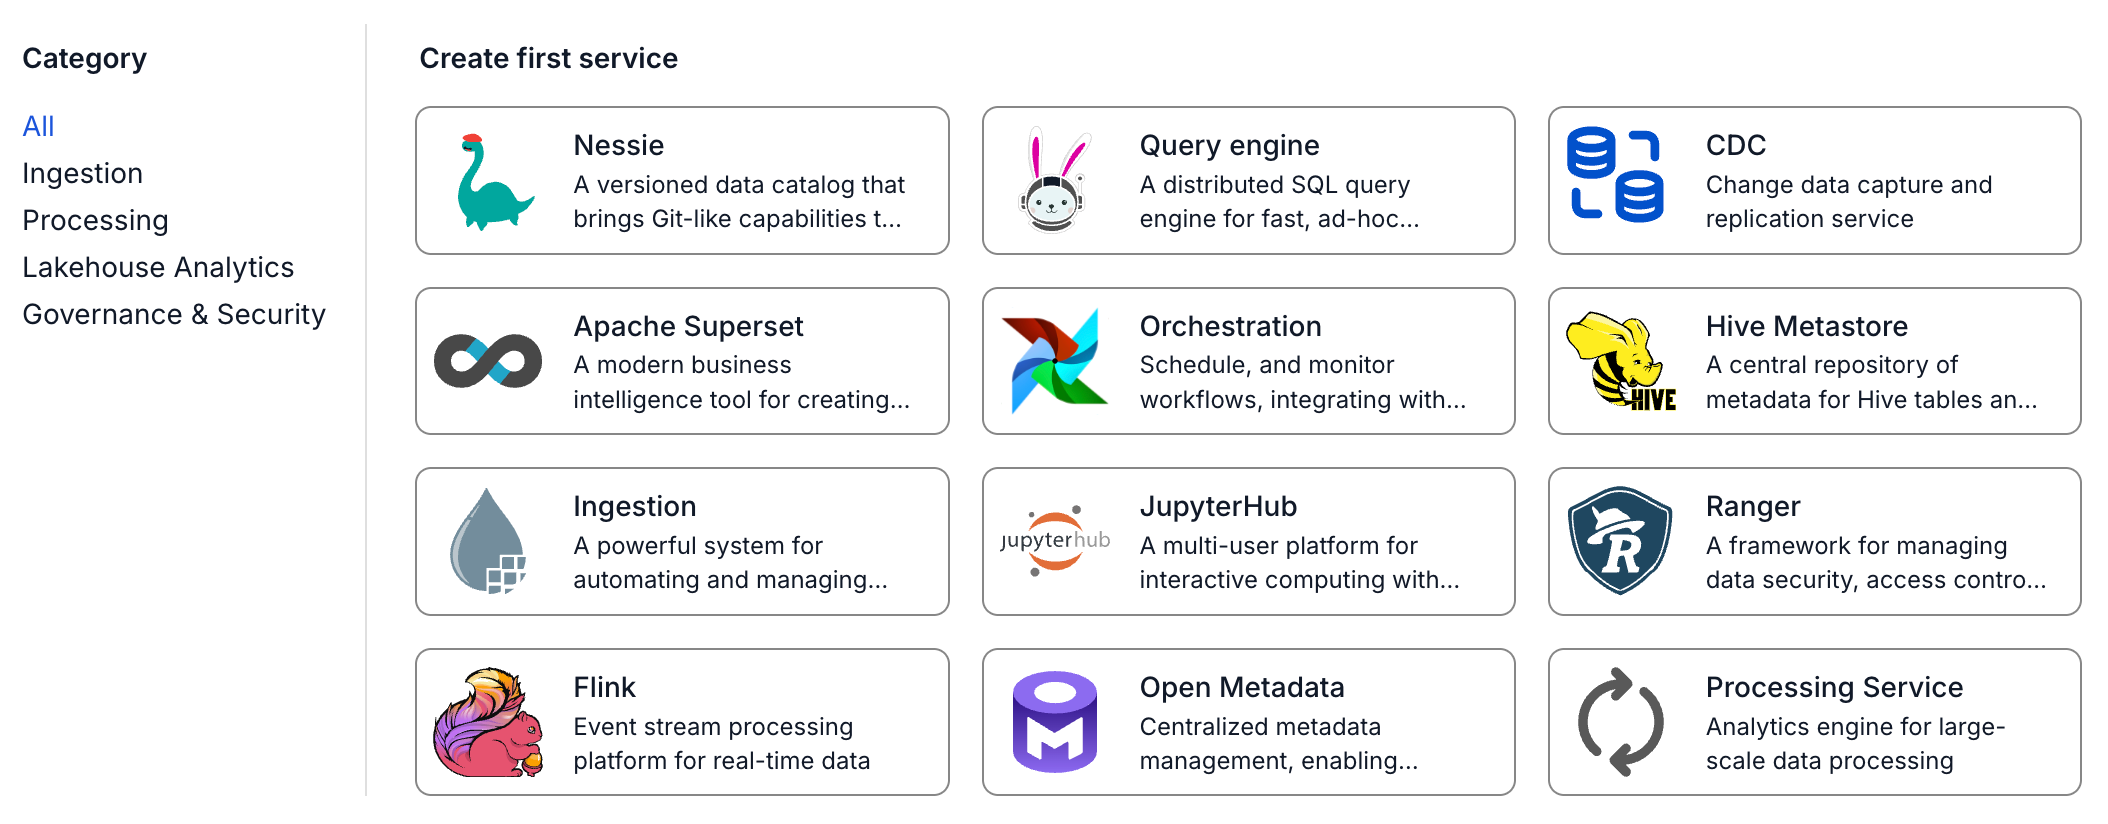
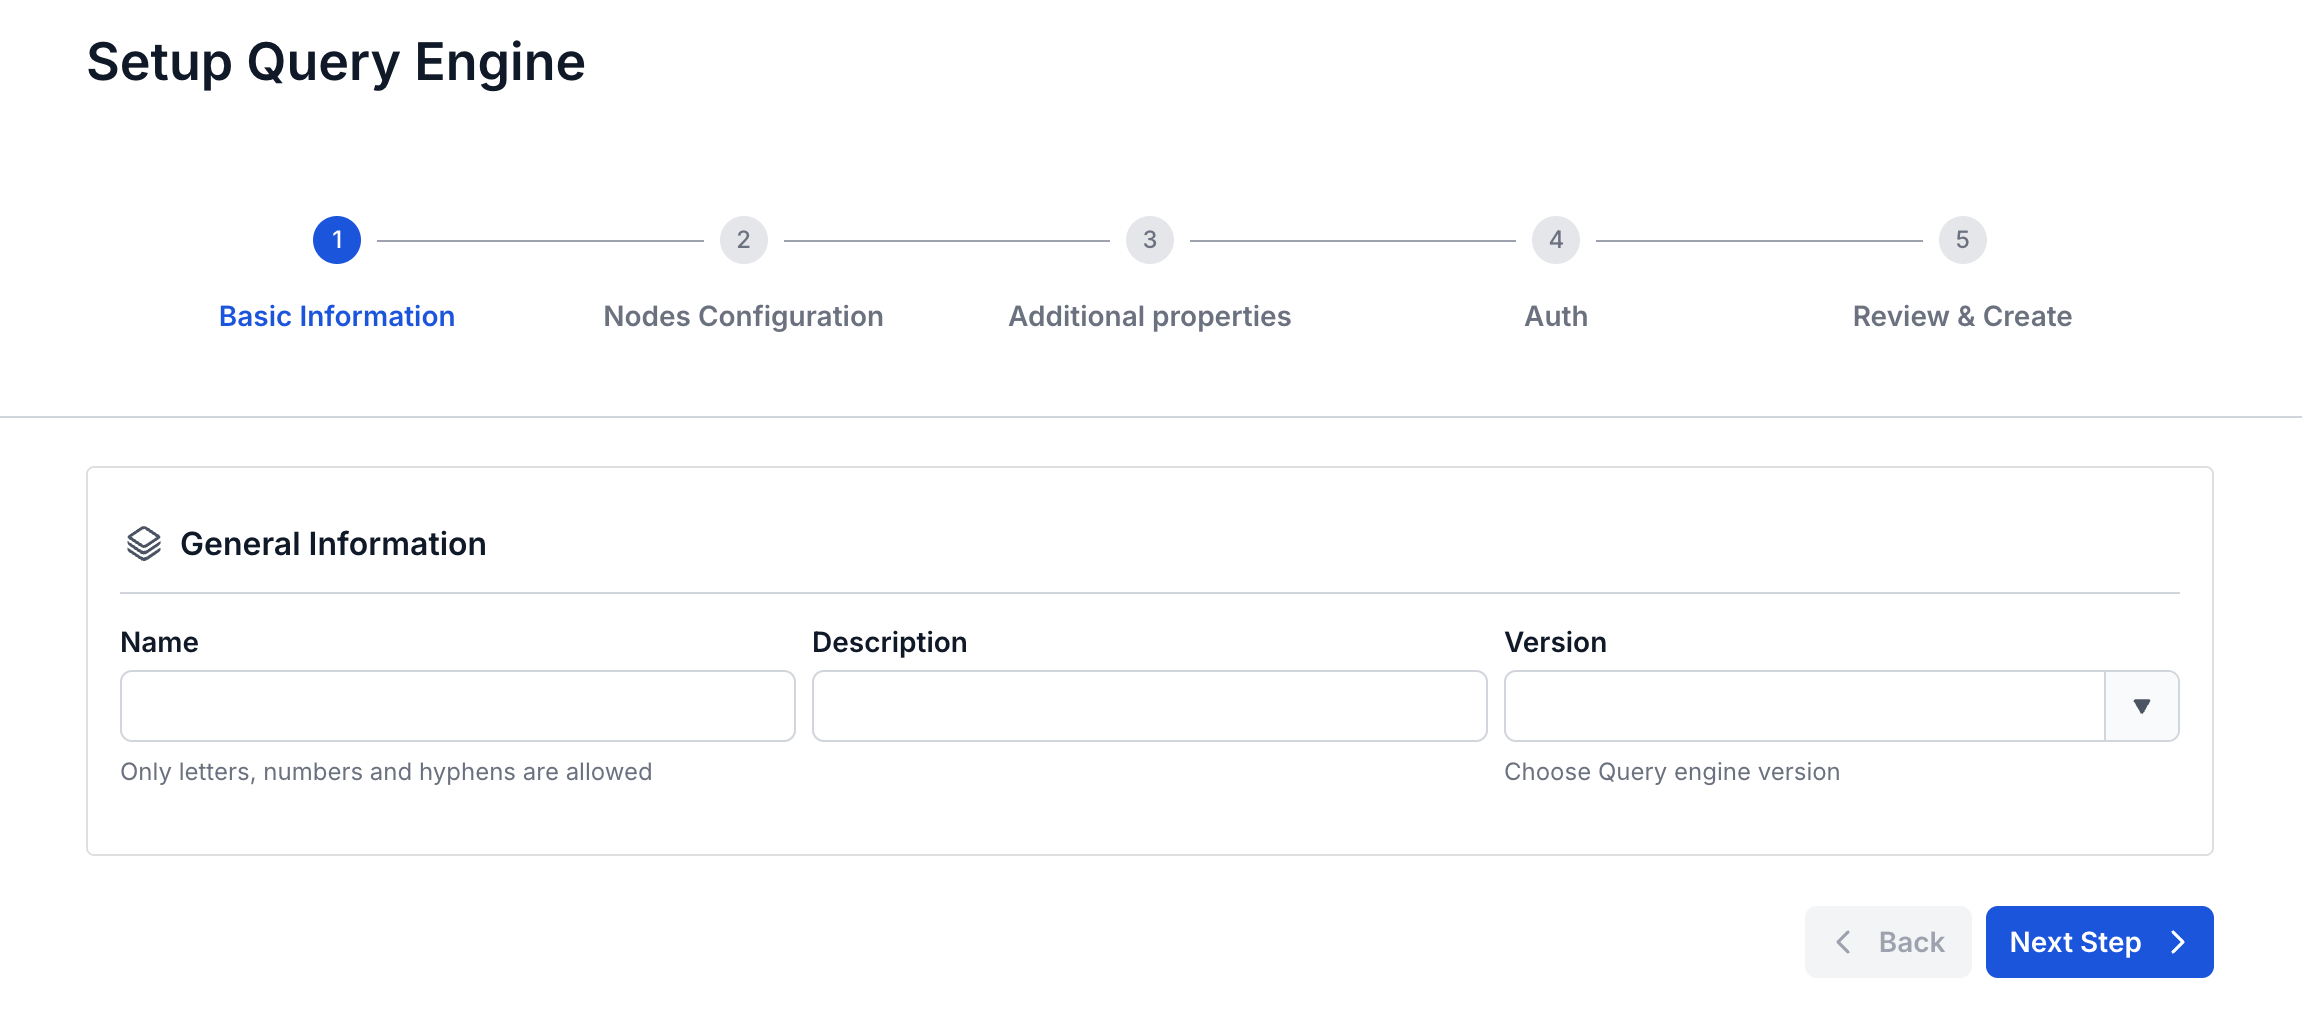
Step 3: In the Query engine creation form, enter the Basic Information details:
- Name (required): Service name
Note: The service name must be between 1 and 30 characters. It may contain lowercase letters a-z, uppercase letters A-Z, or digits 0-9
- Description (optional): Description
- Version (required): select the version
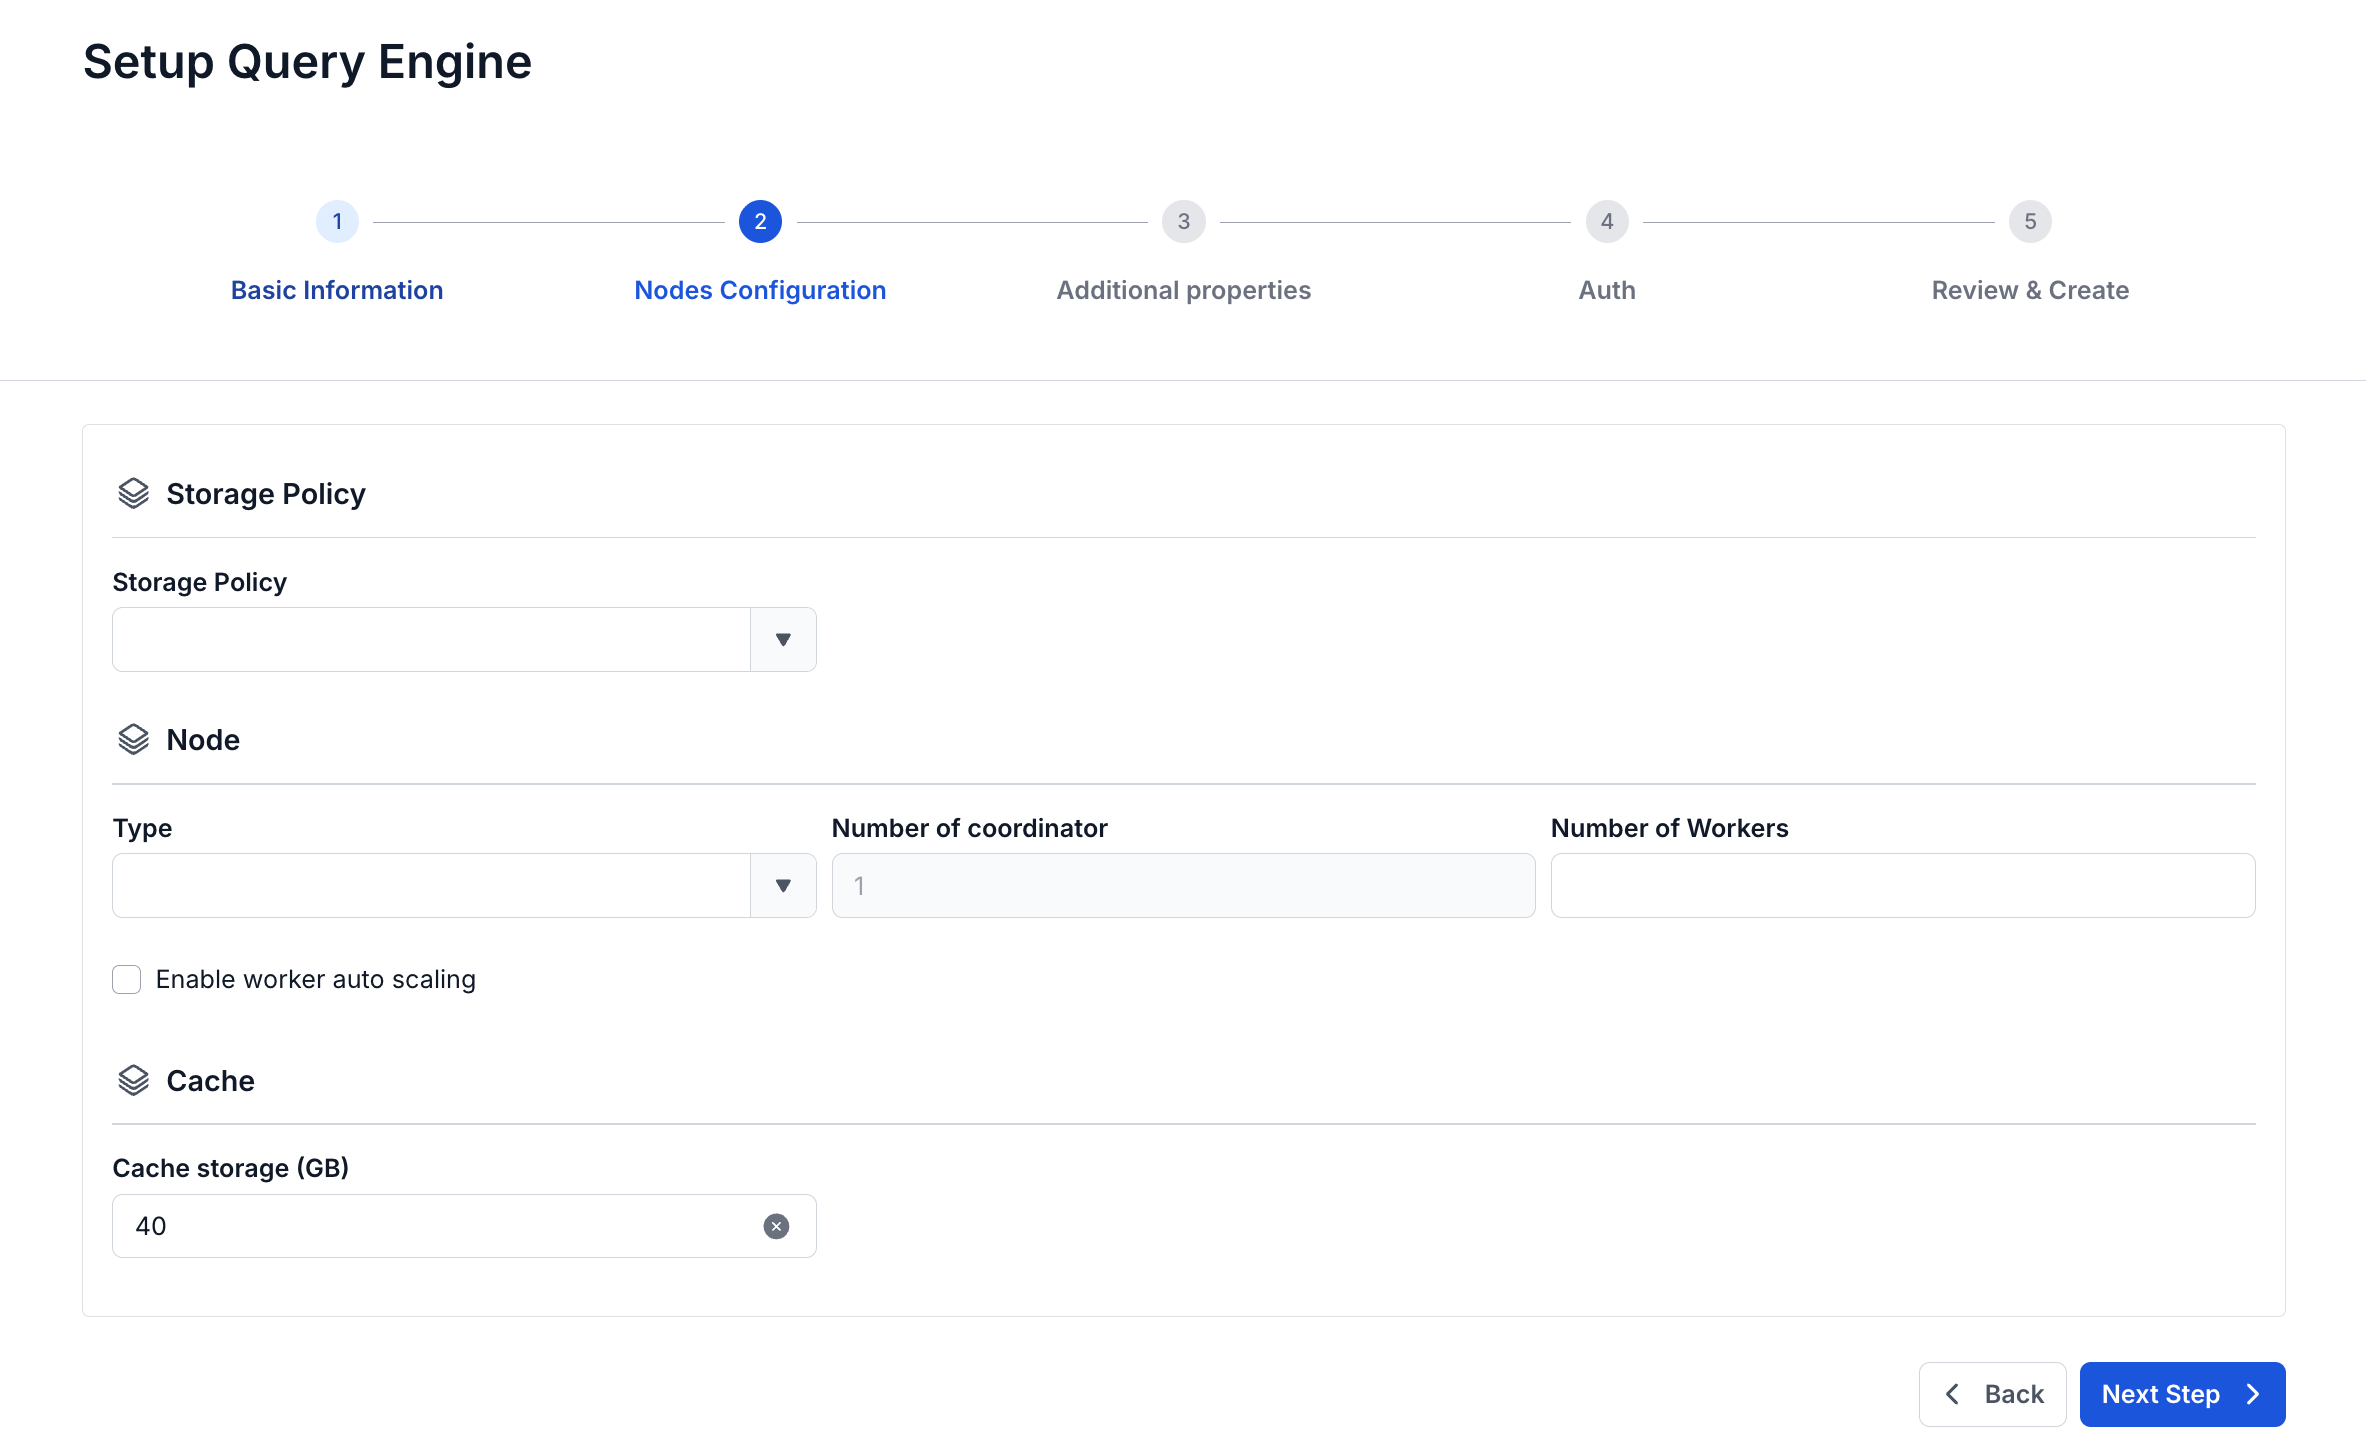
Step 4: Click Next to move to the Node configuration screen
Enter the following information:
- Storage policy (required): select the Storage for the Query engine
- Type (required): select the configuration type for the Query engine
- Number of coordinator: default is 1
- Number of workers (required): enter the number of workers
Note: the number of Workers must be greater than or equal to 1 and less than or equal to 10
If you want the Worker configuration of Airflow to scale automatically, check Enable worker auto scaling > enter the maximum number of nodes for the Worker
Step 5: Click Next to move to the Additional Properties screen
Enter the following information:
- Max memory (GB): enter the Max memory value; the default value is 20
This is the maximum amount of memory a query can use across the entire cluster. User memory is allocated during execution for tasks directly related to, or controllable by, the user's query. For example, memory used by hash tables created during execution, memory used during sorting, and so on. When the user memory allocated for a query across all workers reaches this limit, that query will be terminated. Note: the Max memory value must be greater than or equal to 1
- Retry policy: select the Retry policy; the default value is NONE
- NONE: Turns off fault-tolerant execution mode.
- TASK: Retries individual tasks within a query when an error occurs. Requires an exchange manager to be configured.
- QUERY: Retries the entire query when an error occurs.
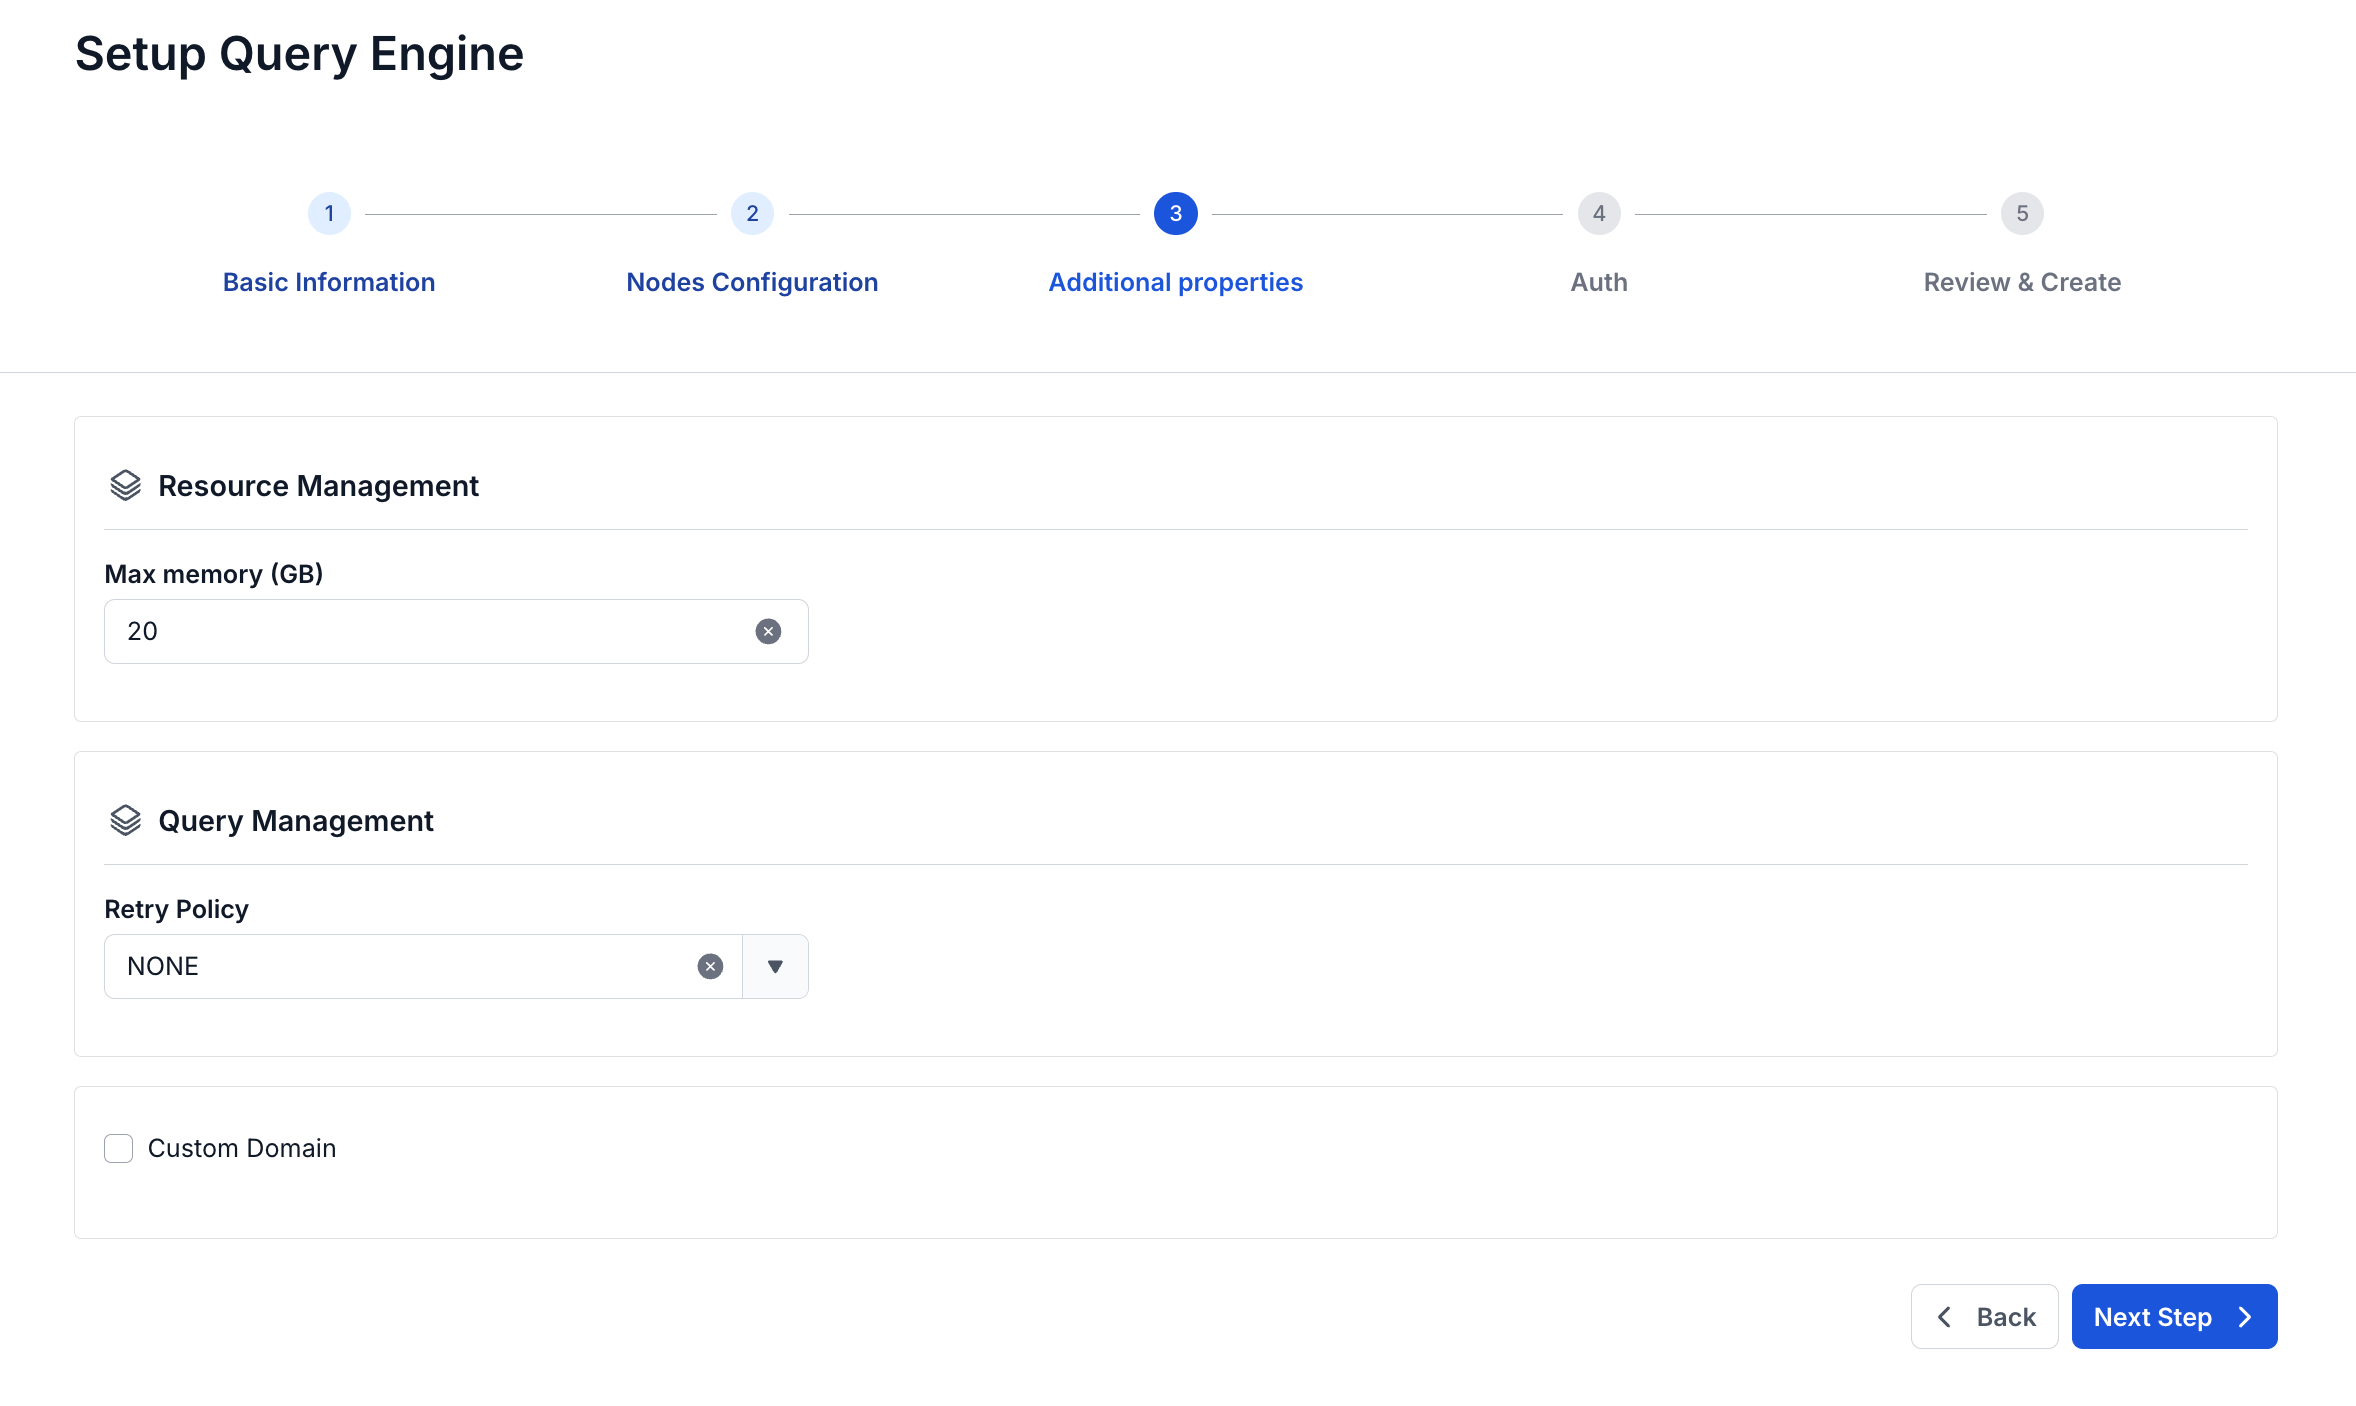
- Custom Domain
-
Purpose: Allows configuring a custom domain to access the services.
- For a Public Workspace: Used to assign a domain and certificate without needing to turn TLS on/off (HTTPS is always available).
- For a Private Workspace: In addition to domain and certificate, users can optionally turn TLS/SSL on or off to decide whether to use HTTPS or HTTP.
-
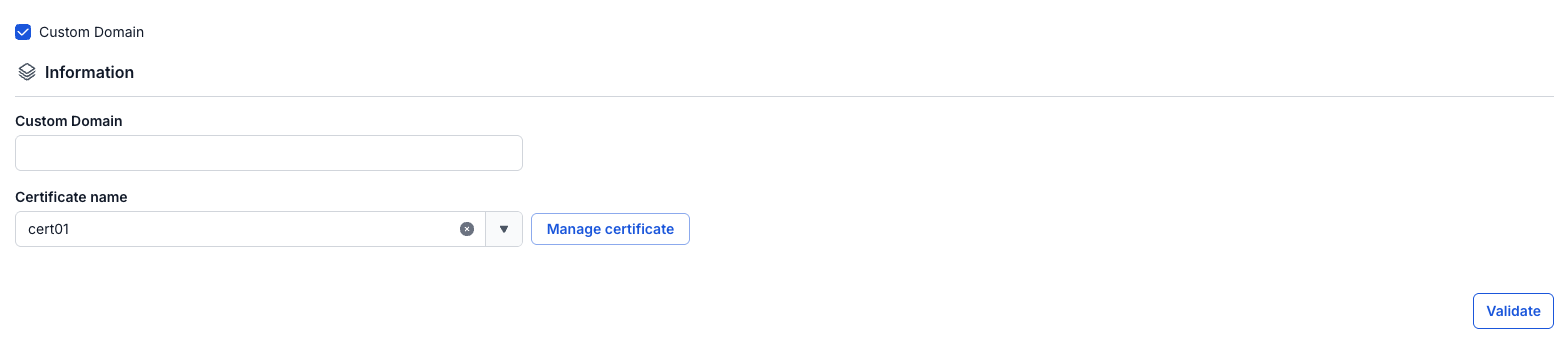
Workspace is Public
- Custom domain: Check to enable a custom domain.
- Domain: Enter the domain name (e.g., abc.local, jupyter.example.com).
- Certificate name: Choose from the list of certificates already imported in Certificate Manager.
- Buttons:
- Manage certificate: Opens the certificate management screen.
- Validate: Checks that the certificate is valid for the domain.
noteOn a Public Workspace, the TLS/SSL certificate option is not shown — the system supports HTTPS by default.
-
-
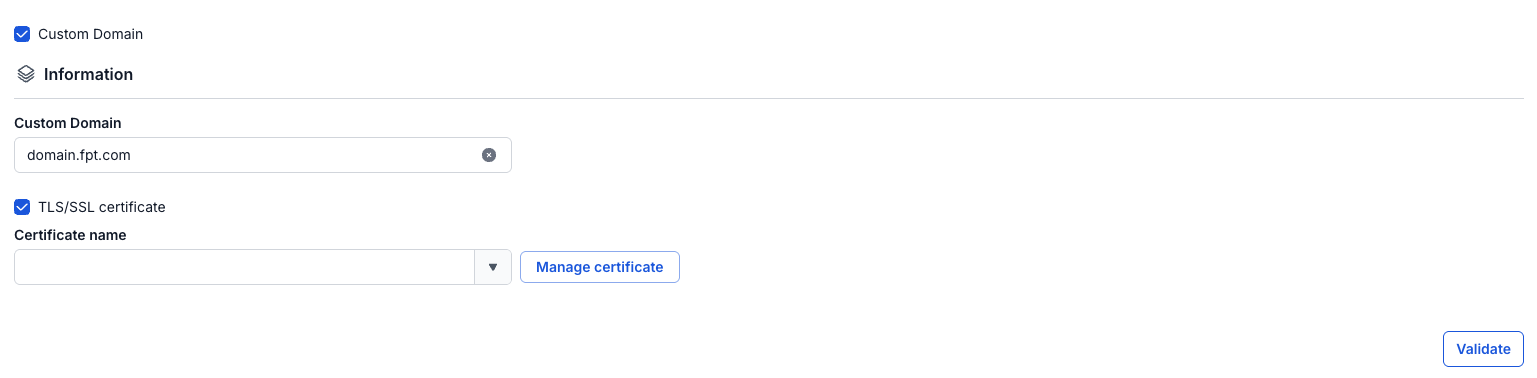
Workspace is Private
- Custom domain: Check to enable a custom domain.
- Domain: Enter the domain name.
- TLS/SSL certificate: Check to enable HTTPS for the services.
- Certificate name: Choose from the certificate list.
- Buttons:
- Manage certificate: Opens certificate management.
- Validate: Checks the certificate.
noteIf TLS/SSL certificate is left unchecked, the service will run over HTTP and no certificate is required.
Step 6: Click Next to move to the Auth screen
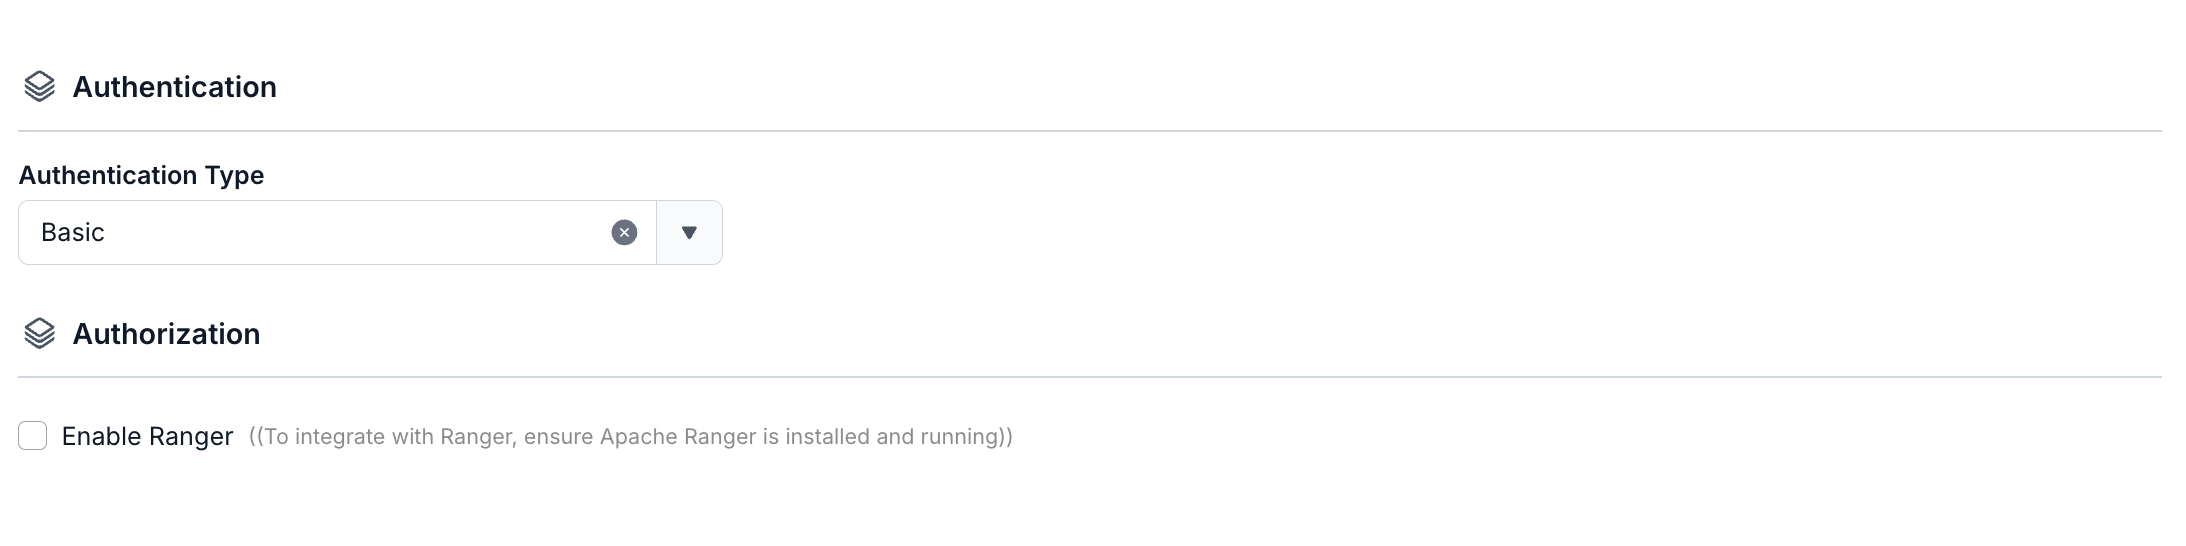
Authentication Type:
- Authentication Type = Basic
- The Query engine is initialized with Basic authen
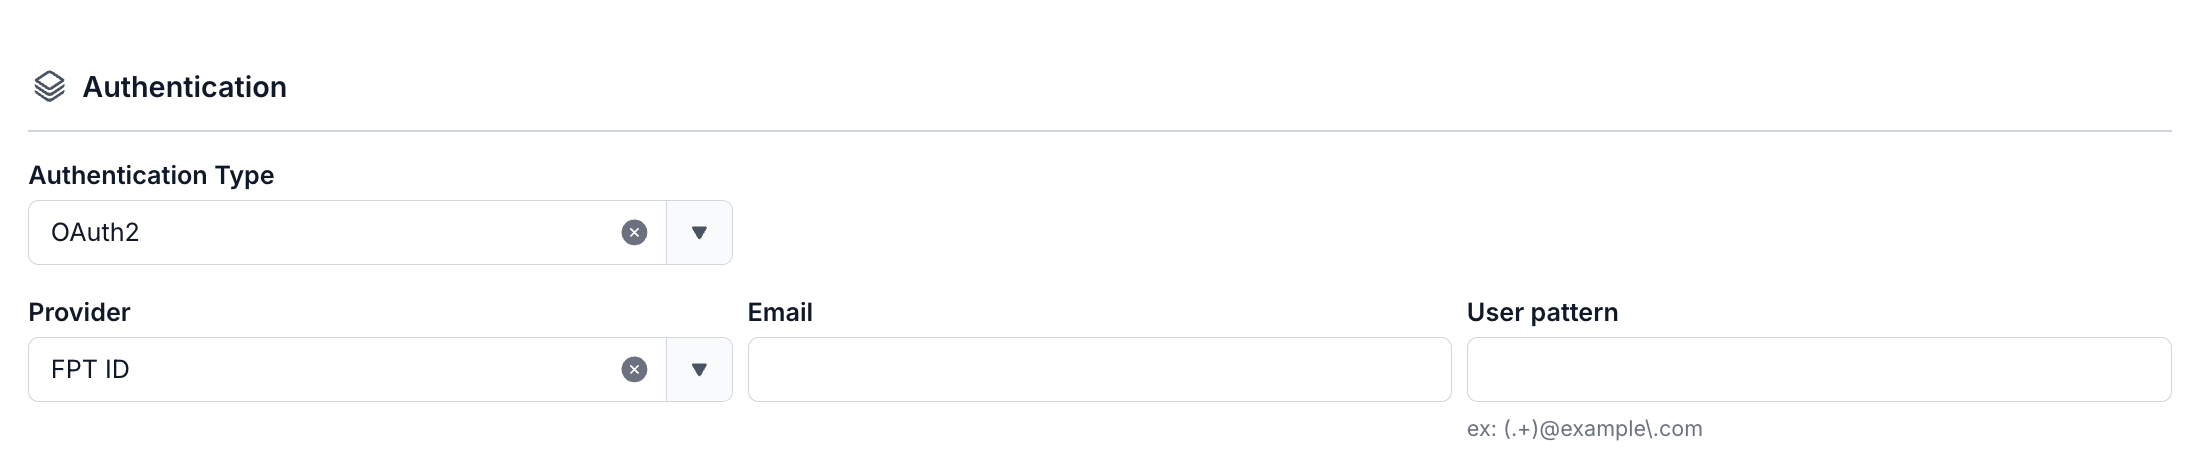
- Authentication Type: OAuth2
- Provider: FPT ID - Enter the following information:
- Email (required): FPT email address to use as the admin account.
- Provider: FPT ID - Enter the following information:
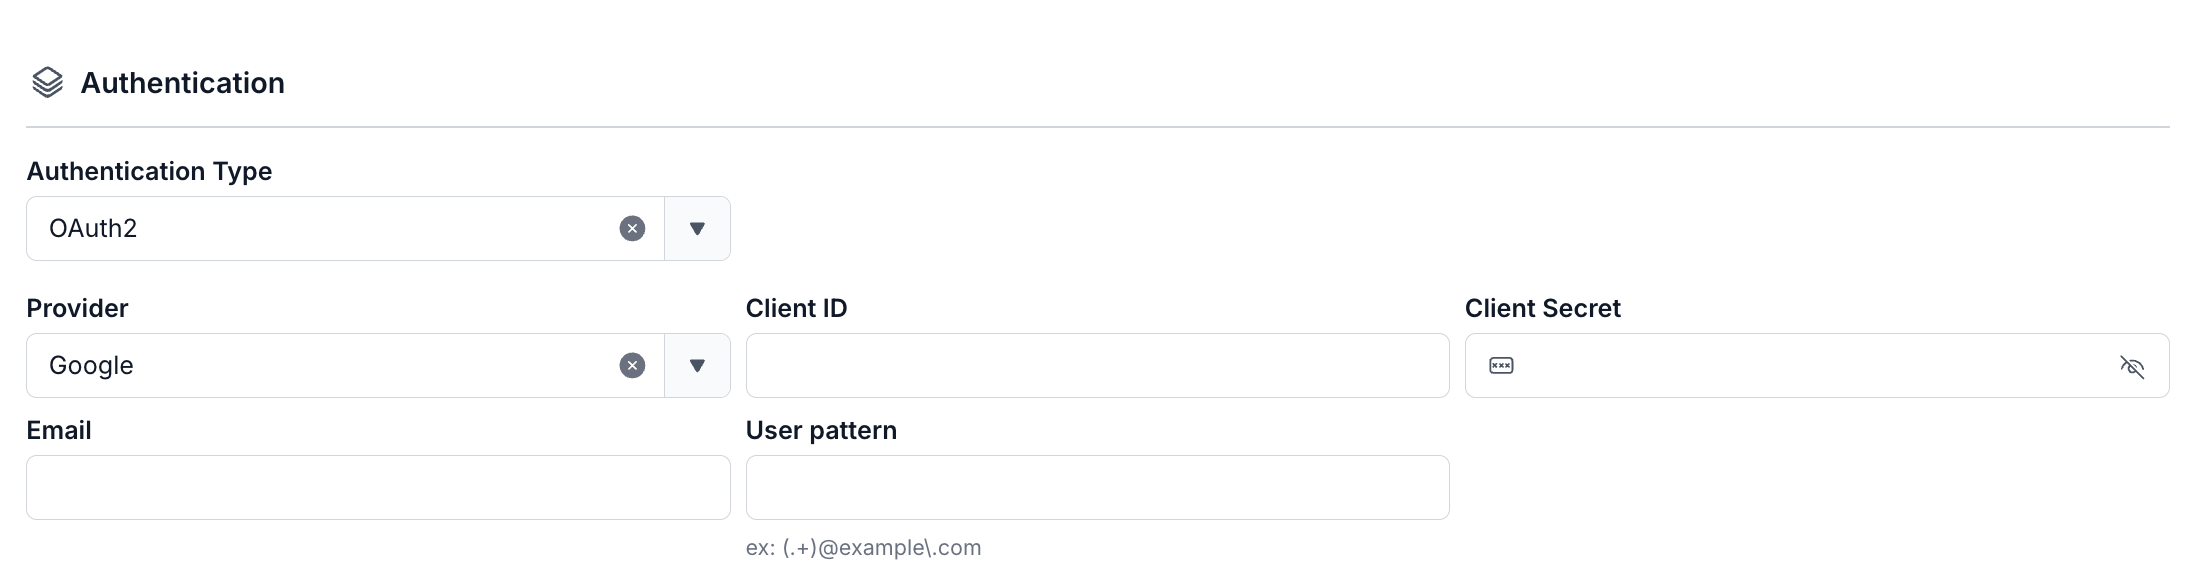
- Provider: Google. Enter the following information:
- Client ID (required): application identifier (obtained from Google Cloud → OAuth Credentials).
- Client Secret (required): the secret string paired with the Client ID, used to authenticate the application.
- Email (required): the Gmail or Workspace address of the administrator initializing the engine.
Before testing the connection, make sure Google Cloud has added the Query Engine's redirect URI to the allowed list.
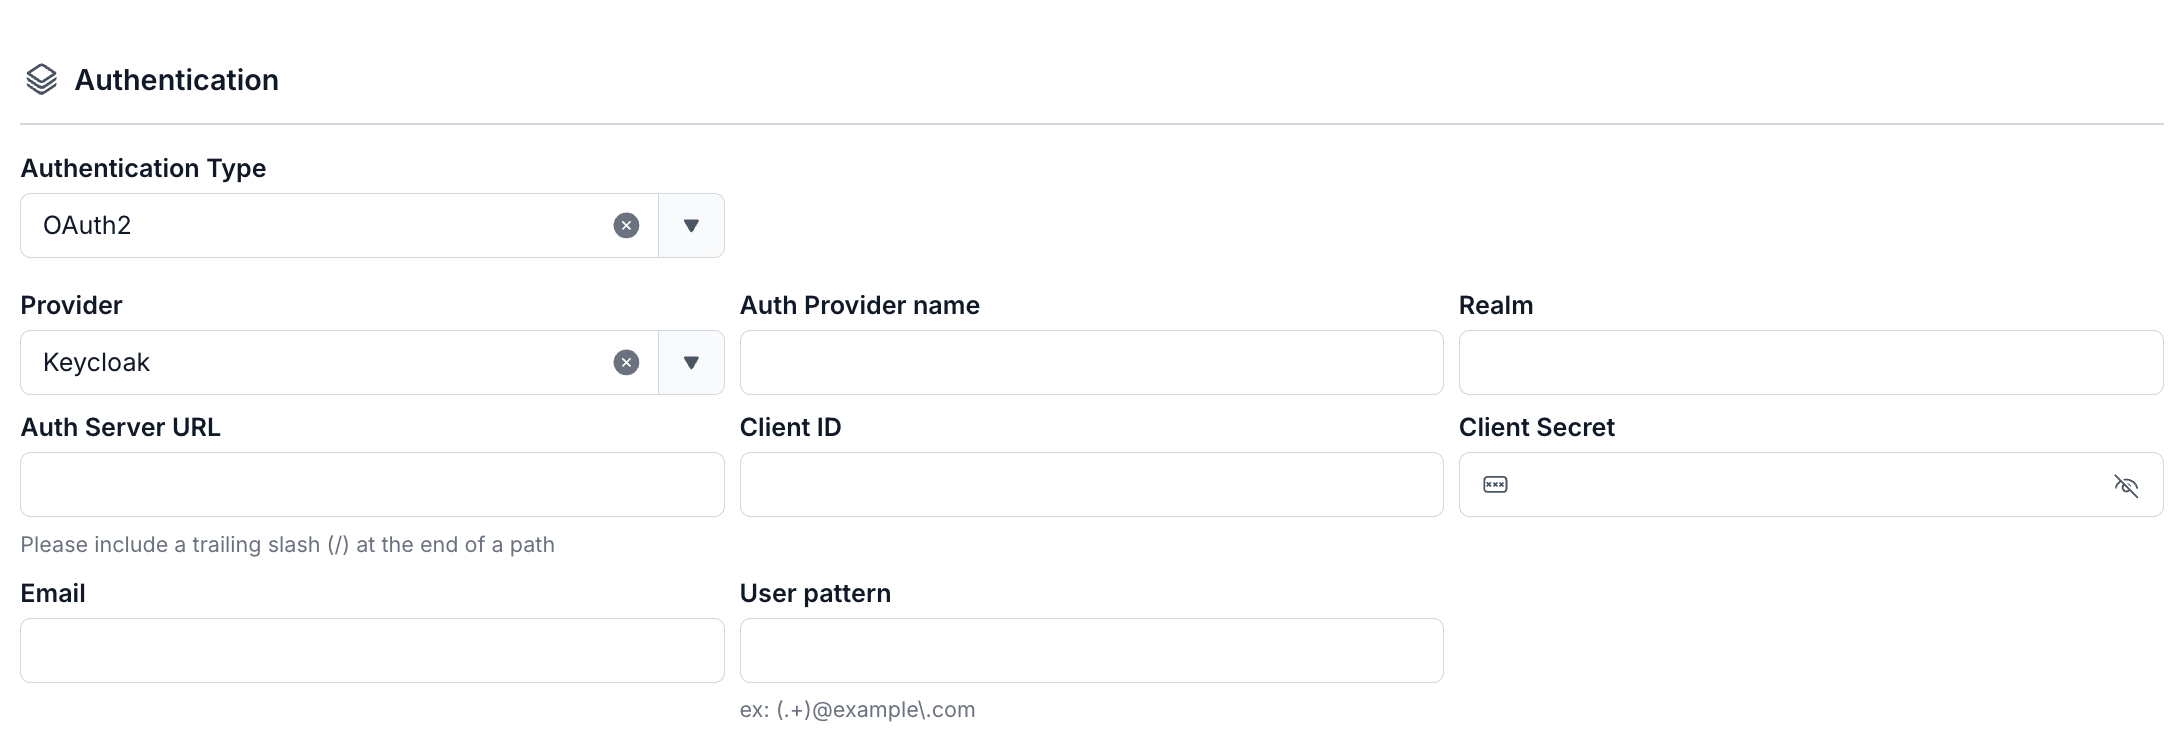
- Provider: Keycloak - Enter the following information:
- Auth Provider Name (optional): Provider name
- Realm (required): a management space in which all users, groups, roles, clients, and other objects are managed and secured independently
- Auth Server URL (required): the base URL of the Keycloak server, used by clients to perform authentication, must end with "/".
- Client ID (required): an ID code used to authenticate the client with Keycloak
- Client Secret (required): the password used to authenticate the client with Keycloak
- Email (required): the email address in Keycloak
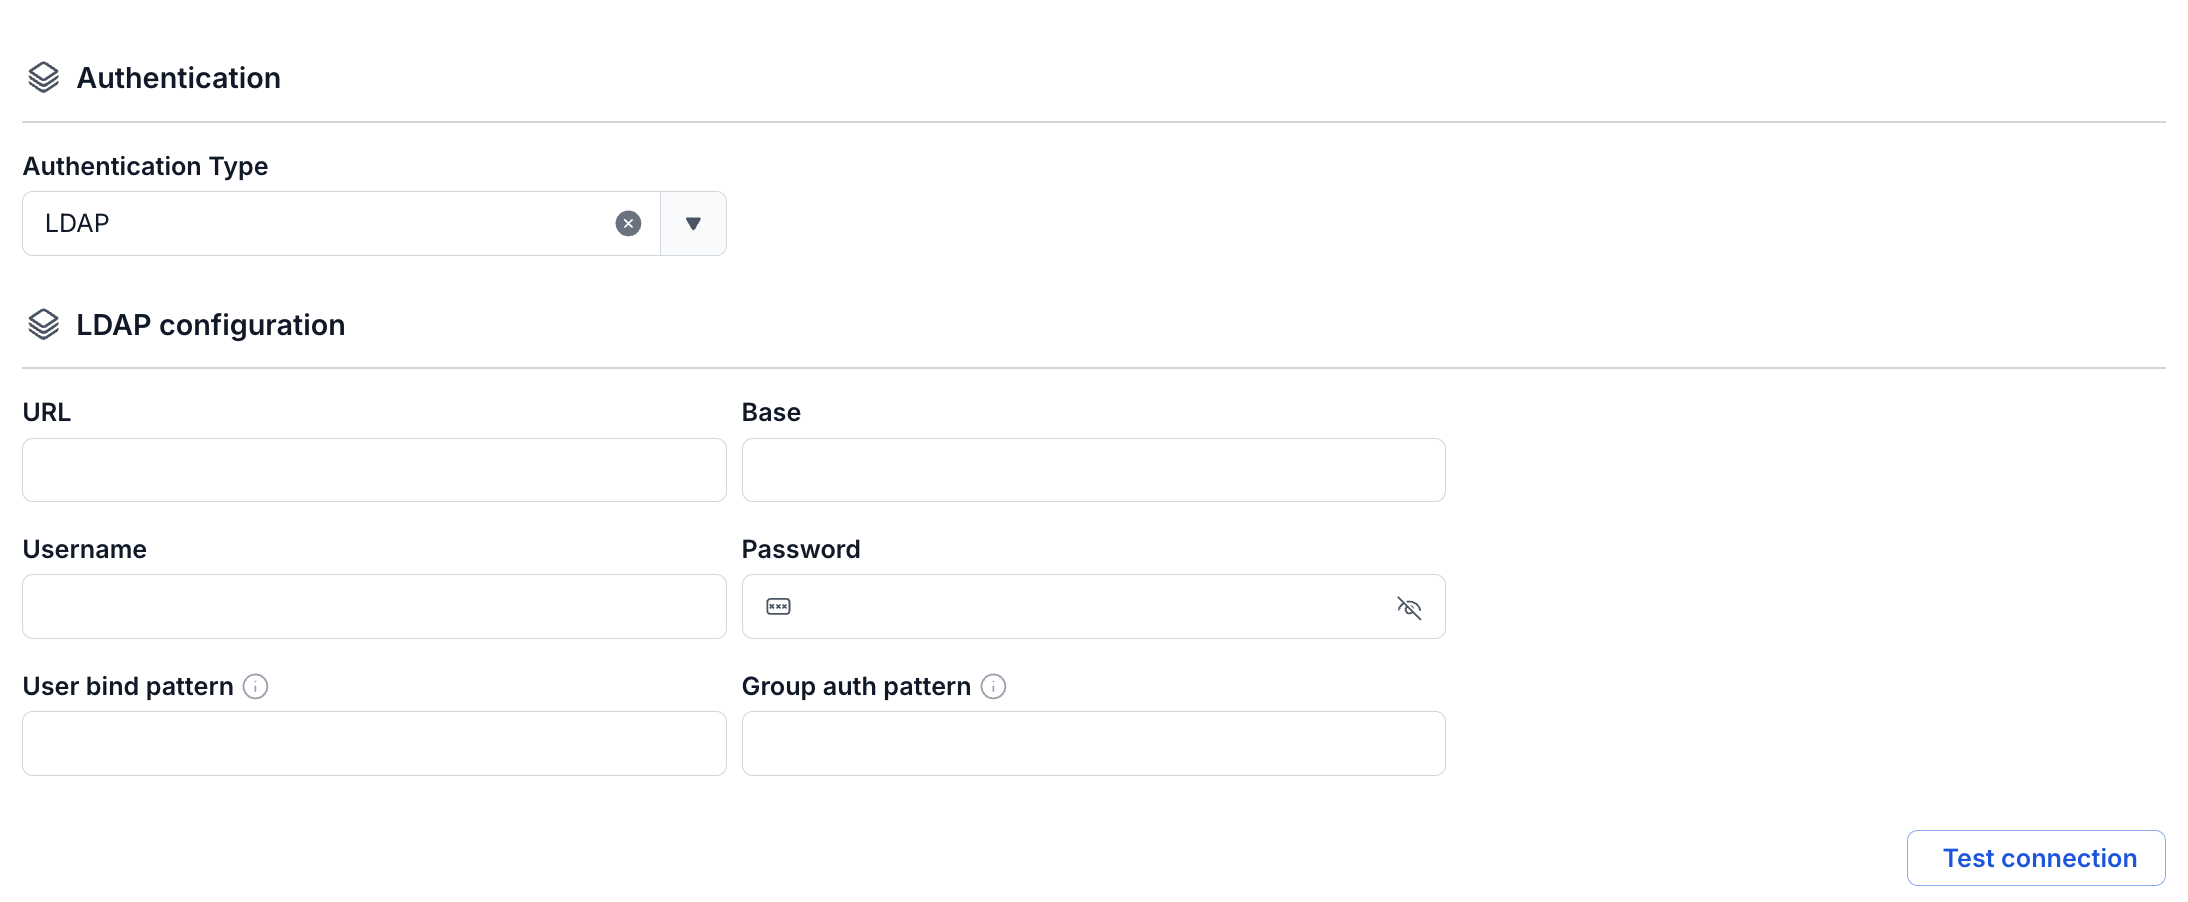
- Authentication Type: LDAP - Enter the following information:
- URL (required): LDAP path, for example ldap://ldap.example.com:389 or ldaps://ldap.example.com:636.
- Base DN (required): query root, for example dc=example,dc=com.
- Username (required): bind DN with search permissions (for example cn=admin,dc=example,dc=com).
- Password (required): bind DN password.
- User Bind Pattern (optional): DN pattern for finding users, for example uid={0},ou=People,dc=example,dc=com.
- Group Auth Pattern (required): DN pattern for querying groups, for example cn={0},ou=Groups,dc=example,dc=com.
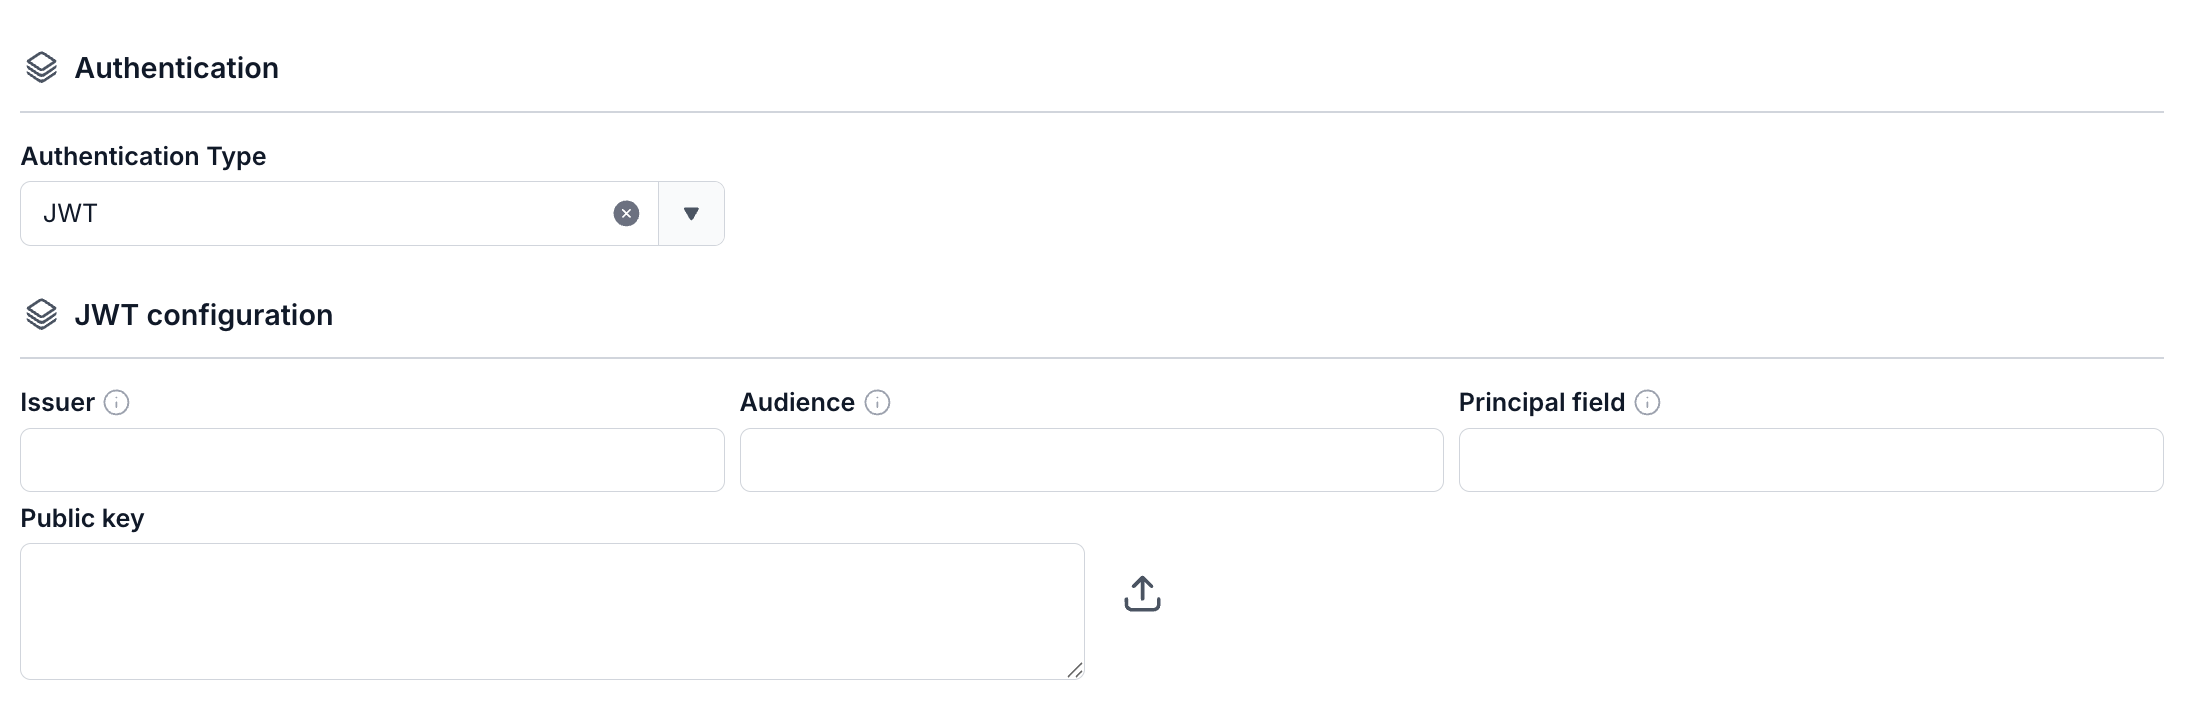
- Authentication Type: JWT - Enter the following information:
- Issuer (required): the iss claim value that the Query Engine must match.
- Audience (optional): the aud claim value (if the JWT system uses this field).
- Principal Field (required): the claim name that contains the username (usually sub or email).
- Public Key (required): PEM-formatted public key (paste directly or upload a file) for the Query Engine to verify the JWT signature.
- It's recommended to use an RSA or EC key of 2048 bits or higher; the PEM file must start with -----BEGIN PUBLIC KEY-----.
Authorization: Integrate Ranger
- Enable Ranger = False (the Query Engine is initialized in standard mode, and does not apply any policy from Ranger.)
- Enable Ranger = True
- Check Enable Ranger → the UI automatically shows the Test connection button.
- Click Test connection to check the connection to Ranger for the integration. Query engine can only be initialized with Authentication type set to Integrate Ranger once Test Connection succeeds.
To use Ranger for authentication and authorization control for Trino, you need to initialize the Data Governance (Ranger) service before initializing the Query engine service
Initialize Ranger here

Step 7: Click Next to move to the Review & Create screen
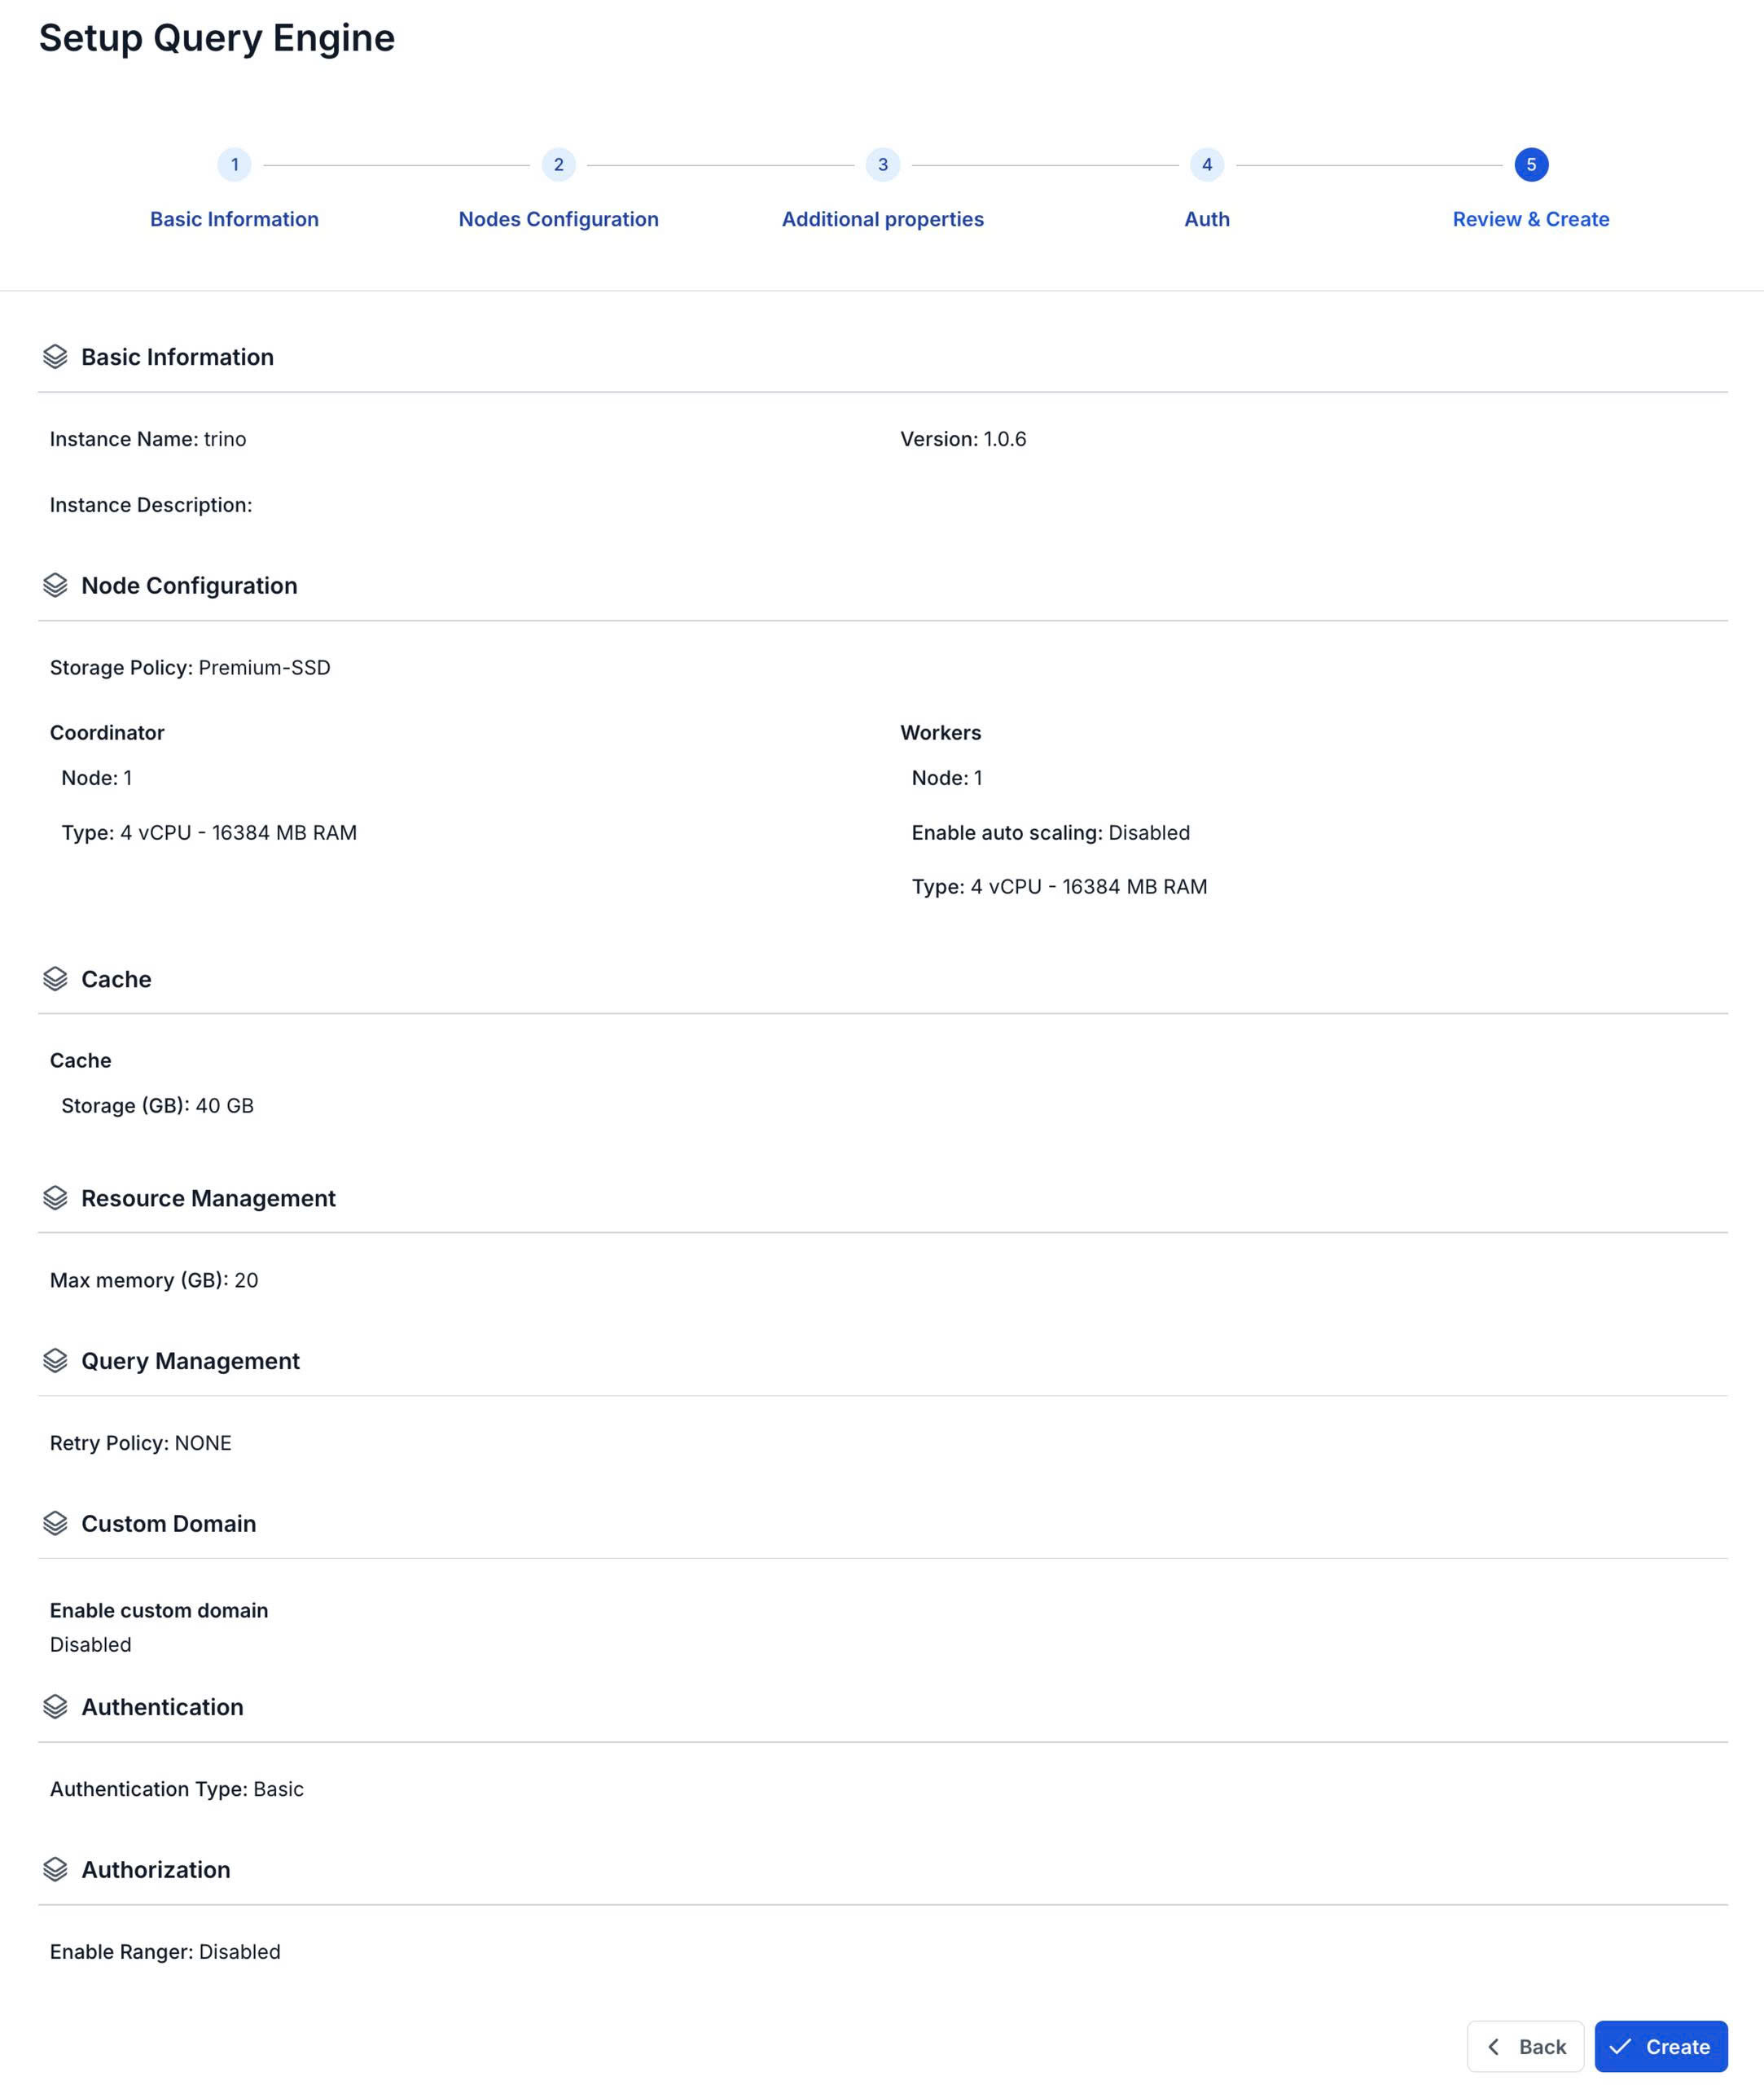
Step 8. Review the entered information, then click Create to finish.
Query Engine finishes initializing once Worker Status is Succeeded and the Status of Trino is Healthy (~10 minutes)