Access and Configure Query Engine Management
Precondition: The Query engine service has been successfully initialized, the Workspace status is Successed, and the Trino status is Healthy (initialize the Query engine service here)
Step 1. Access Ranger using the URL on the Essential information tab along with the Username/Password
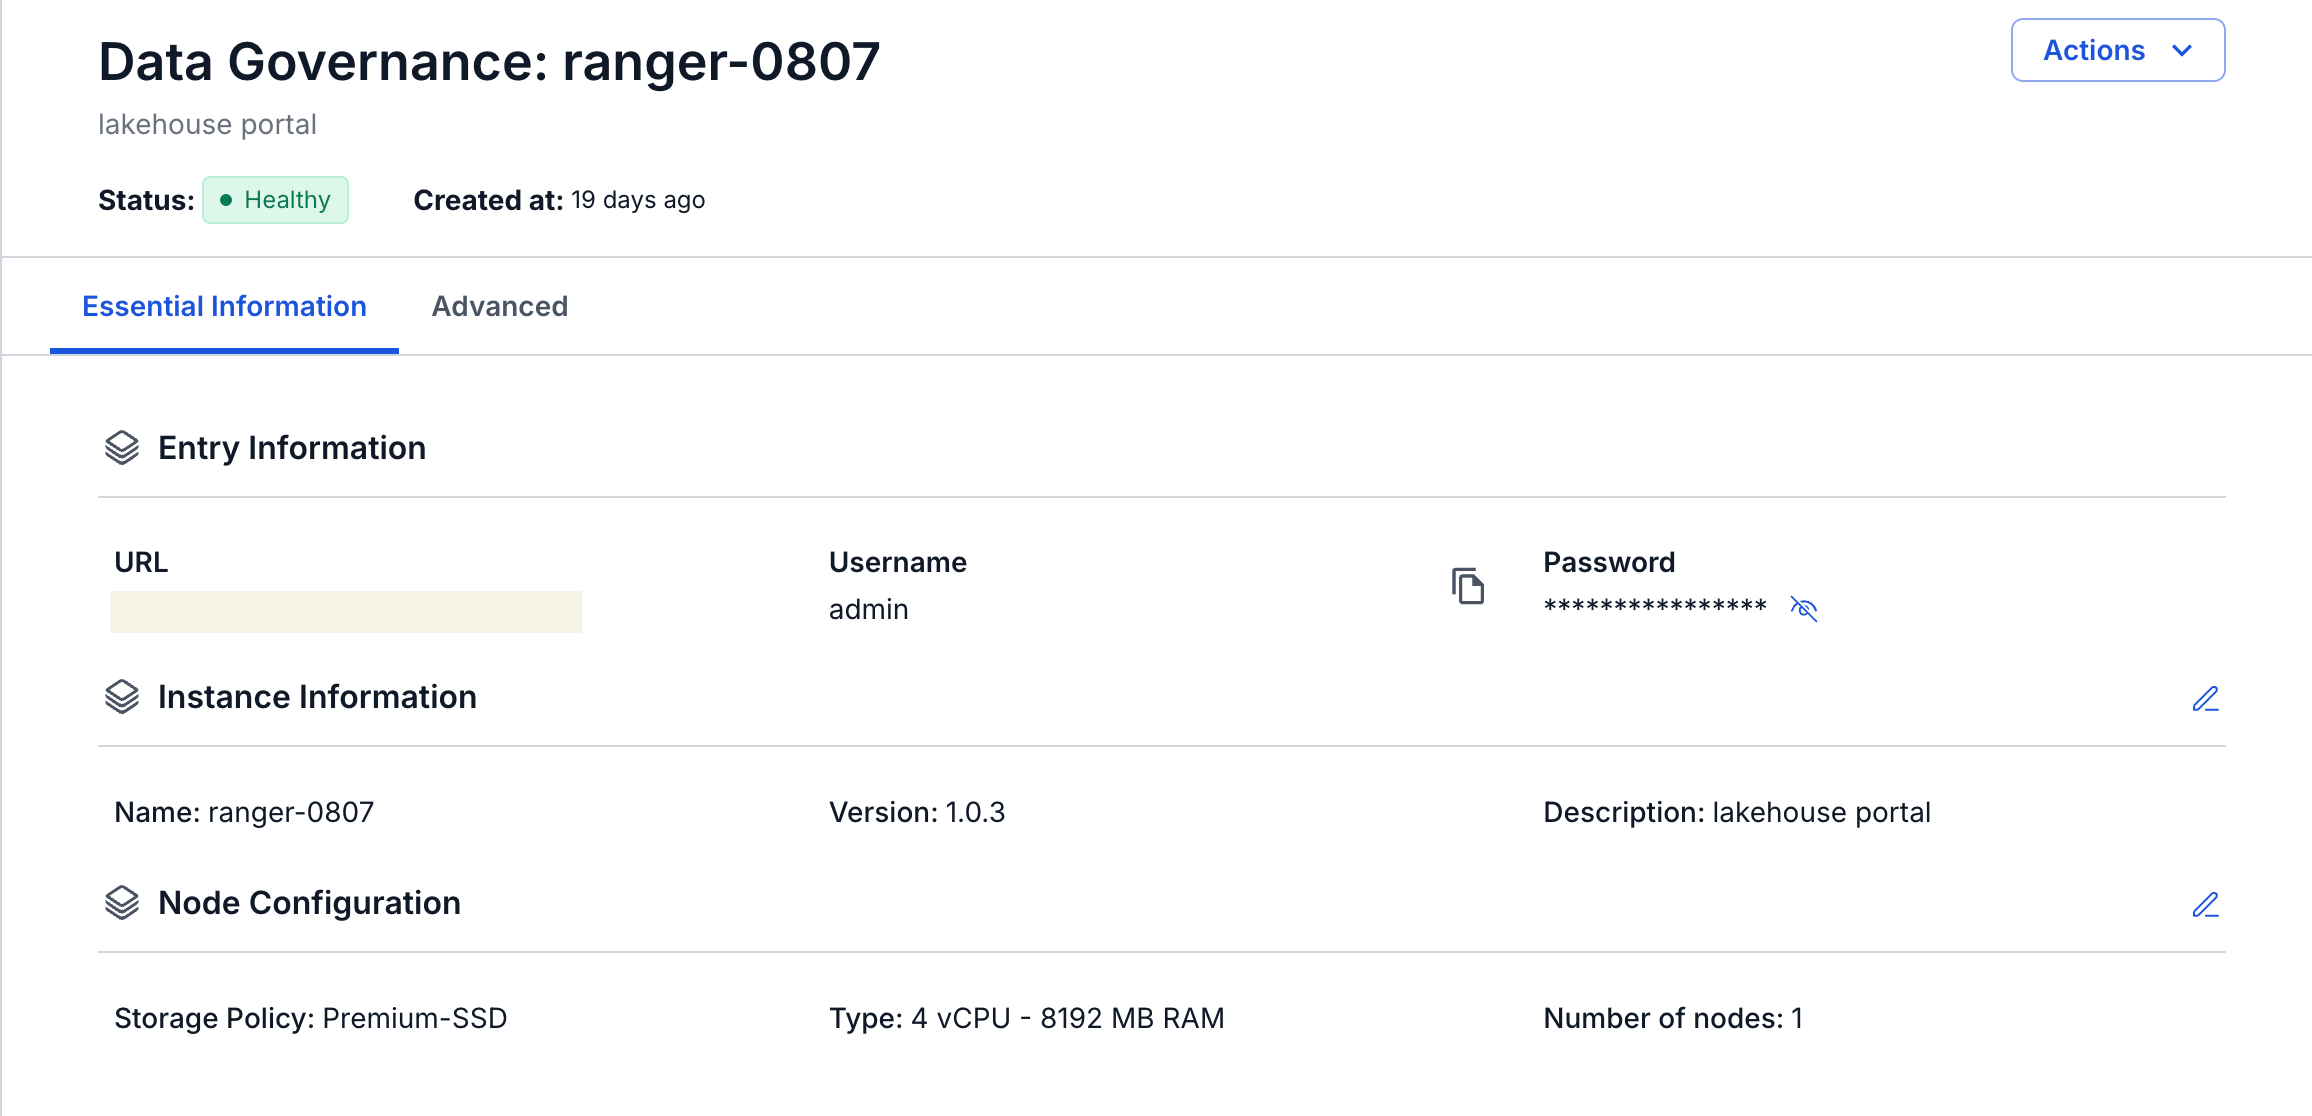
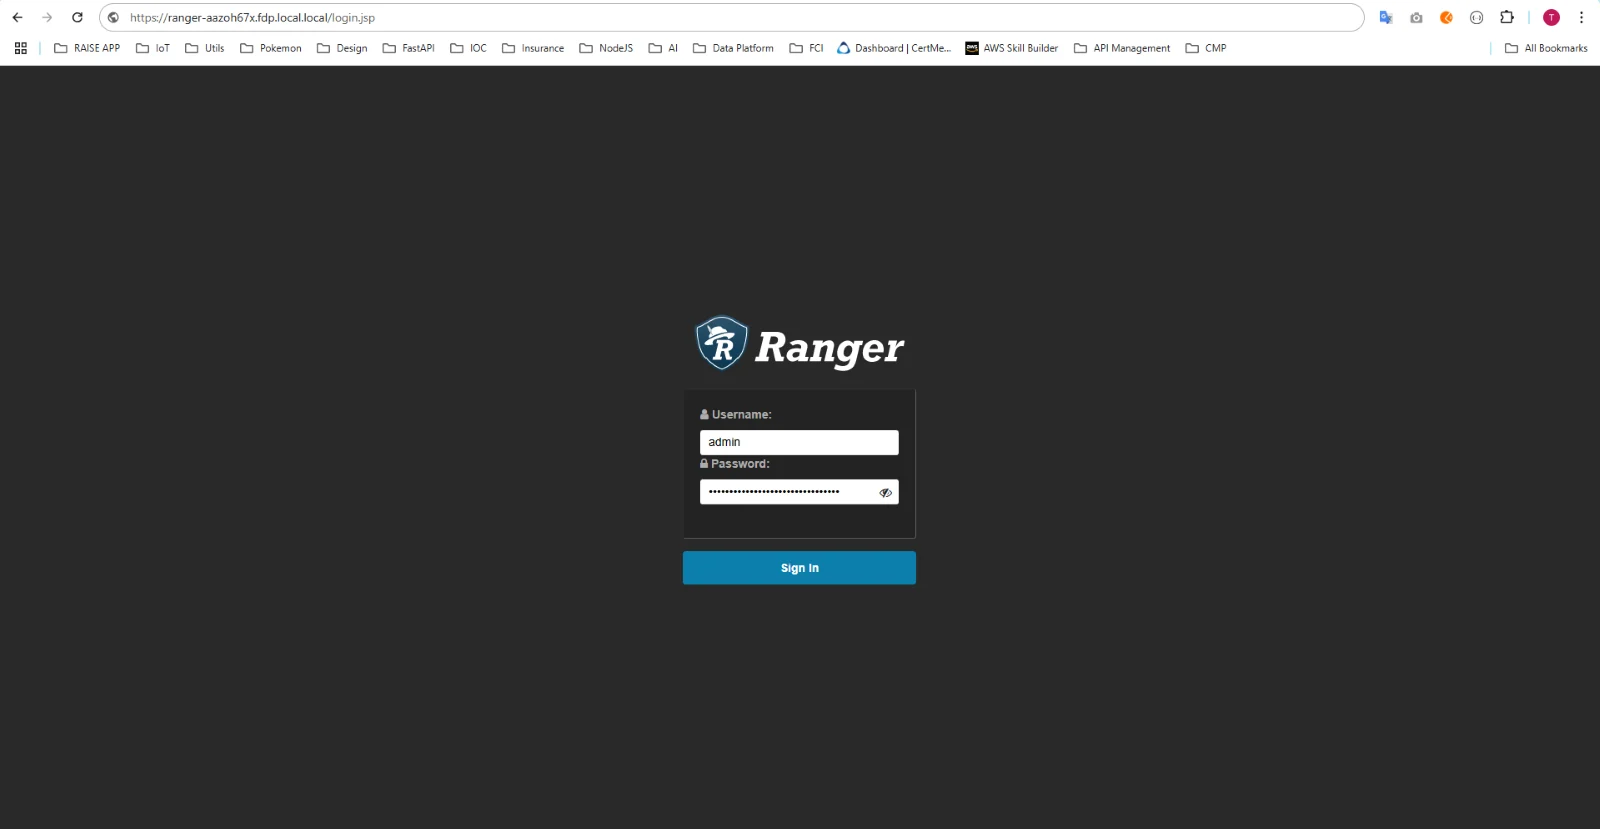
Step 2: Create a Trino Service from Ranger Admin. On the Service Manager screen, select Resource TRINO, then click the Add icon
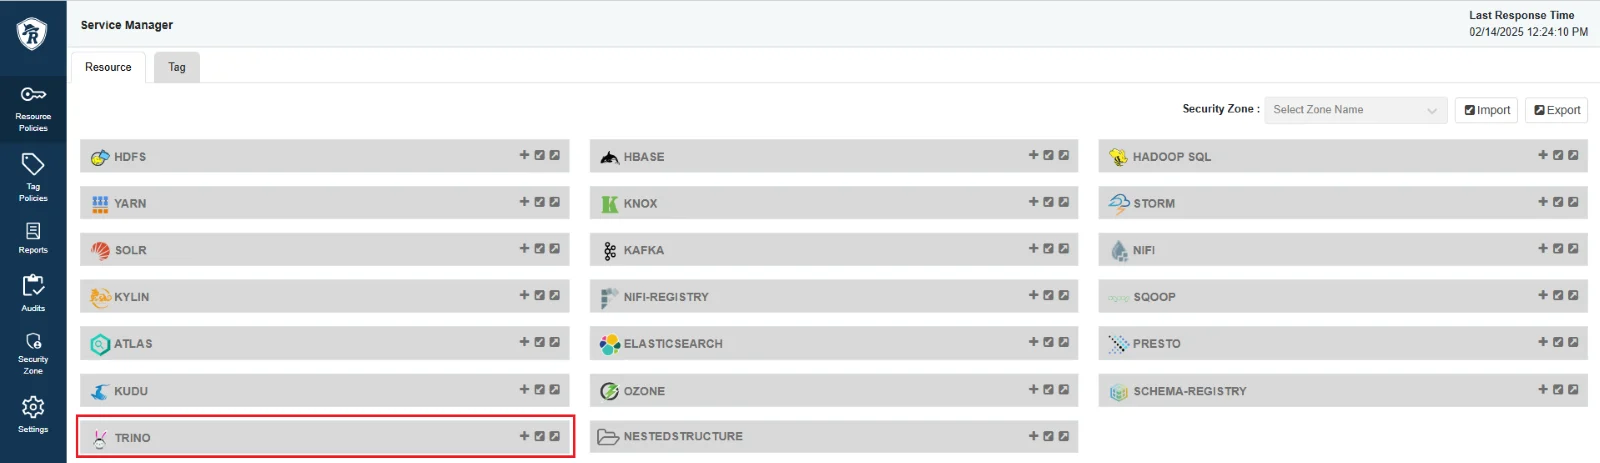
Step 3. Enter the Service initialization information
- Service name: the service name (a string included in the access URL of Trino, in the format: trino-xxxxxxxx)
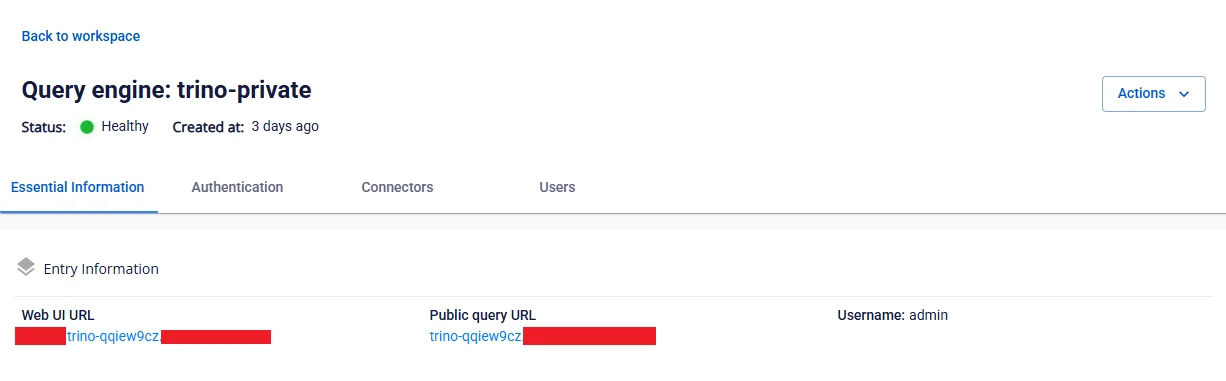
- Display name: display name
- Description: description
- Active Status: status of the Service
- Select Tag Service: select the tag
- Username: login account for the Query engine
- Password: login password for the Query engine
- jdbc.driverClassName: default is io.trino.jdbc.TrinoDriver
- jdbc.url: connection address to the Query engine via JDBC (jdbc:trino:// :443)
- Superusers: account names that bypass access control checks when connecting to the Query engine
- Superuser groups: group names whose accounts bypass access control checks when connecting to the Query engine
- Service admin users: account names on Ranger designated as admins of the Service
- Service admin usergroups: group names on Ranger designated as admins of the Service
Step 4. Save the Service information
After entering all the required information, click Add to save the Service information for the Query engine into Ranger-Admin
Step 5: Verify the connection
- On the Service Manager screen, click the Edit icon on the newly created Trino Service, then click Test connection
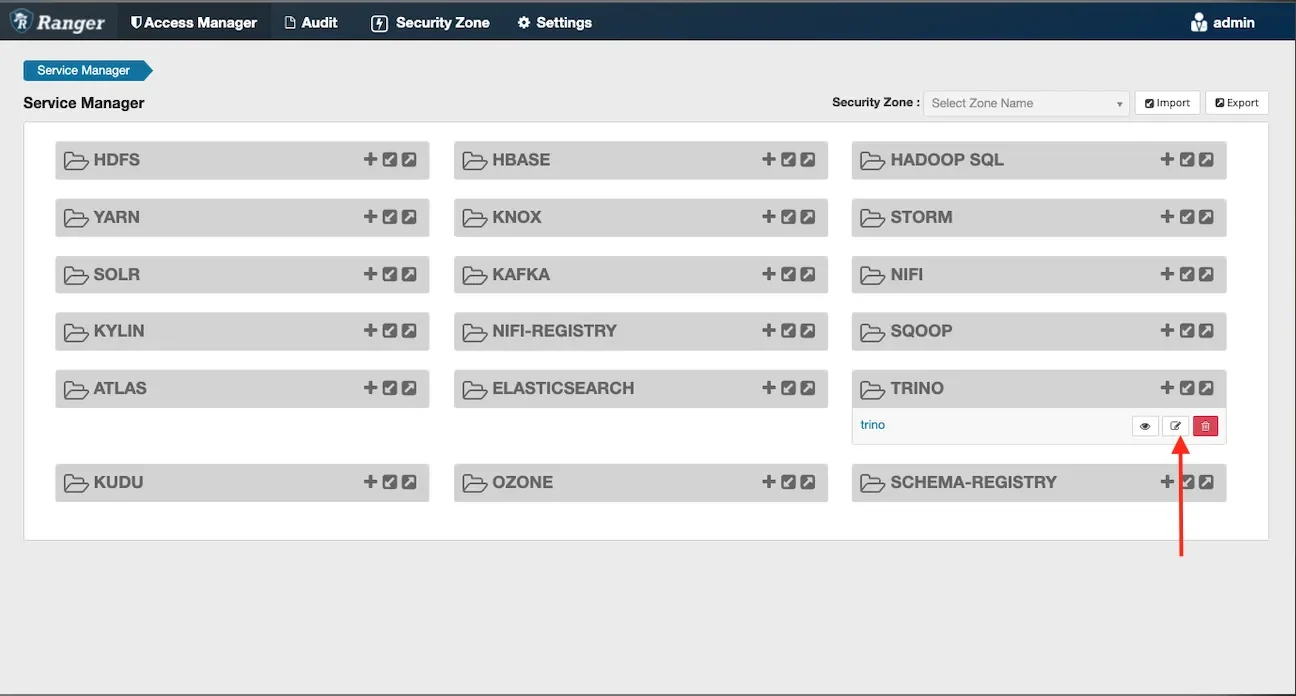
- Confirm that Ranger-Admin has successfully connected to the Query Engine (Trino) when the Test connection result shows Connected Successfully
