Restore from backup
Restoring uses a previously created backup to rebuild data in a new cluster. Use it after data loss, corruption, or when you need to roll back to a known state.
Restore creates a new cluster and never overwrites the existing one. The original stays exactly as it is, which means you can compare the two before switching your application over.
Before you start
The cluster needs at least one successfully created backup — that is, at least one restore point available. If none exists, see Change backup schedule.
You also need quota for a second cluster, since the restore provisions one.
Restore
Step 1: Open the Restore screen
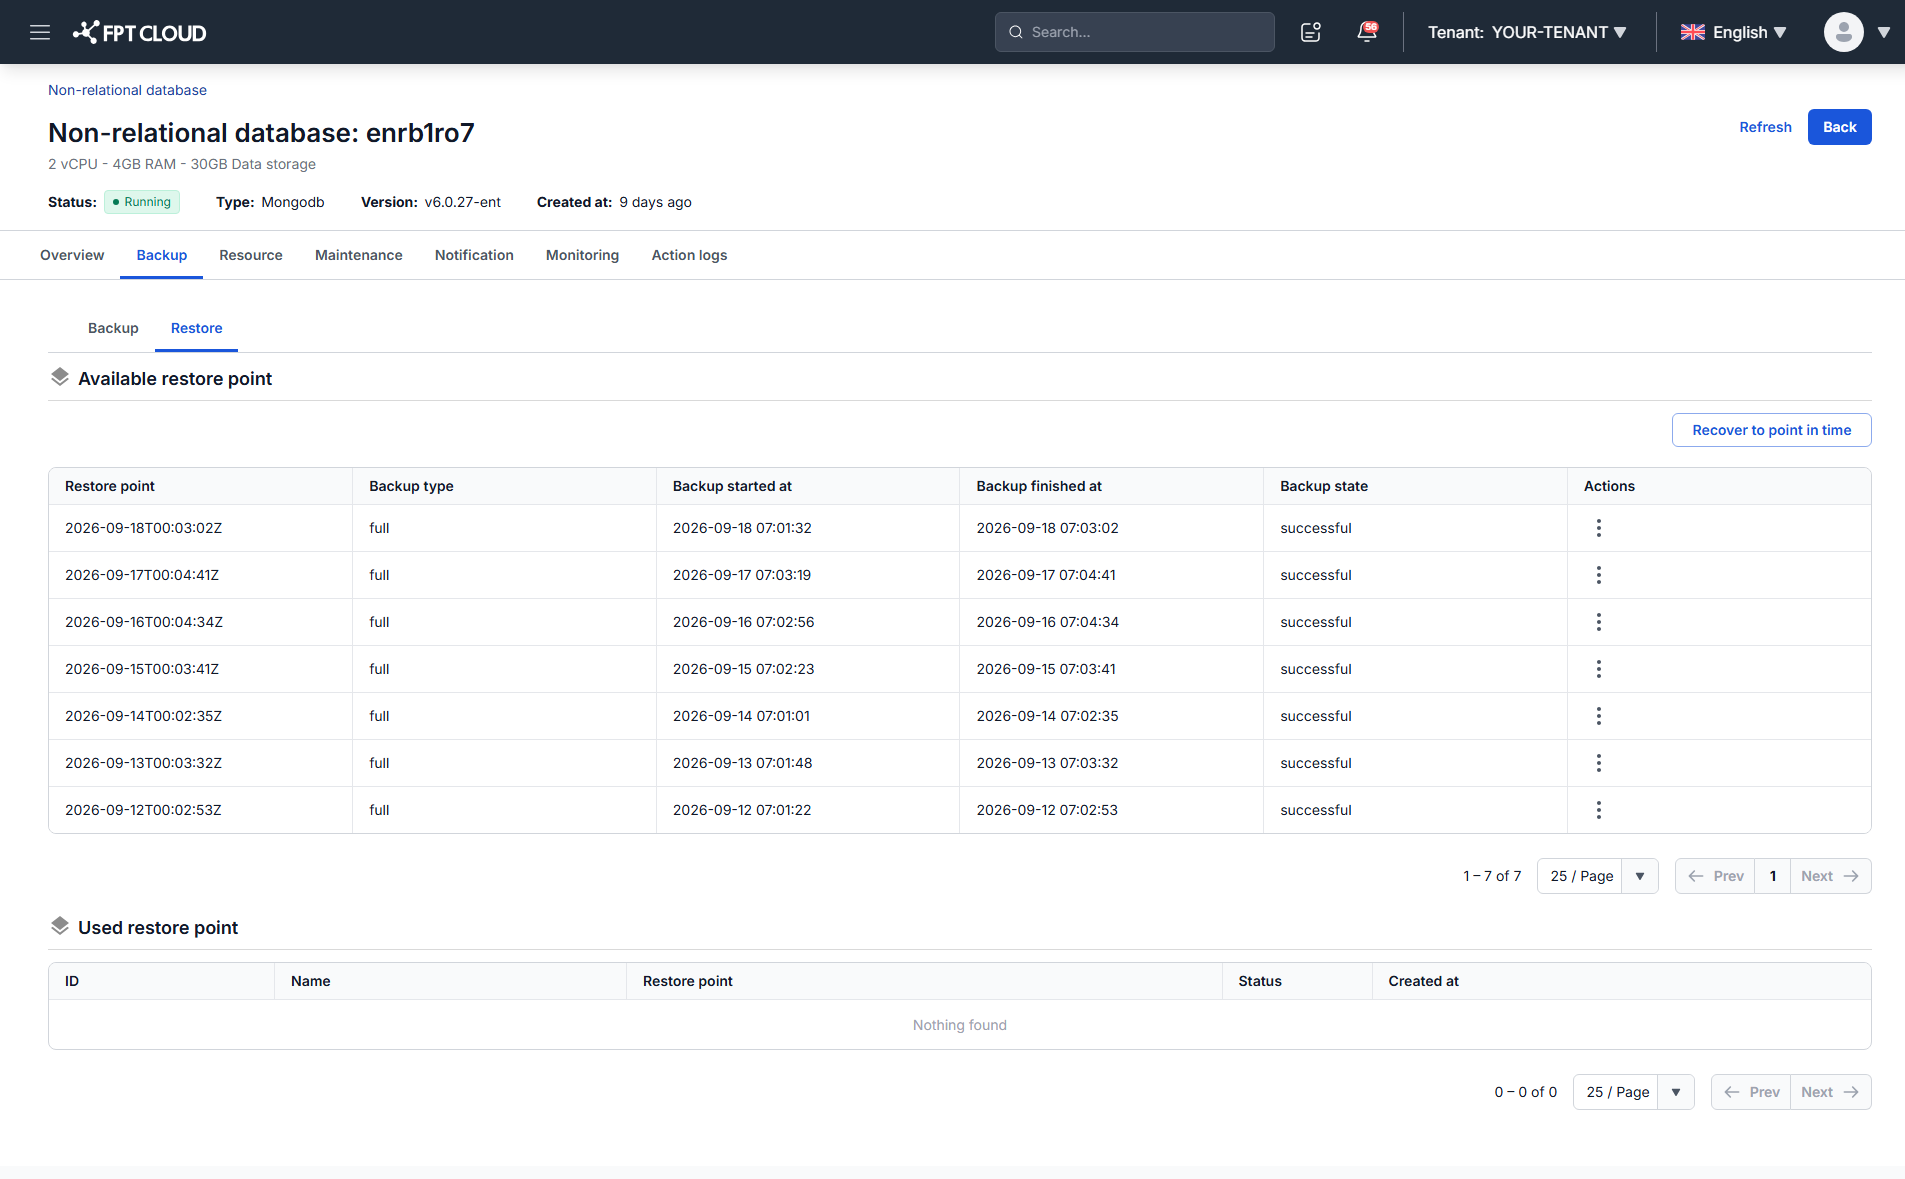
From the menu, select Database Platform → All Database or Non-Relational Database → click the Cluster ID → select the Backup tab → choose the Restore sub-tab.
The system lists the Available Restore Points.
Step 2: Perform the restore
-
In the Actions column, click the ellipsis icon (⋮) on the restore point you want.
-
Select Restore.
-
Enter the details:
Field What to enter Restore Cluster Name A name for the new cluster. Flavor Compute configuration for the new cluster. -
Click Restore.
When the restore completes, the new cluster appears in the cluster list holding the data from the selected backup.
Afterwards
The restored cluster has its own endpoint. Repoint your application to it — see View database cluster information for the new connection details.
Choose the flavor to match the workload you are restoring into, not the original cluster. A restore used for investigation can run on something smaller and cheaper.
Next steps
- Recover to point in time if you need an exact moment rather than a backup
- Backup & Restore overview