Migration for SQL Server
A BACPAC file packages a SQL Server database's schema and data into one portable file, which makes it a straightforward way to move a database onto FPT Database Engine. You export from the source instance with SQL Server Management Studio, then import into the target.
Prerequisites
- SQL Server Management Studio (SSMS) installed, with access to both the source and target instances.
- A target SQL Server cluster on FPT Database Engine in Running status. See Create a database.
- Network access from your machine to the target cluster. See Connect to database with Floating IP.
- Enough local disk space for the exported BACPAC file.
Export a BACPAC from the source database
-
Connect to the source SQL instance in SSMS and expand Databases in Object Explorer.
-
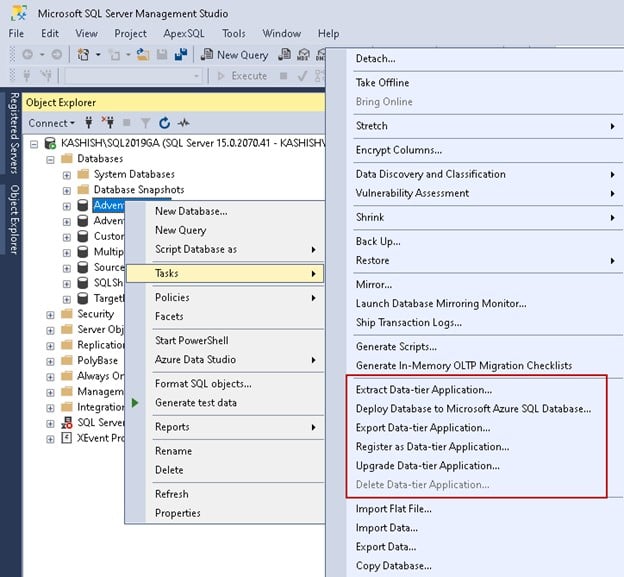
Right-click the source database and select Tasks → Export Data-tier Application.
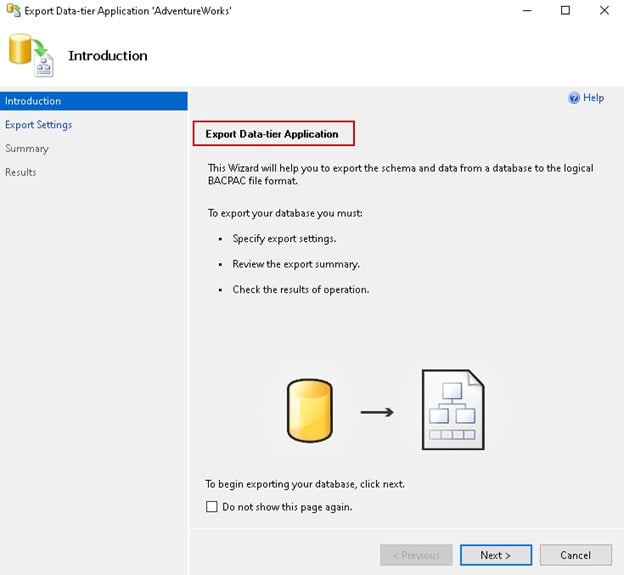
The wizard opens on an introduction page summarizing the steps.
-
Click Next.
-
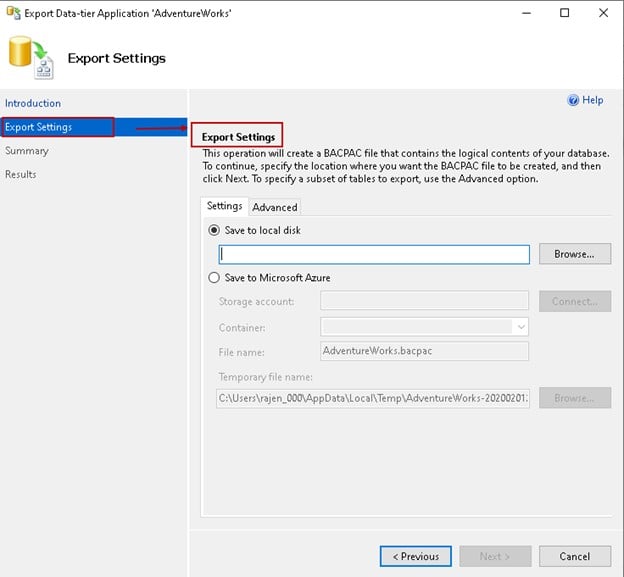
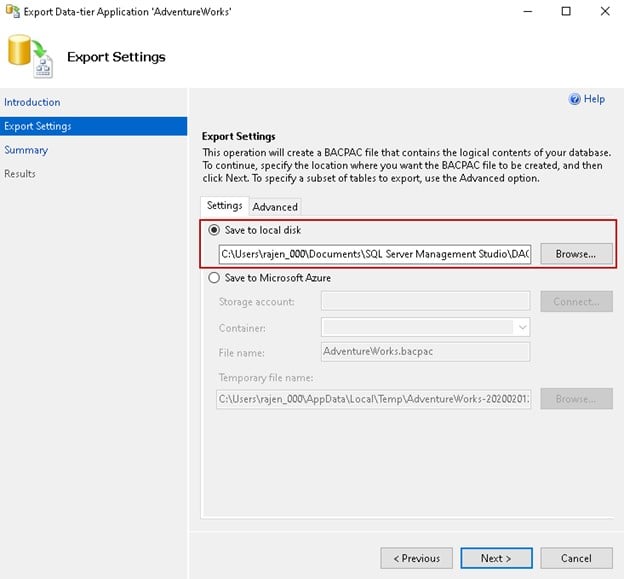
Choose where to save the BACPAC file. A local disk directory works.
-
Review what gets exported. By default the wizard extracts every schema and table, including data.
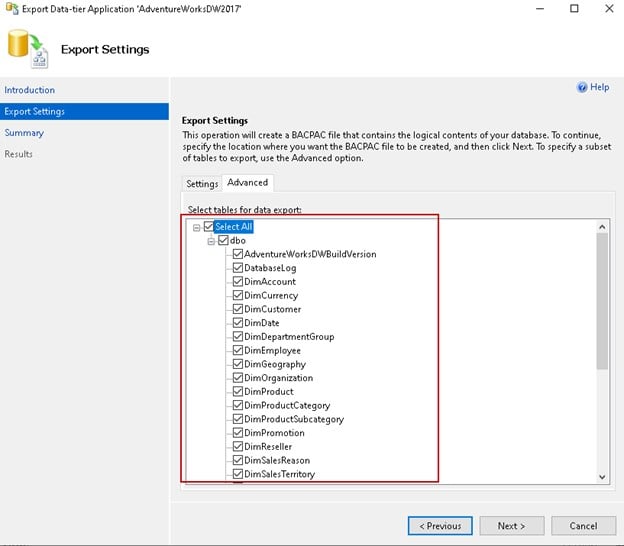
To narrow the export, open the Advanced tab and clear the objects you want to leave behind. Objects are grouped by schema, such as
dbo. Leave everything selected to migrate the full database. -
Click Next and review the summary.
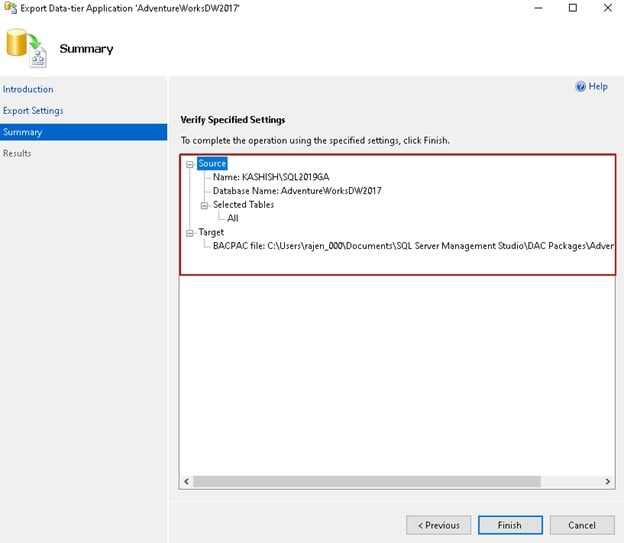
-
Click Finish. The wizard reports progress for each step.
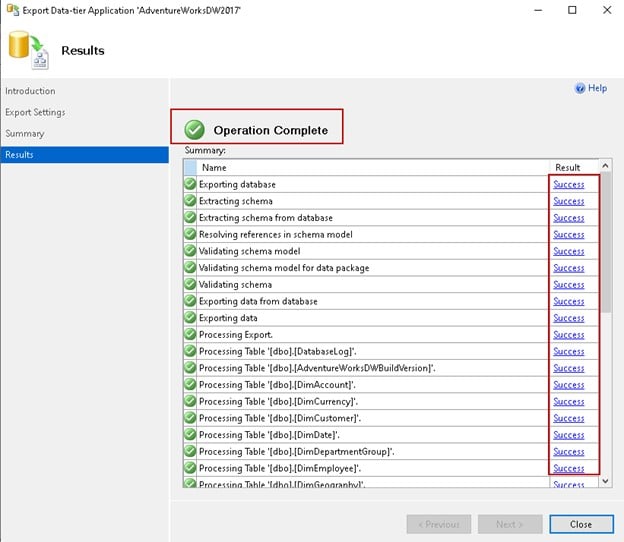
-
Check the output directory for the
.bacpacfile.
Import the BACPAC into the target
Copy the BACPAC file to a machine that can reach the target instance, then import it.
The import always creates a new database. You cannot import a BACPAC into an existing one, so plan the target name before you start.
-
Right-click the connected target instance and select Import Data-tier Application.
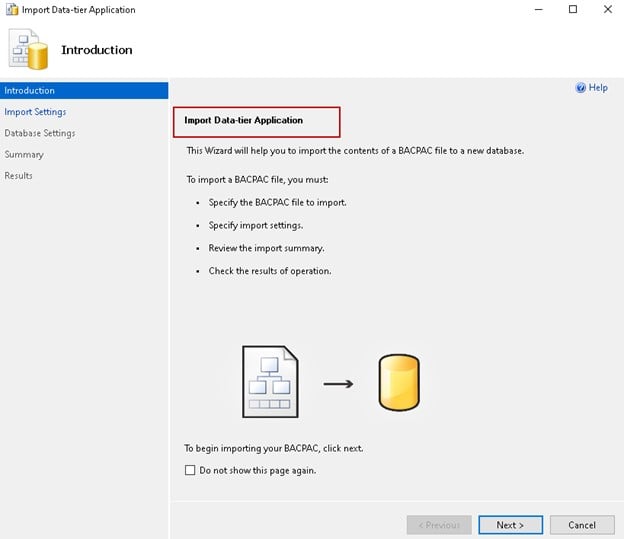
-
Click Next.
-
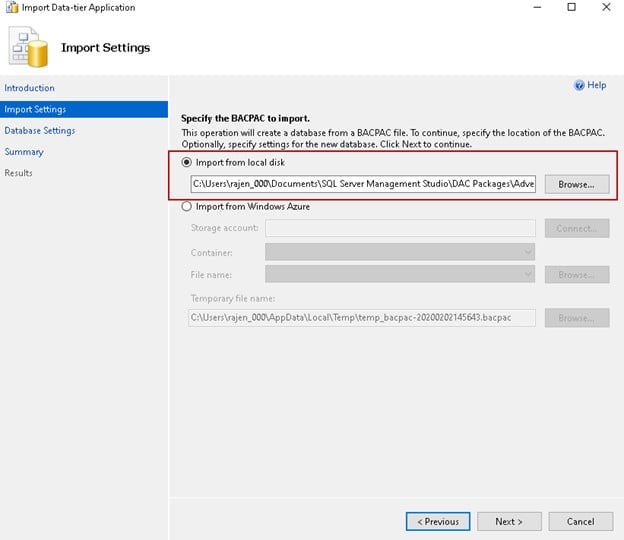
Select the BACPAC file to import.
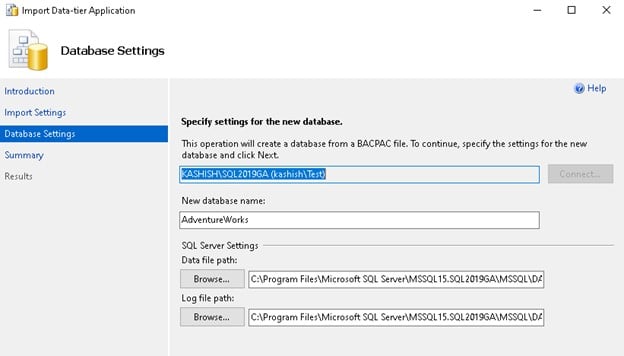
-
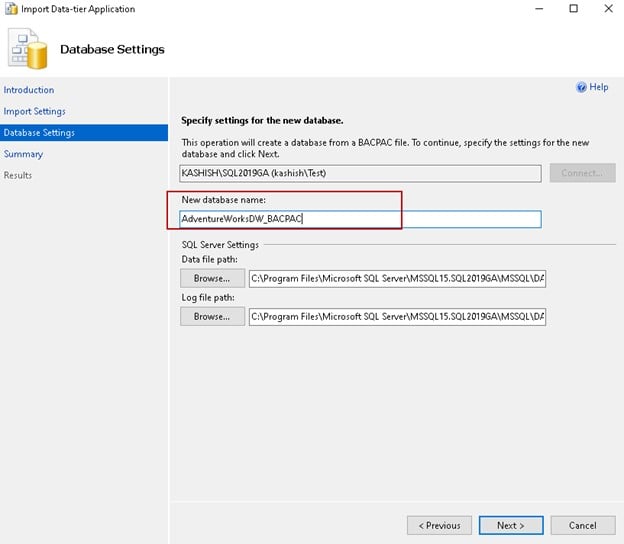
Enter the new database name, and adjust the data and log file paths if the instance defaults do not suit you.
-
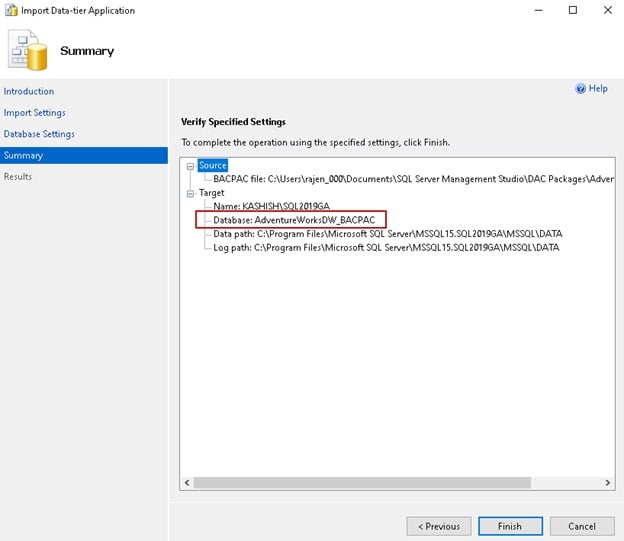
Review the summary page.
-
Click Finish.
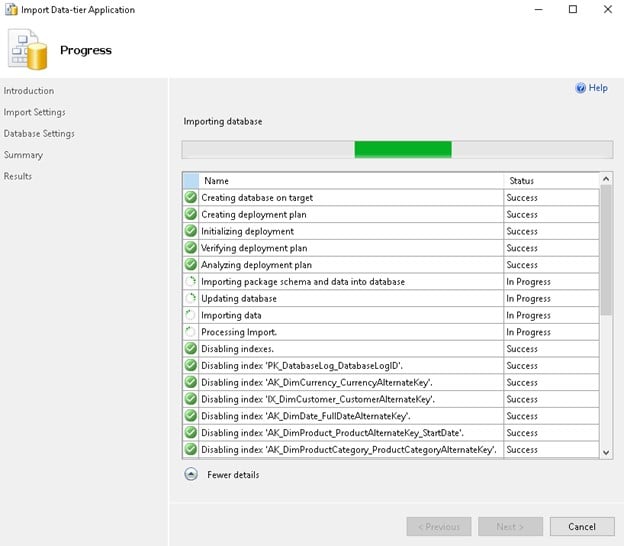
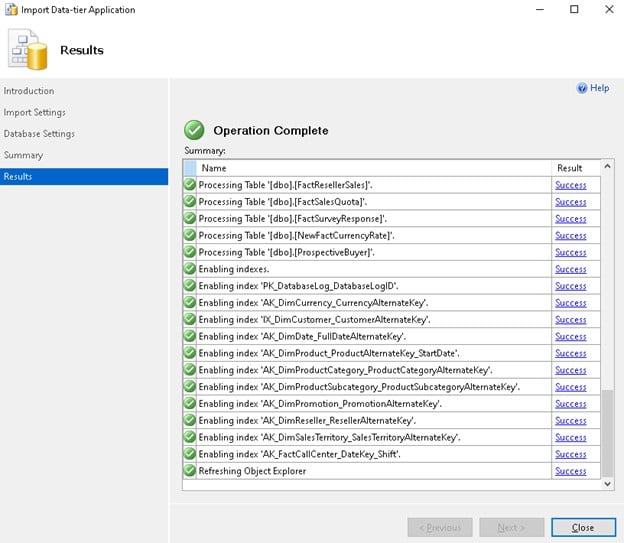
The wizard creates the database, imports schema and data, disables indexes, inserts the data, then re-enables the indexes.
-
Refresh Object Explorer to see the restored database.
Next steps
- Connect to database with Floating IP to point your application at the migrated database
- Manage Backup service to protect it once the data is in place
- Configure parameters