Configure report schedule
A report schedule emails backup activity reports on a recurring basis, so you do not have to export them by hand. Reports arrive as CSV attachments at the addresses you nominate.
For a one-off export, see View reports.
Open the schedule list
-
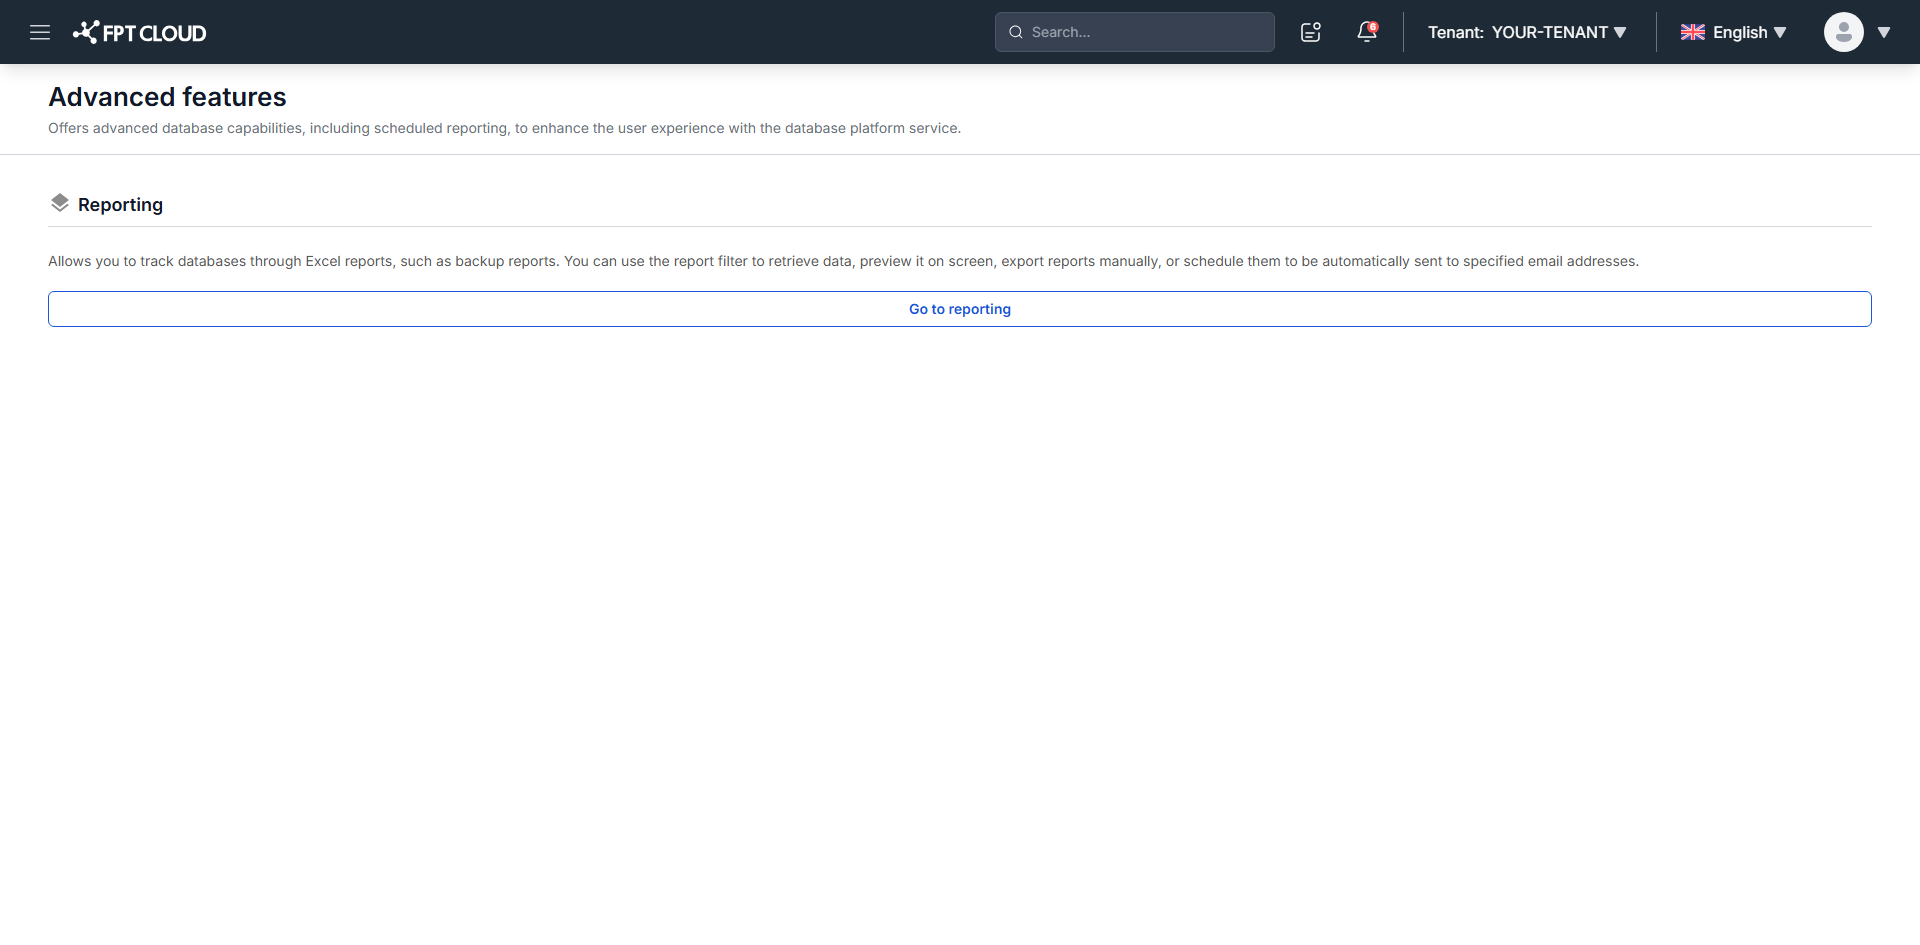
From the main menu, select Database Platform → Advanced Features.
-
Click Go to Reporting, then open the Report Schedules tab. With no schedules yet, the list shows "Nothing Found".
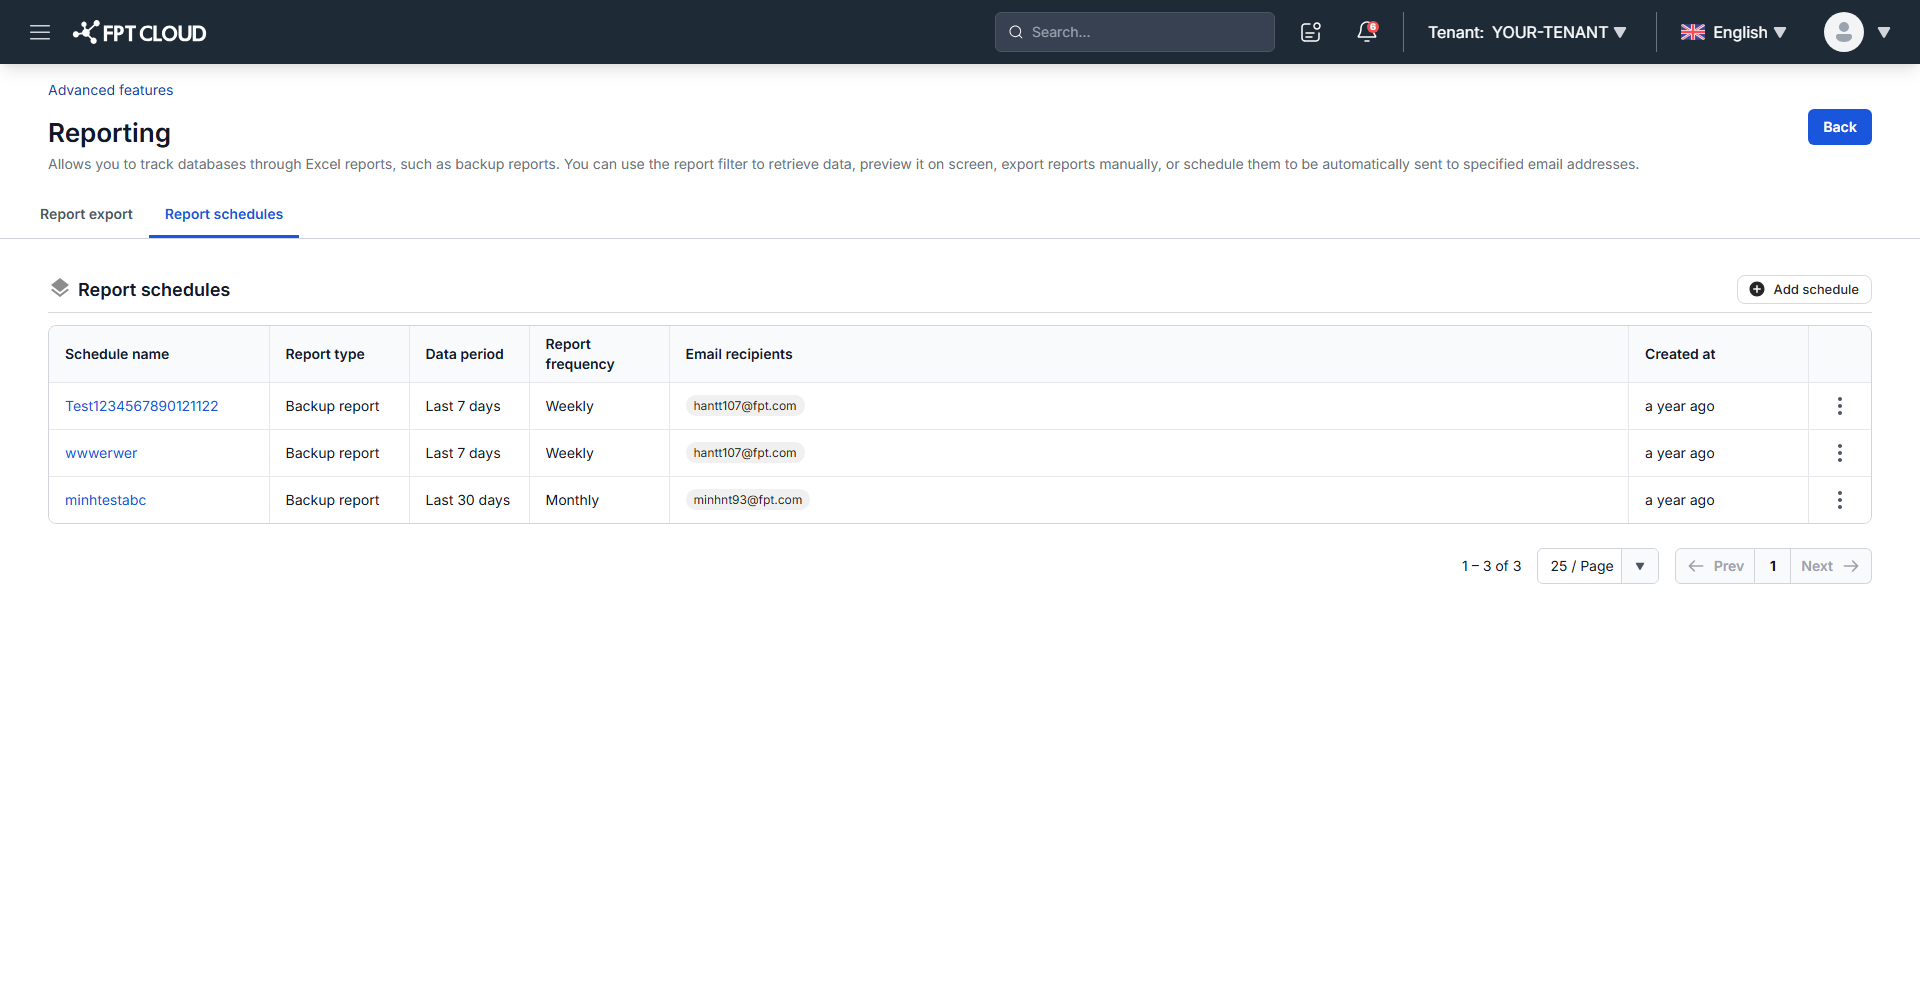
Each schedule shows:
| Column | Description |
|---|---|
| Schedule name | The schedule name. |
| Report type | The report type, such as Backup Report. |
| Data period | The period each report covers. |
| Report frequency | How often the report is sent. |
| Email recipients | Who receives it. |
| Created at | When the schedule was created. |
| Action | Edit or delete the schedule. |
Create a schedule
-
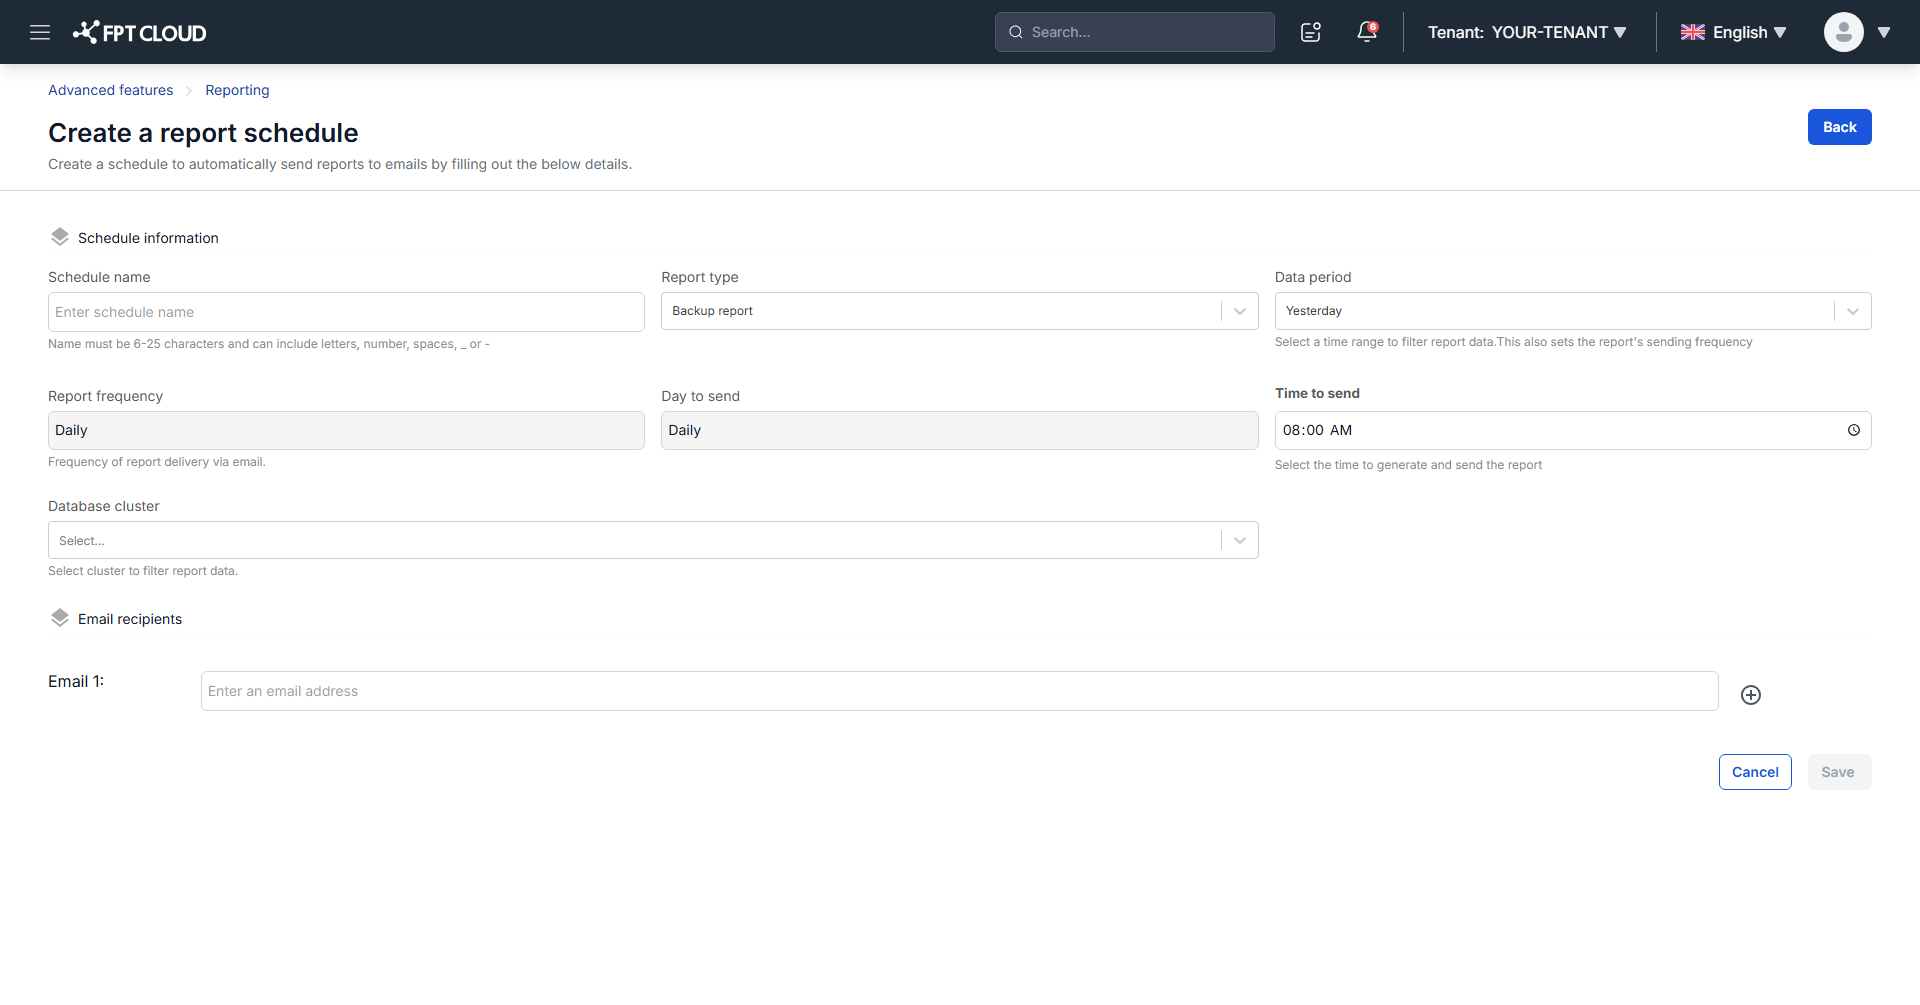
On the Report Schedules tab, click Add Schedule.
-
Fill in the fields:
- Schedule Name: 6 to 25 characters, containing only English letters, numbers, spaces, underscores, and hyphens.
- Report Type: Backup Report is currently the only type and is selected by default.
- Data Period: the period each report covers.
- Report Frequency: how often the schedule runs. This is set automatically by your Data Period choice.
- Day To Send: which day the schedule runs, also driven by Data Period.
- Time To Send: the time of day the schedule runs.
- Database Cluster: the clusters to include. Select several, or choose Select All.
- Email Recipients: the addresses that receive the report. Use + to add an address and – to remove one. Each must be a valid address, and duplicates are not allowed.
-
Click Save.
The new schedule appears at the top of the list.
How Data Period drives frequency
Data Period determines the other two timing fields, so choose it first.
| Data Period | Covers | Report Frequency | Day To Send |
|---|---|---|---|
| Yesterday | 00:00:00 yesterday to now | Daily | Fixed at Daily, not editable |
| Last 7 days | The previous 7 days | Weekly | Any day of the week |
| Last 30 days | The previous 30 days | Monthly | Any day from 1 to 31 |
| Last month | The previous full calendar month | Monthly | Any day from 1 to 31 |
With Last month selected on 17/04/2025, the report covers 01/03/2025 to 31/03/2025.
If you pick a day that a month does not have, such as 31 in February, the schedule runs on that month's last day instead.
Manage existing schedules
On the Report Schedules tab:
- Click the schedule name to view its configuration and action log.
- Select Edit to change it, then click Edit to save.
- Select Delete to remove it. Complete the confirmation, then click Confirm. Reports stop going to the configured addresses immediately.