Create and configure a pipeline
This Quick start walks you through creating your first Pipeline: give it a source, add a Stage and Job, and save it. By the end, you have a Pipeline ready to run.
Prerequisites
- You need an existing Project. If you don't have one yet, see Initial setup — usually a one-time step.
- You have permission to create Pipelines within the Project.
- A Git Connection or Registry Connection is configured, if you intend to use one.
What you'll build
A saved Pipeline with one Pipeline Source, one Stage, and one Job — the minimum a Pipeline needs before it can run.
Open the Create Pipeline screen
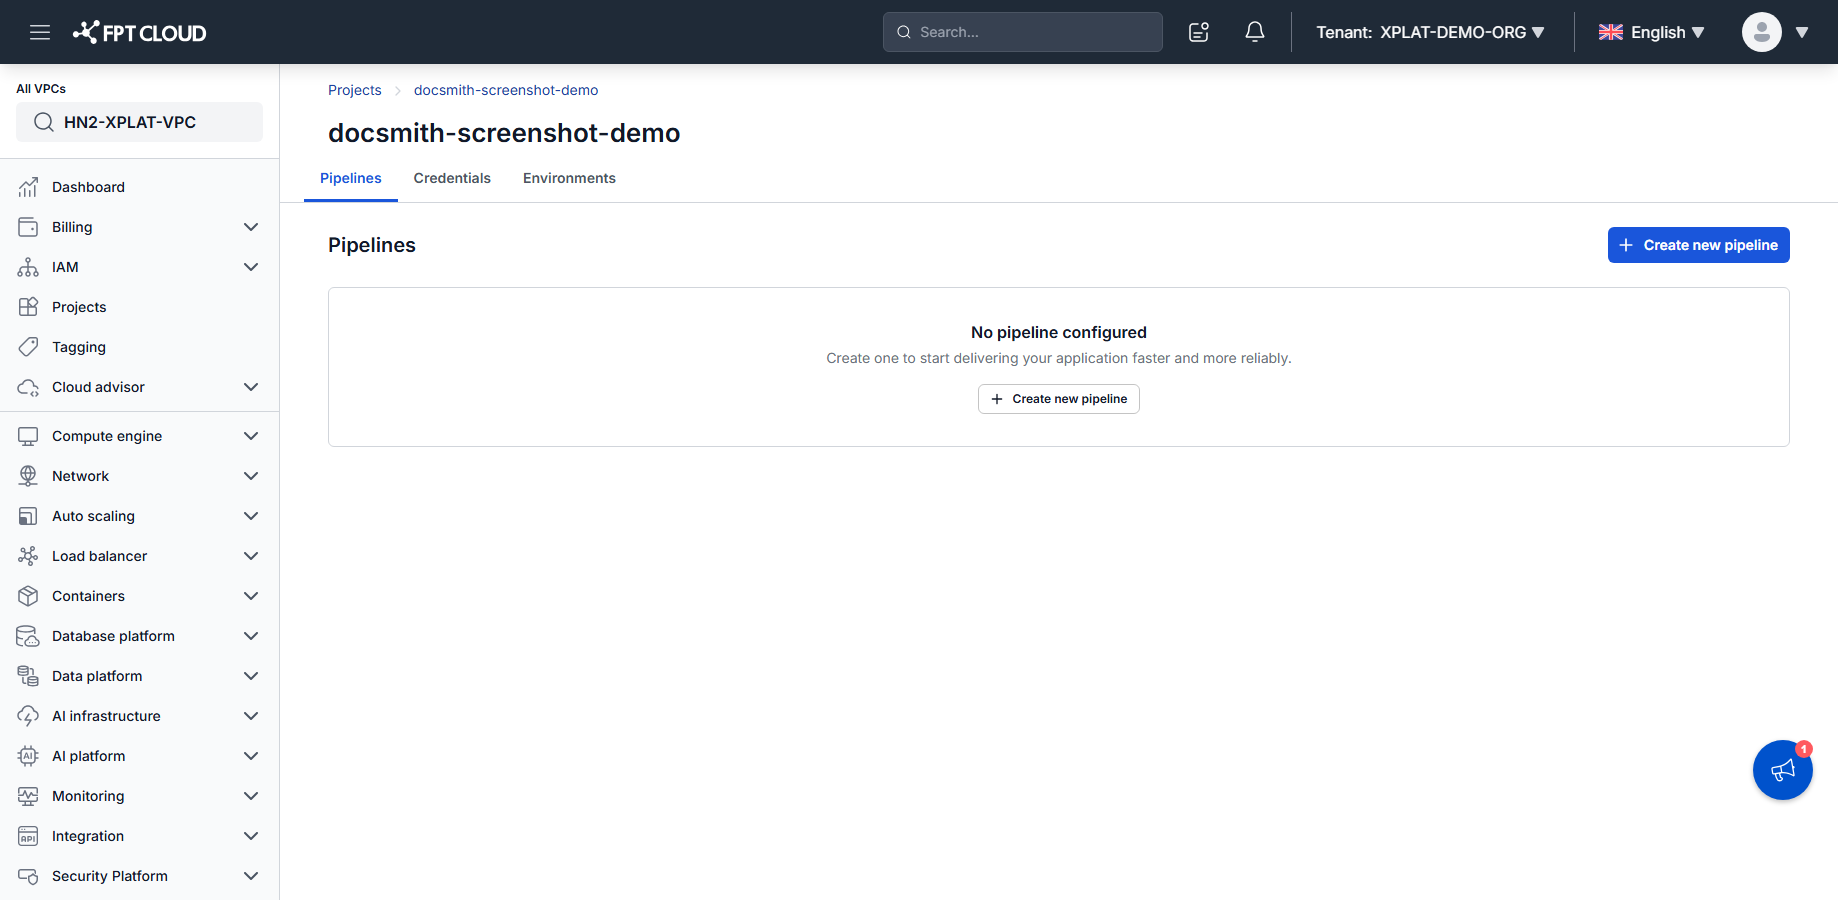
- Open the Project you want to configure.
- Click Create New Pipeline.
The Pipeline creation screen opens.
Enter basic information
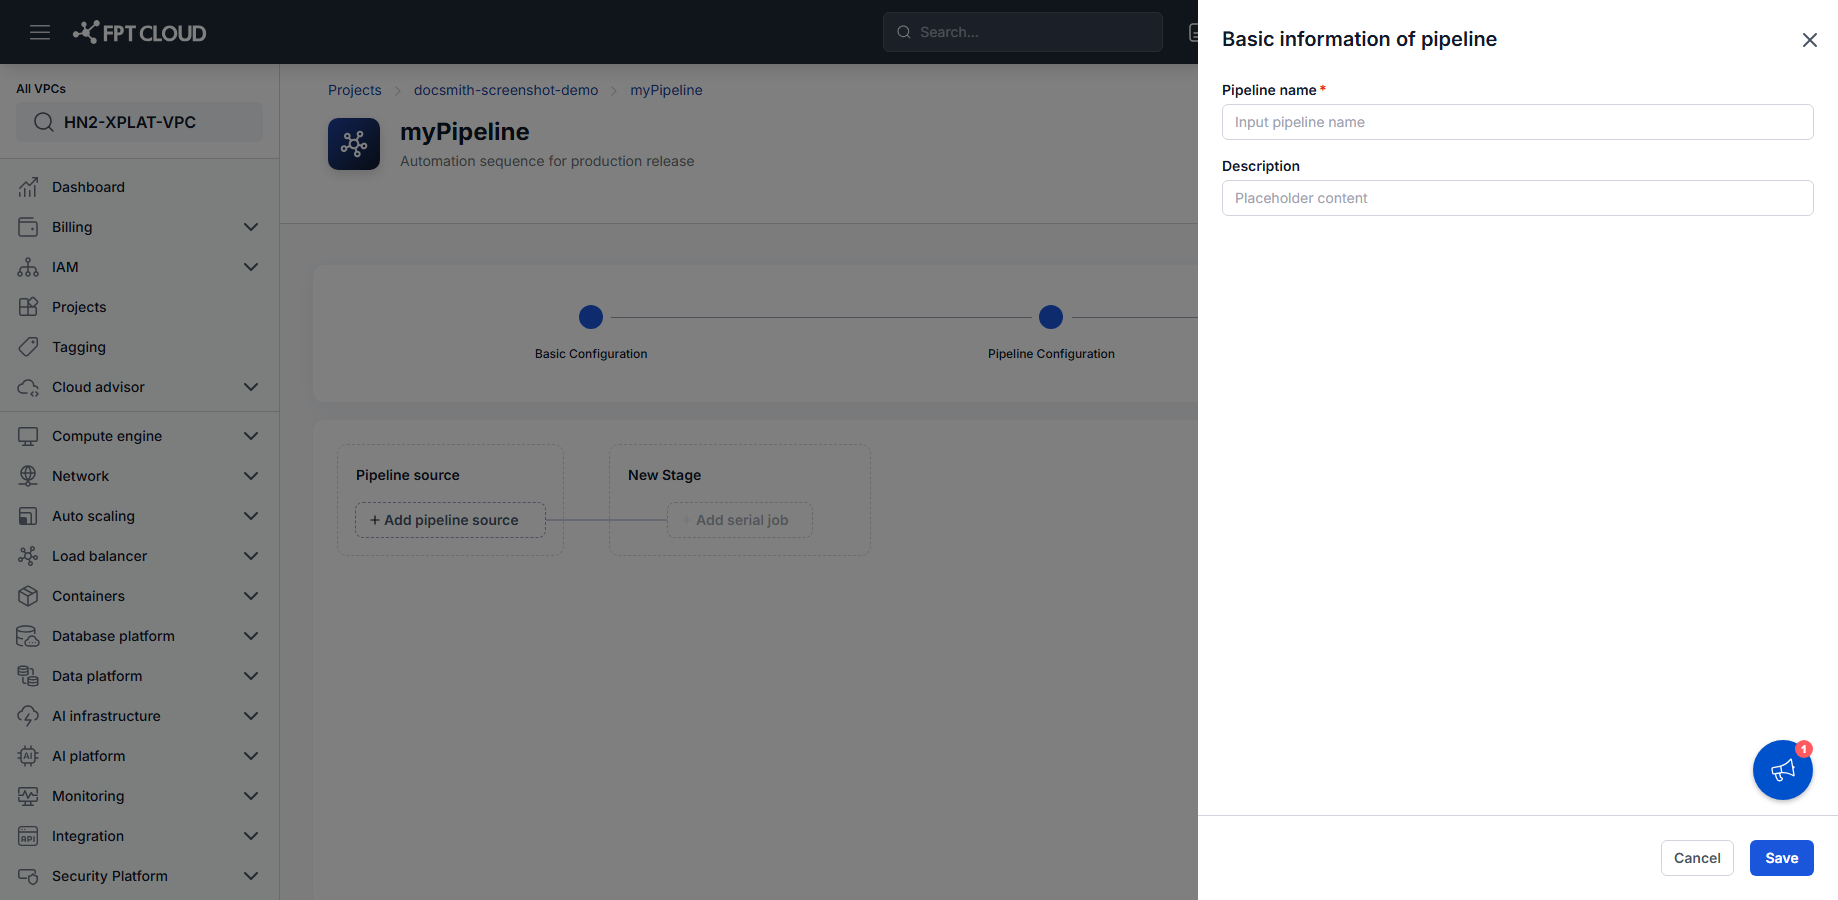
- Enter the Pipeline Name.
- Enter a Description (optional).
The Pipeline's basic information is filled in.
Create the Pipeline
- Click Save.
The Pipeline is created and you are redirected to the Pipeline configuration screen.
Configure the Pipeline Source
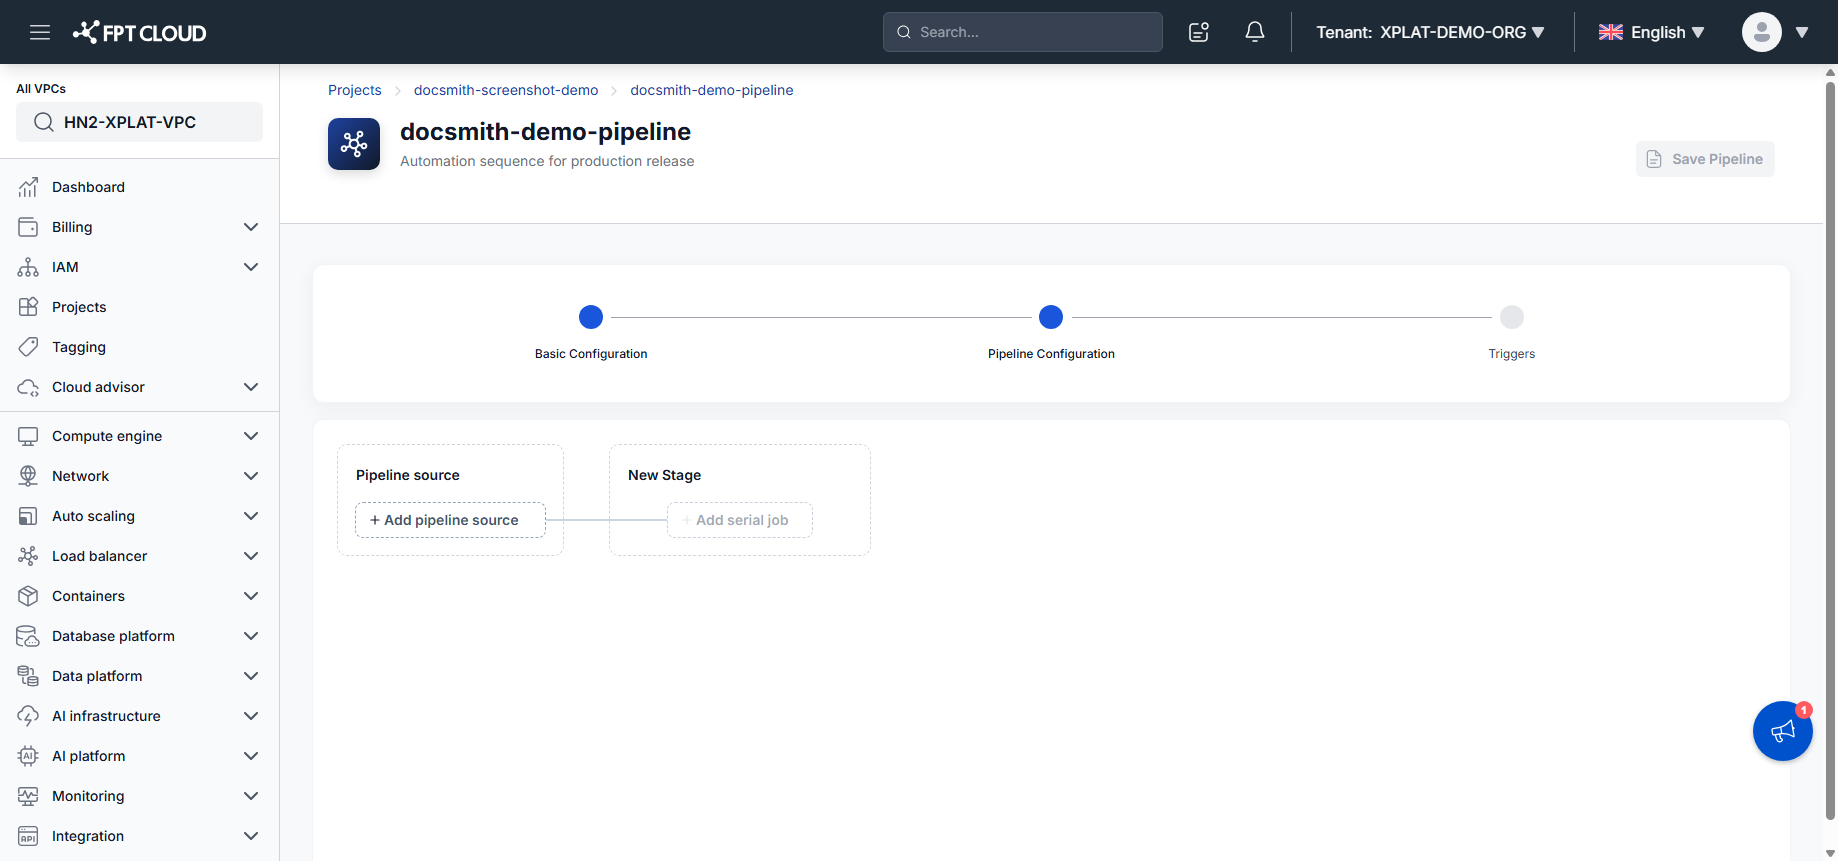
- In the Pipeline Source area, click Add Pipeline Source.
- Choose a source type: Code source (a Git repository) or Registry source (a container registry).
For a Code source:
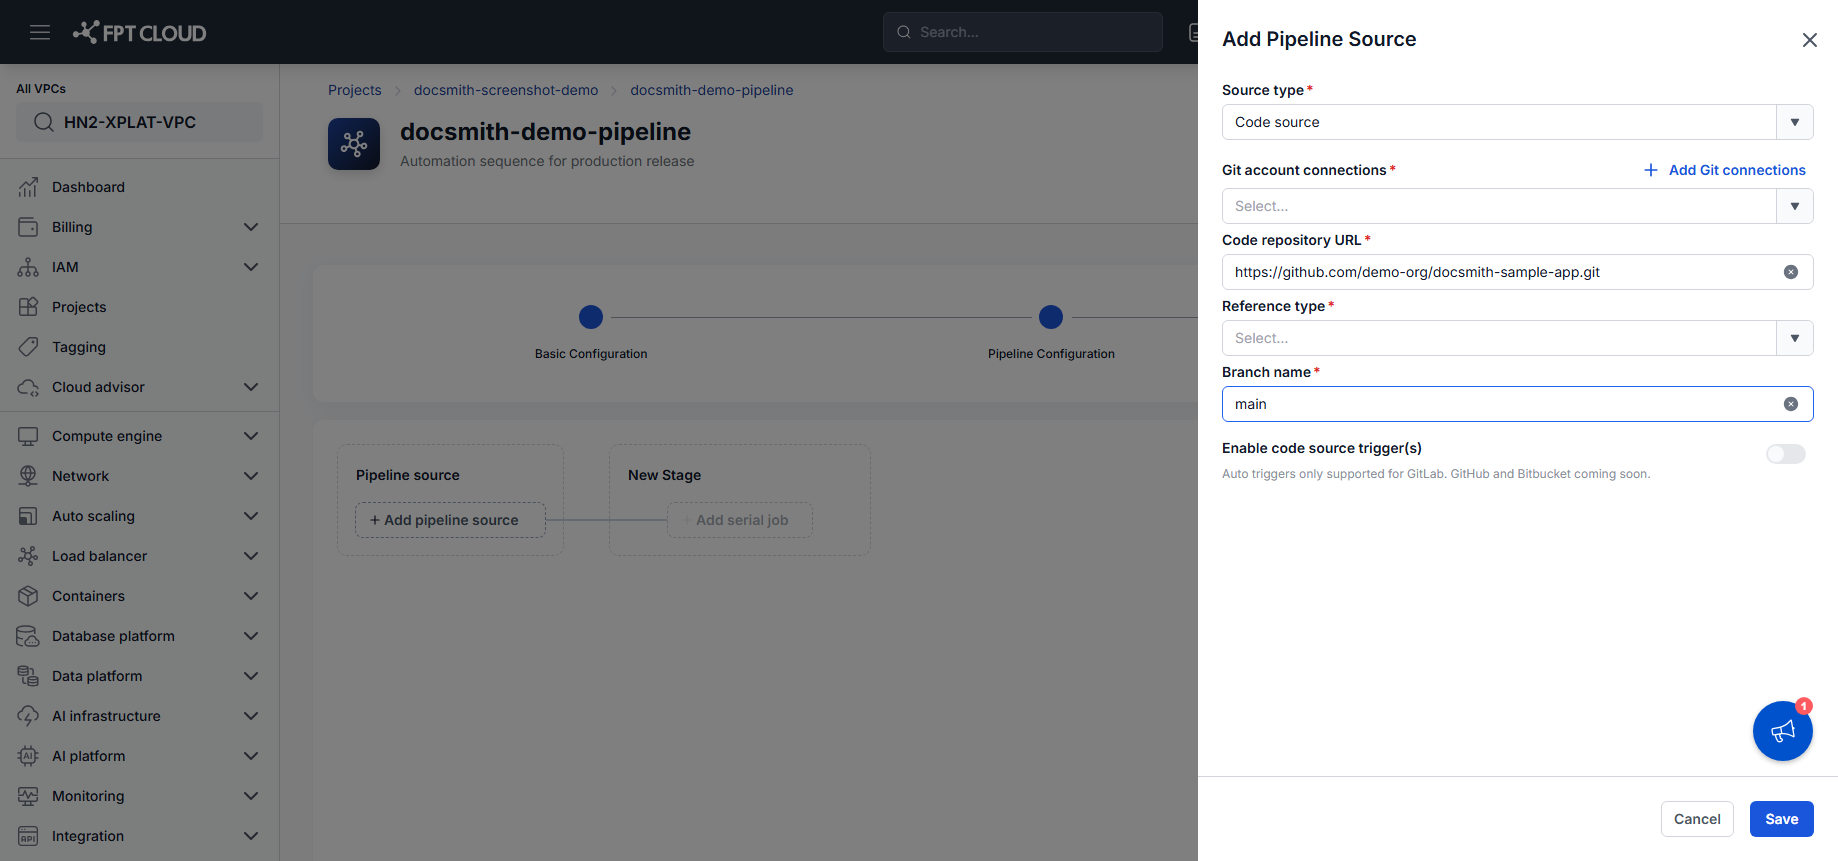
- Select a Git account connection.
- Enter the Code repository URL (must be a full, valid Git URL).
- Select the Reference type — Branch or Tag — and enter the branch or tag name.
- Configure a Trigger, if needed. See Configure triggers.
For a Registry source:
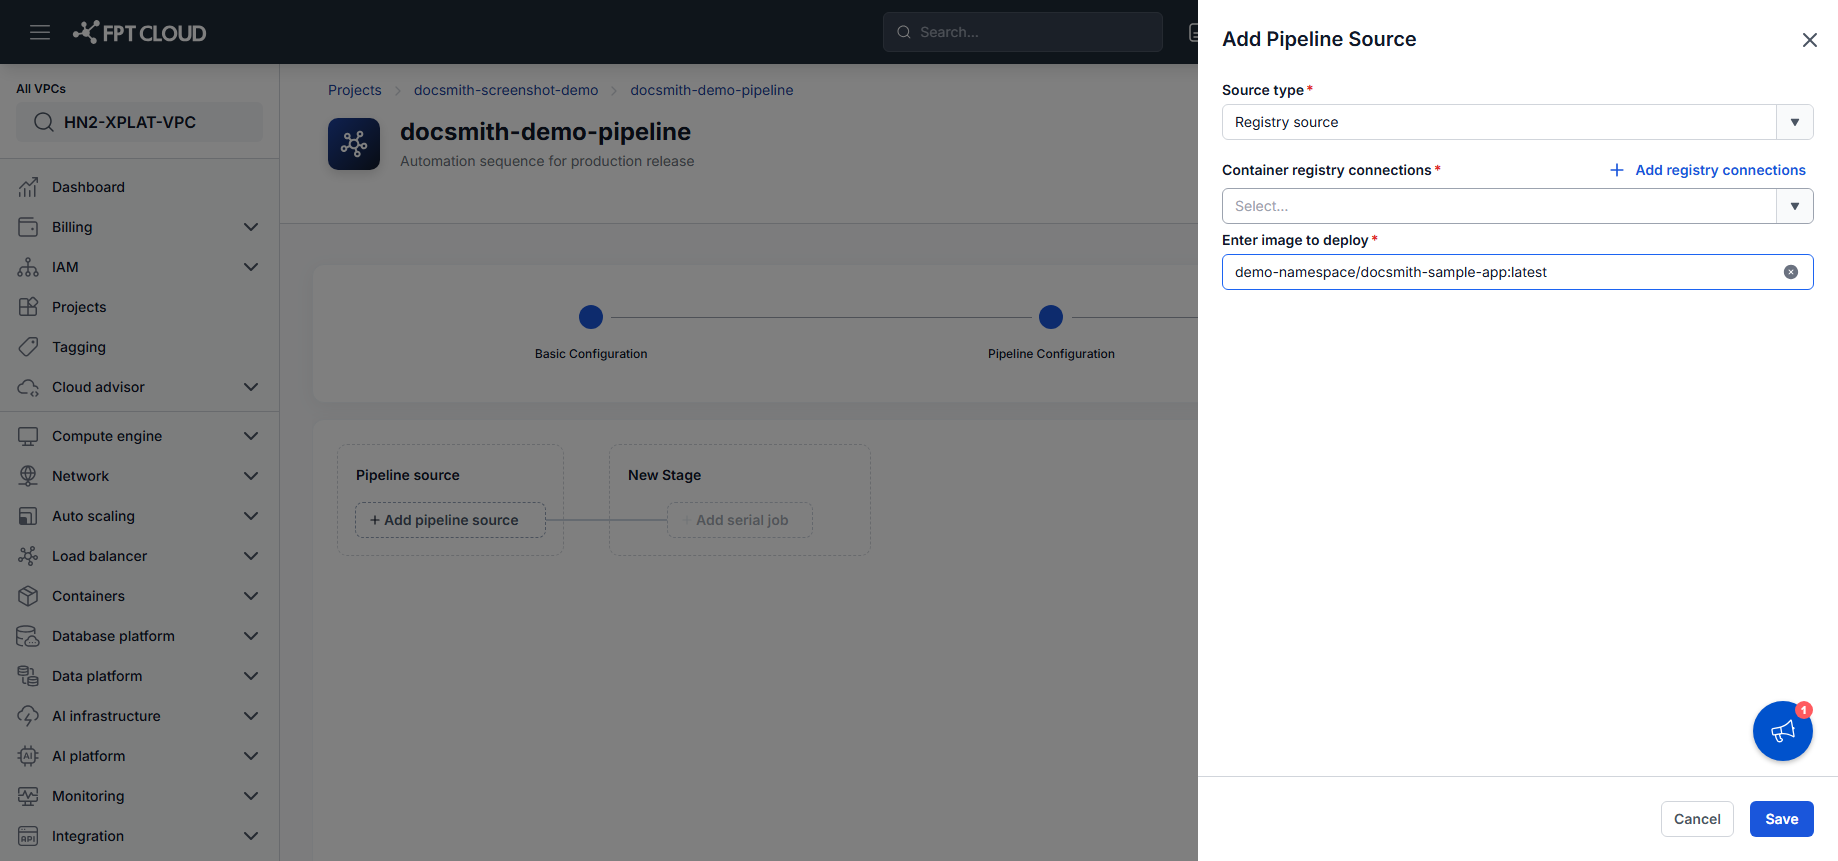
- Select a Container registry connection.
- Enter the image to deploy (e.g.
namespace/repository:tag).
Click Save to confirm. The Pipeline Source is configured.
Add a Stage
- Select the position where you want to add a Stage.
- Click New Stage.
A new Stage is created in the Pipeline.
Add a Job to the Stage
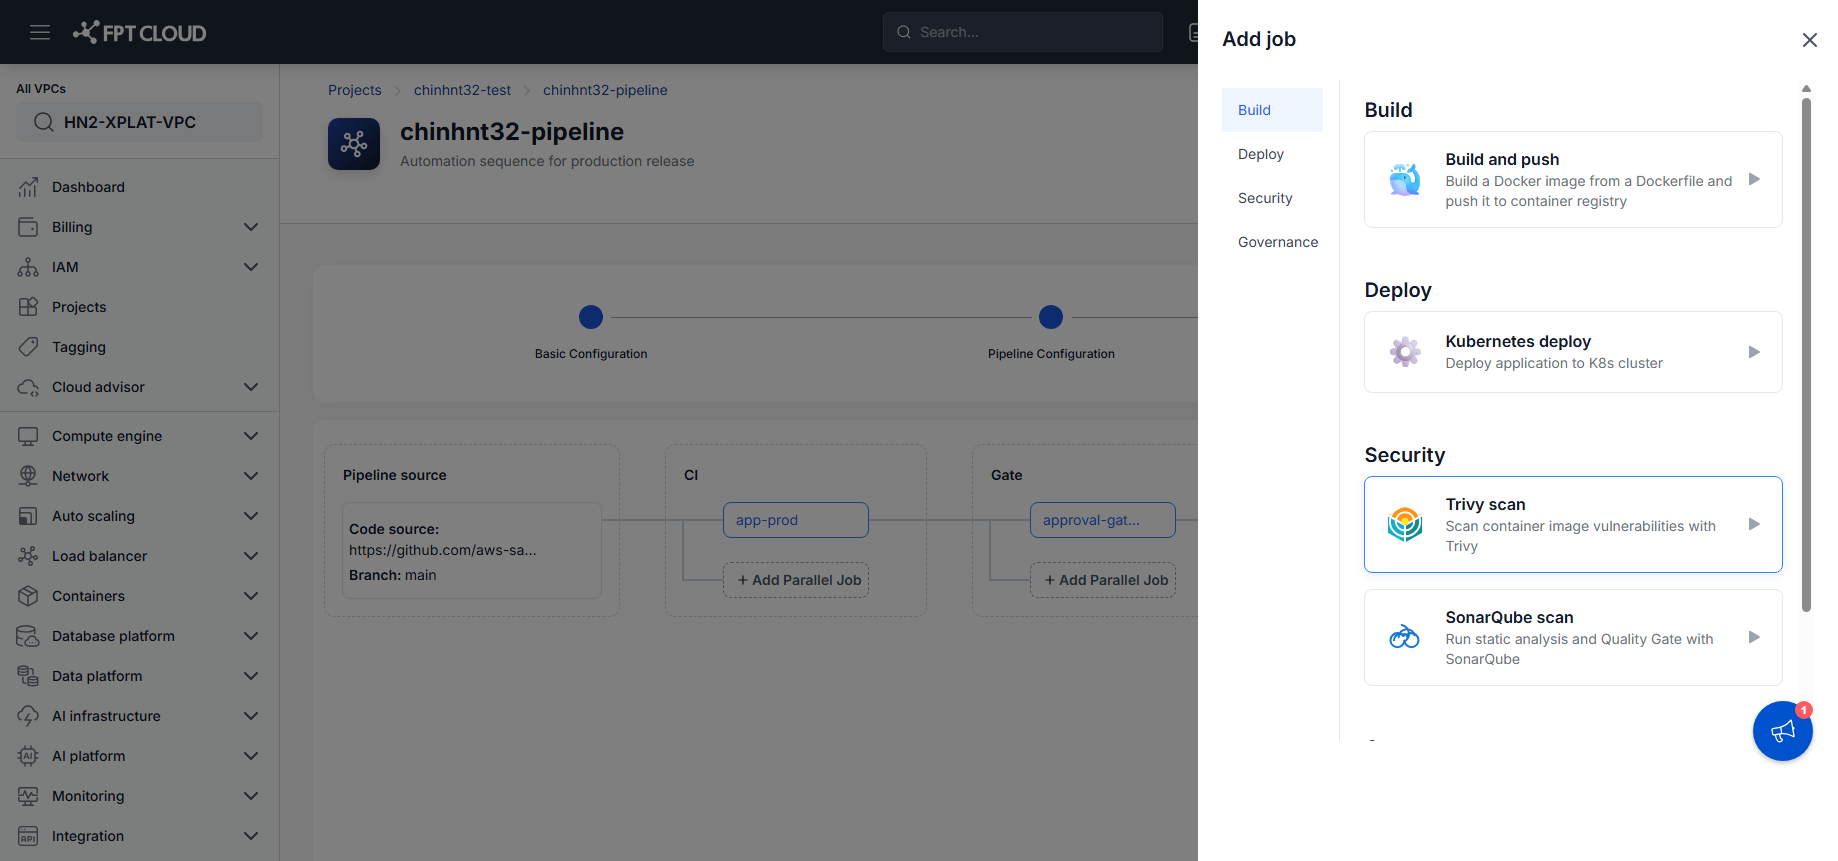
- Select the Stage you just created.
- Click Add serial job to run the Job in sequence, or Add Parallel Job to run it alongside others in the same Stage.
- Pick a job type from the catalog. For this Quick start, choose Build and push to build a Docker image from your source and push it to a container registry. See Understanding pipeline components for the other available job types.
- Fill in the job's fields (Dockerfile path, build context, and the container registry to push to), then click Save.
The Job is added to the Stage.
Need another Stage between two existing ones later? Hover over the connector between them and click the add-Stage icon — the execution order updates automatically.
Save the Pipeline
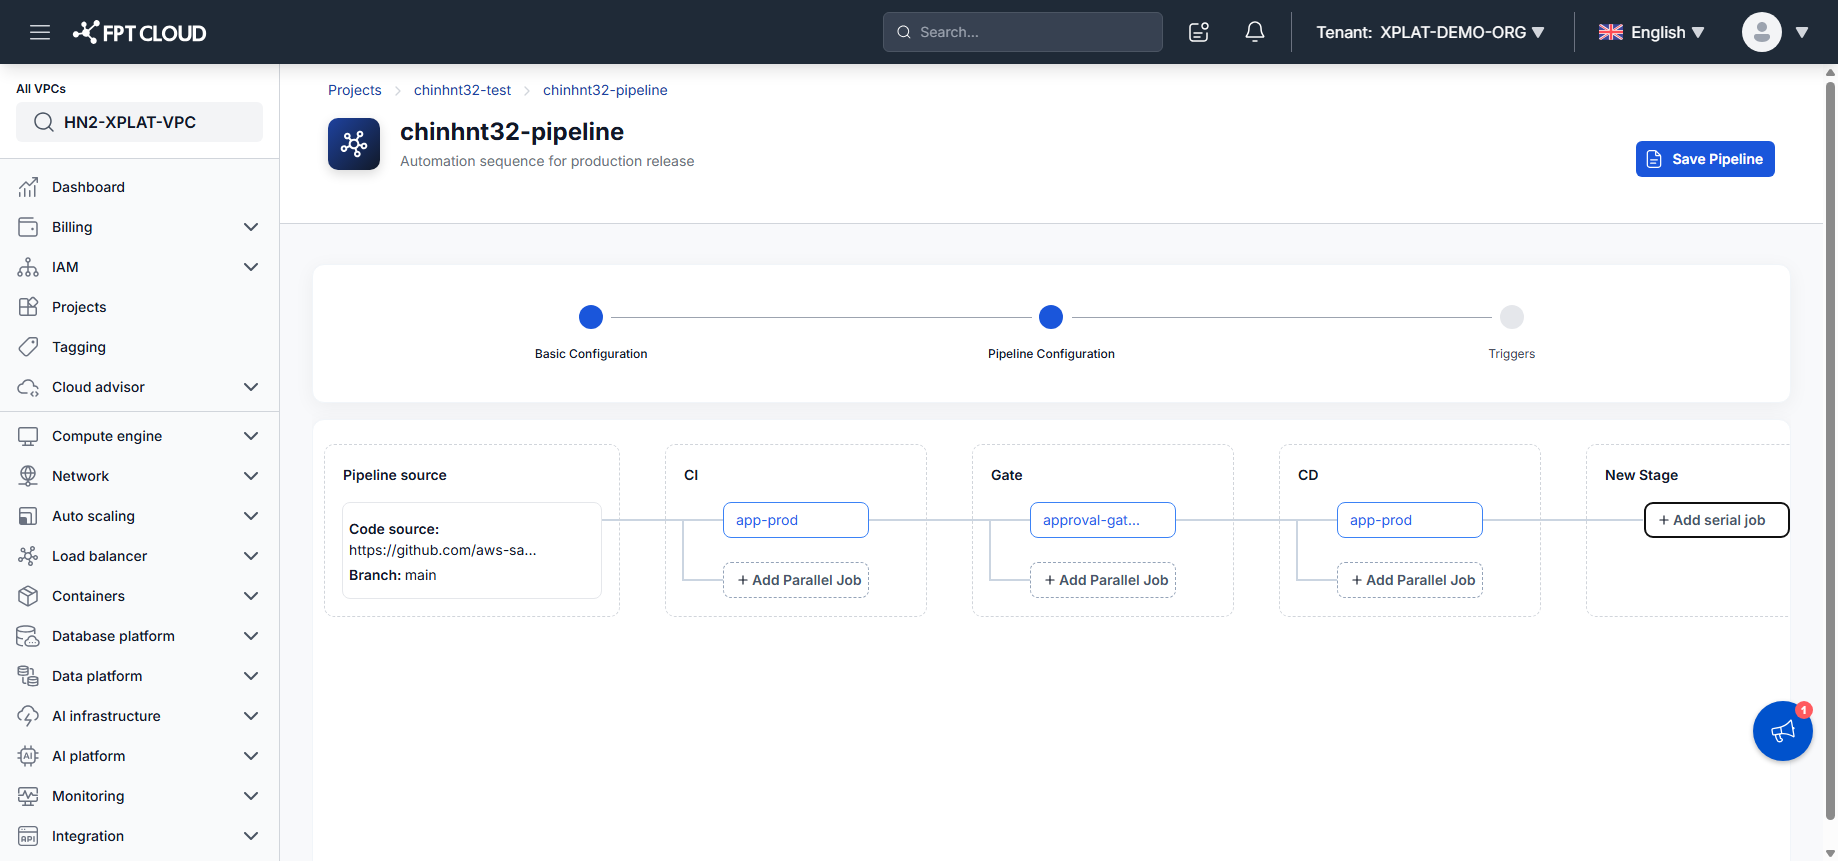
Before saving, confirm the Pipeline has:
- A Pipeline Source.
- At least one Stage.
- At least one Job.
- Click Save Pipeline.
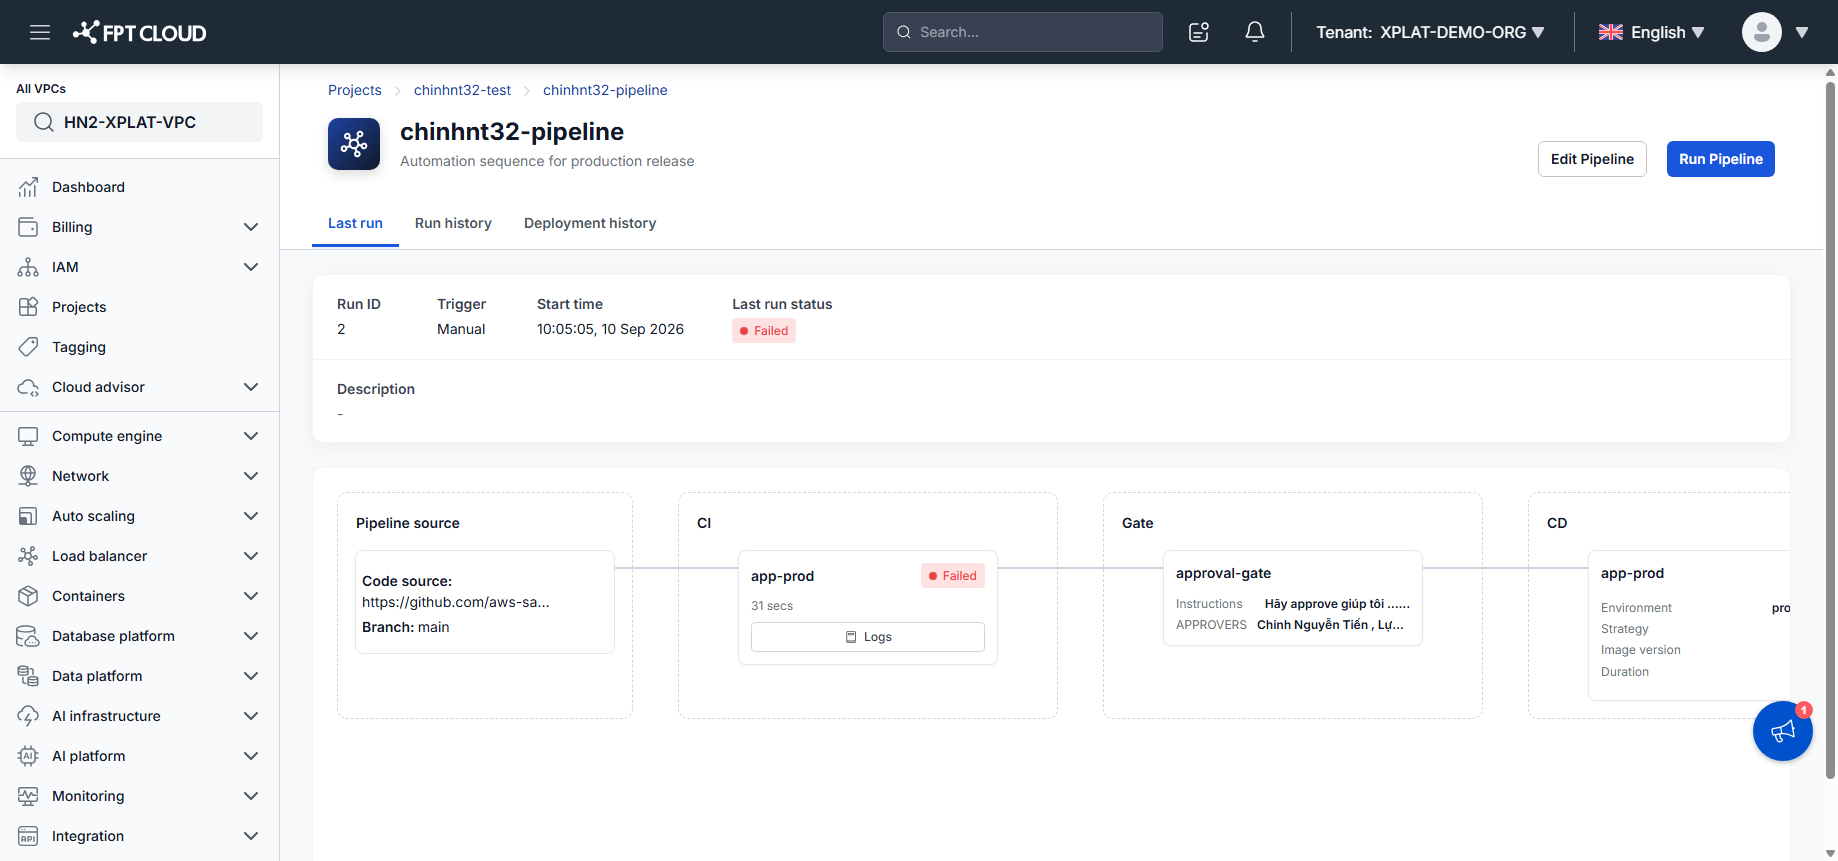
The Pipeline is saved and ready to run.
A Pipeline Source is required before the Pipeline can be saved, and a Pipeline that hasn't been saved cannot be run.
Next steps
- Configure Pipeline Source — update the source on this Pipeline later.
- Add a Build and push job — full walkthrough of the Build and push Job added above.
- Configure triggers — run this Pipeline automatically on a Git push, merge, or tag.
- Deploy config & deploy application — add a Deploy Job to this Pipeline.
- Run and monitor a pipeline — run the Pipeline you just created.
- Understanding pipeline components — full field reference for everything configured above.