Manage environments
A Deploy Job deploys to an Environment — a named deployment target (with its own namespace) inside a connected Kubernetes cluster. Set this up once per Project before configuring Deploy Config.
Prerequisites
- You have access to the Project.
- You have a Kubernetes cluster available to connect, and permission to deploy to it.
Connect a cluster
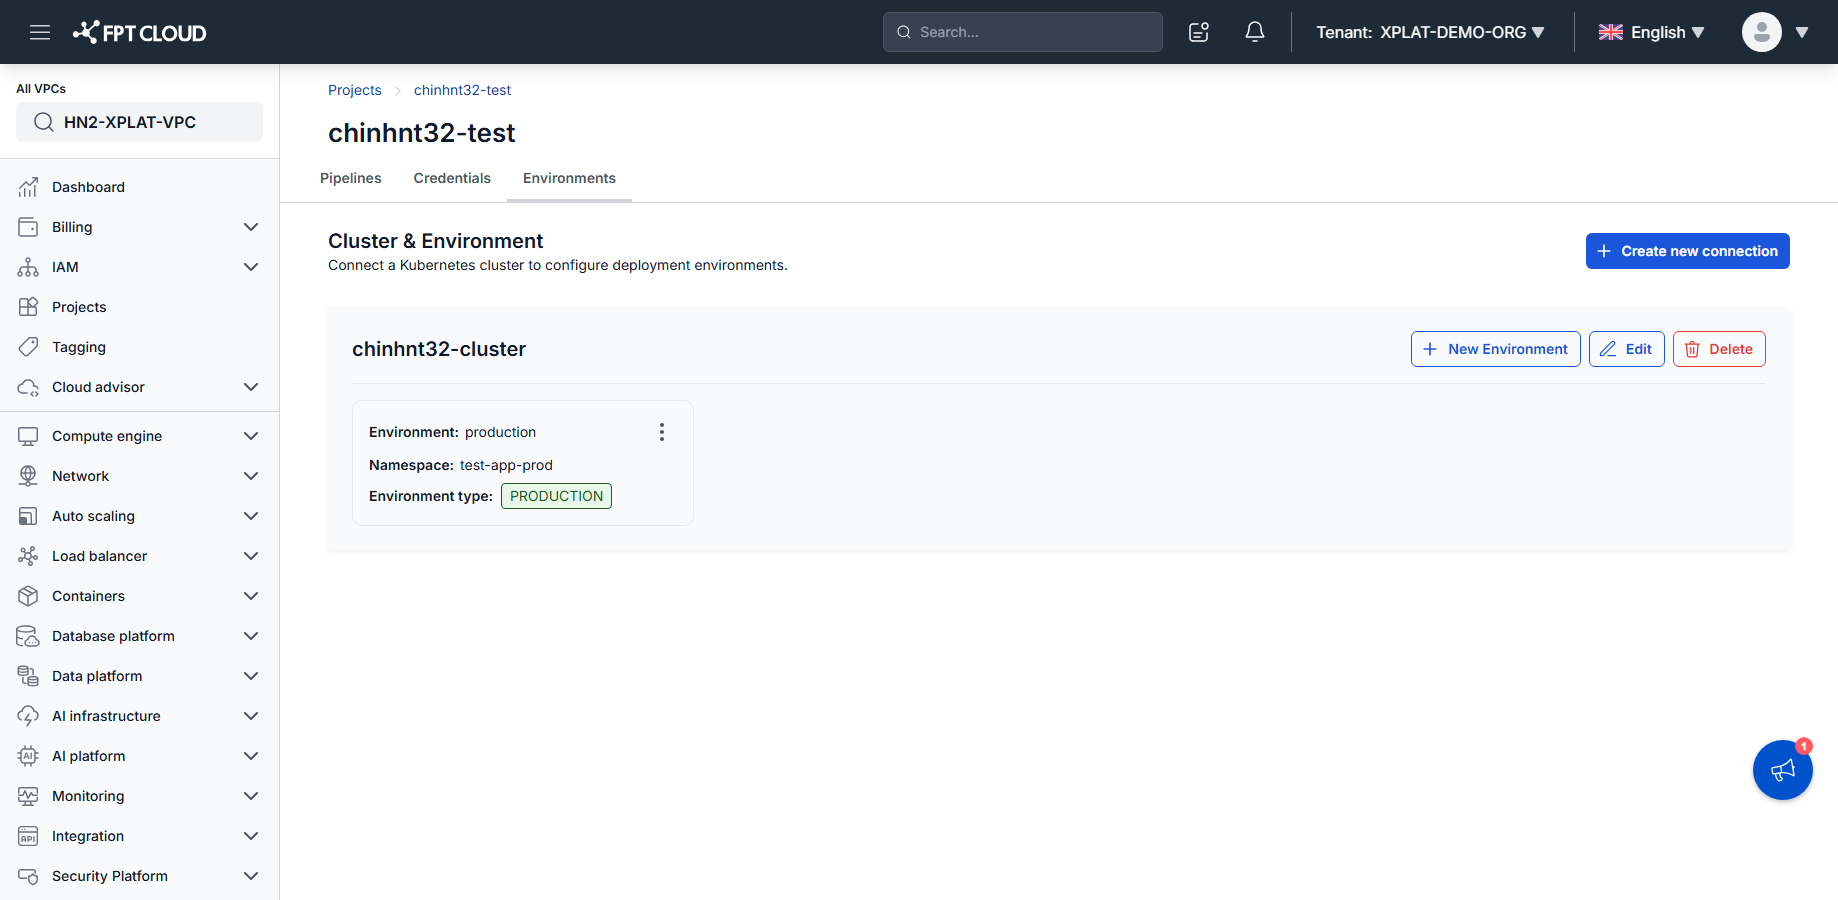
- Open the Project, then go to the Environments tab.
- Click Create new connection.
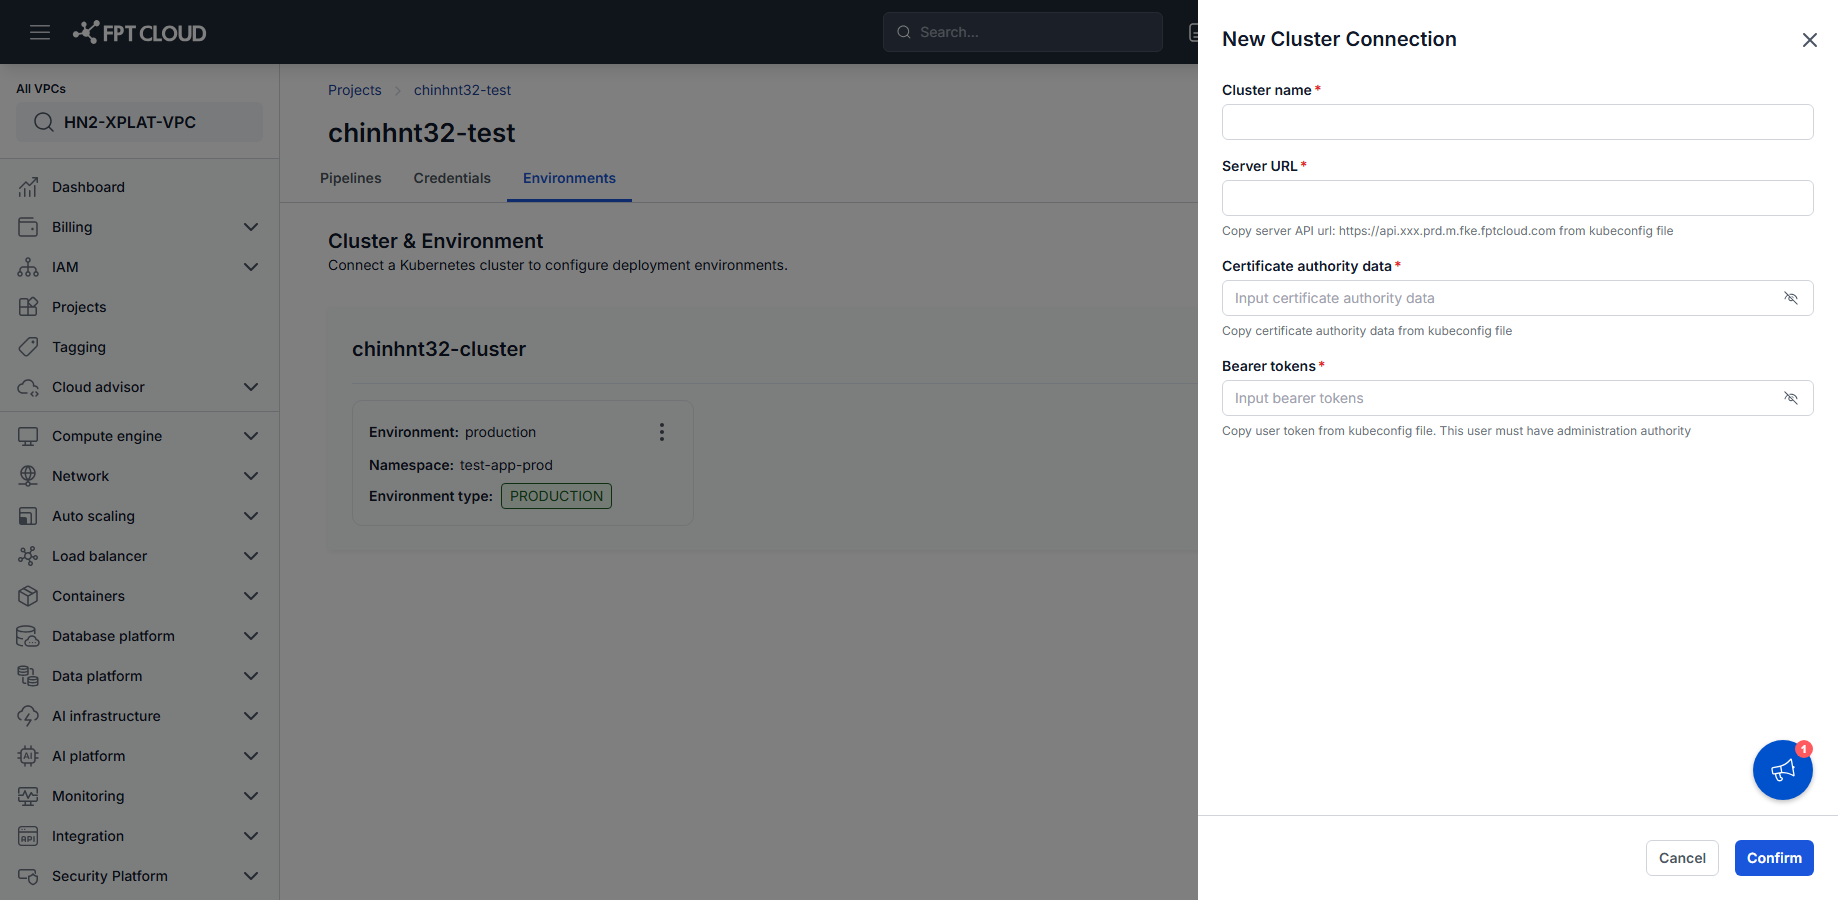
- Provide the cluster connection details (e.g. kubeconfig or cluster credentials).
The cluster appears as a card on the Environments tab, ready to hold one or more Environments.
Add an Environment
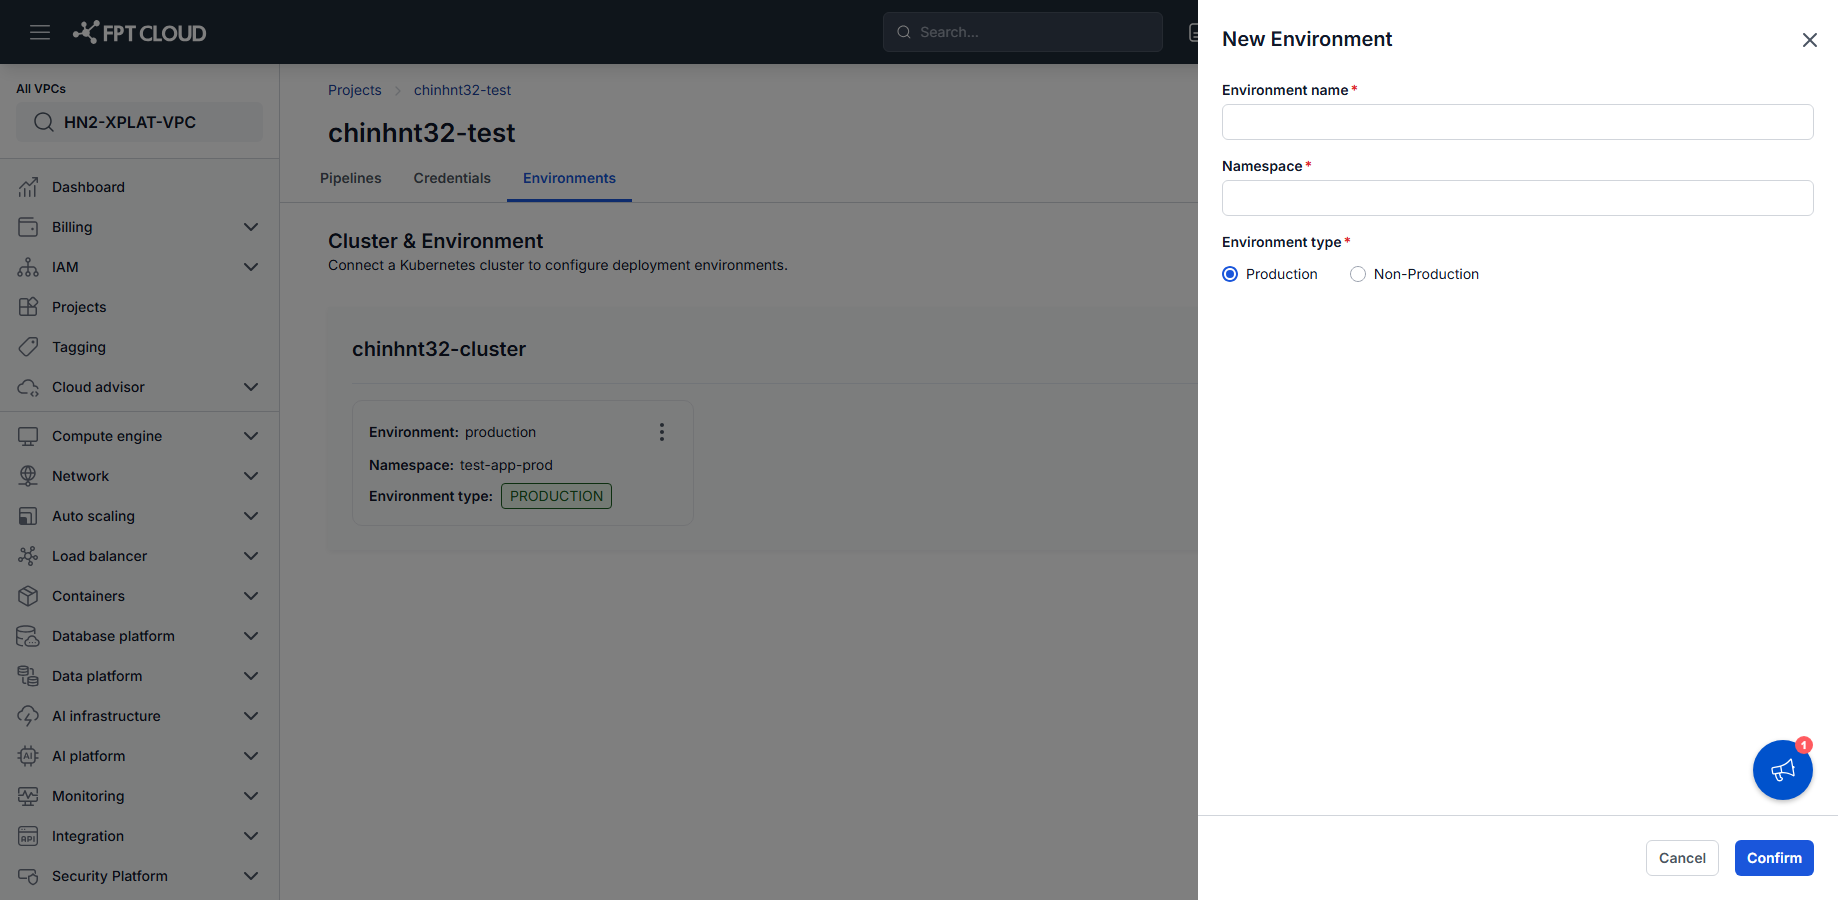
- On the cluster's card, click New Environment.
- Enter the Environment name and Namespace.
- Select the Environment type: PRODUCTION or NONPRODUCTION.
The Environment is now selectable from any Deploy Job's Environment field. See Deploy config & deploy application.
tip
Use NONPRODUCTION environments for Development/Staging deploys, and reserve PRODUCTION environments for releases — this distinction is informational only, it doesn't change what a Deploy Job can do.
Next steps
- Deploy config & deploy application — select this Environment when configuring a Deploy Job.
- Environments reference — field reference for clusters and Environments.