Project management
Pipelines live inside a Project. This tutorial walks you through viewing, creating, editing, and finding Projects.
Prerequisites
- You have access to the Organization the Project belongs to.
View the Project list
- Log in to the system.
- Select Pipeline from the navigation bar.
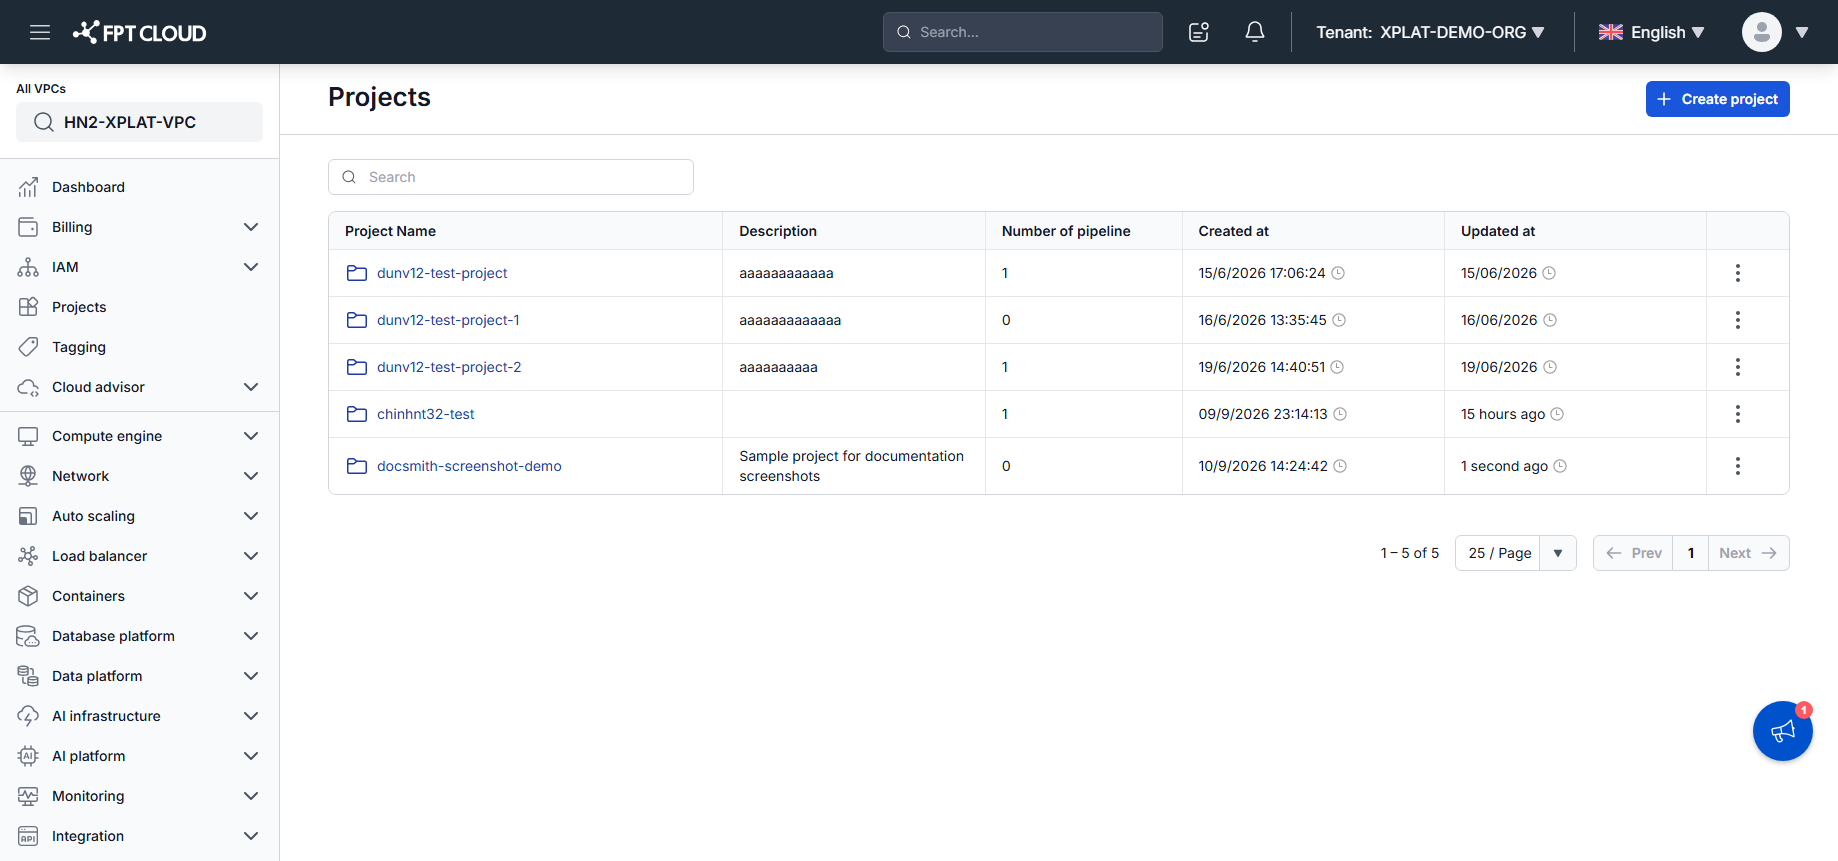
The Projects screen opens, listing every Project you have access to.
Create a Project
- On the Projects screen, click Create project.
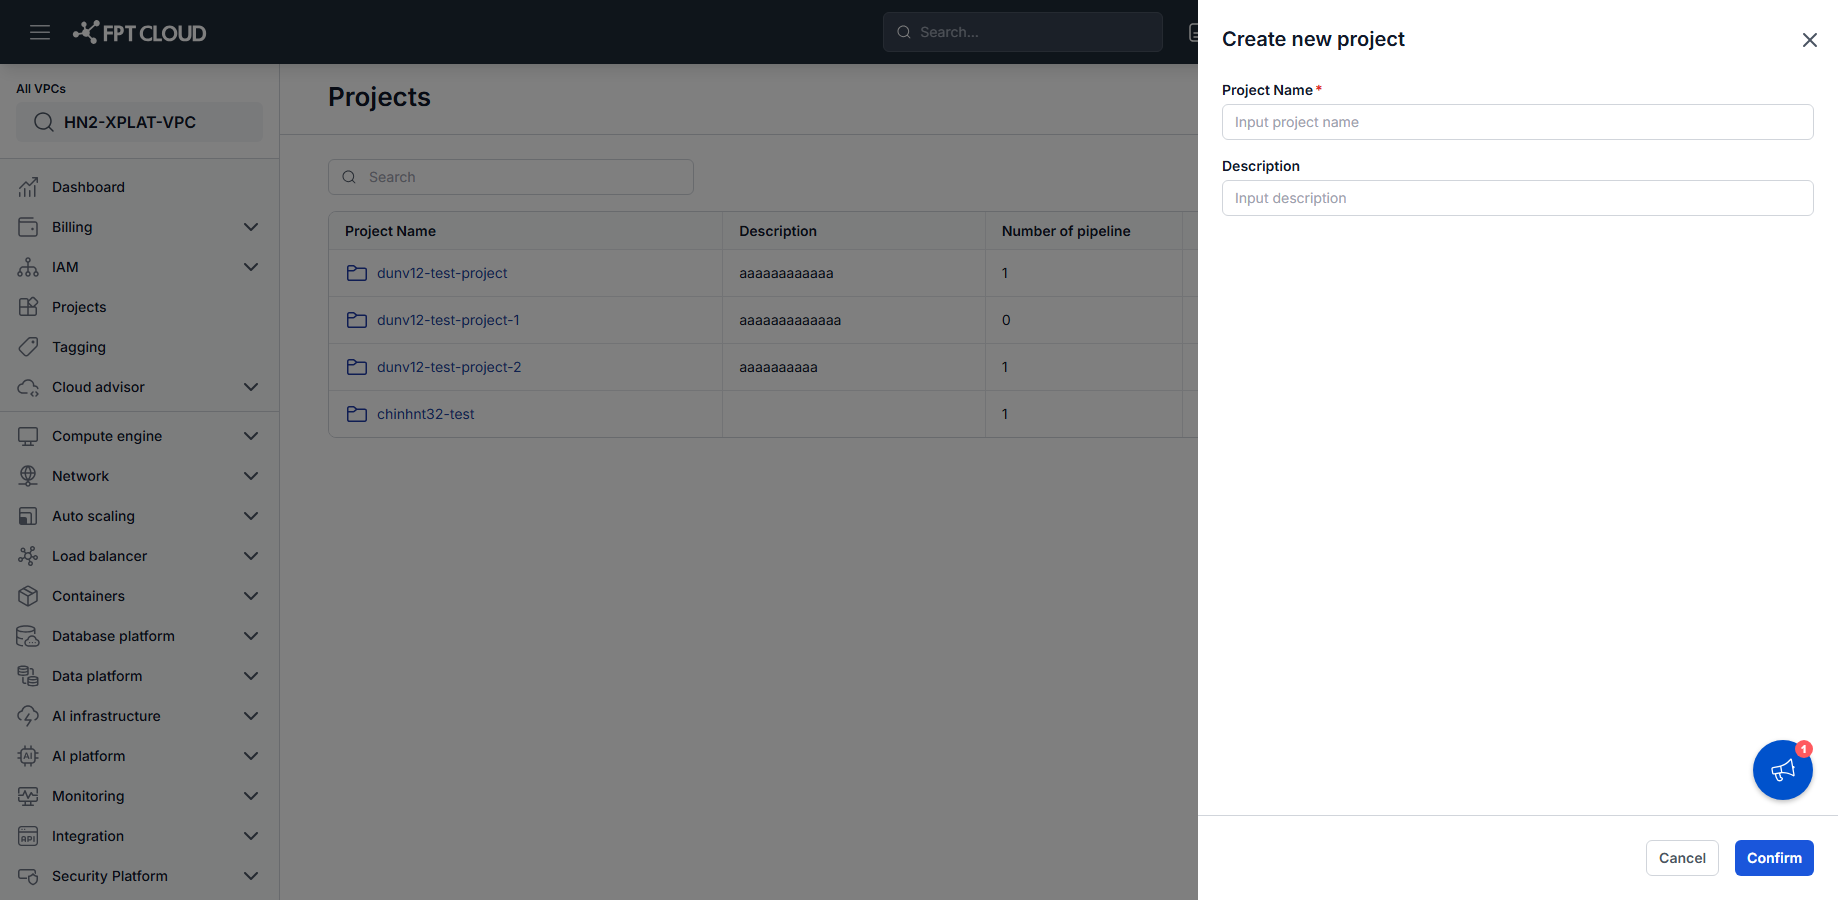
- Enter the Project Name.
- Enter a Description (optional).
- Click Confirm.
The Project is created, appears in the Project list, and opens the Project Home screen.
tip
Name each Project after its application or service so it stays easy to identify.
Edit a Project
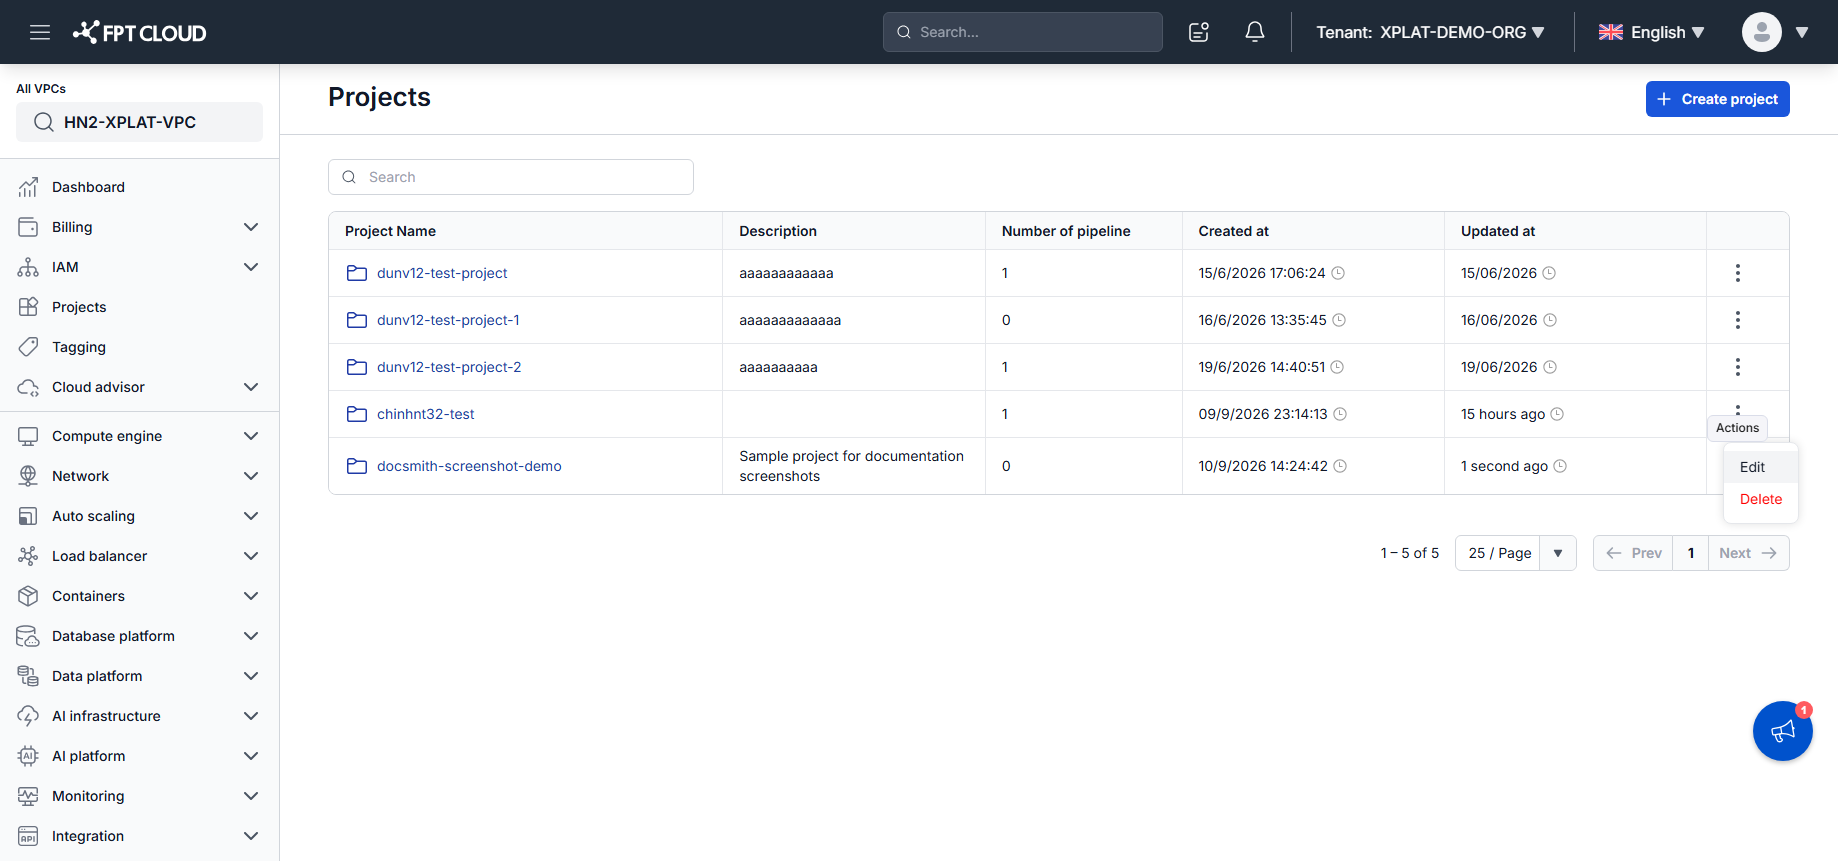
- On the Projects screen, locate the Project you want to edit.
- Click Actions, then select Edit.
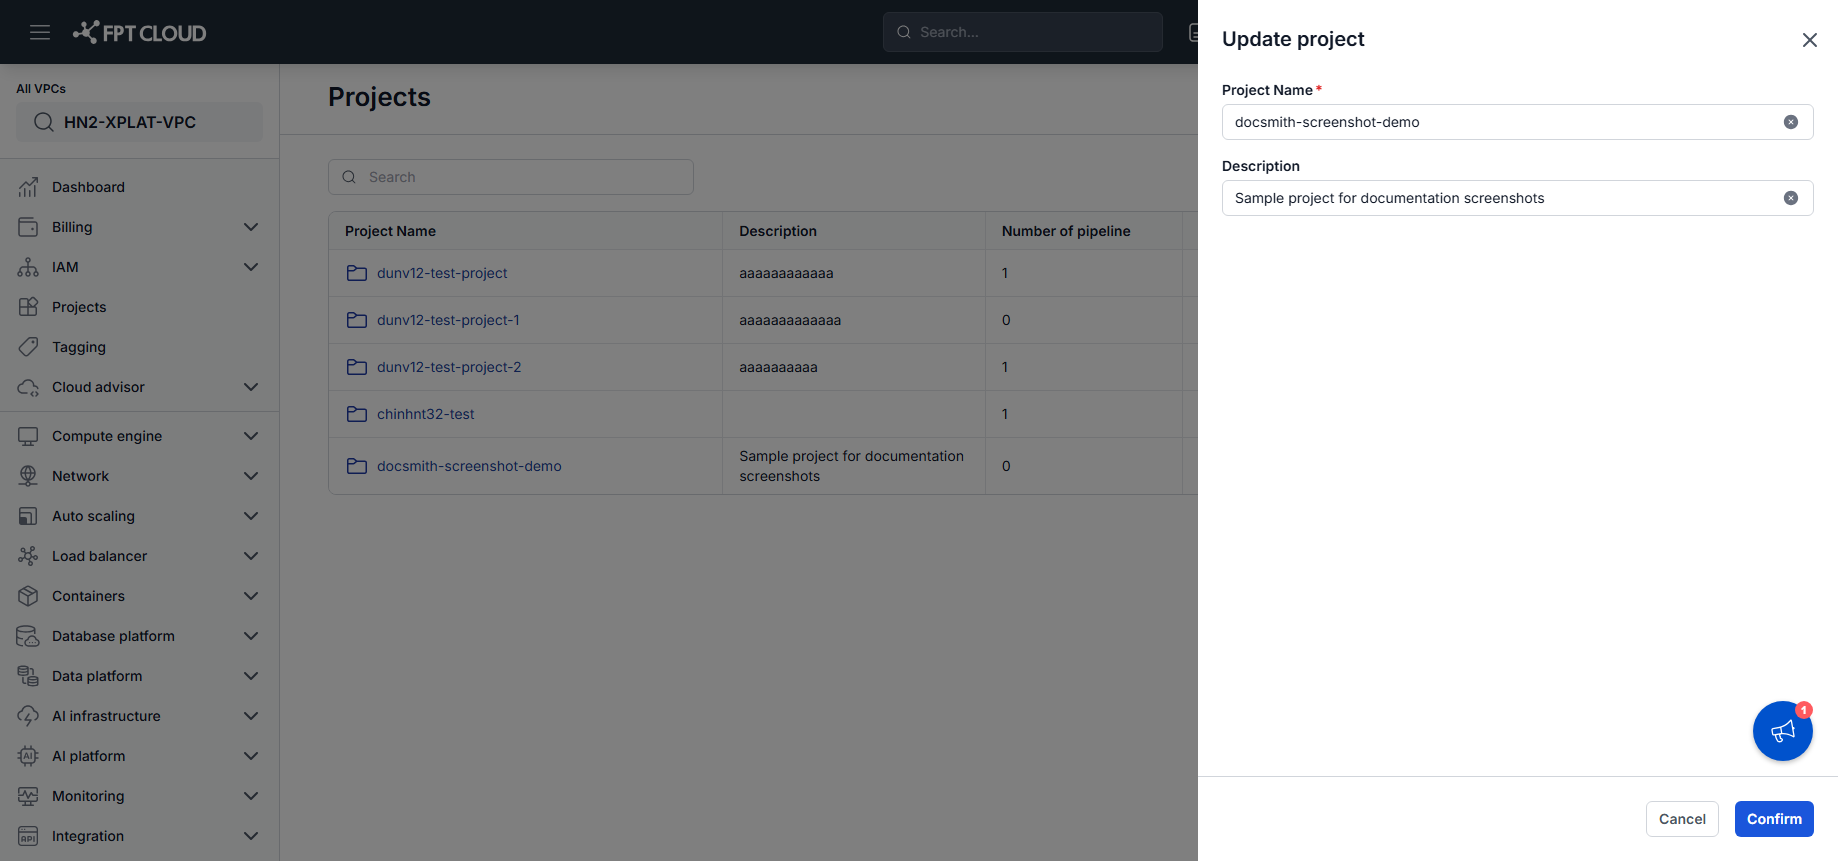
- Update the Project Name or Description as needed.
- Click Confirm.
The Project is updated and the Updated at timestamp refreshes.
Search for a Project
- In the Search box, enter the full name or a partial name of the Project.
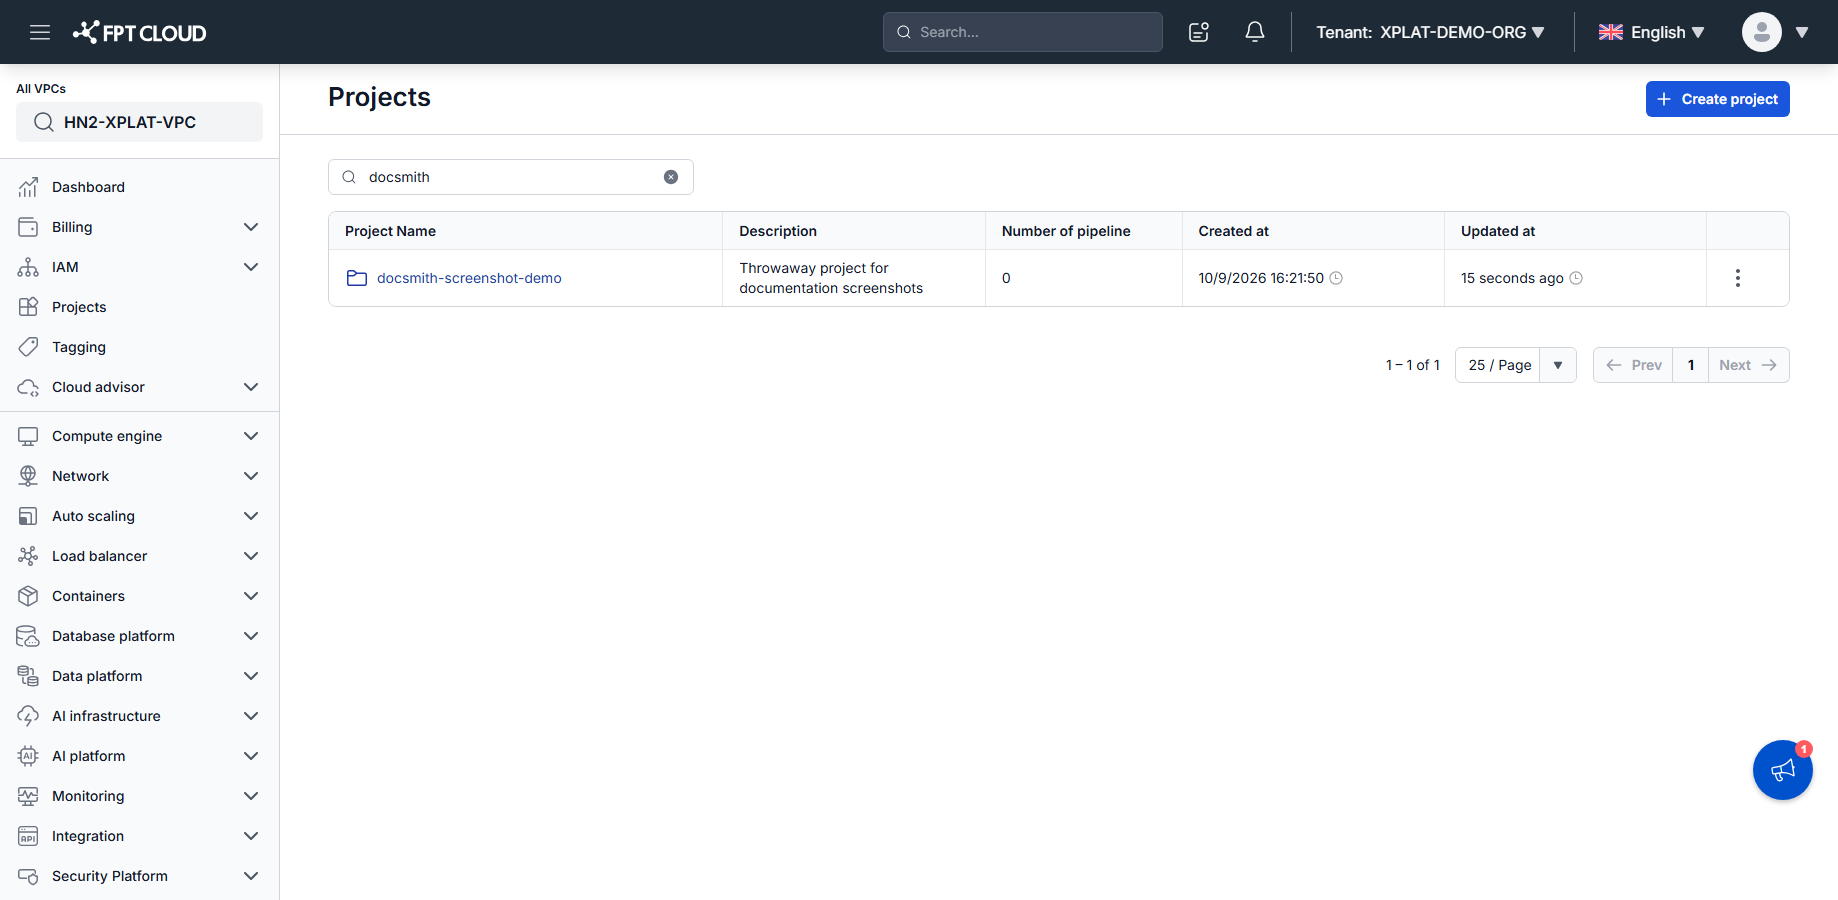
The list shows Projects that match your keyword, limited to the ones you have access to.
tip
Use Search when your Organization has many Projects.
Open a Project
- On the Projects screen, click the Project name in the list.
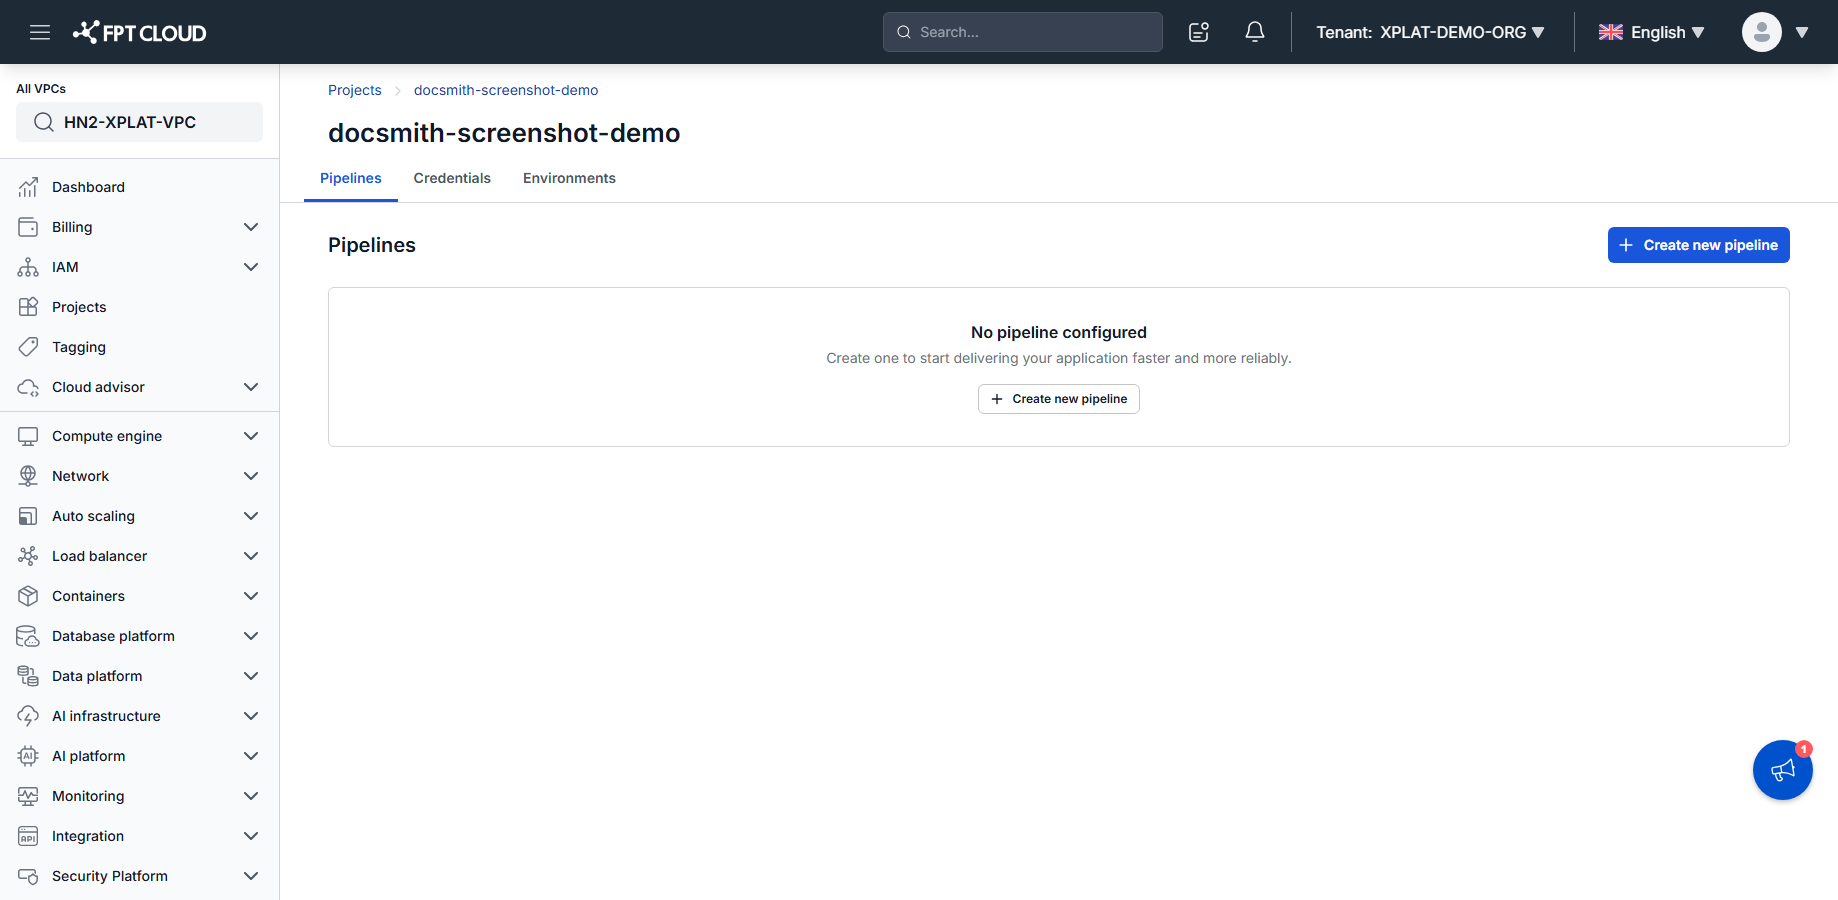
The Project Home screen opens, where you manage the Project's Pipelines and related resources.
warning
Each Project supports a maximum of 50 Pipelines.
Next steps
- Create and configure a pipeline — build a Pipeline inside this Project.
- Project management interface — field reference for the Projects screen.