Run and monitor a pipeline
Once a Pipeline is saved, you run it on demand and watch its progress in real time. This tutorial covers starting a run, monitoring it, and stopping it if needed.
Prerequisites
- You have access to the Project.
- The Pipeline is created and saved. See Create and configure a pipeline.
- You have permission to run the Pipeline.
Open the Pipeline
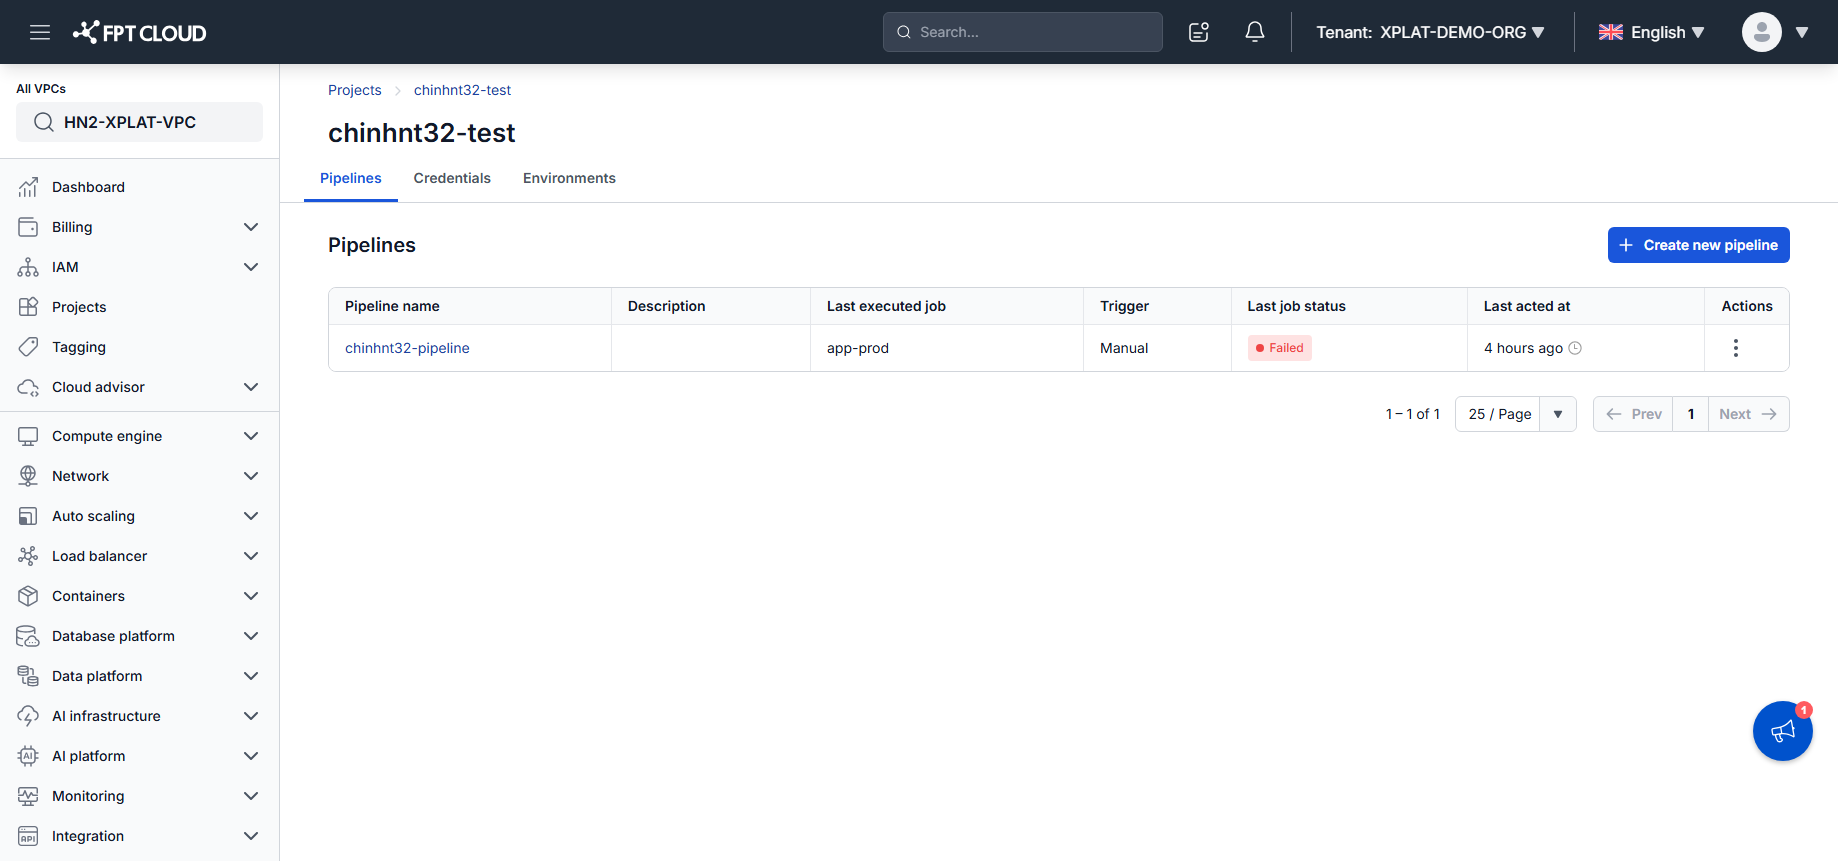
- Go to the Project that contains the Pipeline.
- From the Pipeline list, select the Pipeline you want to run.
The Pipeline detail page opens with full Pipeline information.
Start the Pipeline
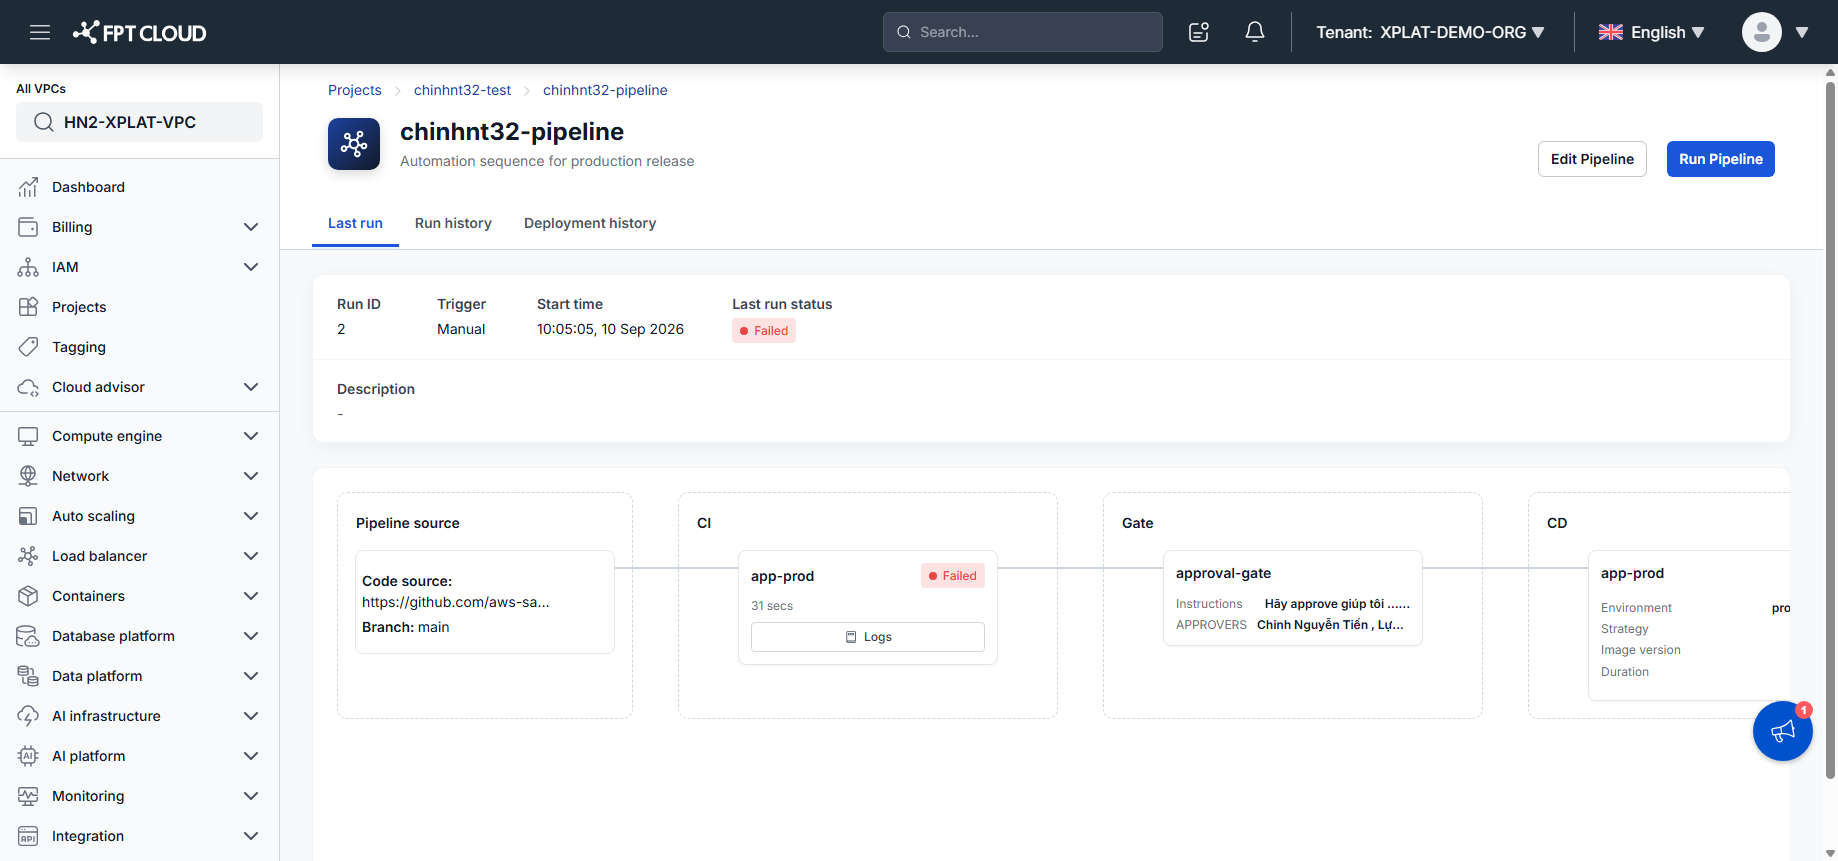
- Click Run Pipeline.
A new Pipeline Run is created with an automatically generated Run ID, and the Pipeline begins executing.
Only a Pipeline that has been saved successfully can be executed, and each click of Run Pipeline creates a new, independently managed Pipeline Run.
Monitor execution
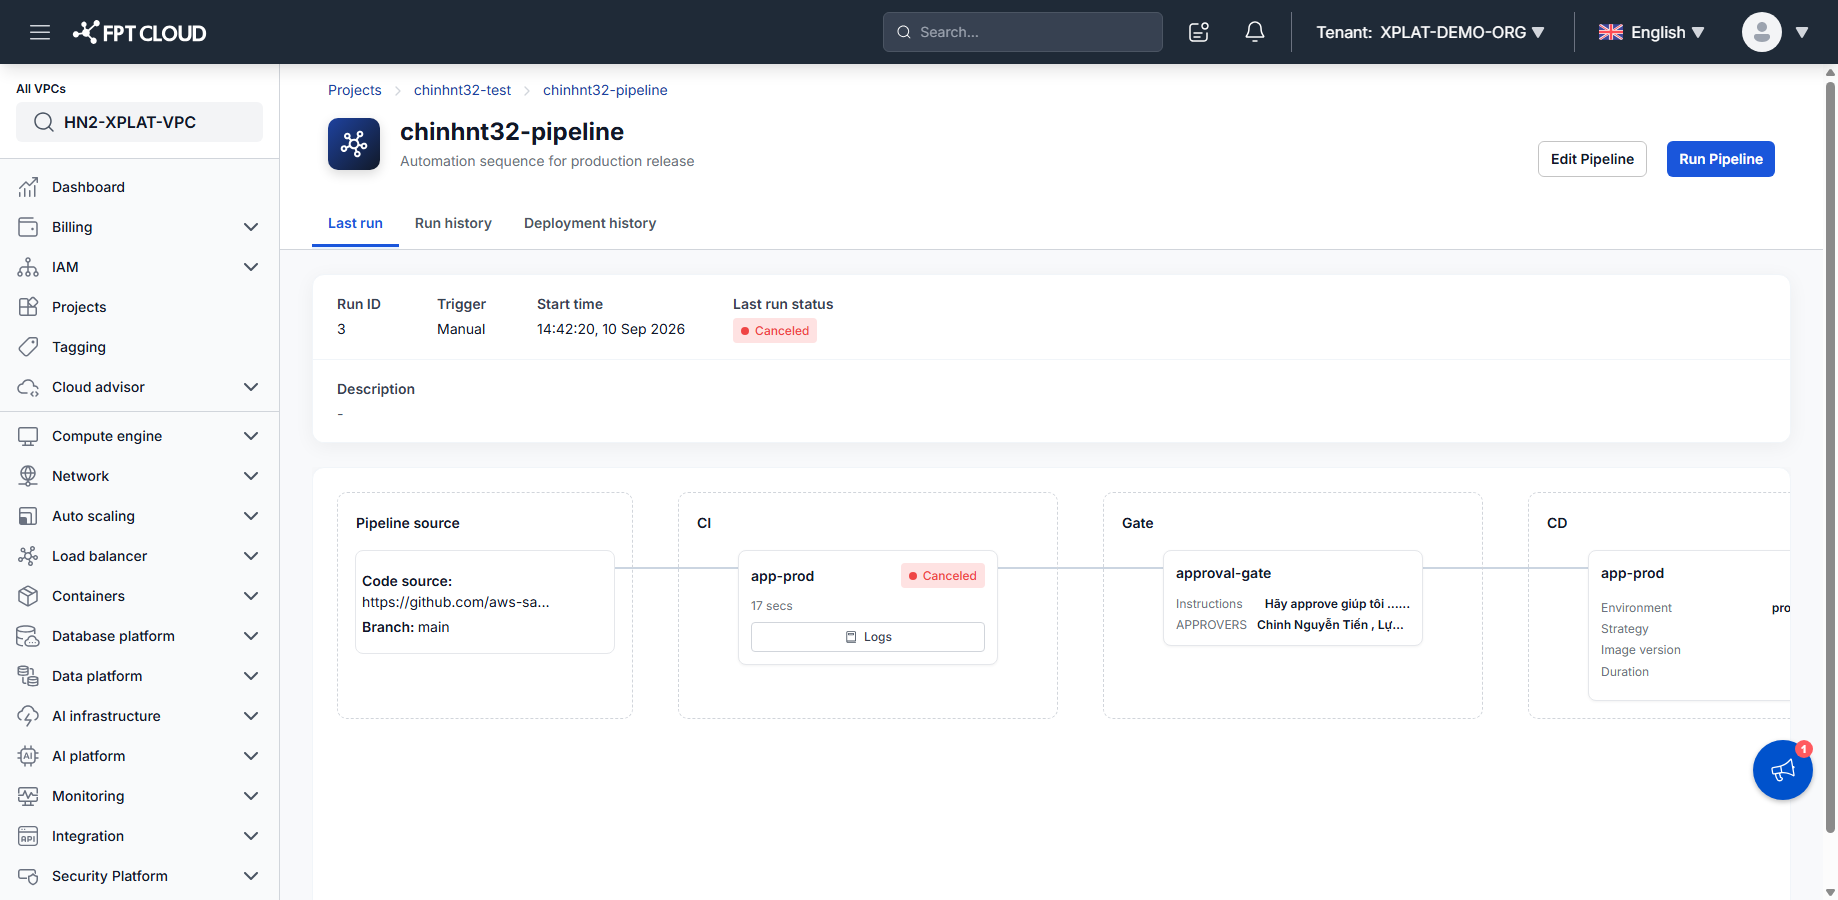
While the Pipeline runs, you can track Run ID, Trigger Time, Trigger User, Pipeline Version, Current Stage, Current Job, Status, and Duration. See Pipeline run information for the full field reference. Information updates in real time as the run progresses.
Stop a running Pipeline
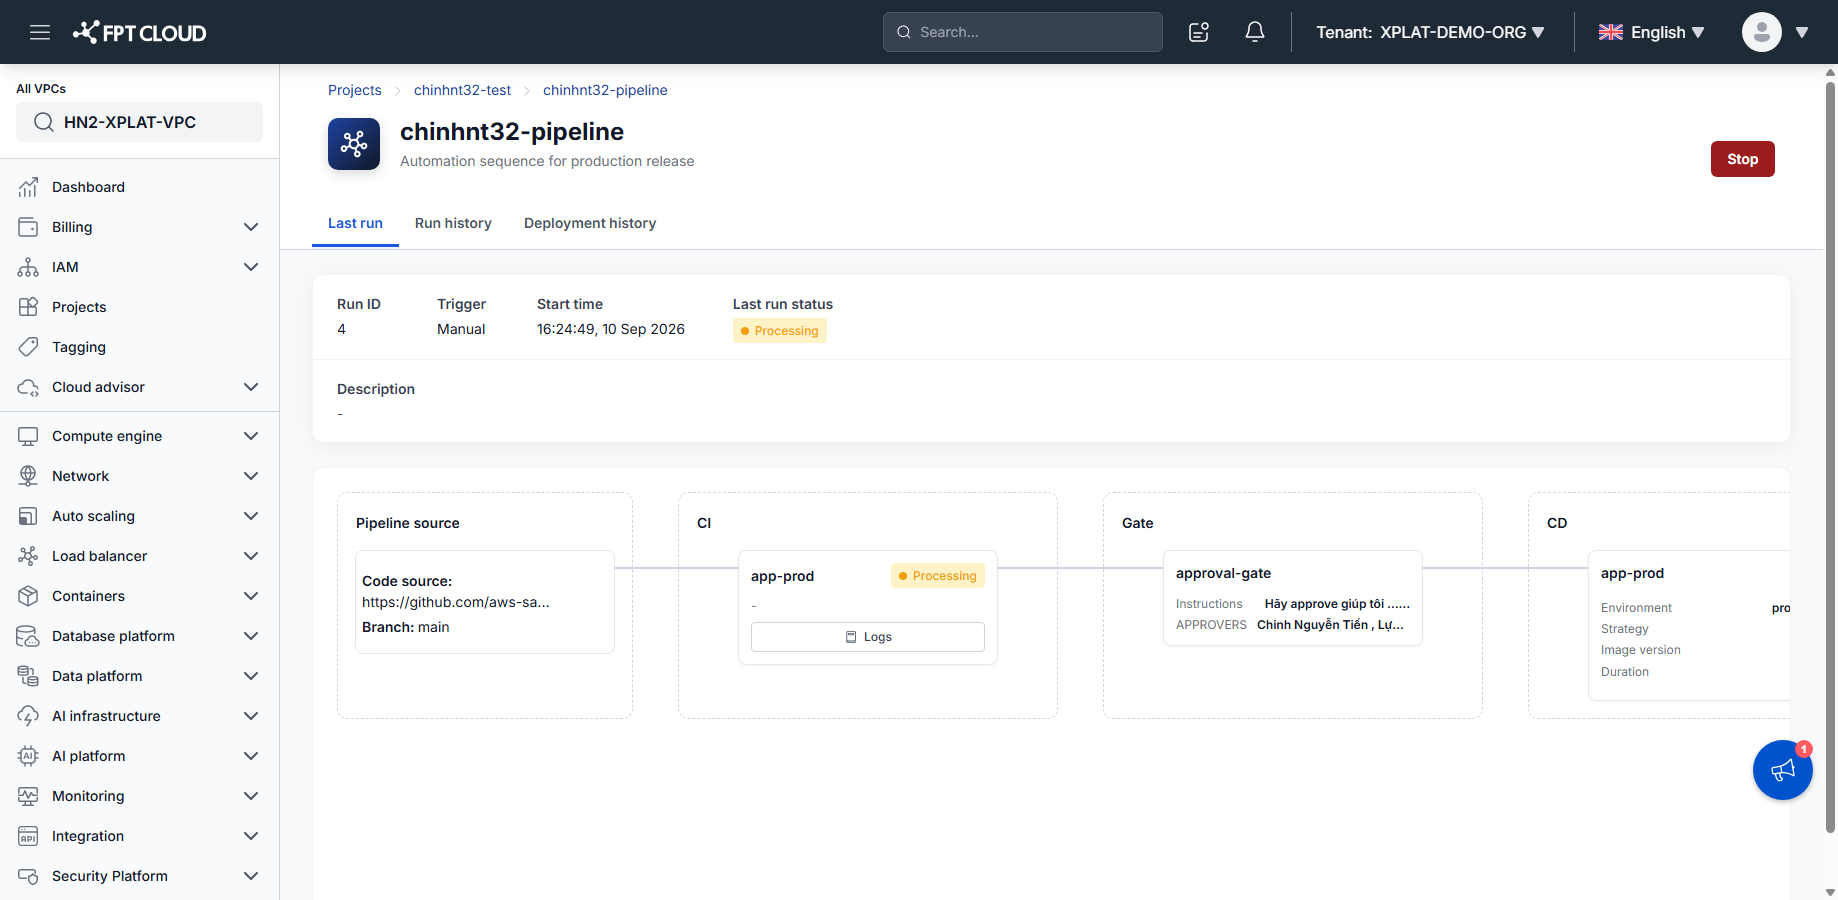
- Open a Pipeline Run that is currently in the Running state.
- Click Stop Pipeline.
- Confirm the action.
The Pipeline Run stops, its status changes to Cancelled, and any running Stages and Jobs stop processing.
Stopping a Pipeline may affect an in-progress build or deploy, and a completed or cancelled Pipeline cannot be resumed from its previous state — you need to create a new Pipeline Run.
Review the run afterward
After the Pipeline completes or is cancelled, review Run ID, Triggered By, Trigger Time, Status, Stage Information, Job Information, Start Time, and Duration to evaluate the results.
Check the Job Logs when a Pipeline fails.
Next steps
- Pipeline history & logs — browse past runs and deployments.
- Pipeline run information — field reference for run details.