Enable or disable a plugin
Disable a plugin when you want to stop applying it for a while but keep its configuration, instead of deleting it.
The change takes effect immediately on every Route / Service in the Scope of the plugin. For example, when you disable a JWT Auth plugin, those Routes no longer require a token.
Enable or disable a plugin
To enable or disable a Plugin, follow these steps:
-
In the left menu, select API Gateway → Plugin, then select the API Gateway in the top-right corner.
-
On the row of the plugin, click ⋮ → Disable (for an enabled plugin) or Enable (for a disabled plugin).
You can also use the switch in the Enabled column of the list. Both ways open the same confirmation dialog.
- In the Disable Plugin or Enable Plugin dialog, enter the exact plugin name (Display Name) in the confirmation field. The name to enter is shown in bold in the dialog.
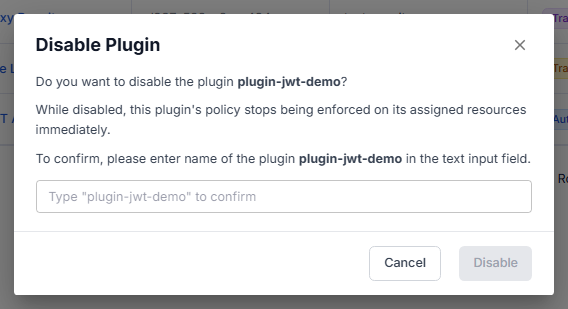
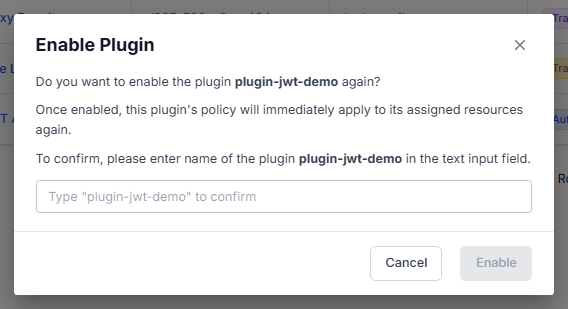
- Click Disable or Enable. The button is enabled only after you enter the correct name.
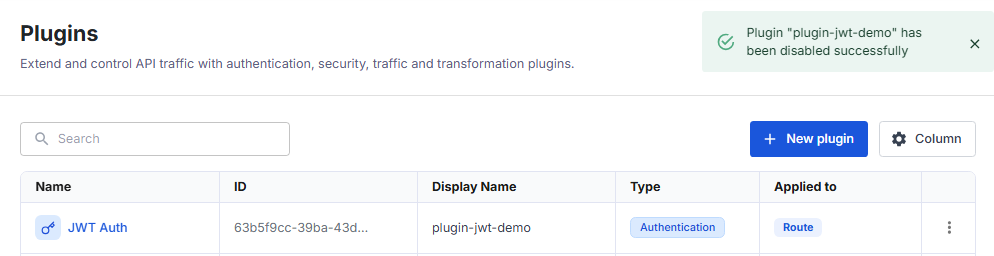
The message Plugin "<plugin name>" has been disabled successfully (or has been enabled successfully) appears and the Enabled switch changes.