View Route details
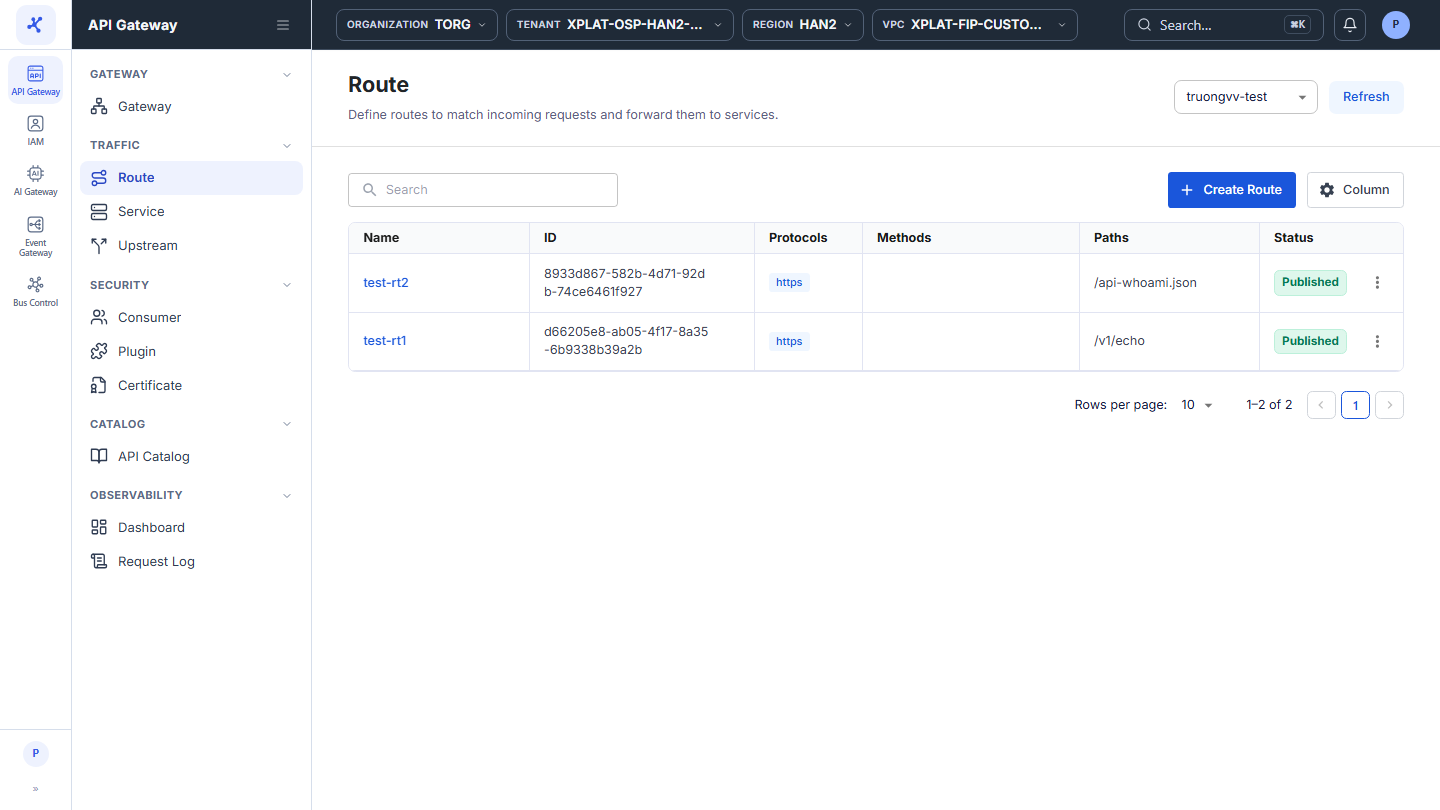
The Route screen lists the Routes of the API Gateway selected in the top-right corner, and reloads the list when you change the API Gateway.
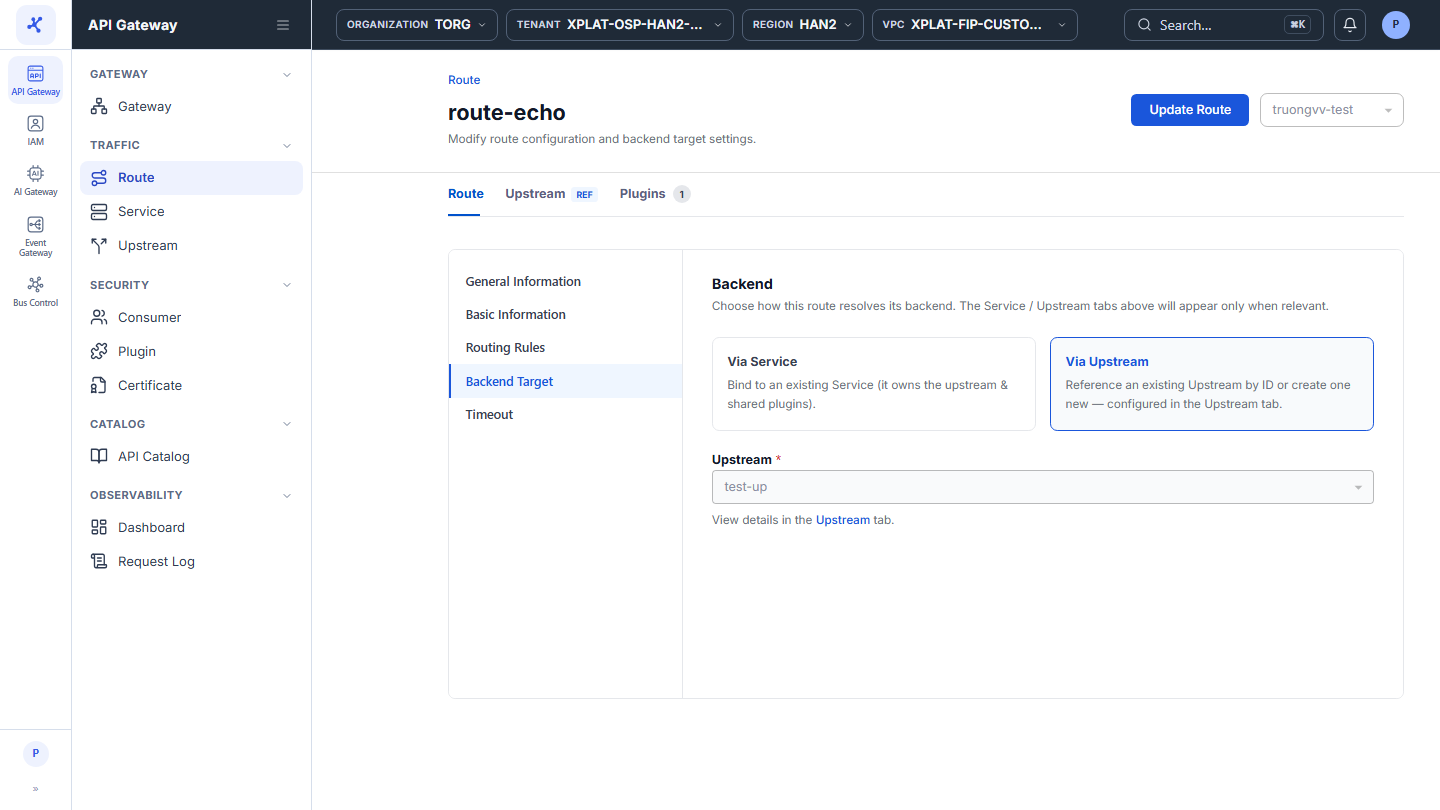
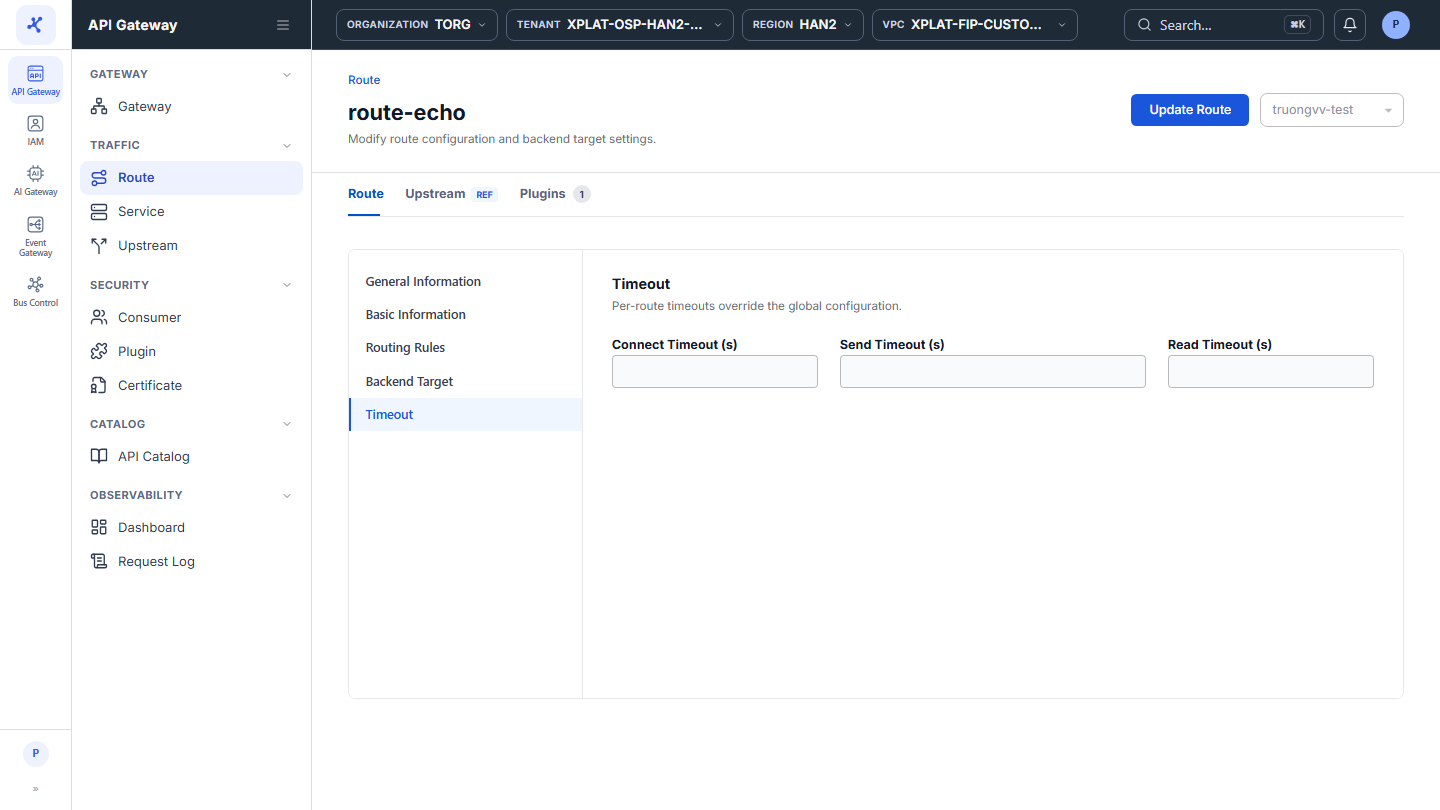
Click the image to zoom in.
View the Route list
- In the left menu, select API Gateway → Route, then select the API Gateway in the top-right corner.
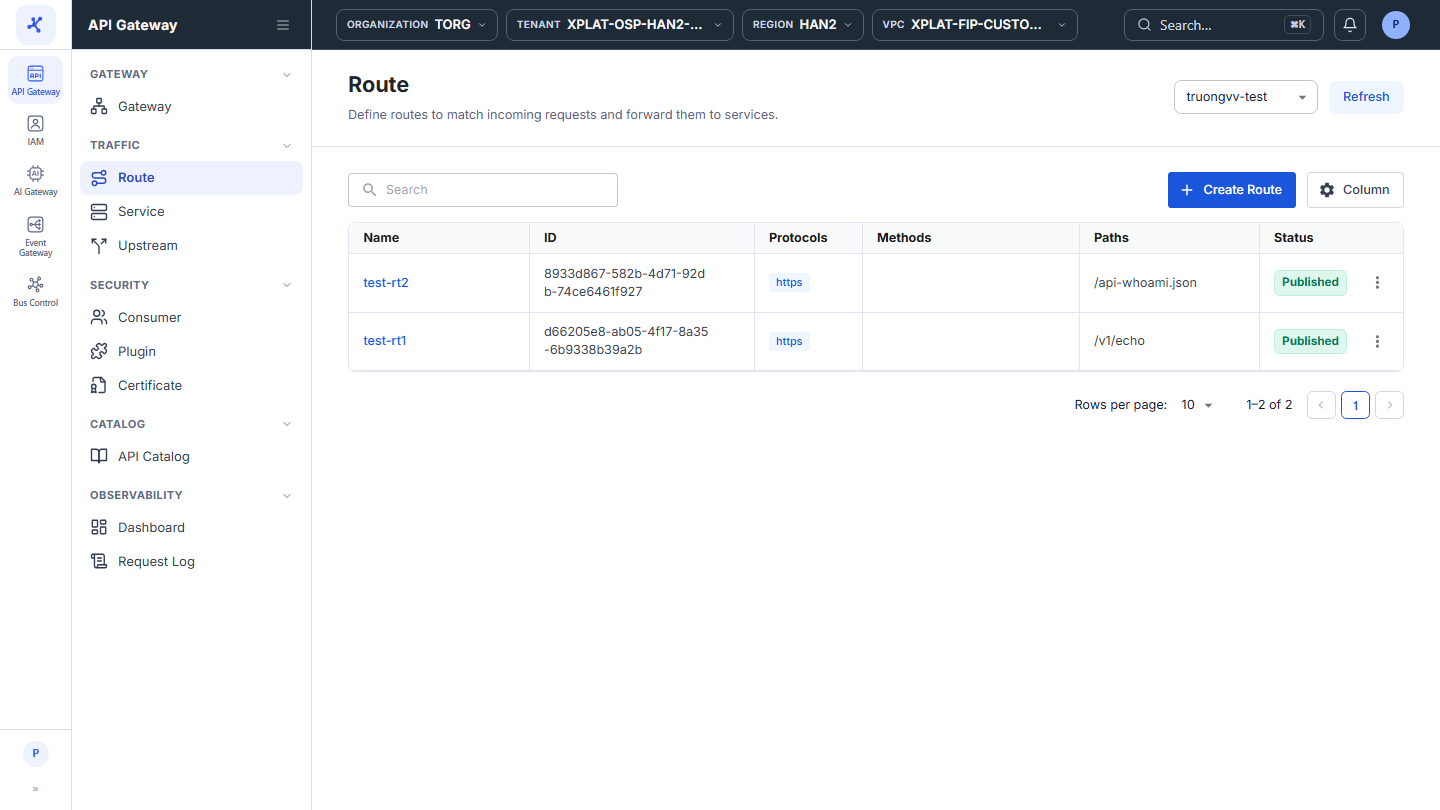
The list has the following columns:
| Column | Description |
|---|---|
| Name | Route name. Click the name to open the detail screen. |
| ID | Route identifier. |
| Protocols | Protocols the Route accepts, for example https. |
| Methods | HTTP methods the Route matches. Empty means all methods. |
| Paths | Paths the Route matches. |
| Status | Published (green): the Route receives traffic. Unpublished (red): the Route receives no traffic. |
| Created By | Who created the Route. |
| Created At | When the Route was created. |
| ⋮ | Actions on each row, see the action table below. |
The toolbar has the Search box to find Routes by keyword, the Create Route button to create a Route, and the Column button to choose, hide, and order the columns. The Updated By and Updated At columns are hidden by default and can be turned on with Column. The Refresh button in the top-right corner reloads the list.
New Routes appear at the top of the list. At the bottom of the table, Rows per page sets 10 / 20 / 50 rows per page, default 10. When the API Gateway has no Routes yet, the screen shows Let's create your first Route. with the Create Route button.
The ⋮ menu at the end of each row has 2 actions:
| Action | Description |
|---|---|
| Update | Opens the Route update screen. See Edit a Route. |
| Delete | Deletes the Route. See Delete a Route. |
View the details of a Route
- Click the Name of the Route you want to view.
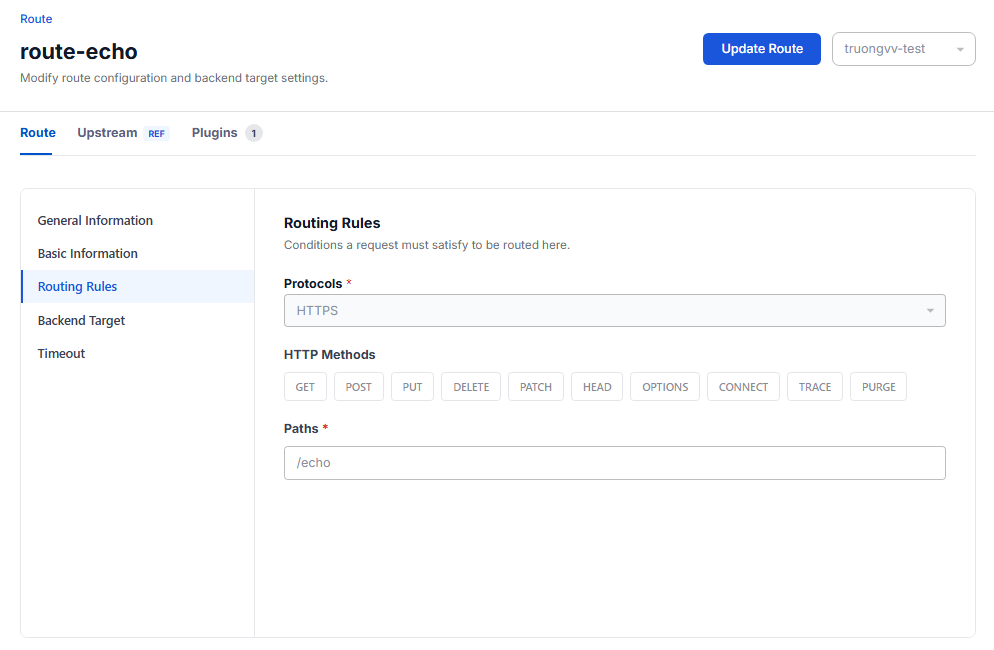
Tabs on the detail screen
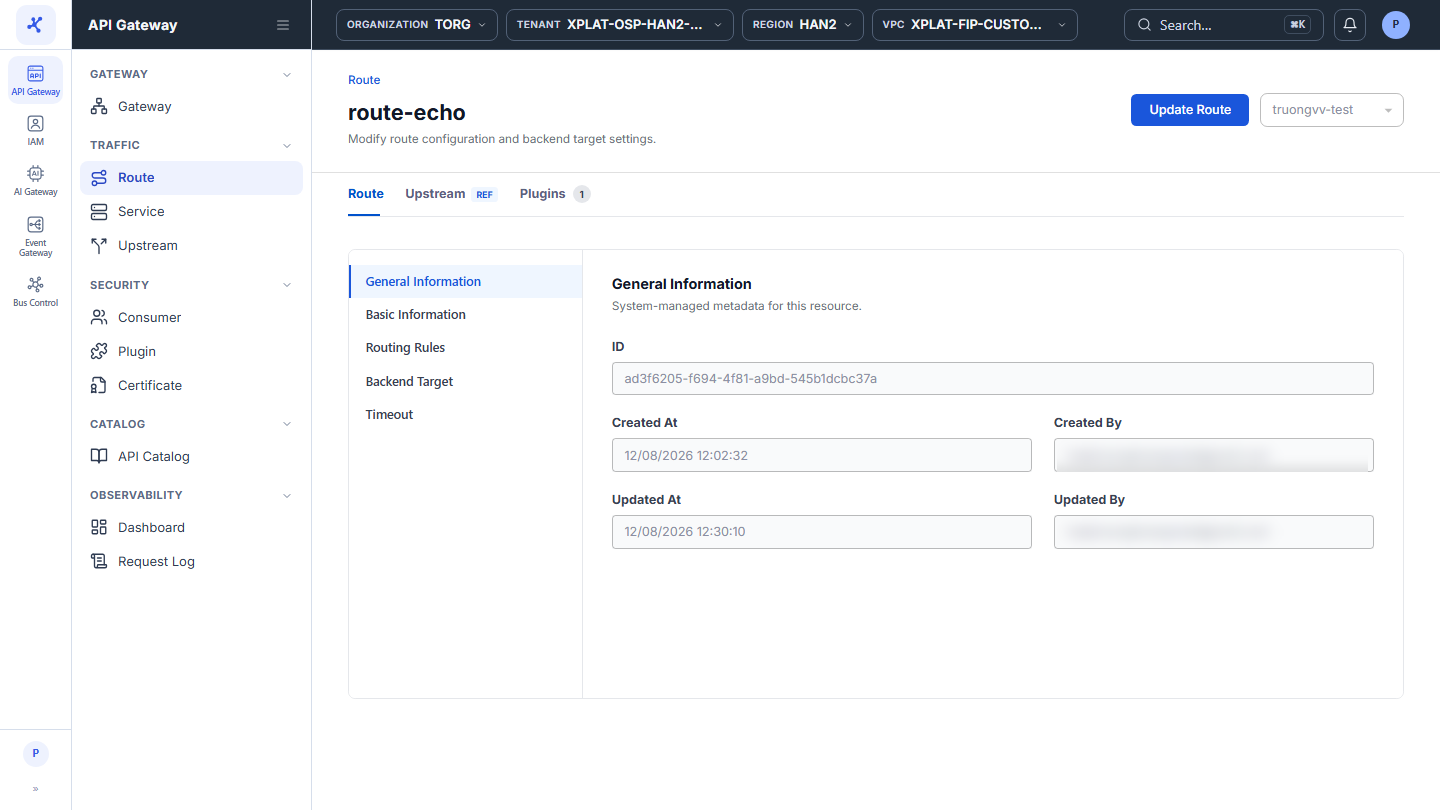
The detail screen has 3 tabs:
| Tab | Description |
|---|---|
| Route | Route configuration, read-only. |
| Service / Upstream (labeled REF) | Configuration of the Service or Upstream the Route uses as its backend, read-only. Same sections as the Upstream detail screen. |
| Plugins | Plugins that apply to the Route, with their count, in 2 sub-tabs: Explicit Plugin (attached directly) and Implicit Plugin (inherited). See Add a plugin. |
Sections of the Route tab
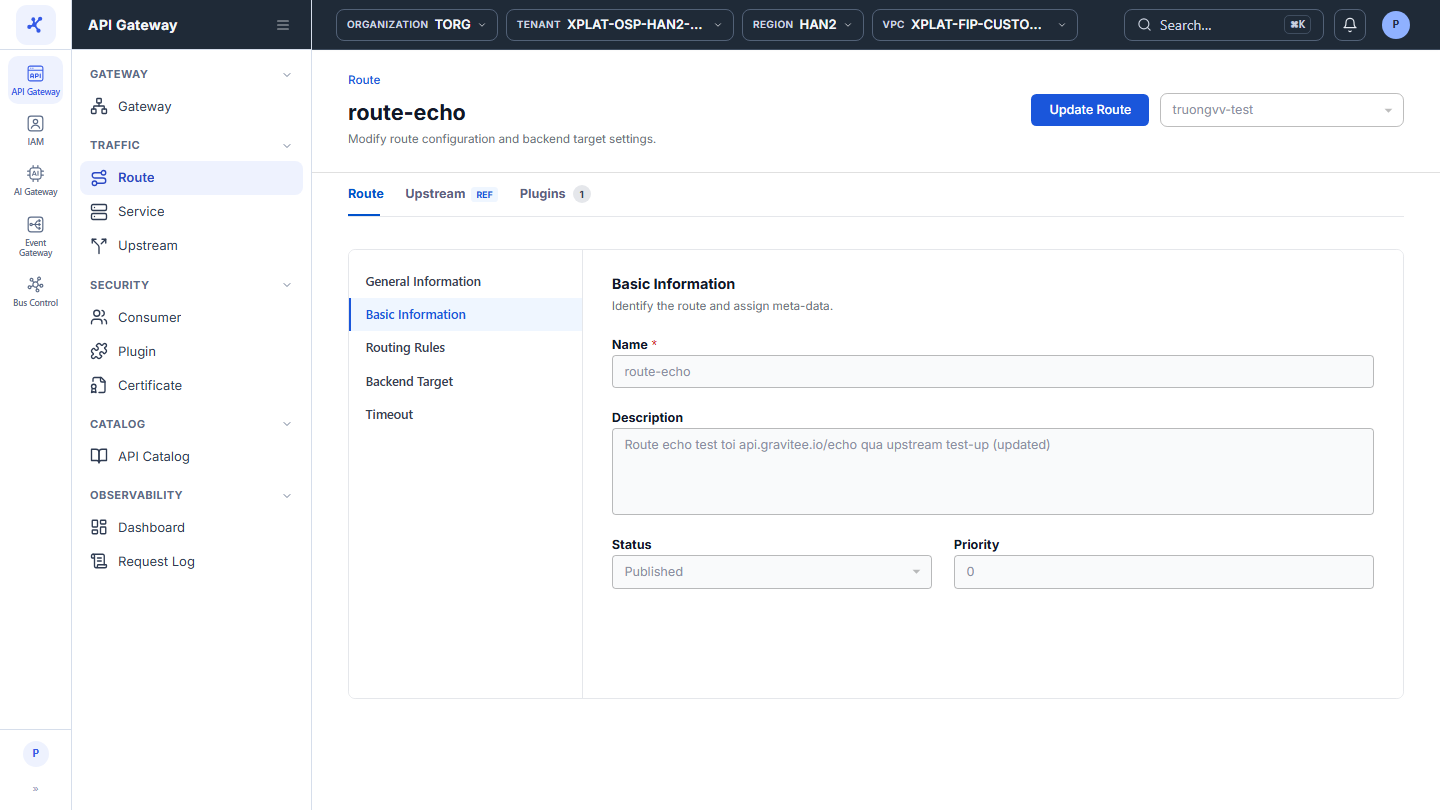
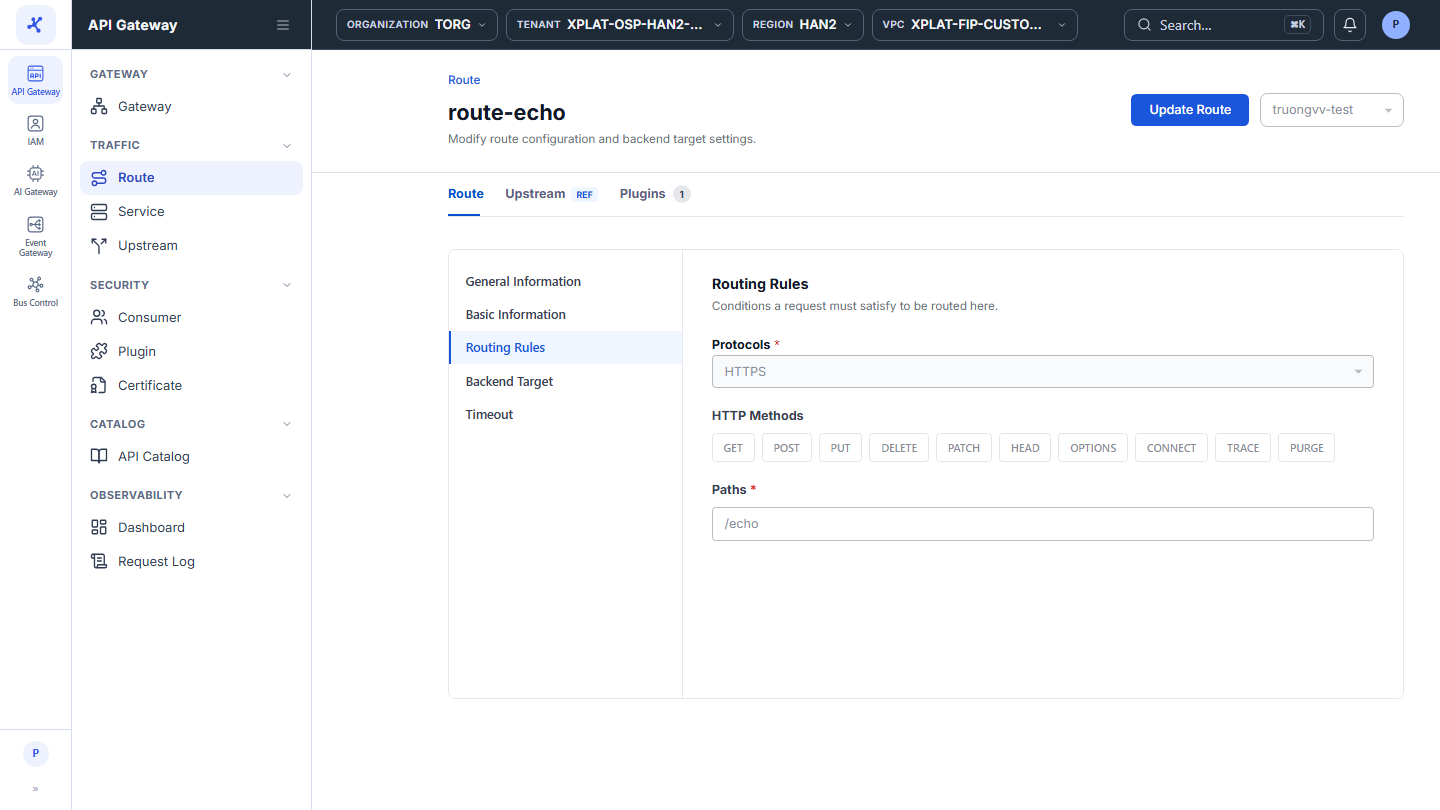
The Route tab has the same sections as the Route creation screen, plus a General Information section:
| Section | Content |
|---|---|
| General Information | System information: ID, Created At, Created By, Updated At, Updated By. |
| Basic Information | Name, Description, Status, Priority. |
| Routing Rules | Protocols, HTTP Methods, Paths. |
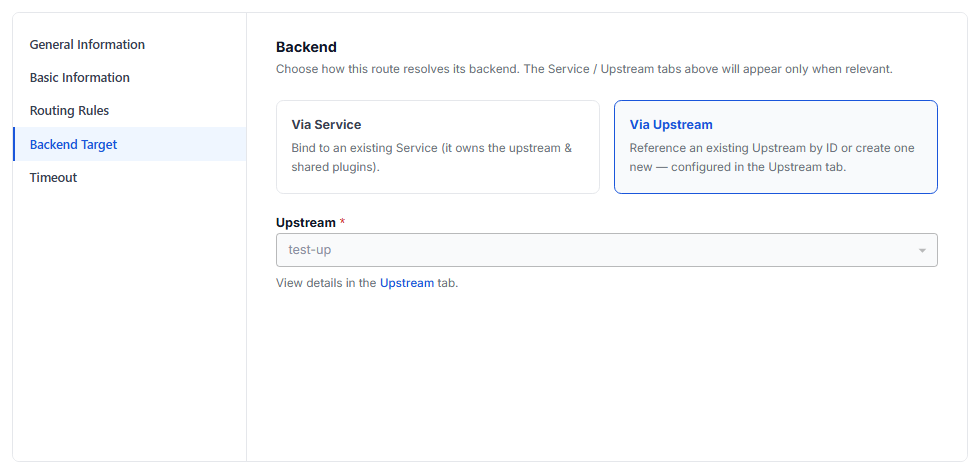
| Backend Target | Forwarding option (Via Service or Via Upstream) and the selected Service or Upstream. |
| Timeout | Connect Timeout (s), Send Timeout (s), Read Timeout (s). |
Click Update Route in the top-right corner to edit the Route, see Edit a Route.