Create an Instance in a Dual-Stack Subnet
This guide helps you create an Instance that receives both an IPv4 and an IPv6 address by selecting a dual-stack subnet.
Before you start
- Logged in to the Console Portal with the
instance:Createpermission - You have a subnet with
ipv6Enabled = trueandipv6Remaining > 0 - See Create a Dual-Stack Subnet if you don't have one
Steps
- Go to Compute Engine → Instances.
- Click Create instance.
- Choose the Operating system and Instance size (storage policy and size).
- Under Subnet, select the dual-stack subnet.
- Fill in the Name and Authentication (password or SSH key), then click Create instance.
The Instance automatically receives an IPv6 address via DHCPv6 from the dual-stack subnet — there is no separate IPv6 field to fill in on this form.

Result
- The Instance is created with one IPv4 address and one IPv6 address on the primary NIC.
- The IPv6 address column in the Instances List shows the Instance's IPv6 address.
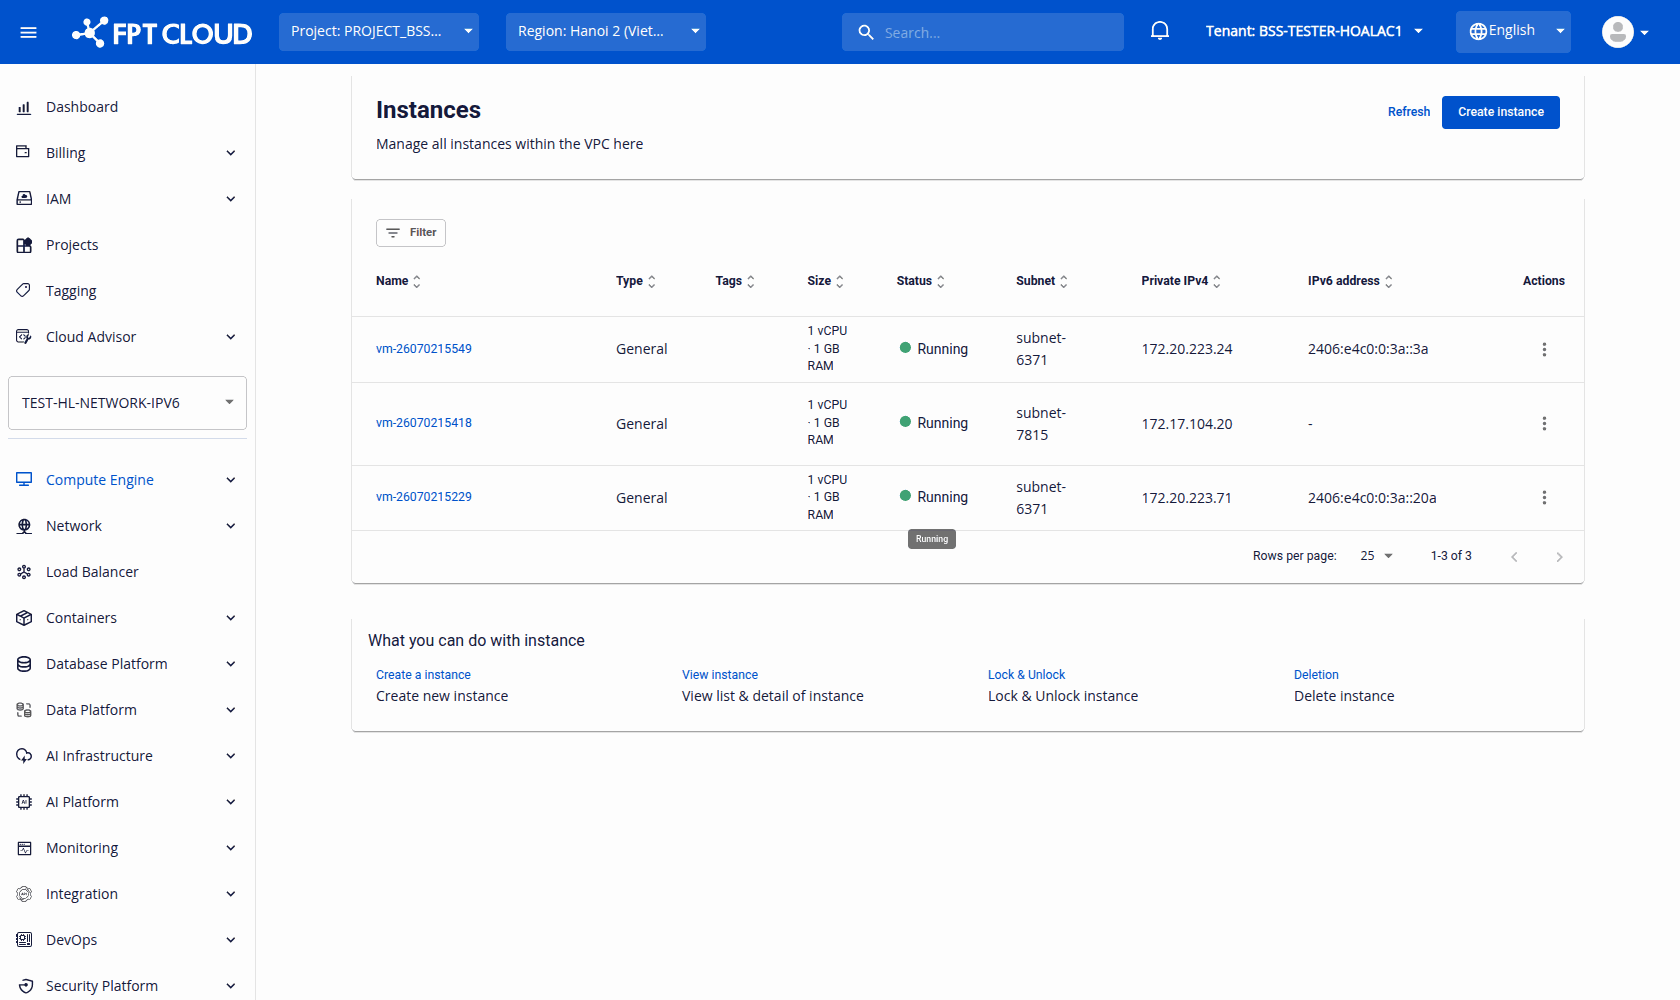
note
If you select an IPv4-only subnet, the Instance receives IPv4 only and the IPv6 address column shows -.