Manage assets
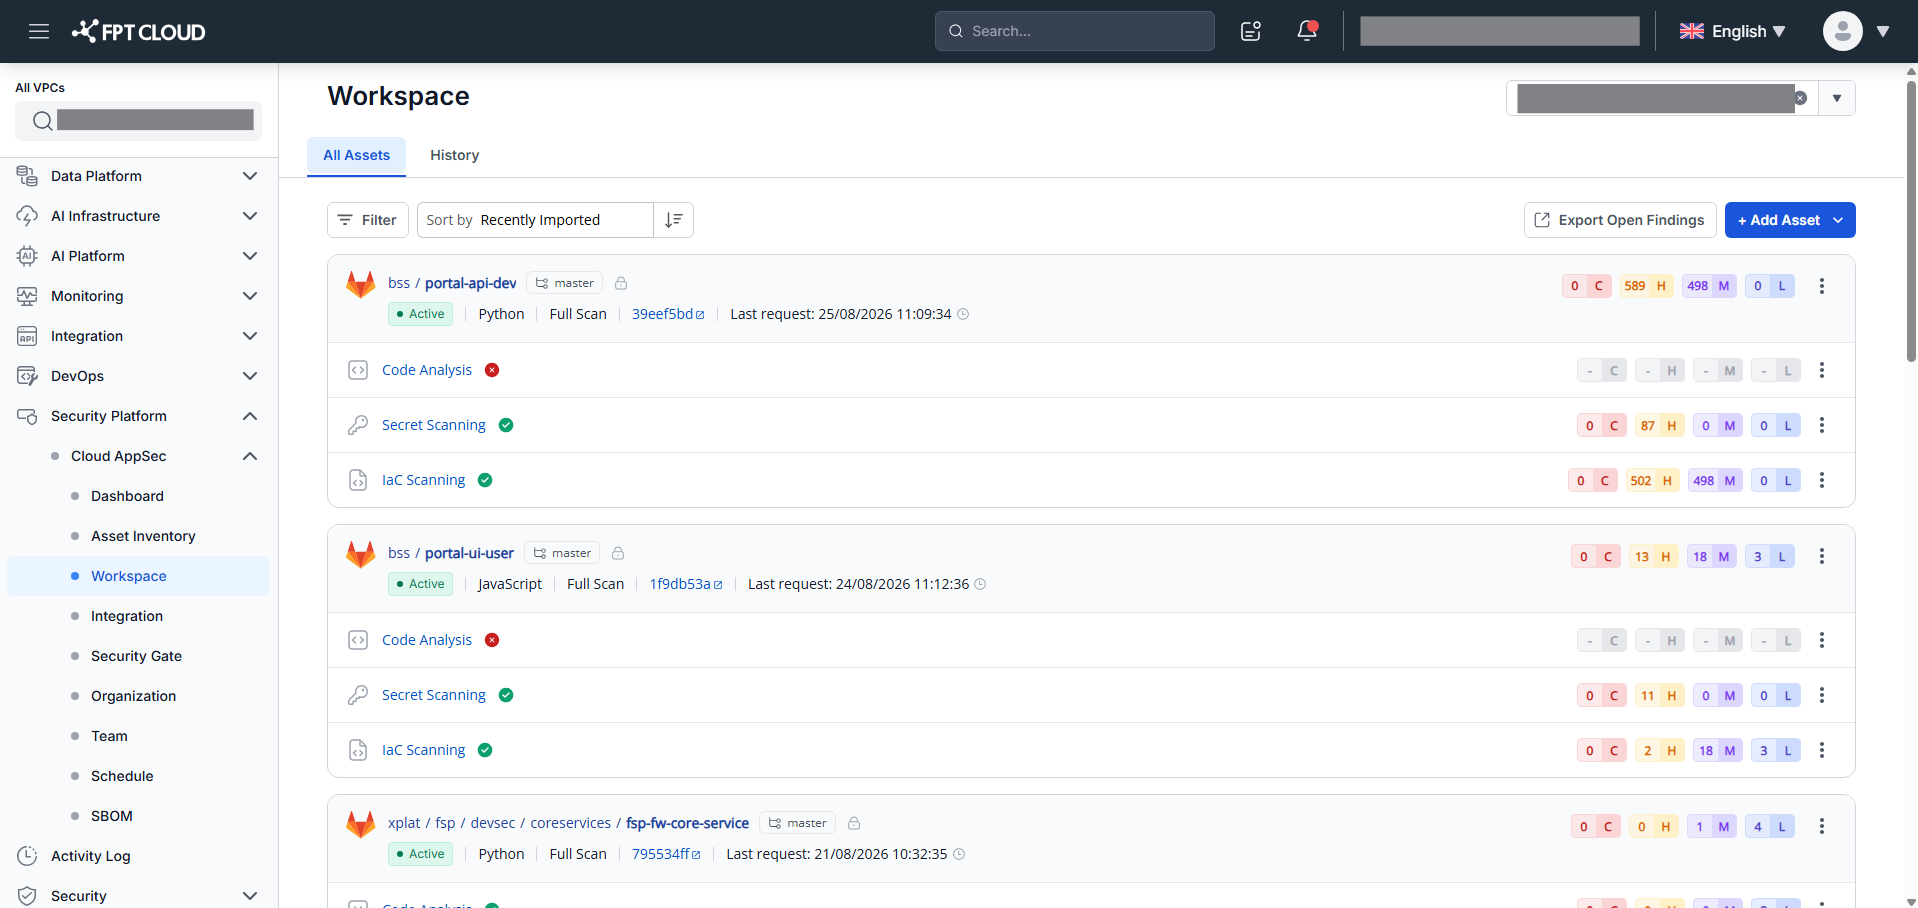
The Workspace shows all assets (Source Code repositories, Container Images, and DAST APIs) added to the selected team. Use it to track scan status, trigger scans, manage assets, and navigate to issues.
Access via App Security → Workspace.
View the asset list
- Select App Security → Workspace.
- Select a Team from the dropdown in the top-right corner.
The asset list appears showing each asset's name, integration type, last scan status, severity counts, and available actions.
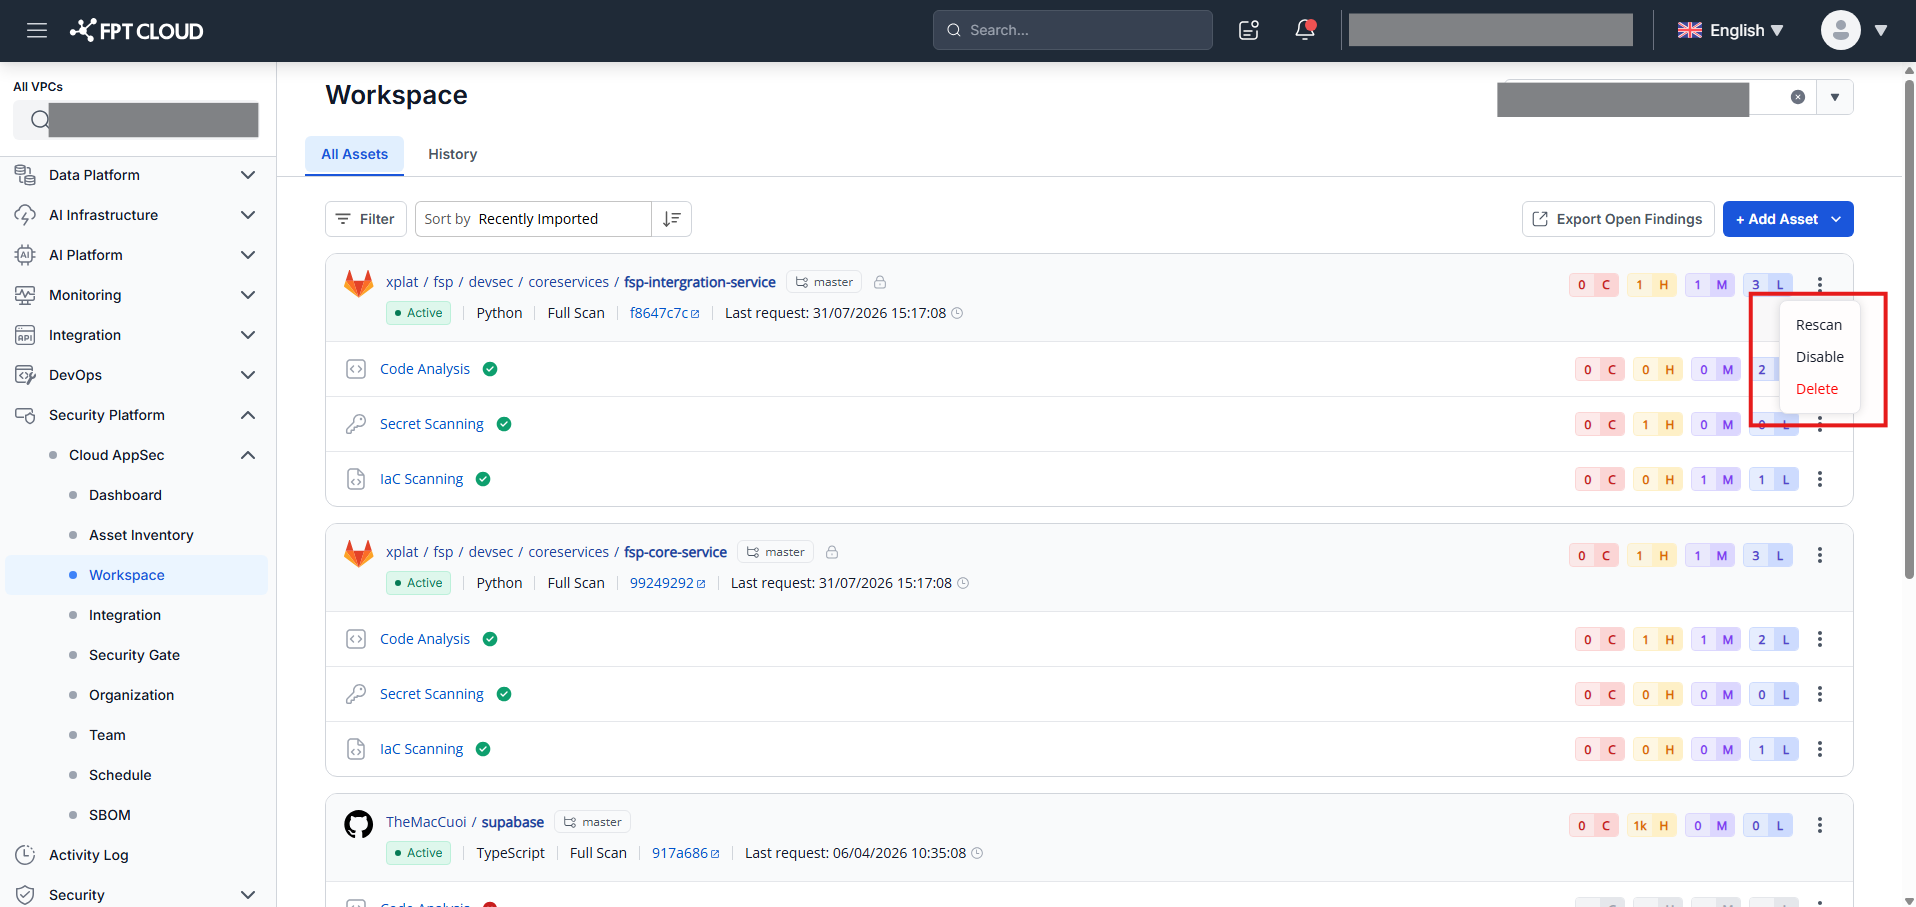
Click the ⋮ icon (or the action column) on any asset row to see available actions.
Filter assets
Use the filter bar above the asset list to narrow results.
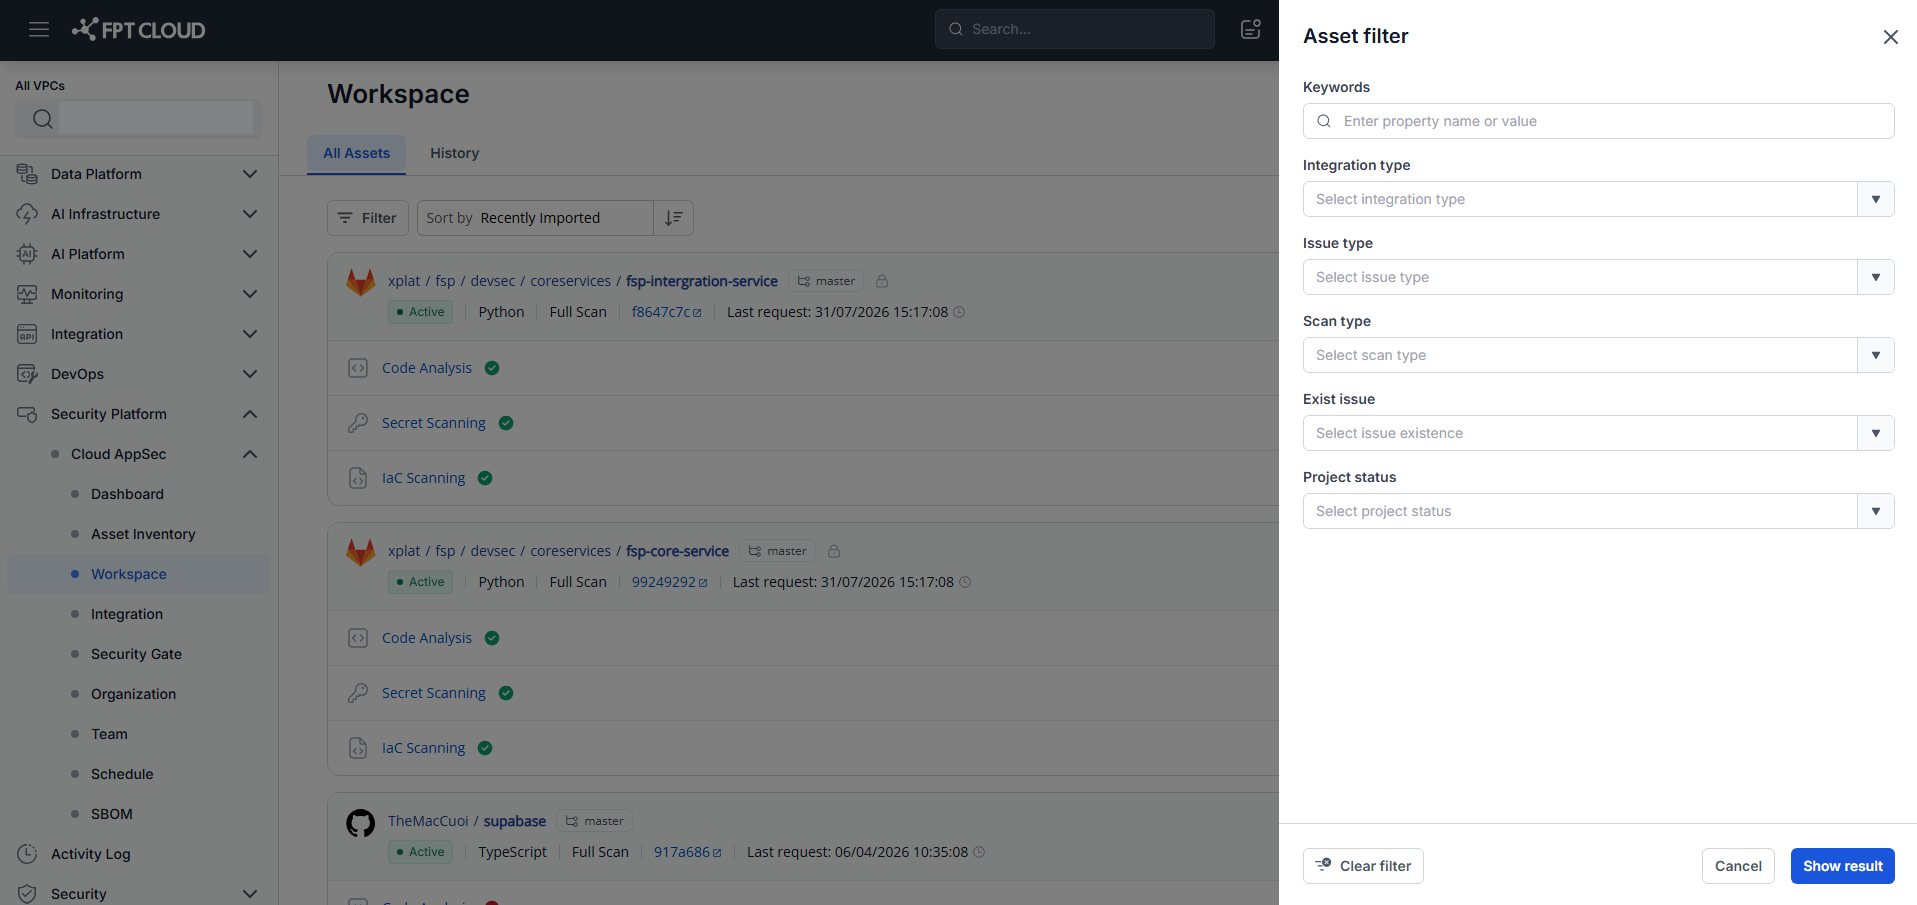
Available filters: Asset Type, Status, Severity, and Search by name.
Add an asset
- Click Add Asset.
- Select the asset type (GitHub / GitLab / GitLab Server / FPT Container Registry / Harbor / DAST API).
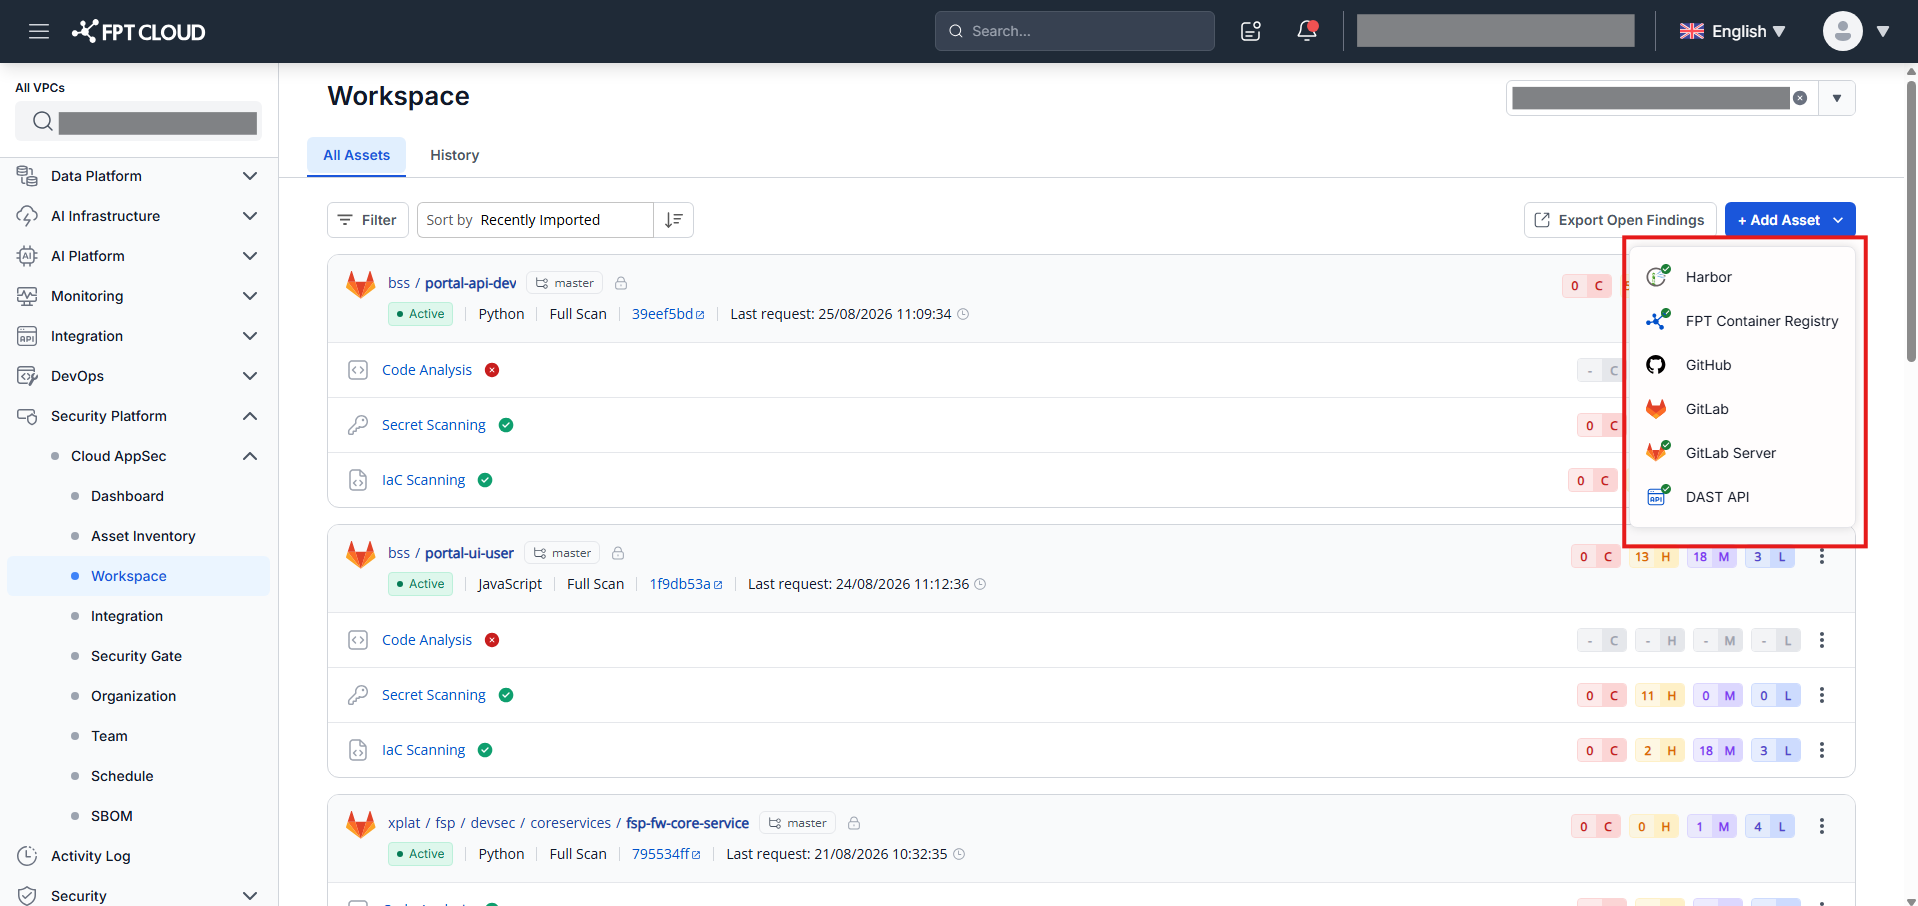
- Follow the steps for the selected asset type. See:
- SCM asset operations — for Source Code repositories
- Container Registry asset operations — for Container Images
- DAST API asset operations — for DAST APIs
Disable an asset
Disabling stops future scans but keeps existing scan data.
- Click Disable in the asset's action column.
- Confirm in the confirmation dialog.
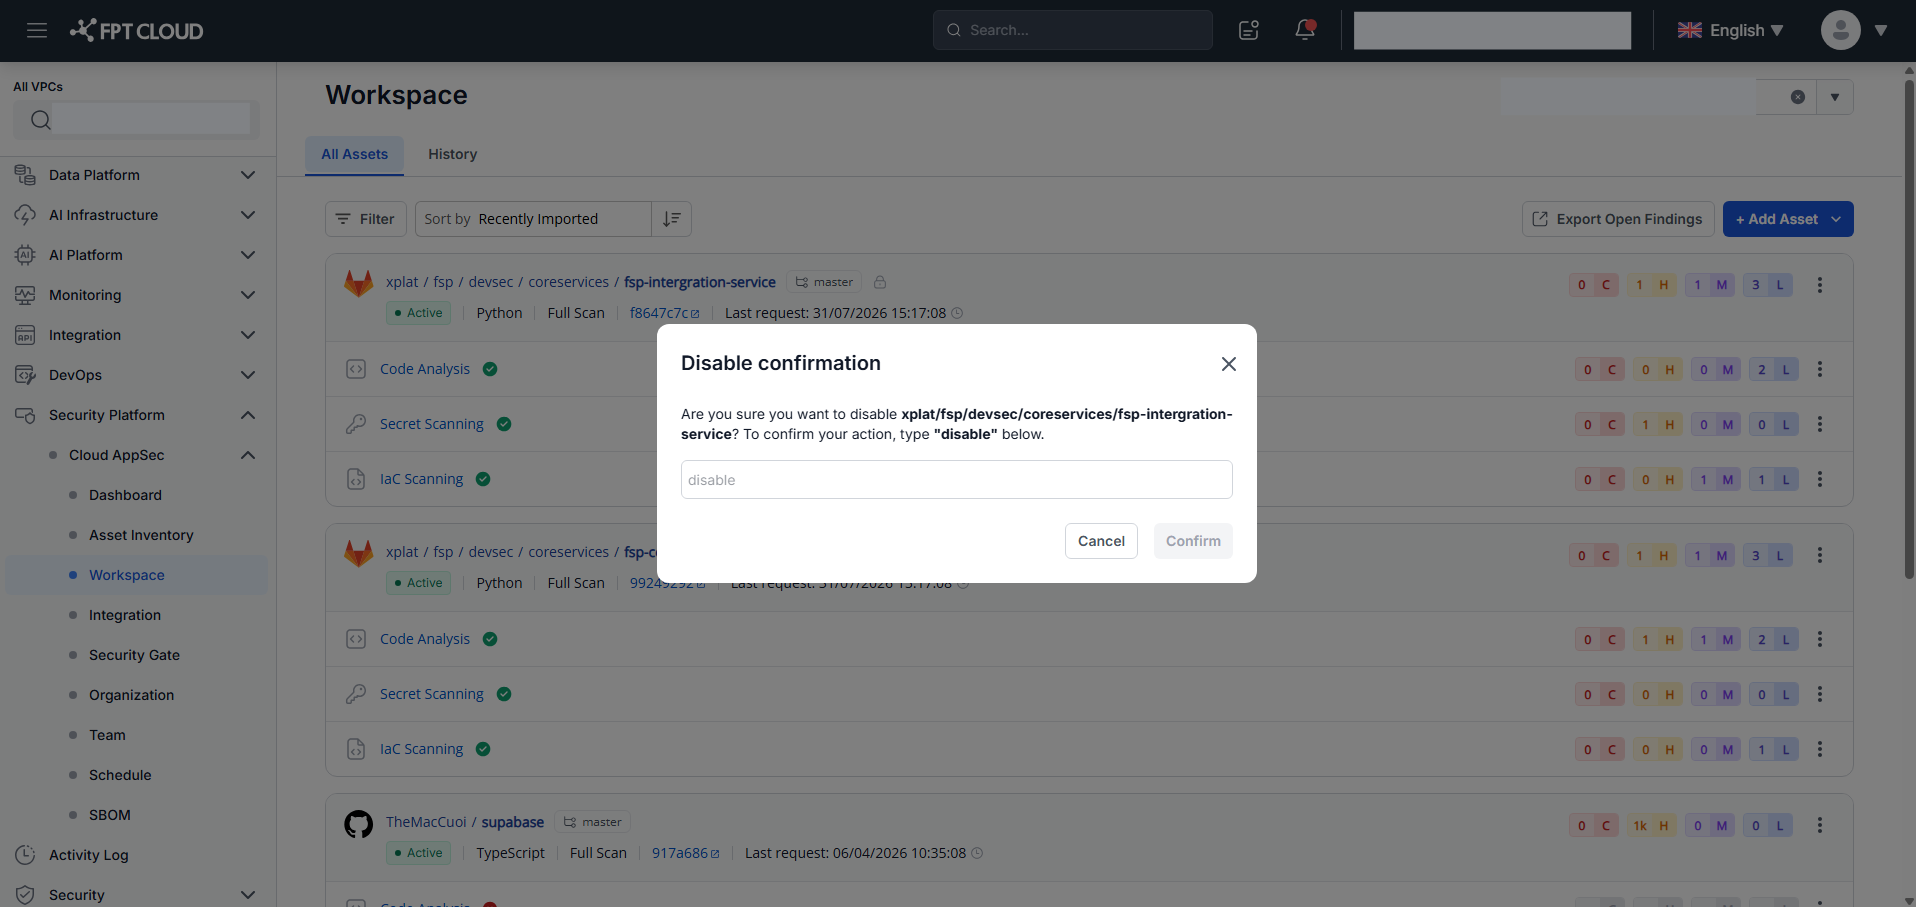
To re-enable, click Enable in the action column.
Delete an asset
Deleting permanently removes the asset and all associated scan data.
- Click Delete in the asset's action column.
- Confirm in the confirmation dialog.
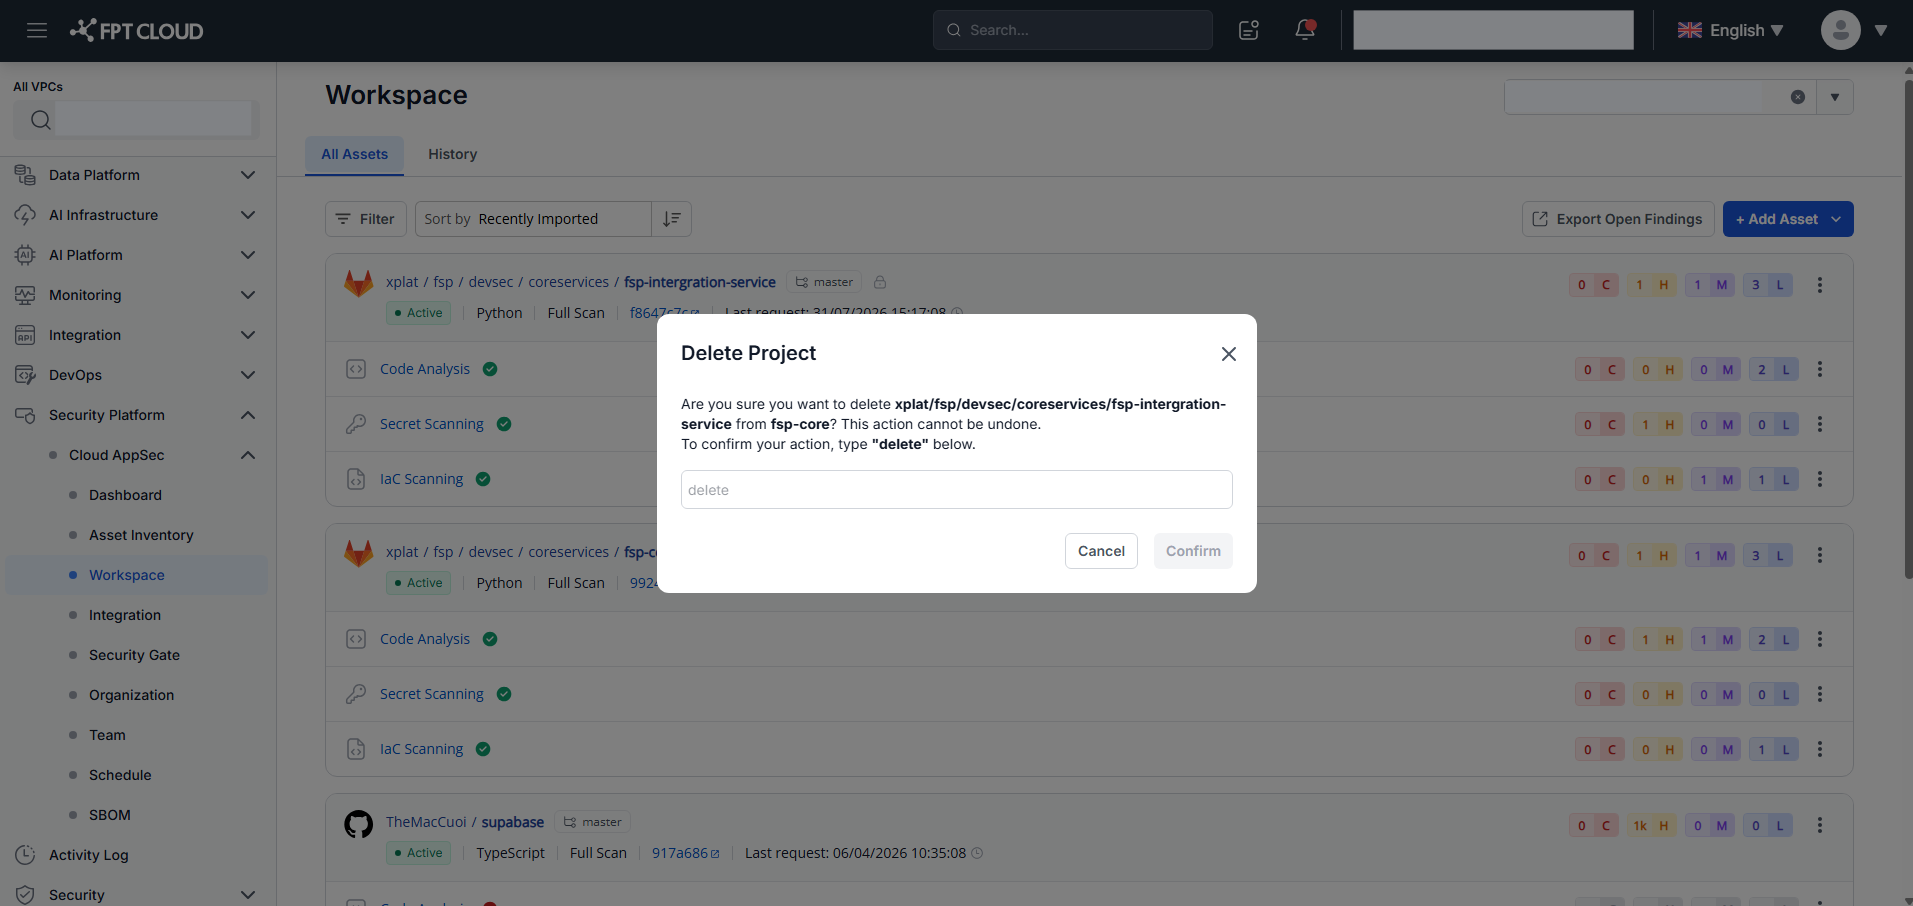
View scan history
- Click the asset name to open the asset detail.
- Select the History tab to view past scan results.
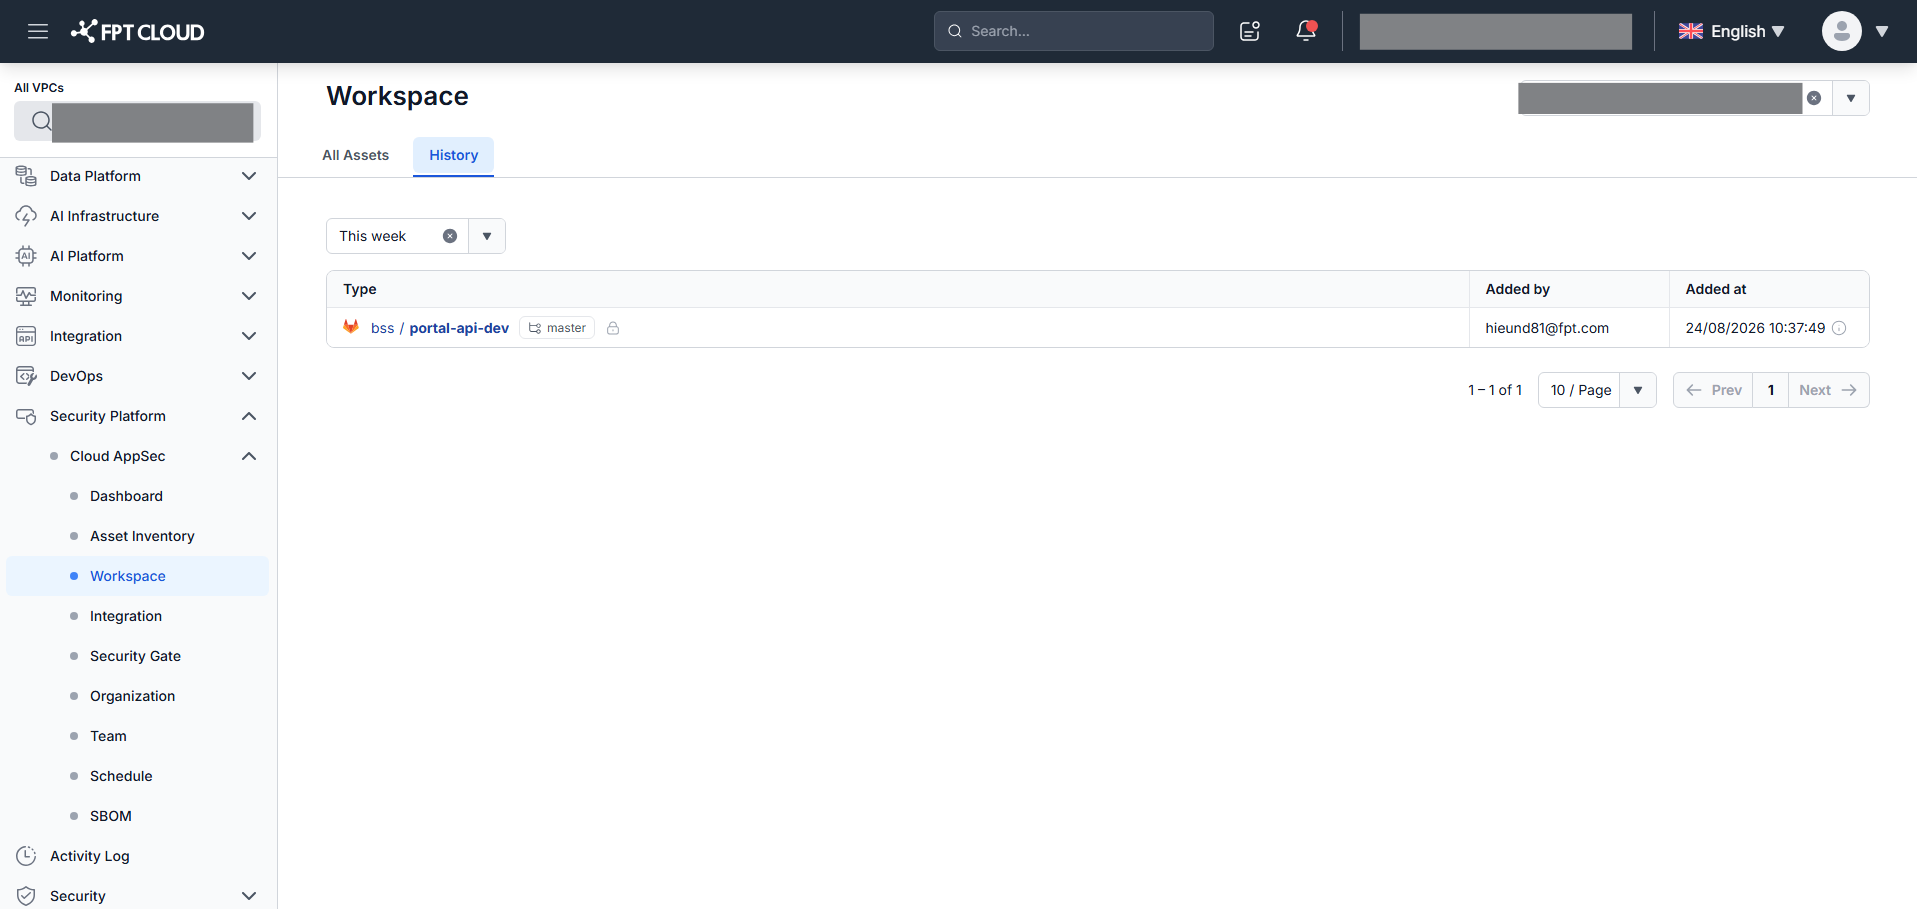
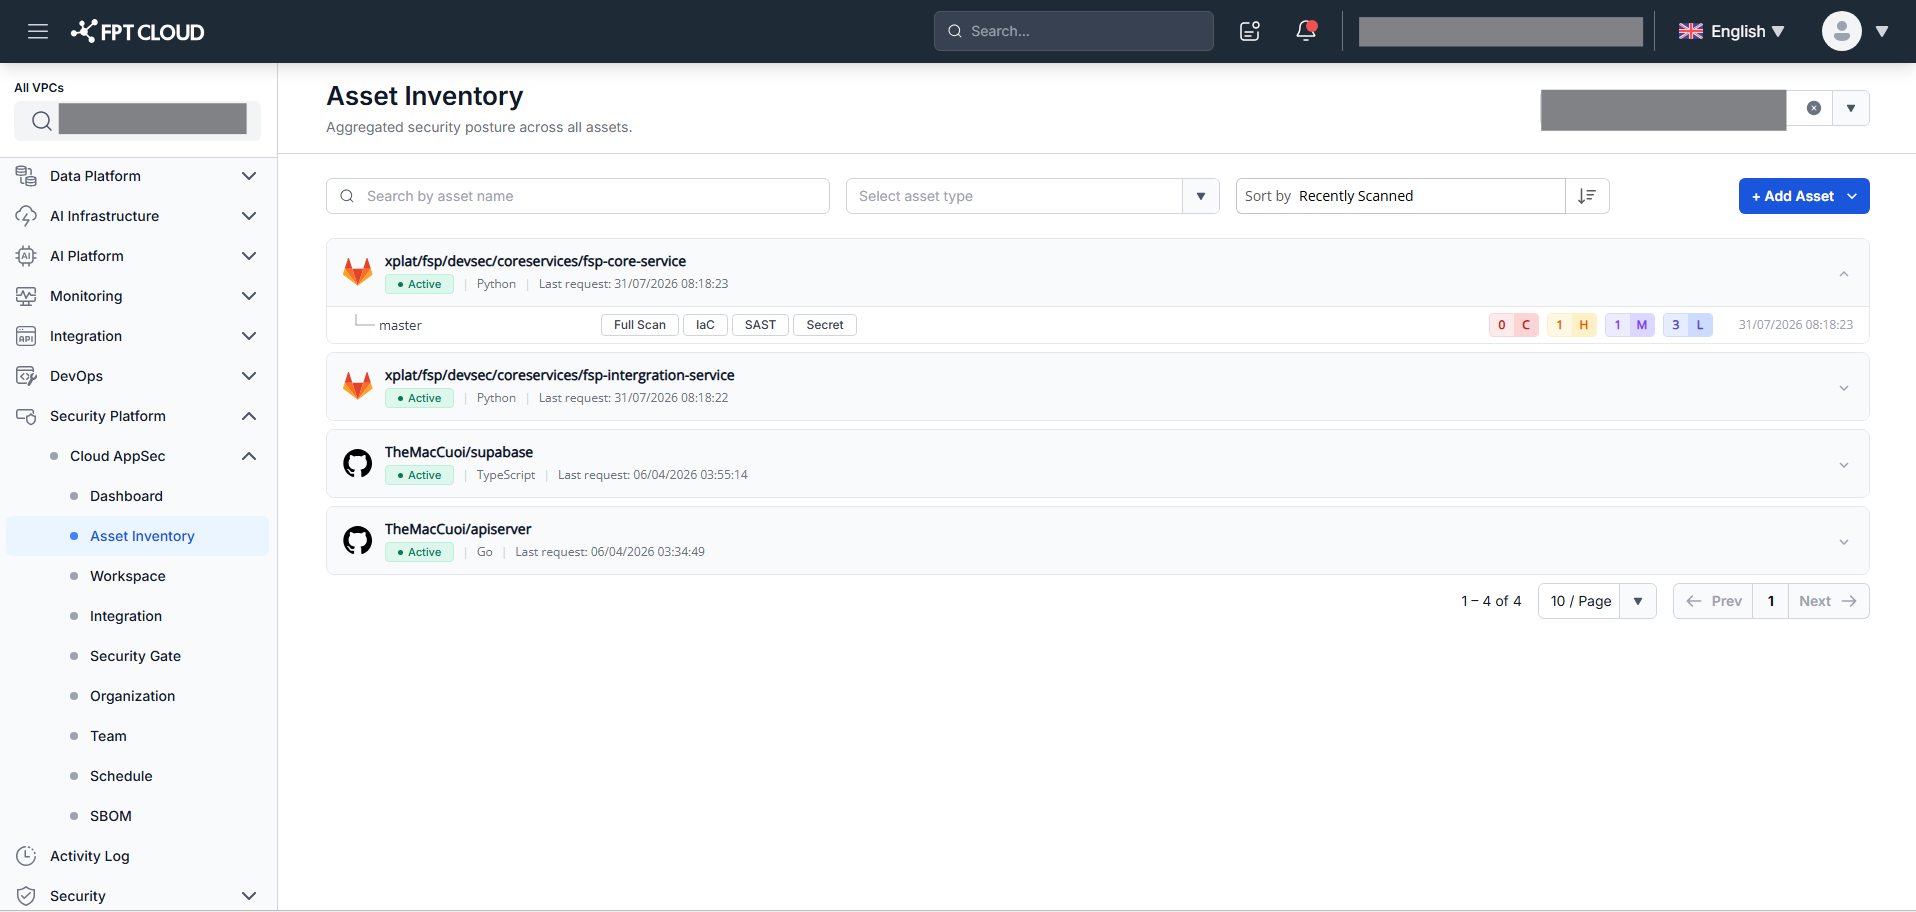
Asset Inventory
Asset Inventory provides a cross-workspace overview of all assets in the organization. Access via App Security → Asset Inventory.