Create a GPU Container
A GPU Container gives you a dedicated GPU-backed container environment. You choose a template, a GPU instance, and optional configuration such as persistent disk and environment variables.
1. Go to GPU Container
In the Workspace sidebar, click Services, then click GPU Container.
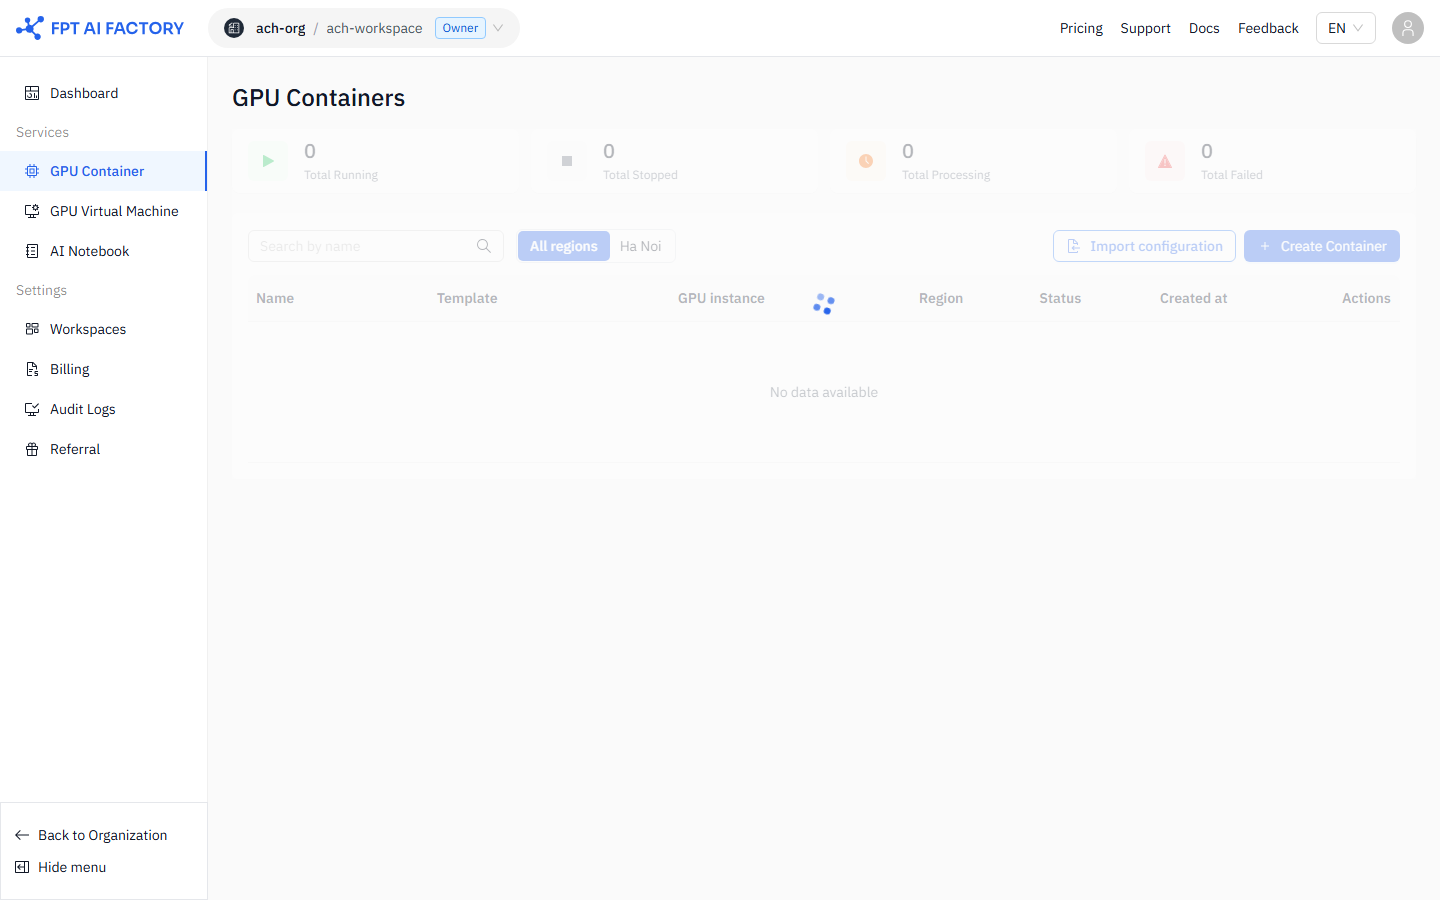
2. Click Create Container
Click the Create Container button in the top-right corner of the page. The Create new GPU Container form opens.
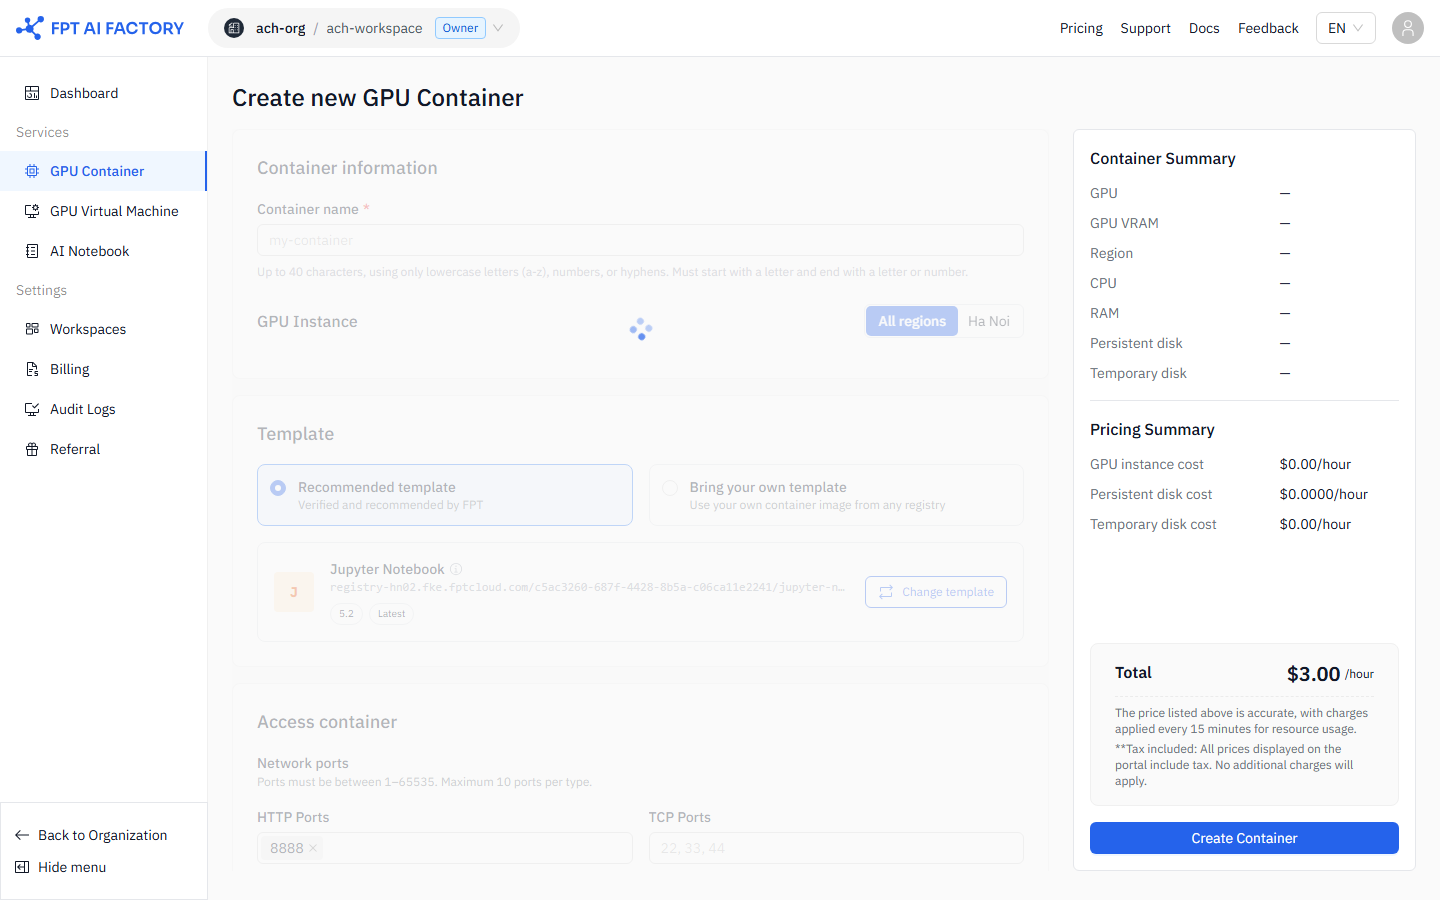
3. Enter a container name
In the General Information section, enter a name for your container.
- Use lowercase letters (a–z), numbers, or hyphens only.
- Must start with a letter and end with a letter or number.
- Maximum 63 characters.
4. Select a GPU instance
In the GPU Instance section:
- Use the region tabs — All regions, Hanoi, or Tokyo — to filter by region.
- Click a GPU flavor card to select it. Each card shows the GPU model, VRAM, CPU cores, RAM, and hourly price. Cards marked as Out of stock cannot be selected.
5. Select a template
In the Template section, choose one of the following:
- Recommended template — select from FPT-verified templates such as Jupyter Notebook, vLLM, and PyTorch.
- Bring your own template — enter your own container image URL and tag from a private or public registry.
6. Configure exposed ports and advanced settings
The form includes two more sections:
Exposed ports — configure the ports exposed on the container:
| Field | What you configure |
|---|---|
| HTTP Ports | Ports to expose via HTTPS proxy (e.g., 8888) |
| TCP Ports | Raw TCP ports to expose (e.g., 22) |
Advanced settings (collapsible) — optional configuration:
| Section | What you can configure |
|---|---|
| Persistent disk | Disk size in GB — persists after stop/start cycles |
| Environment variables | Key-value pairs injected into the container at startup |
| Startup commands | Commands and arguments to run on container start |
The Summary panel on the right shows the estimated hourly cost based on your selections.
7. Create the container
Click Create Container. The portal returns to the container list. Your new container appears with status Creating, then transitions to Running within a few minutes.
Container status lifecycle
| Status | What it means |
|---|---|
| Creating | The GPU instance is being provisioned |
| Running | The container is active. Billing is accumulating. |
| Stopped | The container is stopped. GPU charges have stopped. Persistent disk is retained. |
| Error | Provisioning or runtime failure. |
Billing starts when the container reaches Running. Stopping the container stops GPU charges, but persistent disk is still billed at a lower rate until the container is deleted.
What's next
- Managing GPU Containers — stop, start, view logs, and delete.